The Sonar modules allow you to monitor, create, update, retrieve, close, and delete the customers, monitor, and send the messages and campaigns.
Prerequisites
-
A Sonar account –create an account at sendsonar.com/
![[Note]](https://docs.boost.space/wp-content/themes/bsdocs/docs-parser/HTML/css/image/note.png) |
Note |
|---|---|
|
The module dialog fields that are displayed in bold (in the Boost.space Integrator scenario, not in this documentation article) are mandatory! |
To connect your Sonar account to Boost.space Integrator you need to obtain the private token from your Sonar account and insert it in the Create a connection dialog in the Boost.space Integrator module.
1. Log in to your Sonar account.
2. Click the left menu icon ( ) > Company Settings.
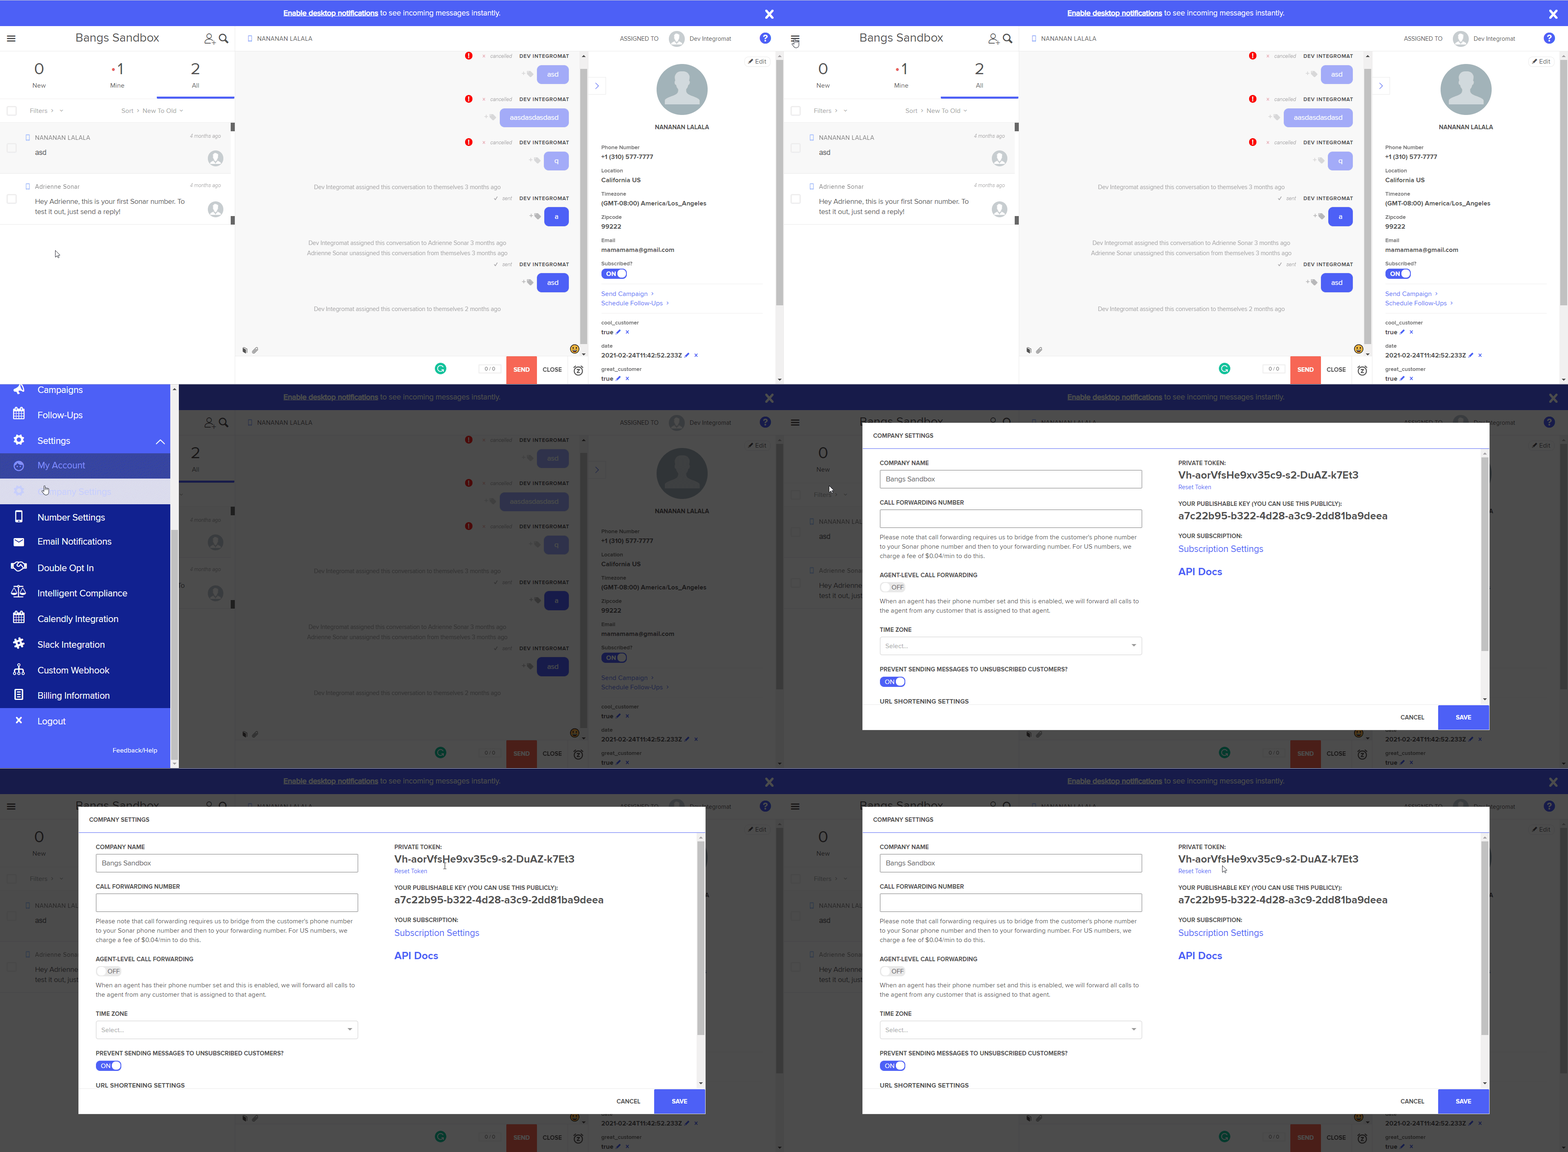
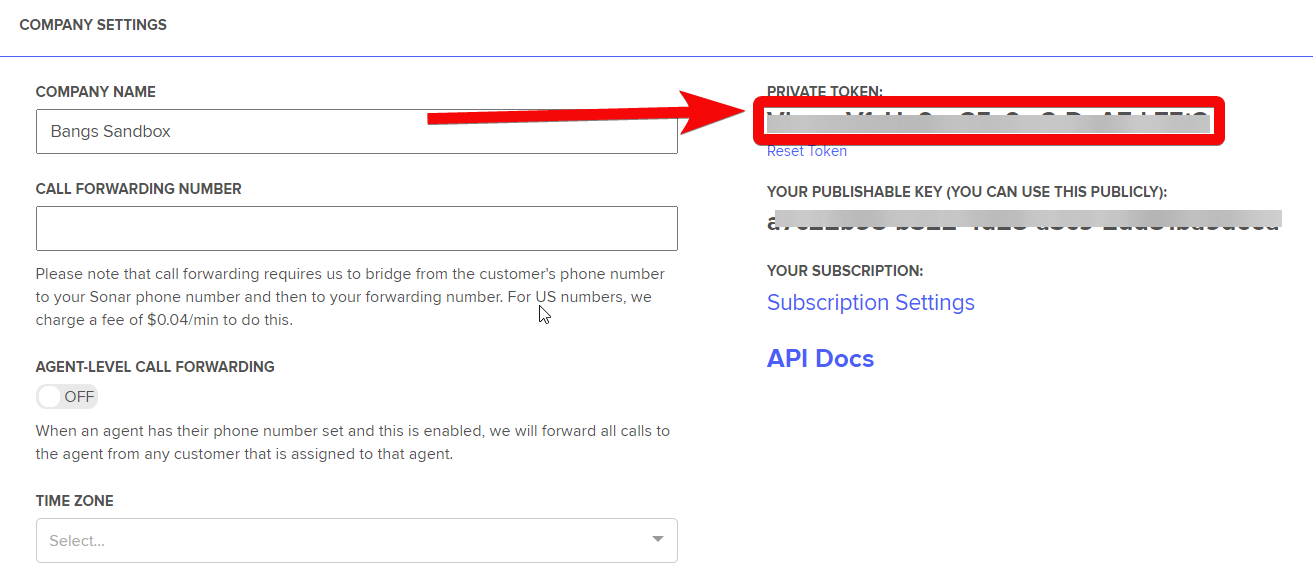
3. Copy the Private Token to your clipboard.
4. Go to Boost.space Integrator and open the Sonar module’s Create a connection dialog.
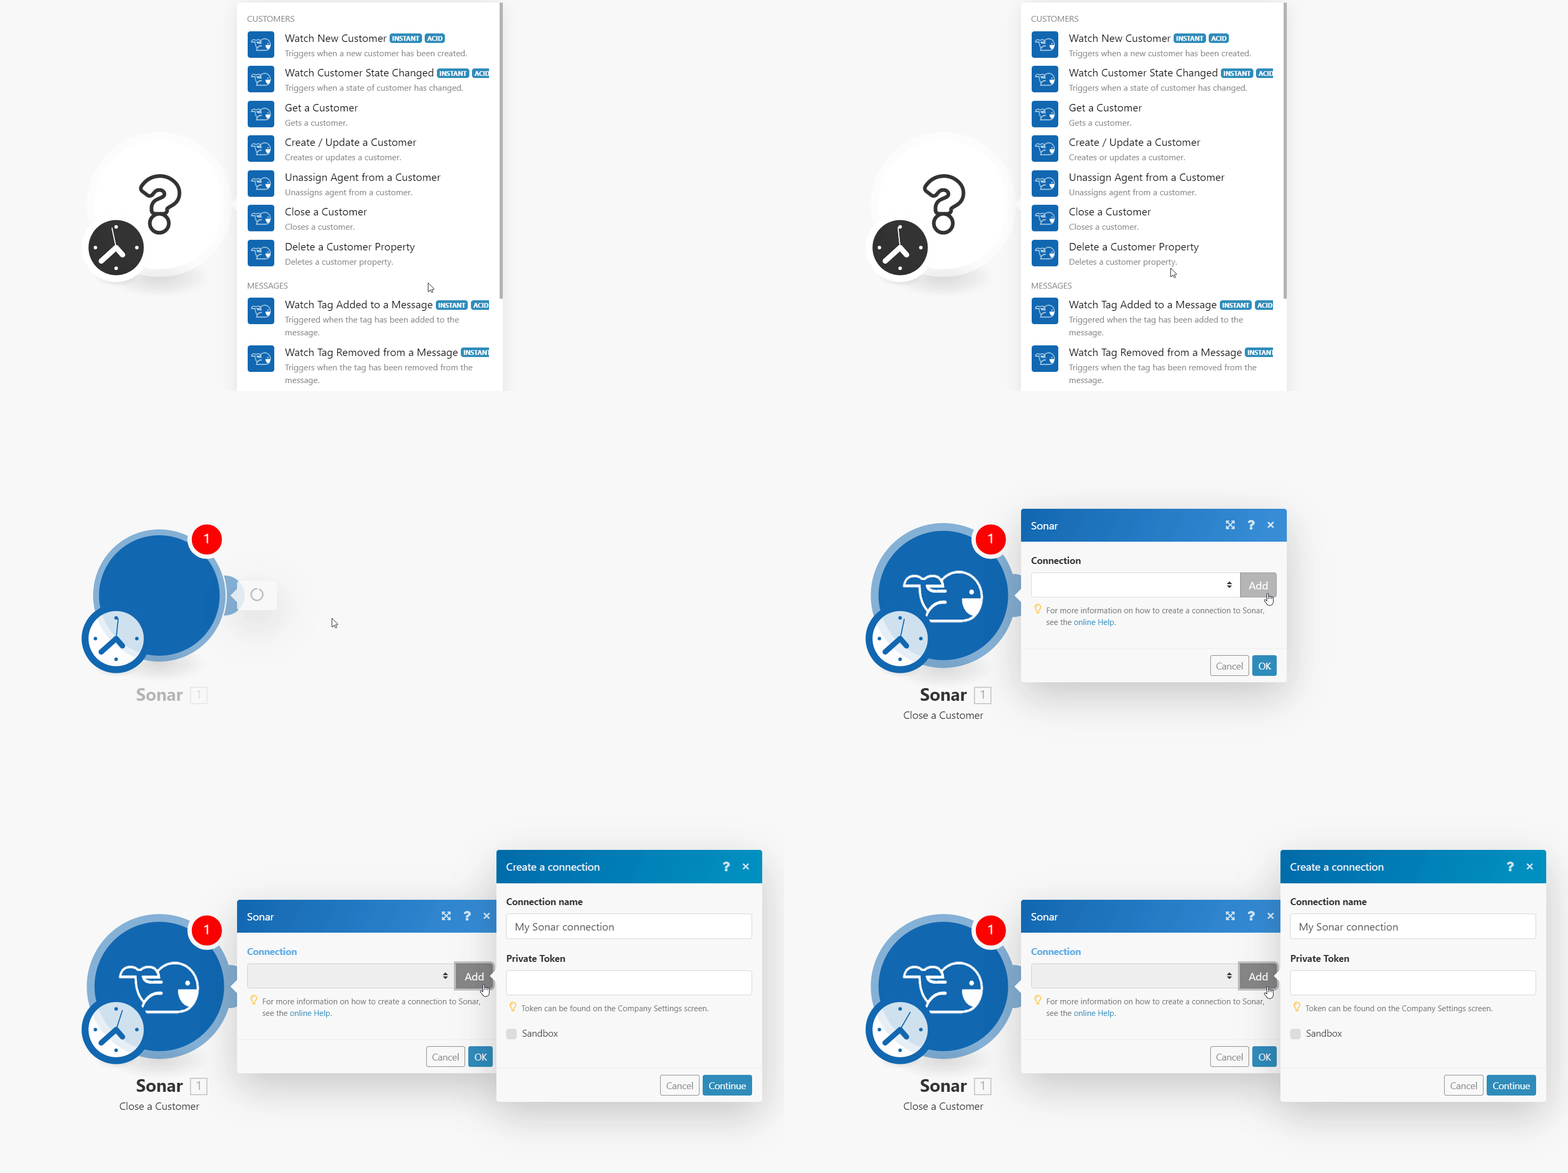
5. In the Connection name field, enter a name for the connection.
6. In the Private Token field, enter the token copied in step 3.
7. (Optional) Select the Sandbox checkbox if you are using a sandbox account, and click Continue.
The connection has been established.
Triggers when a new customer has been created.
![[Note]](https://docs.boost.space/wp-content/themes/bsdocs/docs-parser/HTML/css/image/note.png) |
Note |
|---|---|
|
You do not have to add the webhooks in the Sonar as it is automatically done for you once you add and save an instant trigger module to your scenario. |
|
Webhook Name |
Enter a name for the webhook. |
|
Connection |
Triggers when the state of the customer has changed.
|
Webhook Name |
Enter a name for the webhook. |
|
Connection |
Gets a customer.
|
Connection |
|
|
Phone Number |
Enter (map) the phone number of the customer whose details you want to retrieve. For example, |
Creates/updates a customer.
|
Connection |
|
|
Phone Number |
Enter (map) the phone number of the customer whose property you want to delete. |
|
First Name |
Enter (map) the customer’s first name. |
|
Last Name |
Enter (map) the customer’s last name. |
|
Email Address |
Enter (map) the customer’s email address. |
|
Properties |
Add the properties for the customer: Property Name – Enter (map) the property name. For example, Type – Select or map the data type. For example, Value – Enter (map) the property value. For example, |
|
Picture URL |
Enter (map) the URL address to the customer profile picture. |
|
Subscribed |
Select whether the customer is subscribed to receive the API messages and mass messages. |
|
User Email |
Enter (map) the email address of the user who is assigned to the customer. |
|
ZIP Code |
Enter (map) the customer area ZIP code. For example, |
|
Timezone |
Select or map the customer’s timezone. |
Unassigns an agent from a customer.
|
Connection |
|
|
Phone Number |
Enter (map) the phone number of the customer whose agent you want to unassign from the customer. For example, |
Closes a customer.
|
Connection |
|
|
Phone Number |
Enter (map) the phone number of the customer you want to close. For example, |
Deletes a customer property.
|
Connection |
|
|
Phone Number |
Enter (map) the phone number of the customer whose property you want to delete. For example, |
|
Property Name |
Enter (map) the property name you want to delete. |
![[Note]](https://docs.boost.space/wp-content/themes/bsdocs/docs-parser/HTML/css/image/note.png) |
Note |
|---|---|
|
You do not have to add the webhooks in the Sonar as it is automatically done for you once you add and save an instant trigger module to your scenario. |
Triggers when the tag has been added to the message.
|
Webhook Name |
Enter a name for the webhook. |
|
Connection |
Triggers when the tag has been removed from the message.
|
Webhook Name |
Enter a name for the webhook. |
|
Connection |
Triggers when getting the outbound message.
|
Webhook Name |
Enter a name for the webhook. |
|
Connection |
Triggers when getting the new assigned message.
|
Webhook Name |
Enter a name for the webhook. |
|
Connection |
Triggers when getting the new unassigned message.
|
Webhook Name |
Enter a name for the webhook. |
|
Connection |
Sends a message.
|
Connection |
|
|
Phone Number |
Enter (map) the phone number to which you want to send the message. |
|
Text |
Enter (map) the message text. |
|
Media URL |
Enter (map) the URL address of the image or video you want to attach to the message. |
|
Tag Names |
Add the tags applicable to the message. |
Appends tag to an existing message.
|
Connection |
|
|
External Message ID |
Enter (map) the External Message ID to which you append the tag. You can get this value only from the Webhook payload. |
|
Tag Name |
Select or map the tag you want to append to the message. For example, |
Sends a campaign.
|
Connection |
|
|
Campaign ID |
Enter (map) the Campaign ID you want to send. For example, |
|
To |
Enter (map) the phone number of the customer to whom you want |
|
Send at |
Enter (map) the date and time when you want to send the campaign. See the list of supported date and time formats. |
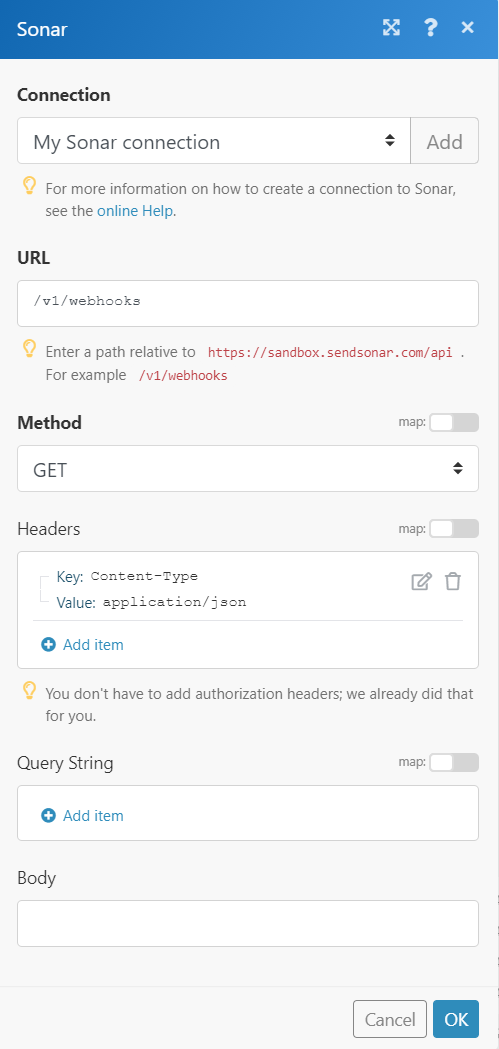
Performs an arbitrary authorized API call.
|
Connection |
||||
|
URL |
Enter a path relative to
|
|||
|
Method |
Select the HTTP method you want to use: GET to retrieve information for an entry. POST to create a new entry. PUT to update/replace an existing entry. PATCH to make a partial entry update. DELETE to delete an entry. |
|||
|
Headers |
Enter the desired request headers. You don’t have to add authorization headers; we already did that for you. |
|||
|
Query String |
Enter the request query string. |
|||
|
Body |
Enter the body content for your API call. |
