| Active with remarks |
|---|
| This application needs additional settings. Please follow the documentation below to create your own connection. |
With Chargebee modules in Boost.space Integrator, you can manage the coupons, customers, invoices, promotional credits, subscriptions, events and transactions in your Chargebee account.
To use the Chargebee modules, you must have the Chargebee account. You can create an account at www.chargebee.com/trial-signup/
Refer to the Chargebee API documentation for a list of available endpoints.
To establish the connection, you must:
To obtain your API key from your Chargebee account:
-
Log in to your Chargebee account.
-
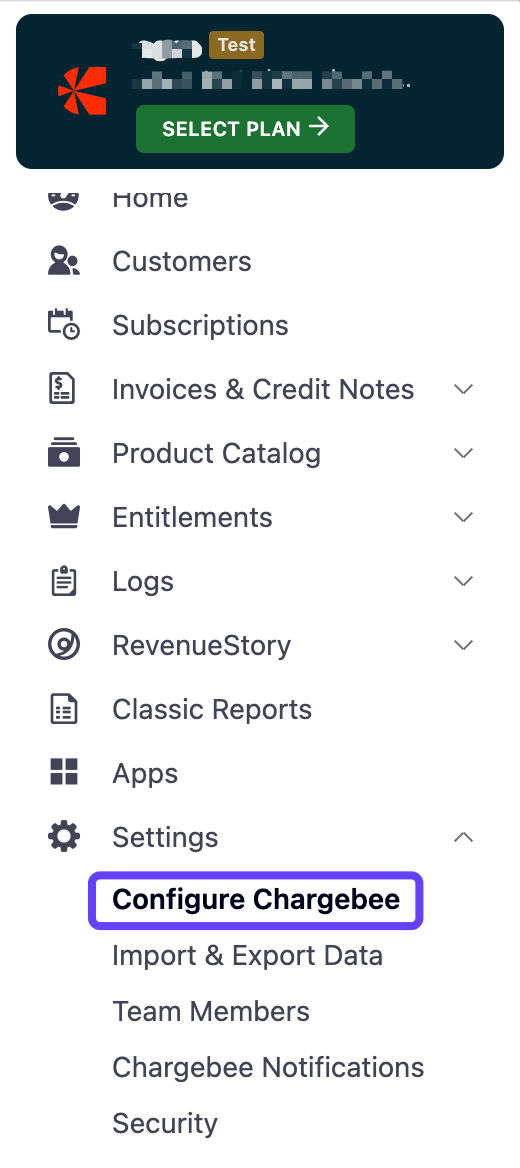
In the left sidebar, click Settings > Configure Chargebee.
-
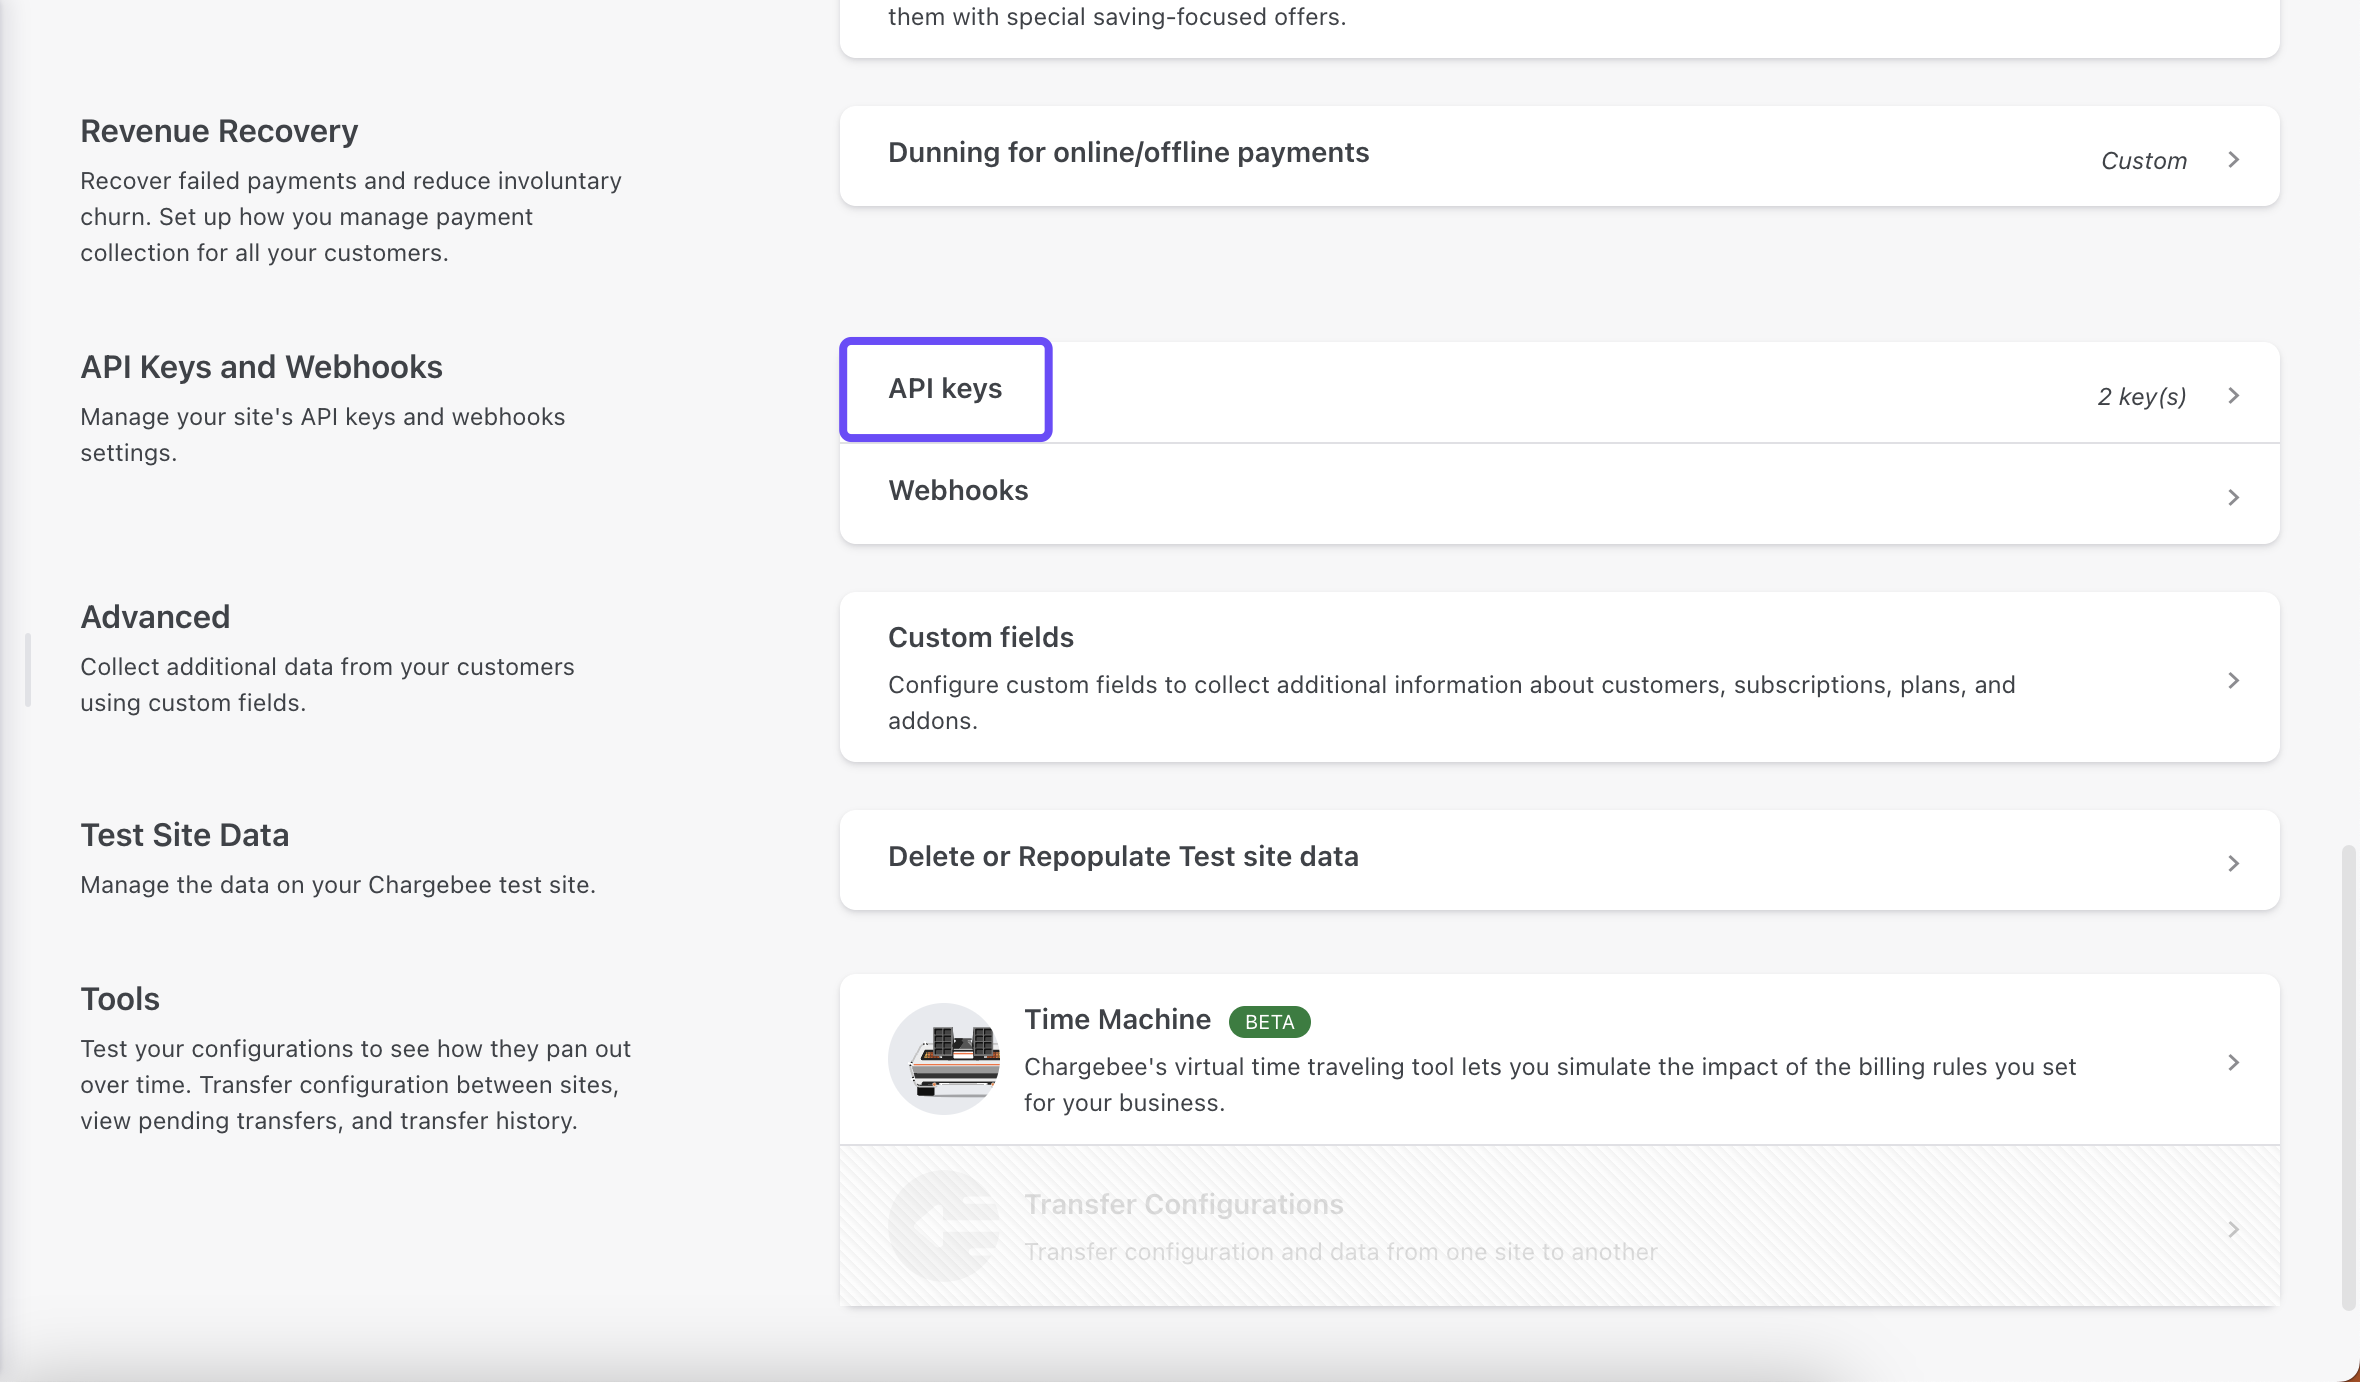
In the API keys and webhooks section, click API keys.
-
Click + Add API Key and select Full-Access Key.
-
In the Name the API Key field, enter the name for the API key.
-
Click Create Key.
-
Copy the API key value shown and store it in a safe place.
You will use this value in the API key field in Boost.space Integrator
To establish the connection in Boost.space Integrator:
-
Log in to your Boost.space Integrator account, add a Chargebee module to your scenario, and click Create a connection.
Note: If you add a module with an instant tag, click Create a webhook, then Create a connection.
-
Optional: In the Connection name field, enter a name for the connection.
-
In the Company username field, enter the company name that you can see the company name in the URL of your Chargebee account.
-
In the API Key field, enter the API key copied in the section above.
-
Click Save.
-
If prompted, authenticate your account and confirm access.
You have successfully established the connection. You can now edit your scenario and add more Chargebee modules. If your connection requires reauthorization at any point, follow the connection renewal steps here.
This app uses webhooks to trigger a scenario when an event occurs instantly. All webhook modules have an instant tag next to their name.
To set up a webhook, follow these steps:
-
Add an Chargebee
instantmodule to your scenario and click Create a webhook. -
Optional: Enter a name for the webhook in the Webhook name field.
-
Select the corresponding connection for the webhook in the Connection field and fill in all required fields.
-
Click Save > Copy address to clipboard.
-
Log in to your Chargebee account.
-
Go to Settings > Configure Chargebee.
-
In the API Keys and Webhooks section, click Webhooks.
-
Click + Add Webhook.
-
In the Webhook Name, enter a name for a webhook.
-
In the Webhook URL, enter a link that you saved in clipboard.
-
In the Events to Send field, select All Events and switch the Set this as primary toggle on.
-
Click Create.
After connecting the app, you can perform the following actions:
Coupons
-
Create a Coupon
-
Find Coupons
-
Retrieve a Coupon
-
Update a Coupon
-
Delete a Coupon
Customers
-
Watch Customers
-
Create a Customer
-
Update a Customer
-
Find Customers
-
Retrieve a Customer
-
Delete a Customer
Invoices
-
Watch Invoices
-
Create an Invoice
-
Update an Invoice
-
Find Invoices
-
Retrieve an Invoice
-
Delete an Invoice
-
Collect Payment for an Invoice
-
Record an Invoice Payment
-
Refund an Invoice
-
Retrieve an Invoice Link
Promotional credits
-
Add a Promotional Credit
-
Find Promotional Credits
-
Set a Promotional Credit
-
Retrieve a Promotional Credit
-
Deduct a Promotional Credit
Subscriptions
-
Watch Subscriptions
-
Create a Subscription for Items
-
Update a Subscription for Items
-
Find Subscriptions
-
Retrieve a Subscription
-
Delete a Subscription
Other
-
Watch Events
-
Retrieve a Transaction
-
Make an API Call


