Synchronizing Data out of Boost.space: A Comprehensive Guide
Boost.spaceA platform that centralizes and synchronizes company data from internal and external sources, offering a suite of modules and addons for project management, CRM, data visualization, and more. Has many features to optimize your workflow! provides a powerful solution for synchronizing data, allowing you to empower all your tools with the same master dataset. In this article, we will walk you through the process of synchronizing data out of Boost.space, enabling seamless integration and data sharing across your various applications. Follow the steps below to set up your synchronization effectively.
Video guide: Sync OUT – using pre-made template
Video guide: Sync OUT – using AI generated template
Setup
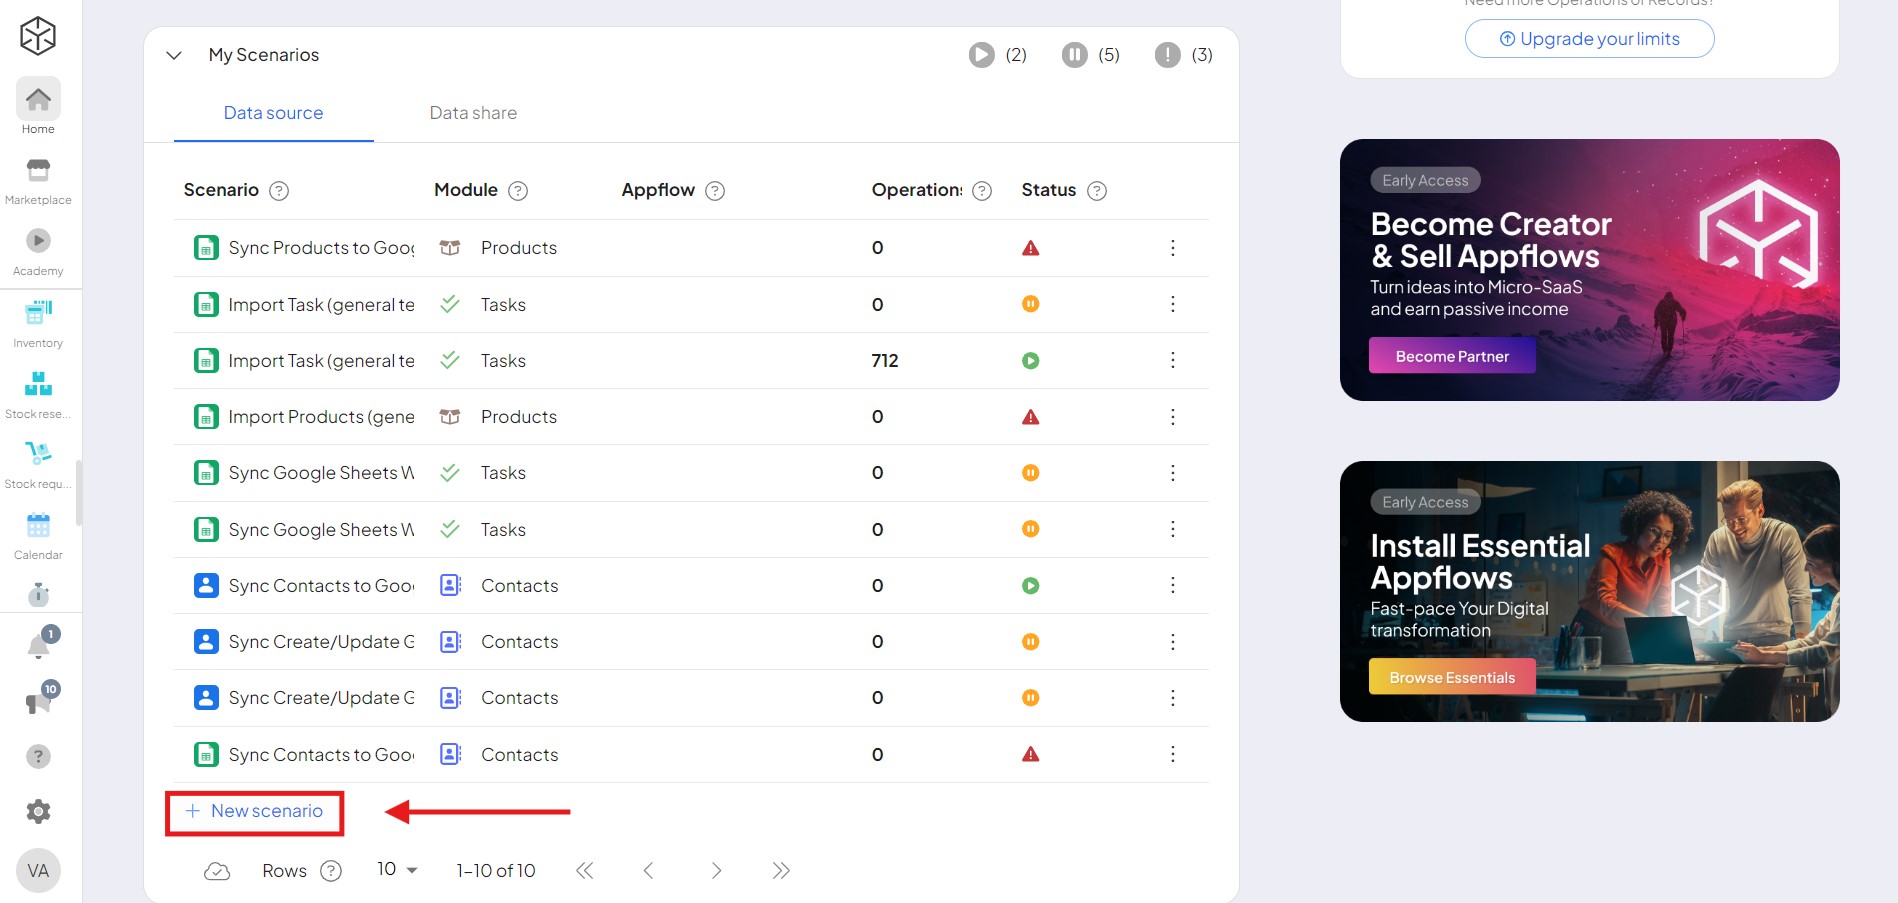
- Begin by clicking on “New scenario” in section My scenariosA specific connection between applications in which data can be transferred. Two types of scenarios: active/inactive.. This will initiate the process of establishing an integration to synchronize data from Boost.space to your desired tool.
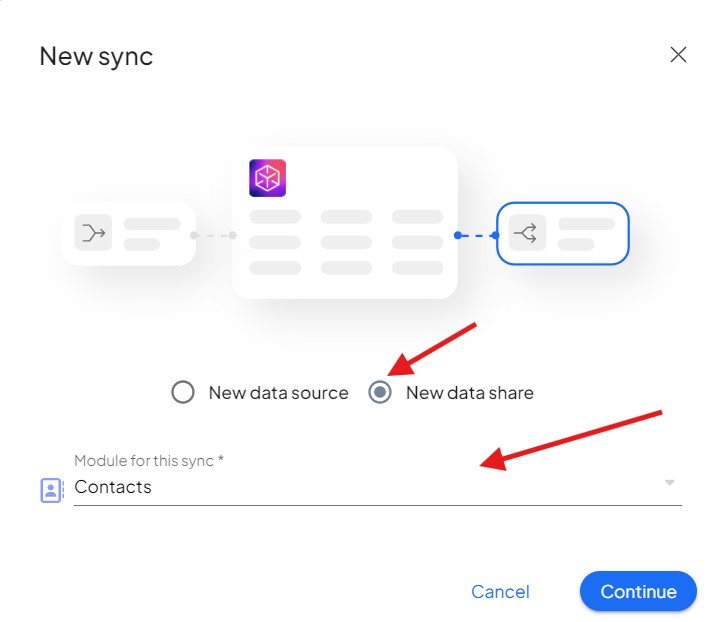
2. Choose new data share and select your modulea module is an application or tool designed to handle specific business functions, such as CRM, project management, or inventory. The system's modular architecture allows you to activate only the modules you need, enabling customization and scalability as your business requirements evolve. for integration.
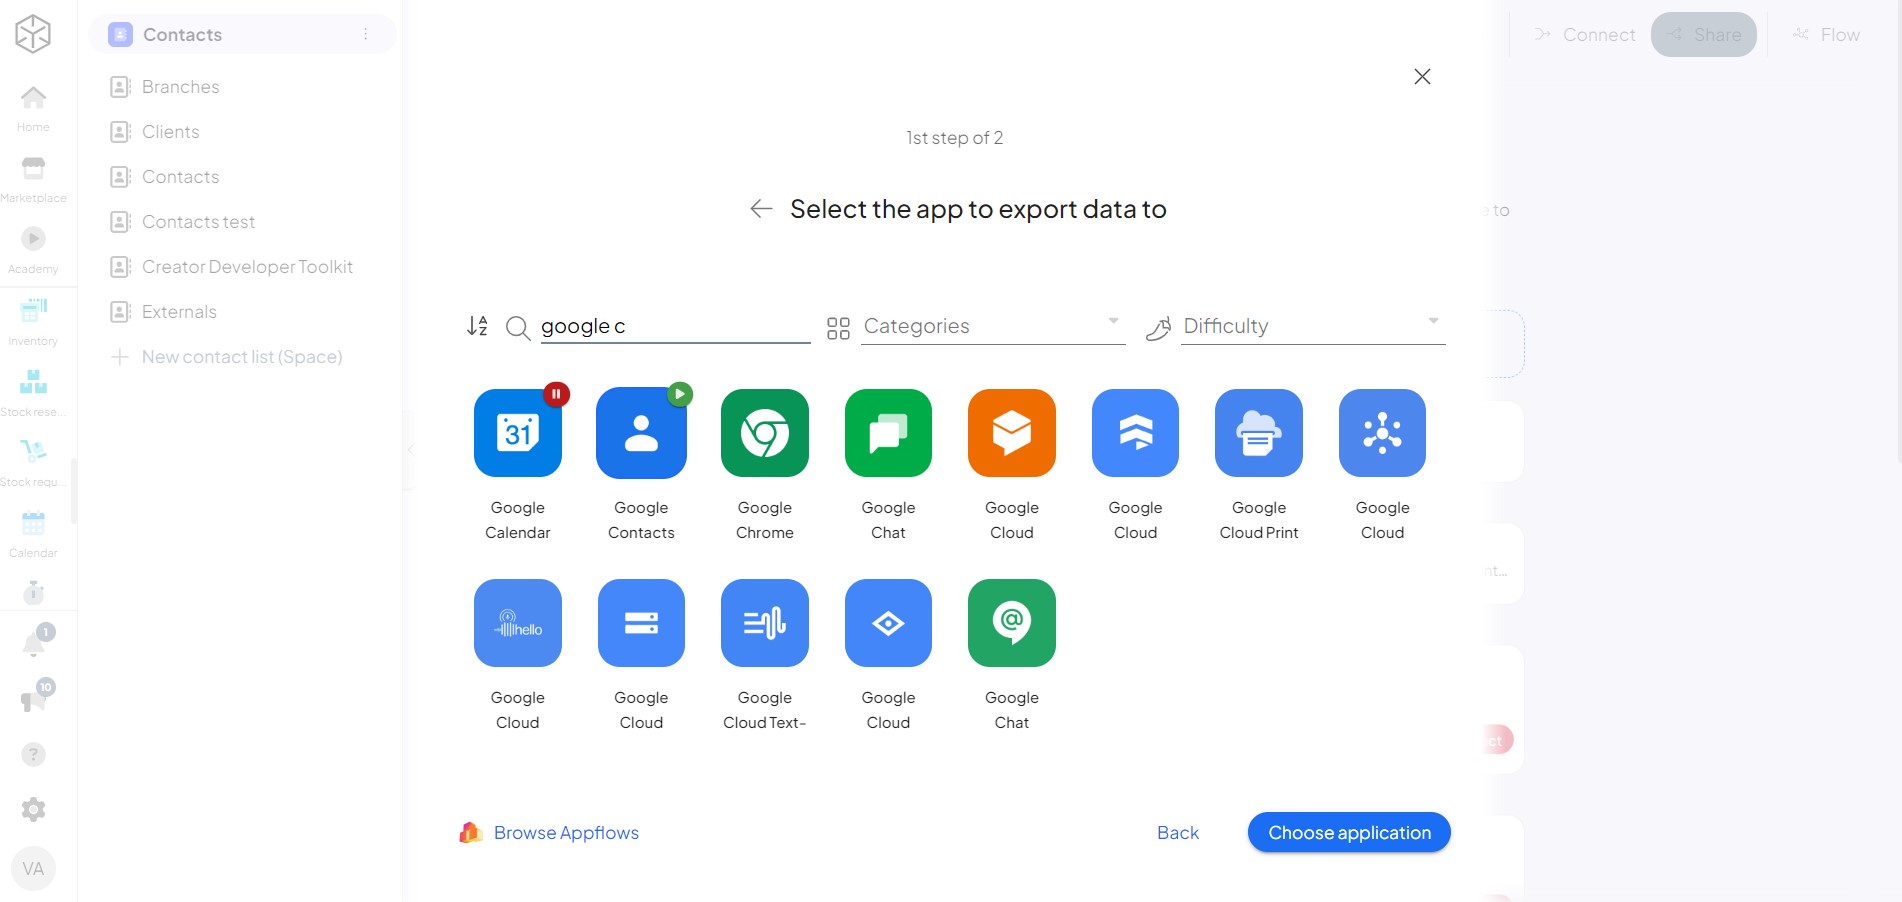
2. Choose the tool you intend to use for data synchronization.
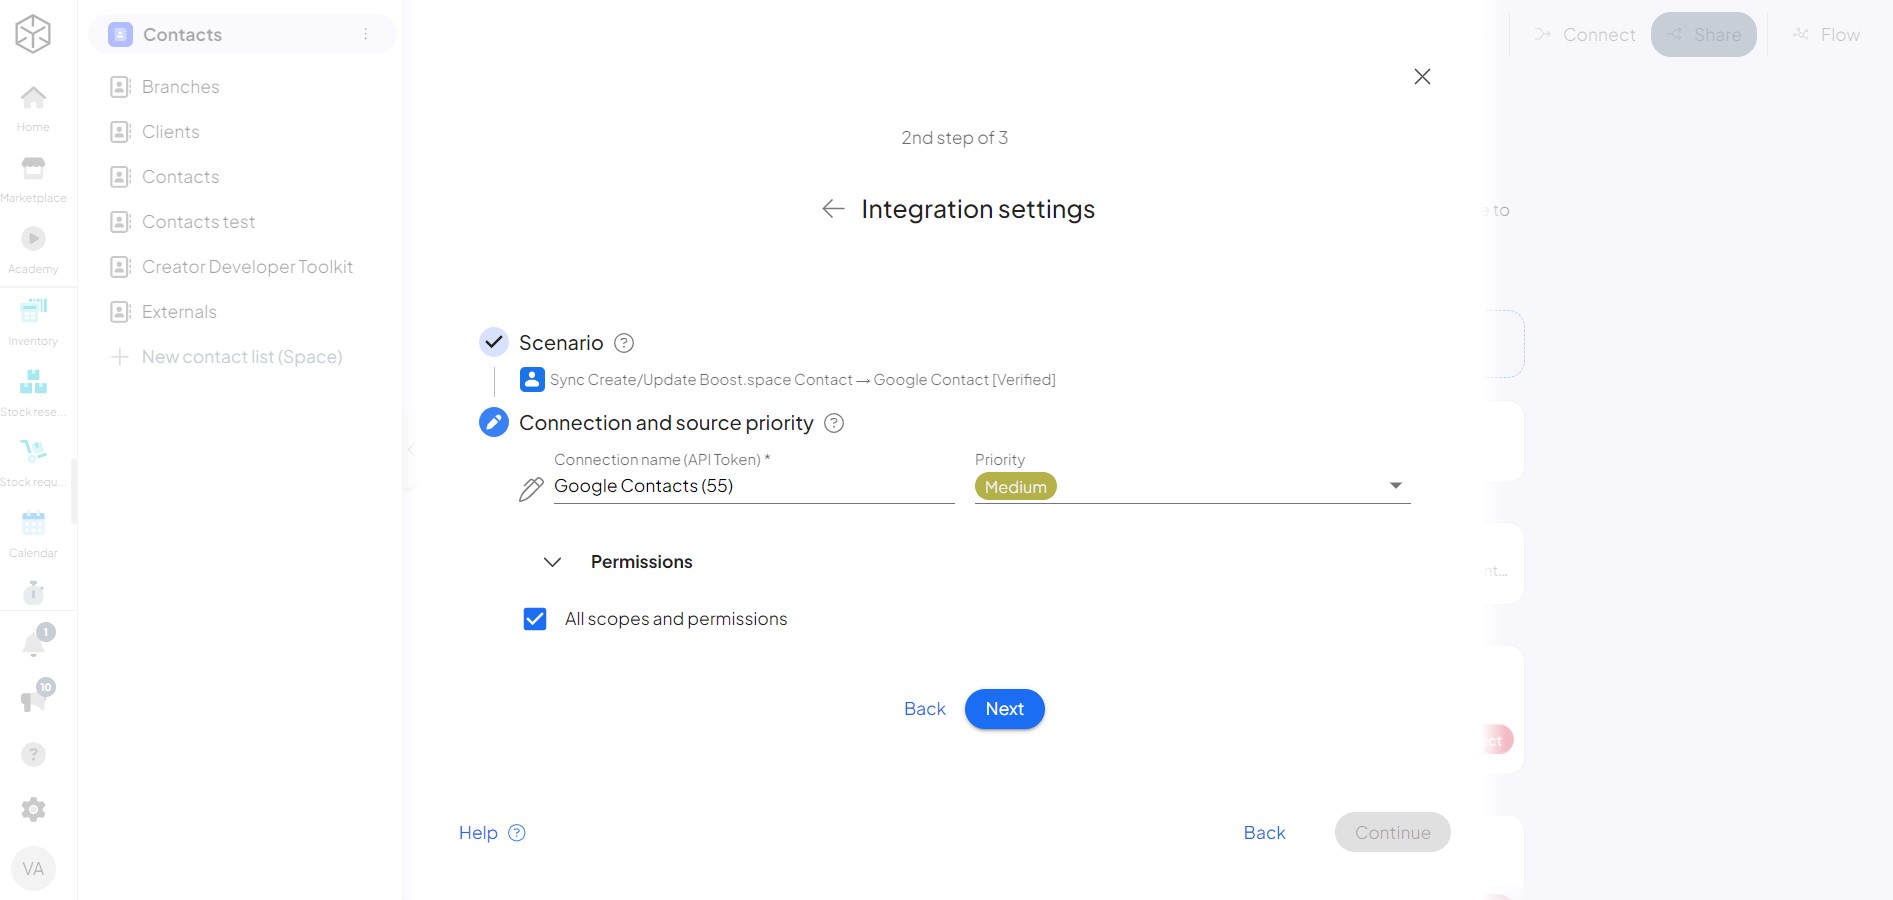
3. Select the second template.

4. Adjust the access rights of your tokenA secure code used to authenticate and authorize access to API endpoints, enabling users to connect with third-party applications. and click “Continue” to proceed.
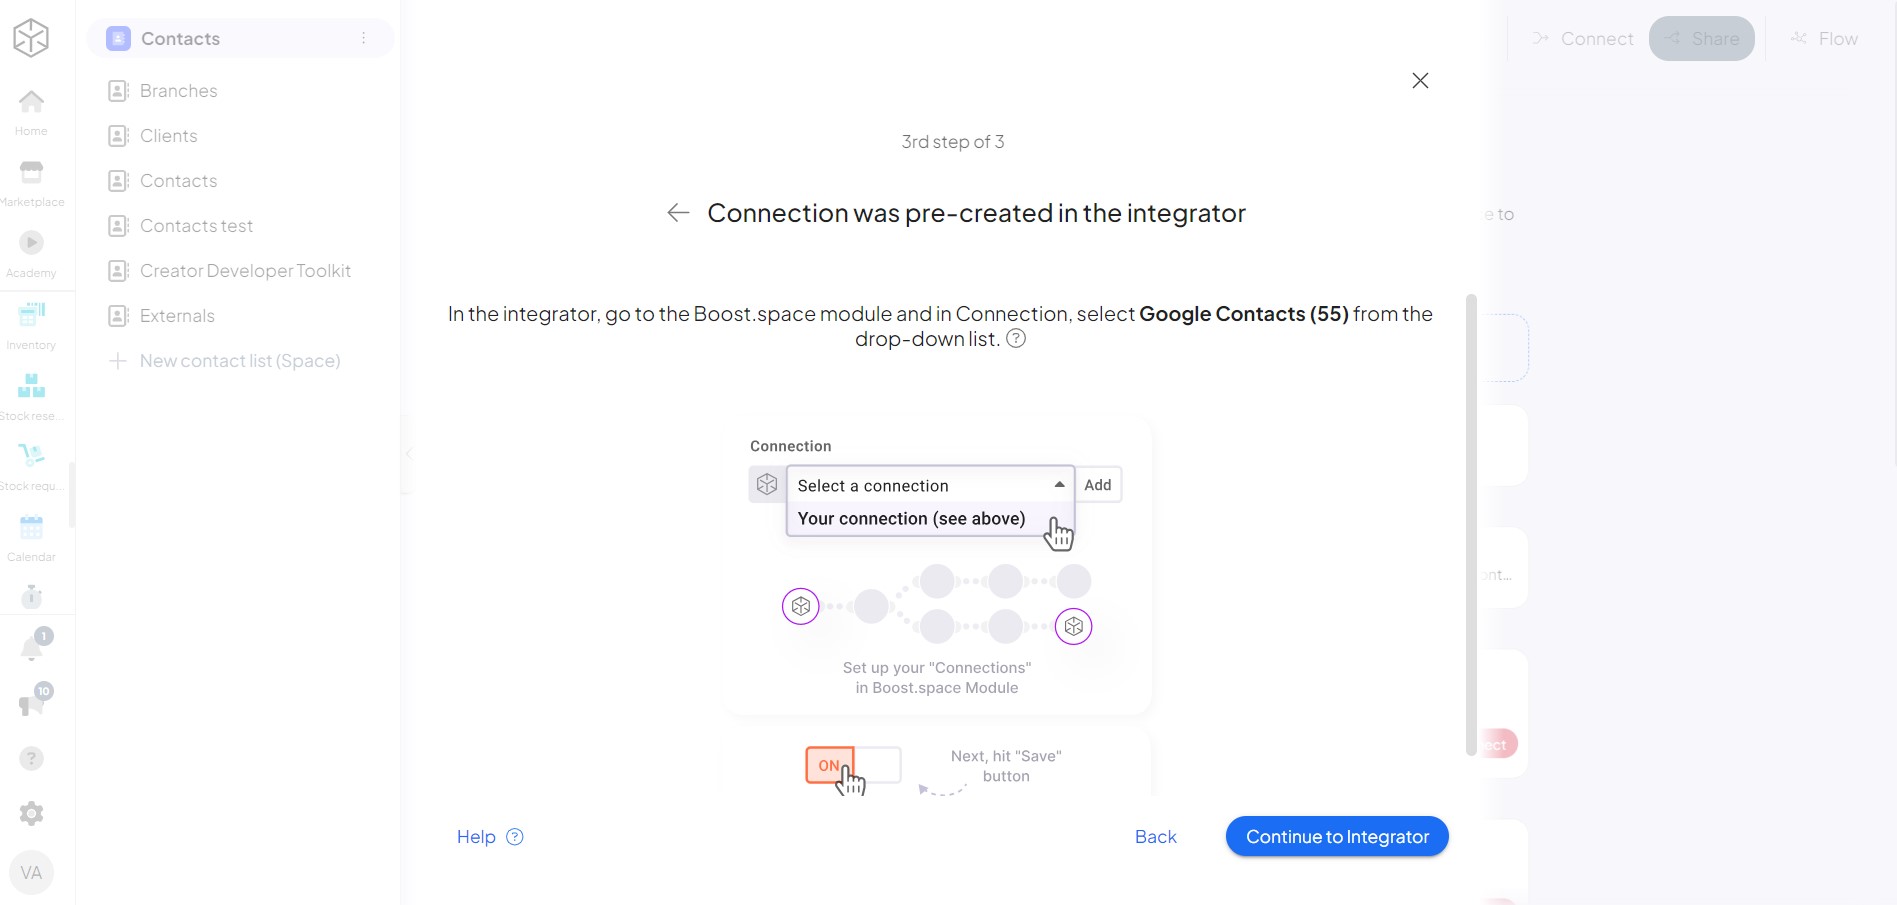
5. Remember the connectionUnique, active service acces point to a network. There are different types of connections (API key, Oauth…). name and proceed to the Boost.space IntegratorPart of the Boost.space system, where you can create your connections and automate your processes..
Setting up the Scenario in Boost.space Integrator
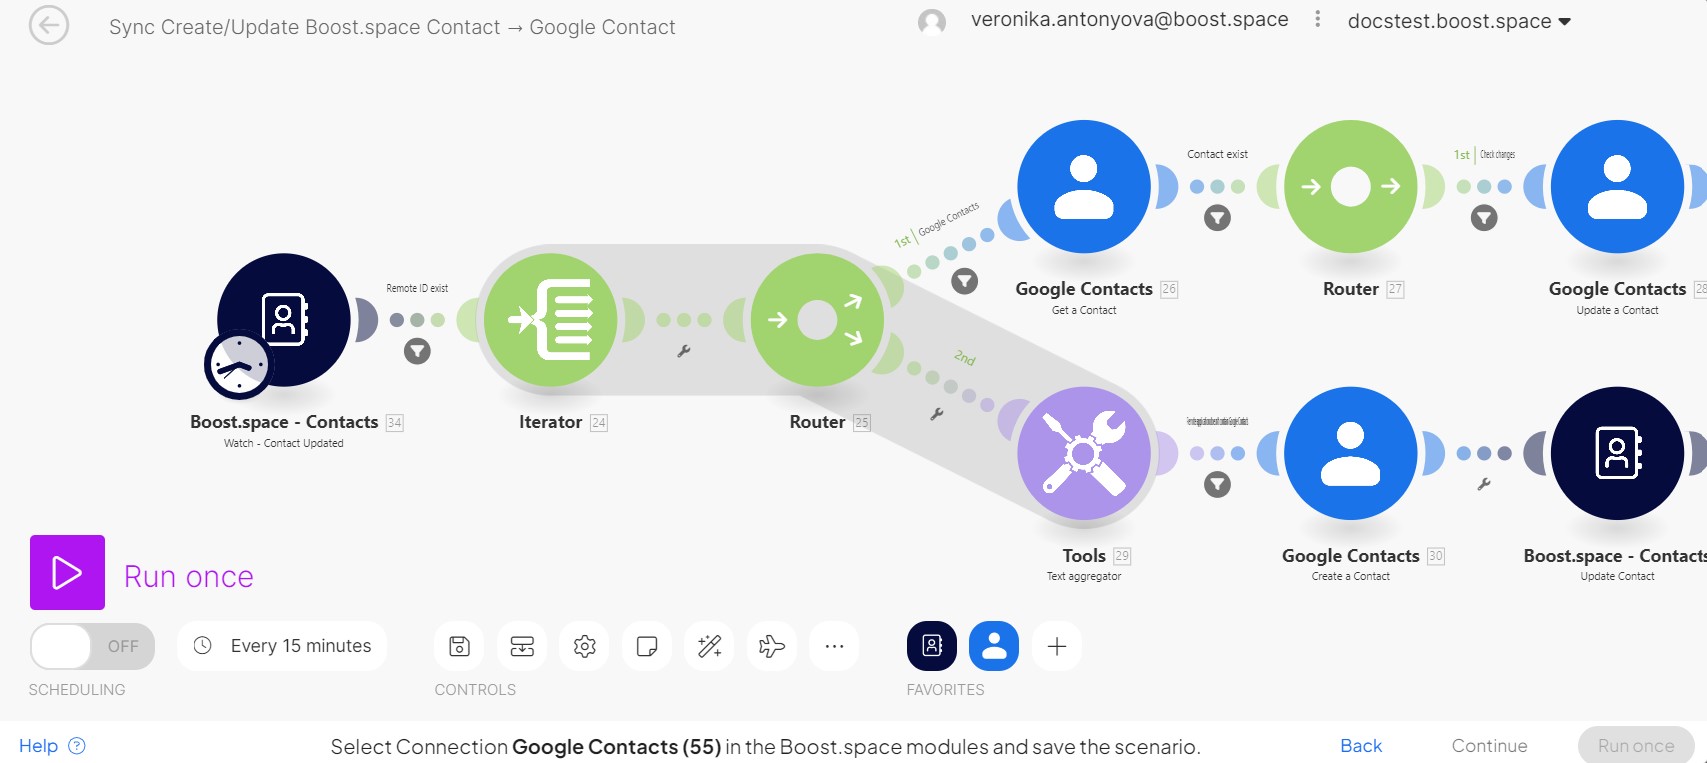
6.Now you can see your scenarioA specific connection between applications in which data can be transferred. Two types of scenarios: active/inactive. is prepared, now we need to map it.
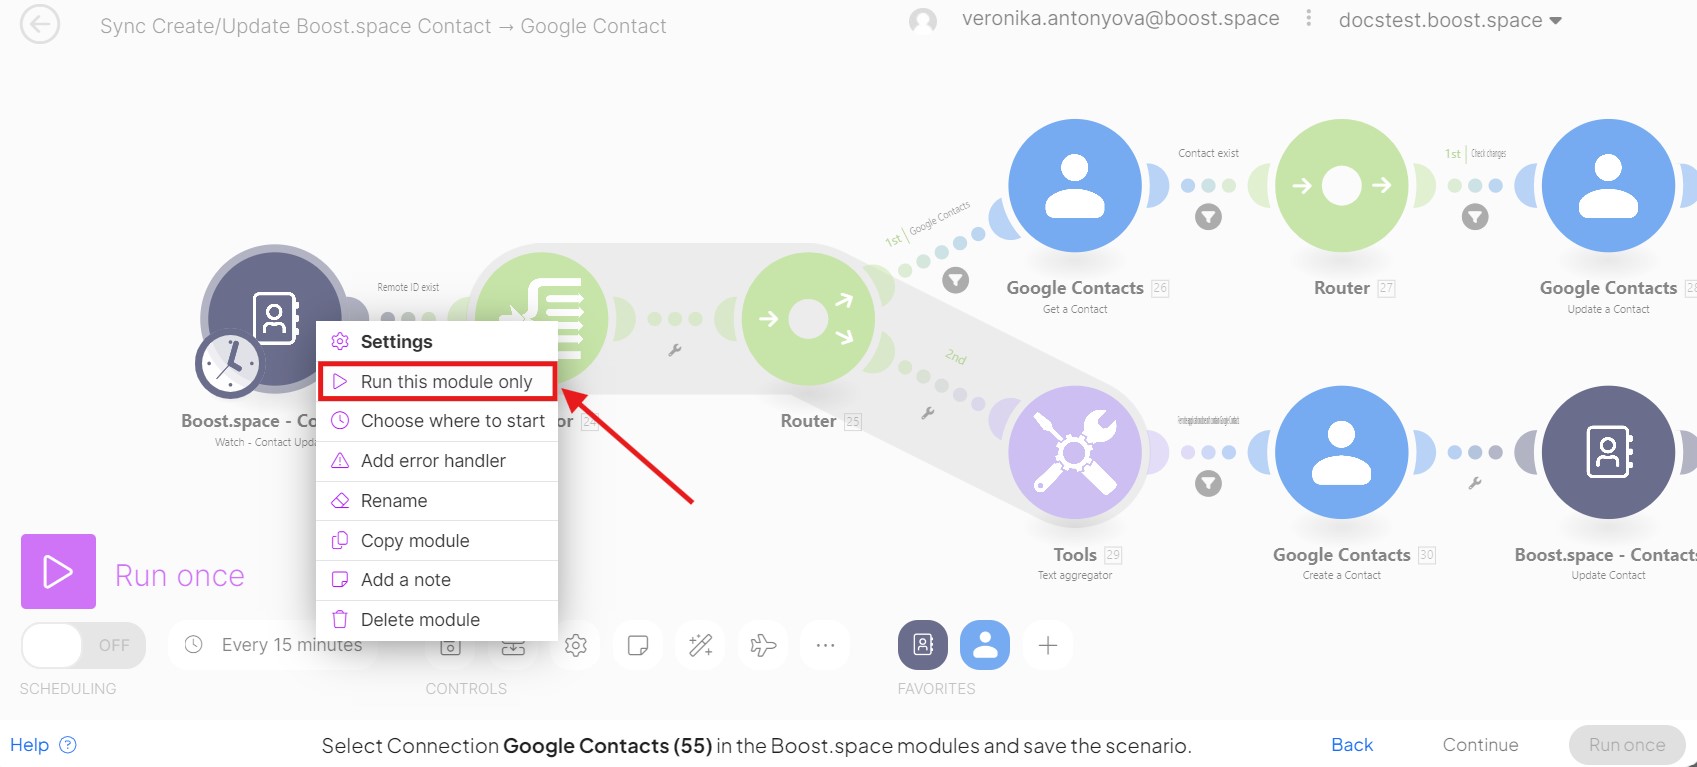
7. The first task is to right-click on the first module and run the module only.
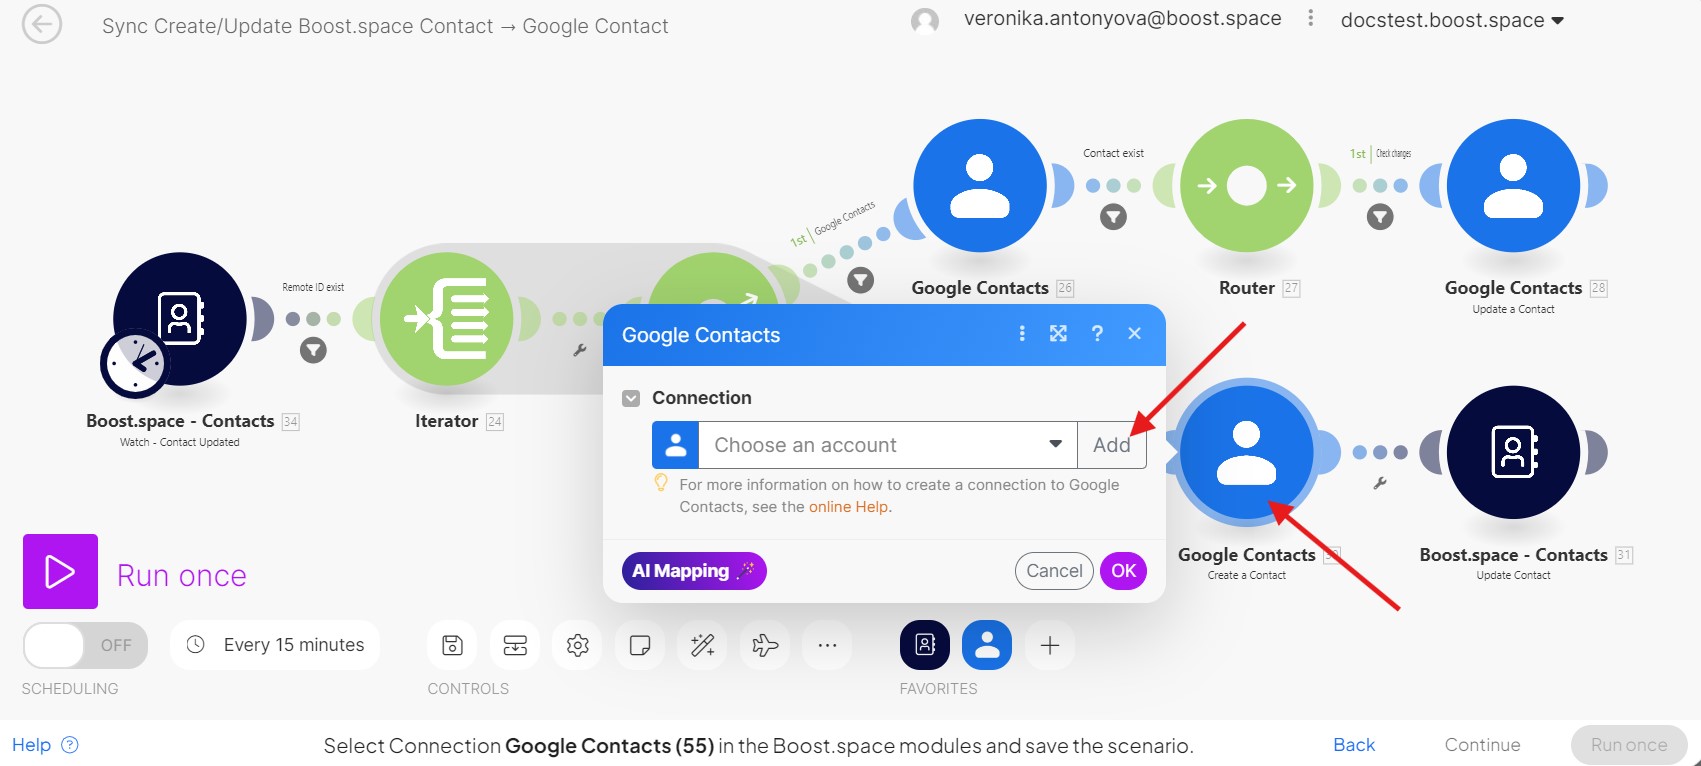
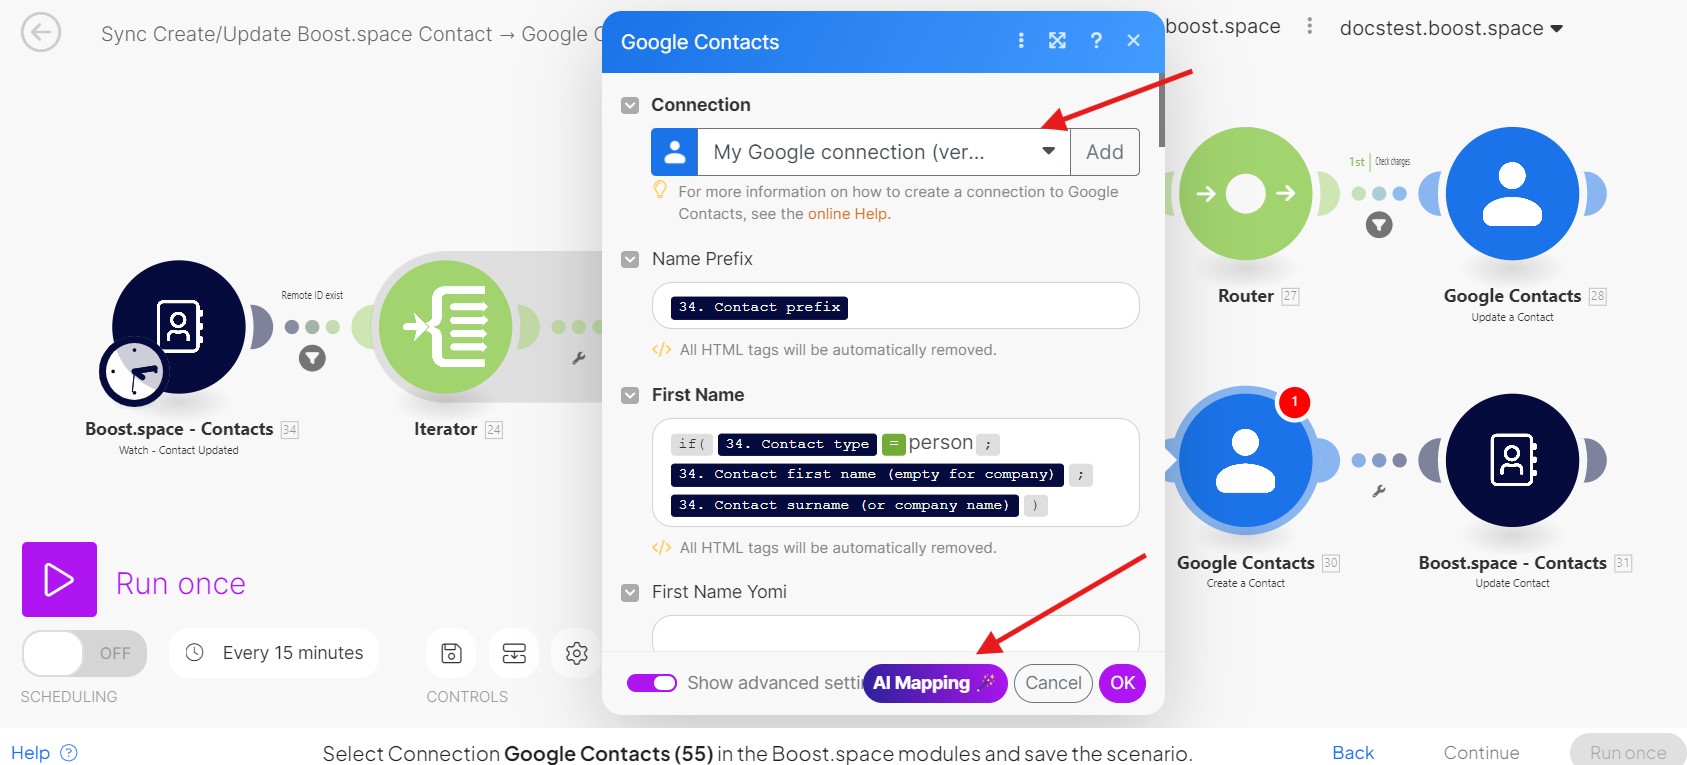
8. Now, lets map the first Google Contacs Module. Add your account to this module and proceed.
9. When you add your connection, use AI mappingIn Boost.space, AI Mapping is a feature that automatically analyzes incoming data from external tools and maps it to the correct custom fields in a table. Instead of manual field mapping, the system recognizes the data structure and assigns values to the appropriate columns, suggesting new fields if needed. to map the fields – after that, double check it. Click OK.
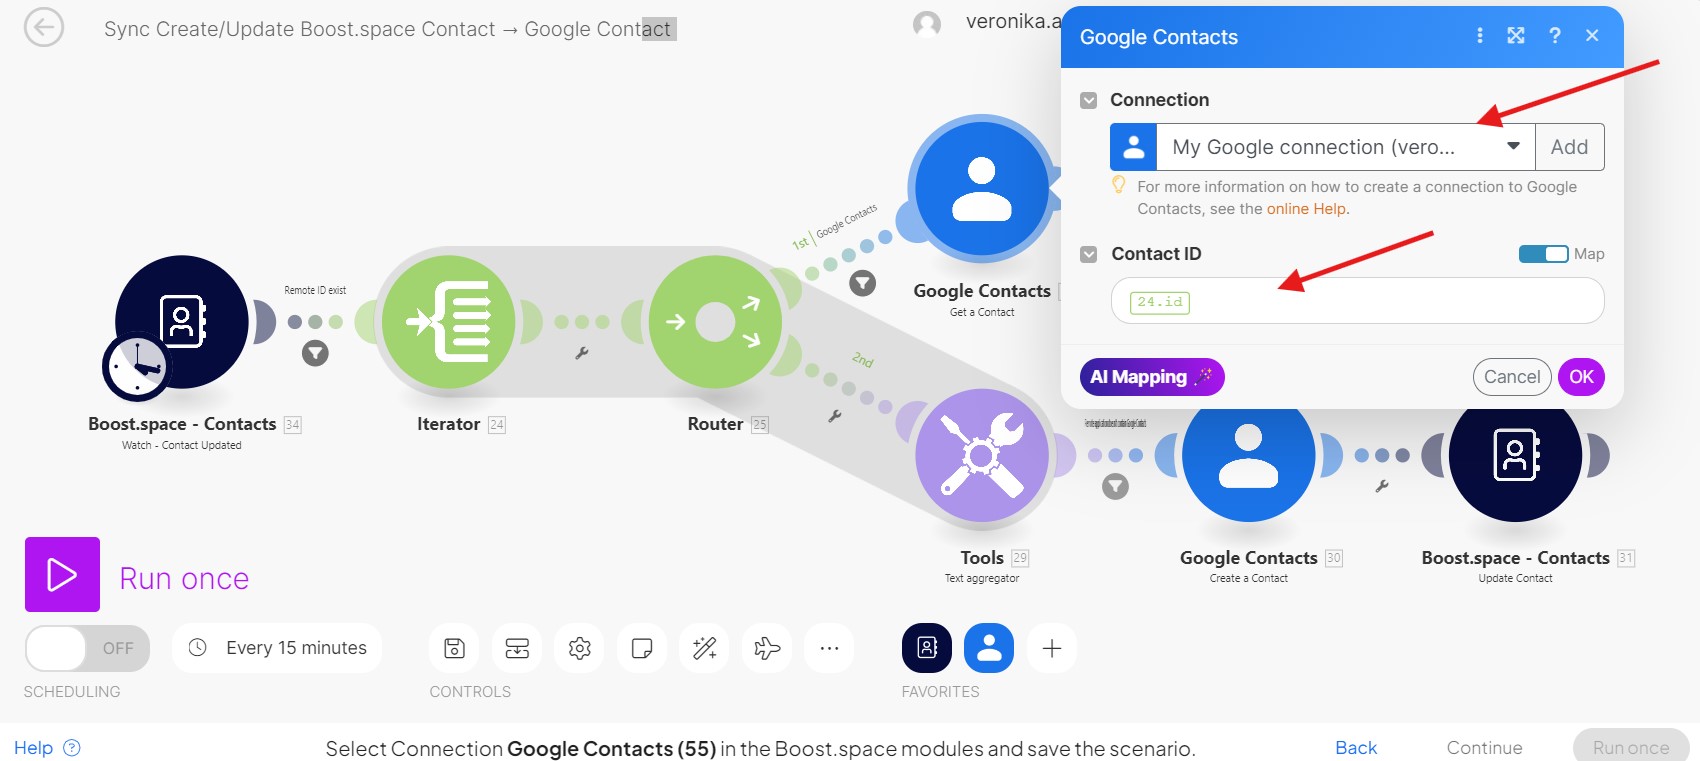
10. Lets map the second Google Contacst module. Again add/choose your connection. The Contact ID should be prefilled automatically. Click OK.

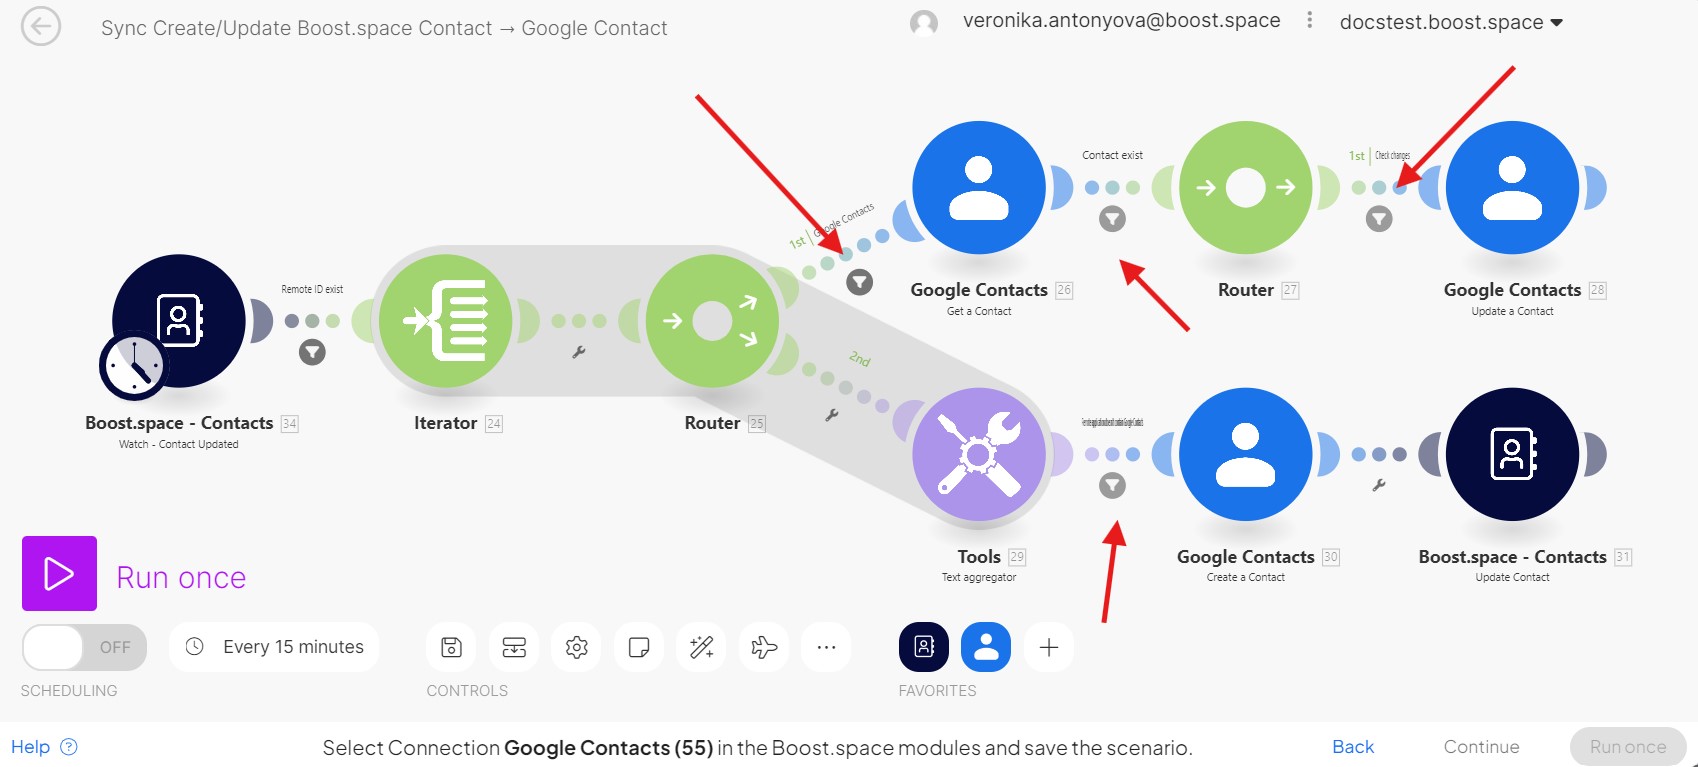
11. Now we can map the third Google Contacs Module. Everything should be prepared, so just check it and then click OK.
7. Filters are typically mapped automatically; however, you can review them manually to ensure accuracy.
8. Now, go back to the fist module. Now, choose where to start – and this time we will go with “All”. Click OK.
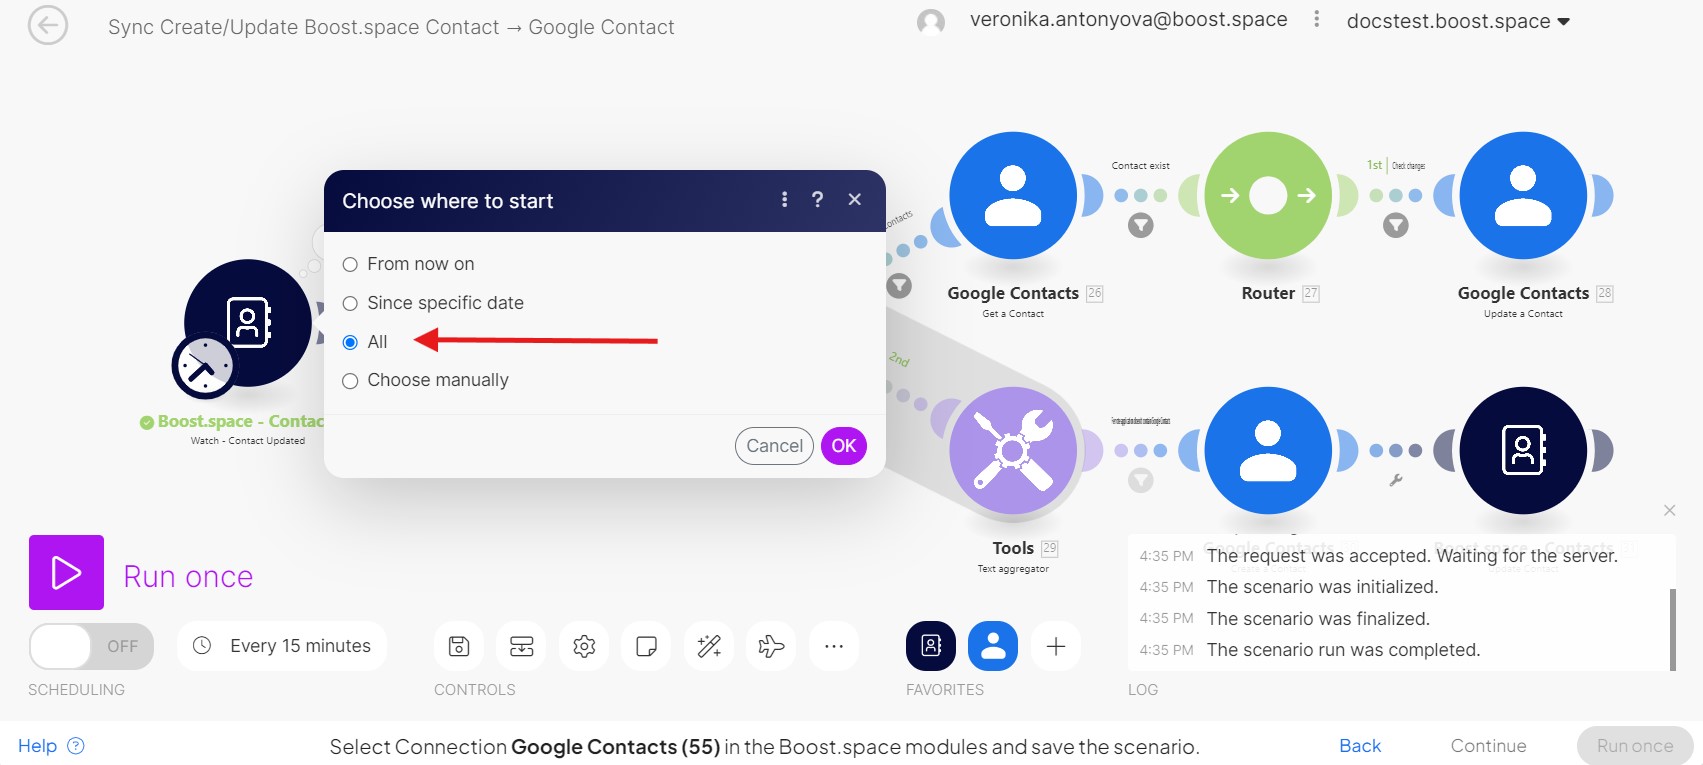
9. Now you can save the scenario, set up the schedulingBoost.space Integrator allows you to define when and how often an active scenario runs. Use the Schedule setting panel under the Options tab and choose Scheduling to set your preferred schedule. and then click on “run once”.
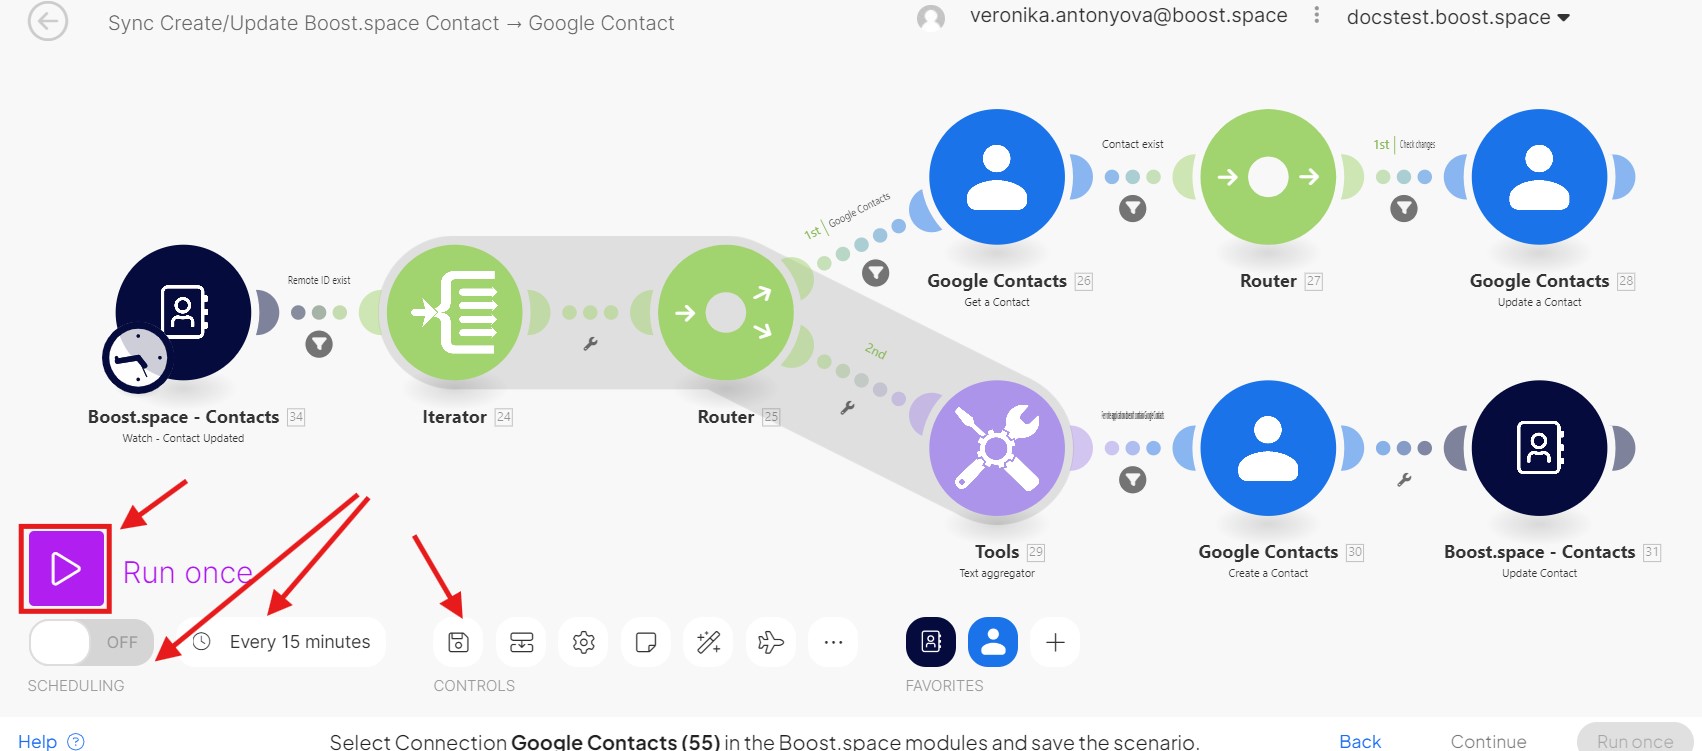
10. Your scenario was created! Congratulations!