- Creating a scenario
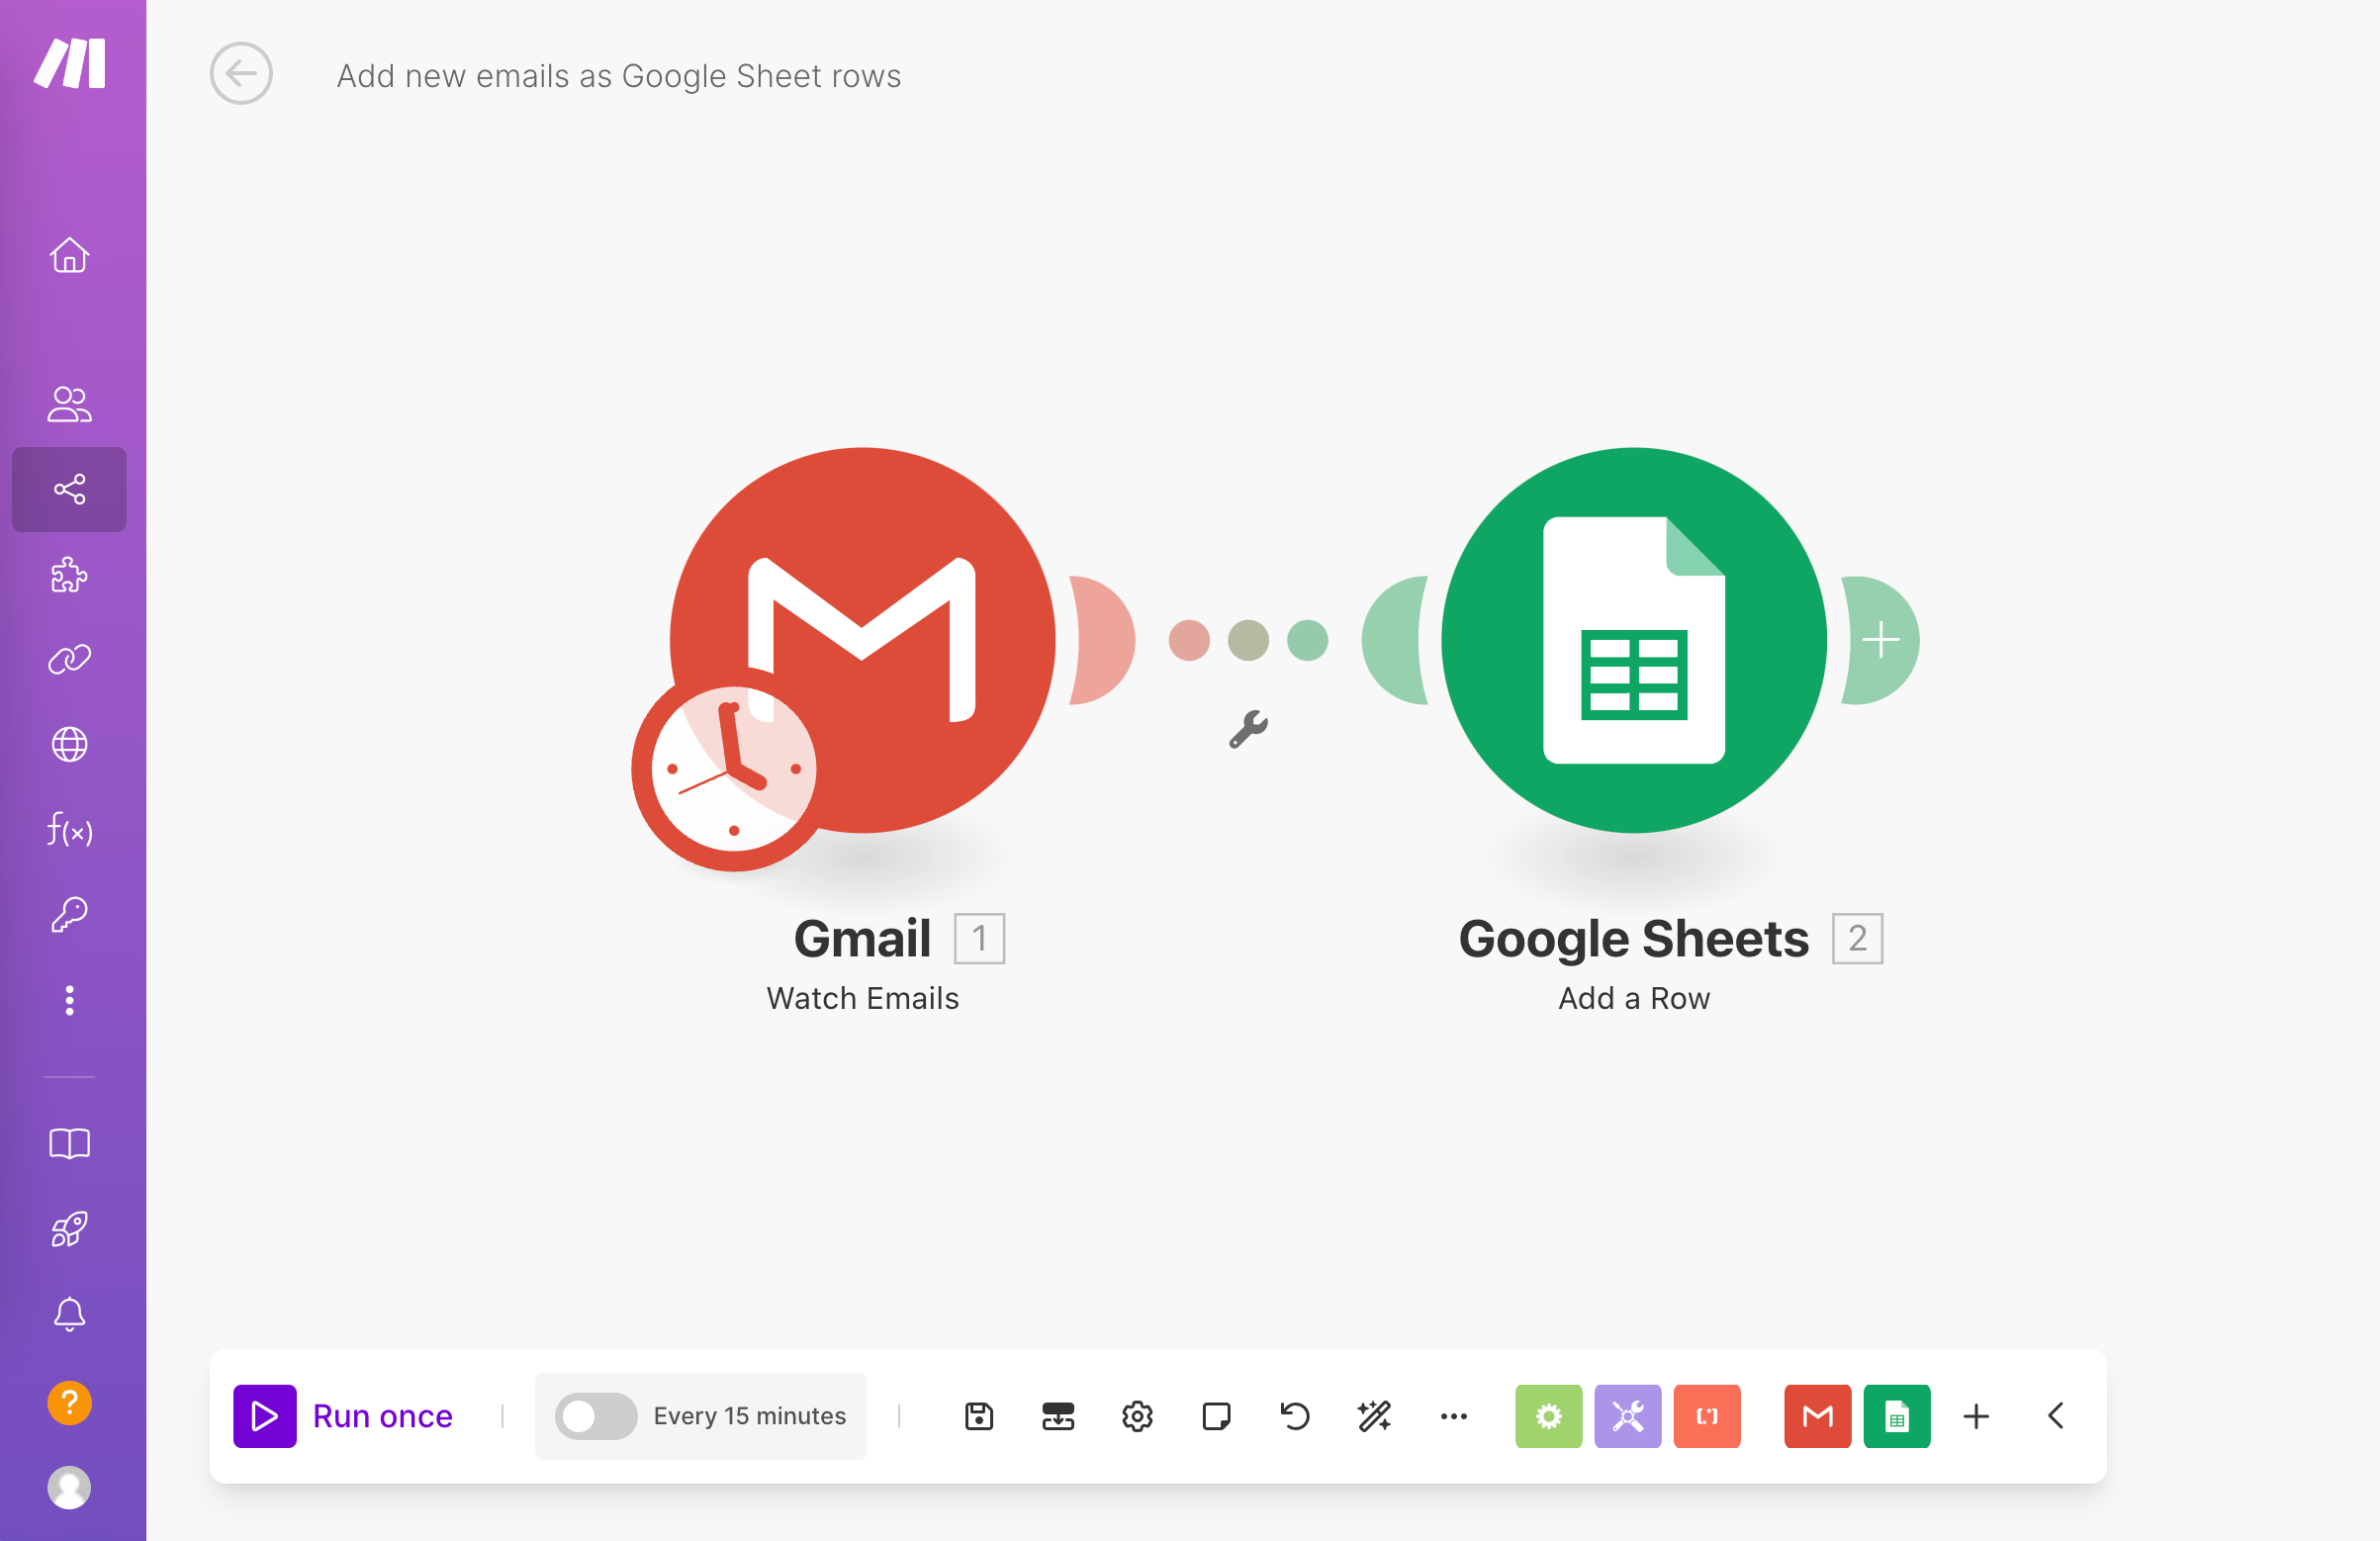
- Example: Add new incoming emails to a Google Sheet as a new row
- Step 1: Choose your apps
- Step 2: Build your scenario
- Step 3: Test your scenario
- Step 4: Schedule and activate your scenario
- Important terms
- Scenario activation
- Scenario schedule
- Scenario name
- Selecting the first bundle
- Number of returned bundles
- Advanced scenario settings
- Scenario blueprint
Creating a scenarioA specific connection between applications in which data can be transferred. Two types of scenarios: active/inactive.
In order for Boost.spaceA platform that centralizes and synchronizes company data from internal and external sources, offering a suite of modules and addons for project management, CRM, data visualization, and more. Has many features to optimize your workflow! IntegratorPart of the Boost.space system, where you can create your connections and automate your processes. to automate your tasks for you, you have to create a scenario. A scenario comprises of a series of modules that indicate how data should be transferred and transformed between apps/services.
There are 4 steps to creating a scenario:
To exemplify how to create a scenario, we will go through the process step-by-step. In our example scenario, we are adding new incoming emails to a Google Sheets spreadsheet as a new row.
![[Note]](https://docs.boost.space/wp-content/themes/bsdocs/docs-parser/HTML/css/image/note.png) |
Note |
|---|---|
| Before you begin creating any scenario, ensure you are signed in to your Boost.space Integrator account. |
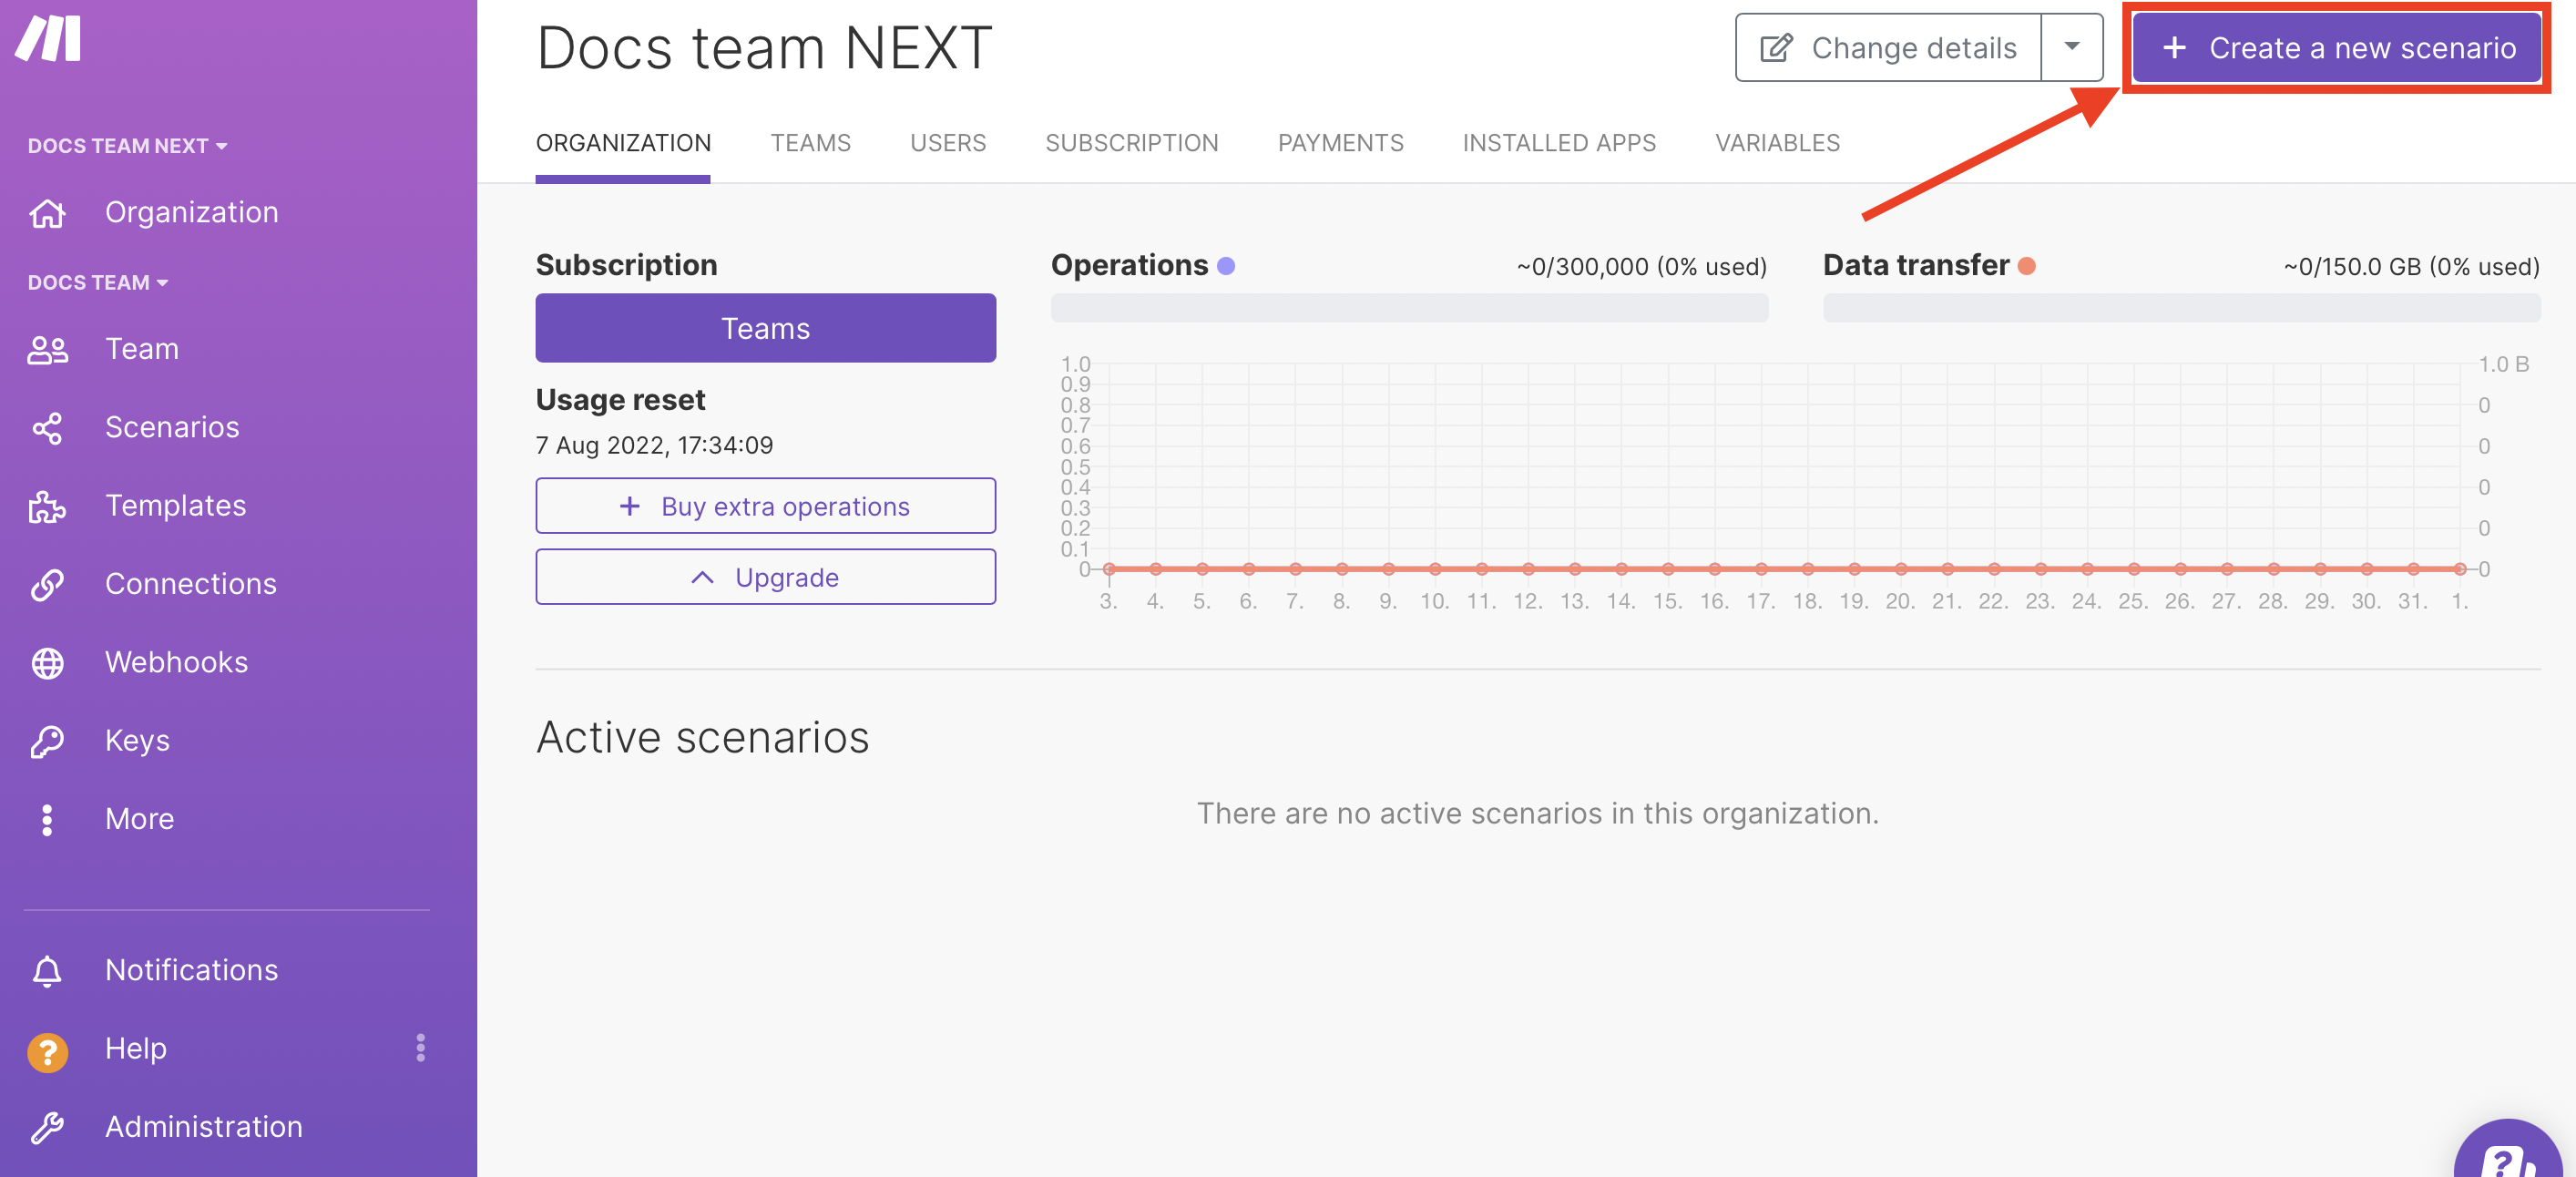
- Go to your organization dashboard and click Create a new scenario.
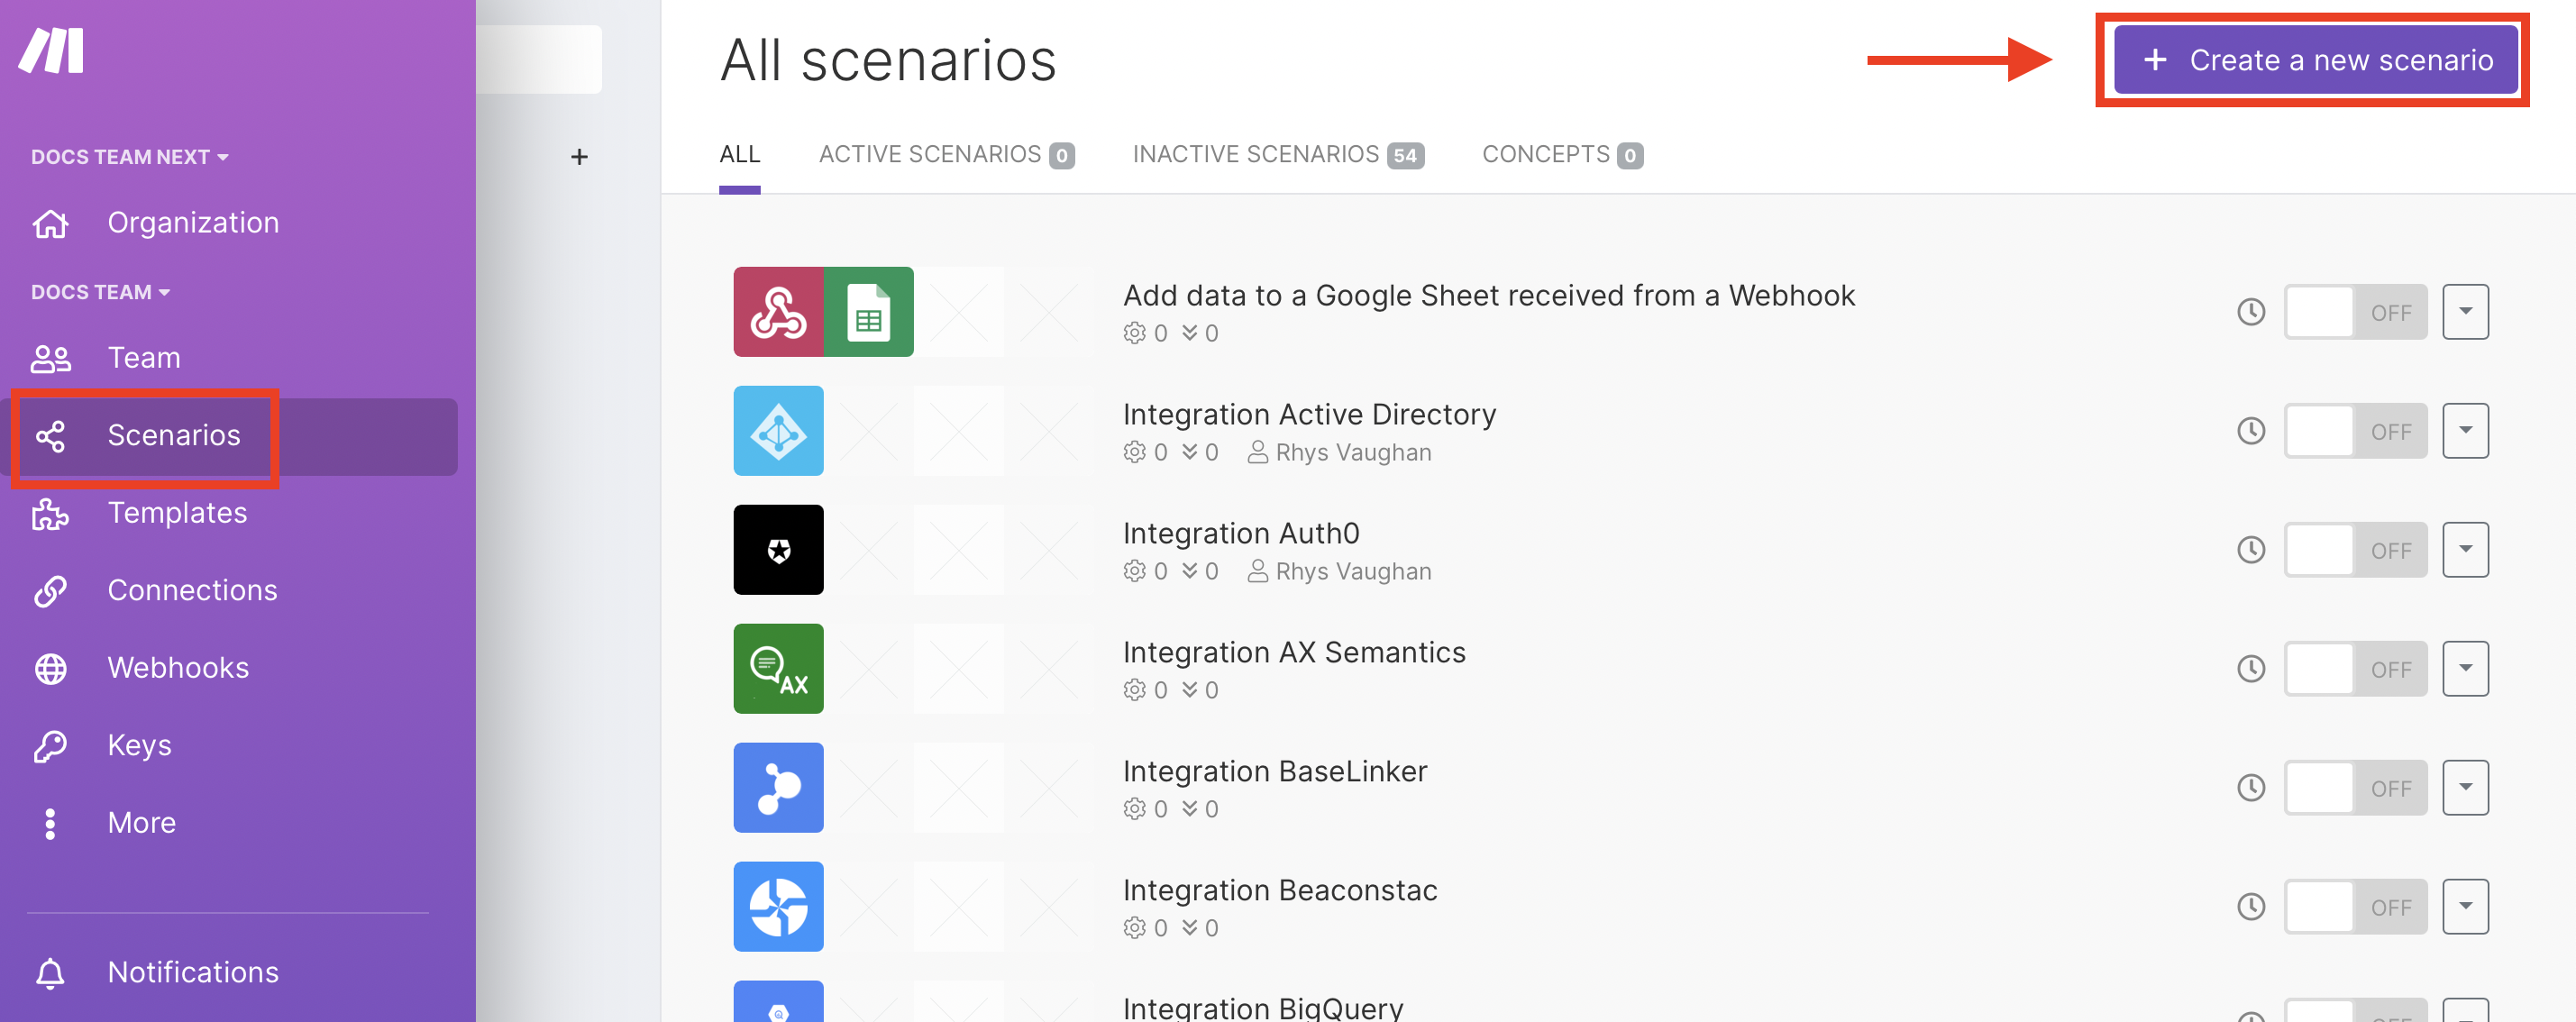
You can also go to ScenariosA specific connection between applications in which data can be transferred. Two types of scenarios: active/inactive. > Create a new scenario .
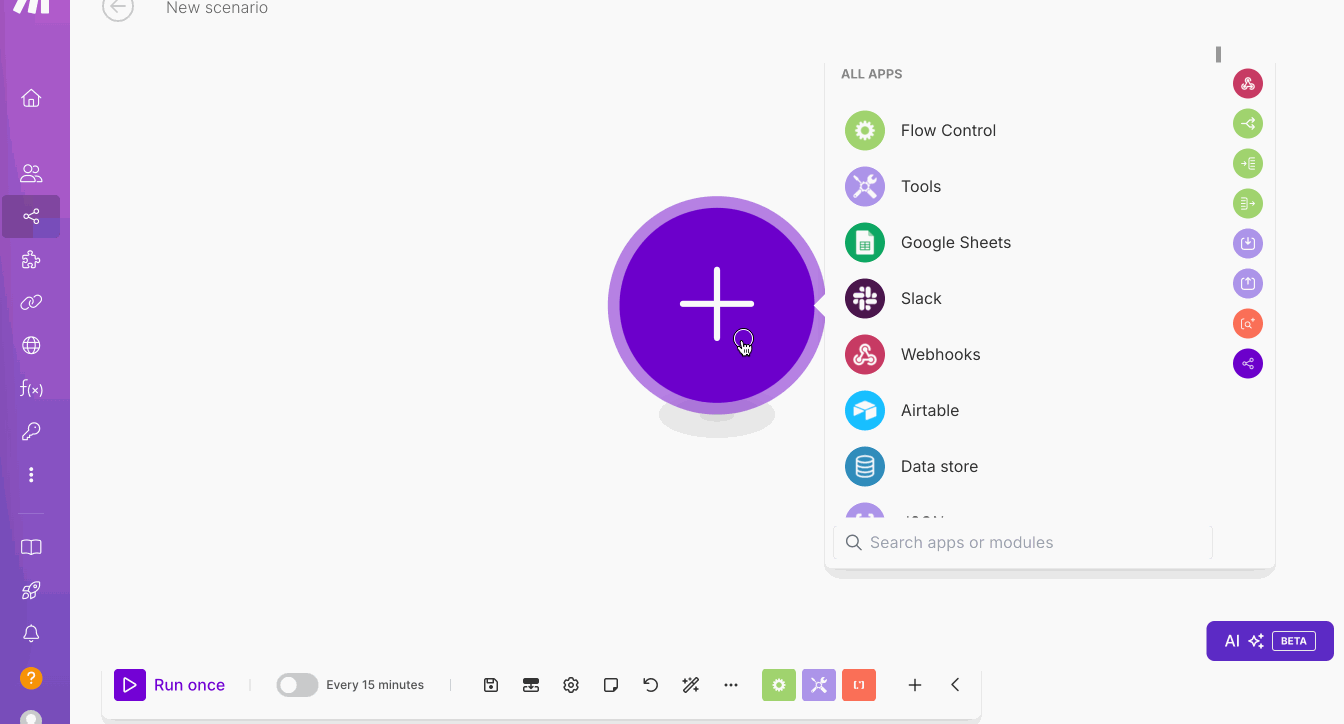
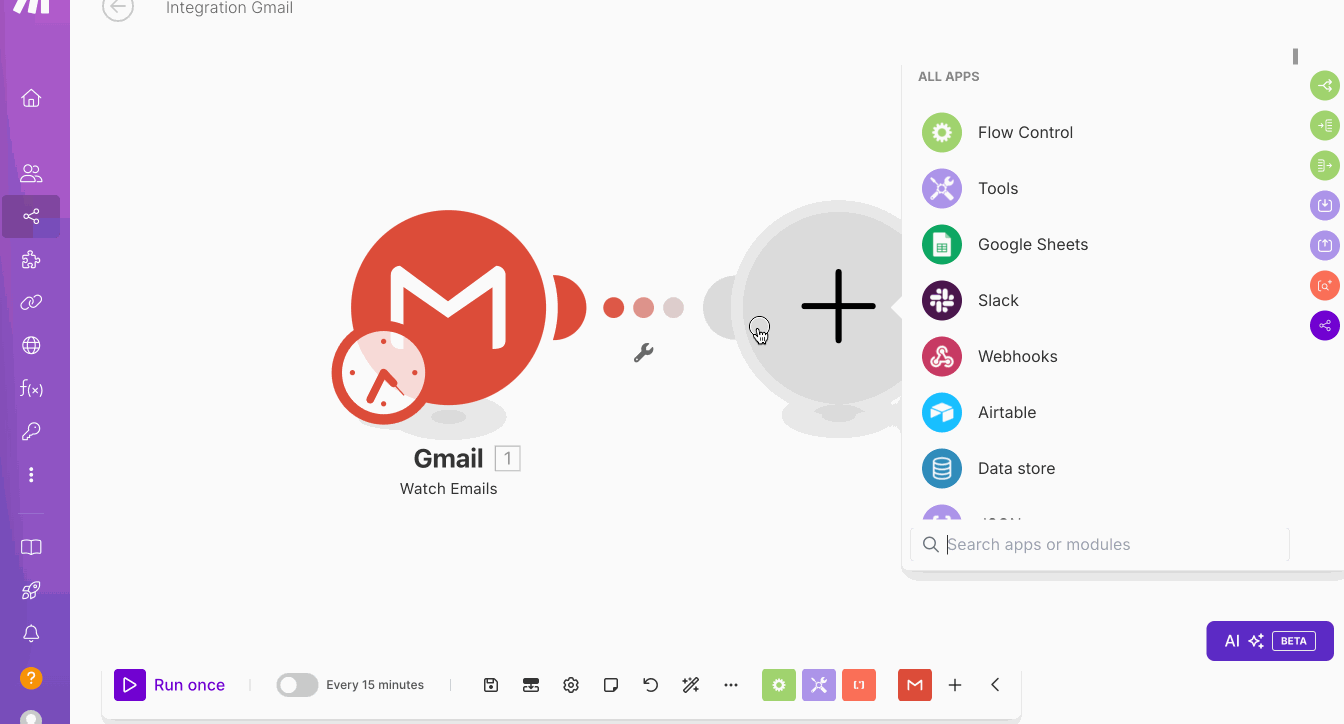
- Click the plus icon. A list of apps appears. In the search field, search for the app you want to use. In this case, search for Gmail.
Select the folder whose emails you want to watch.
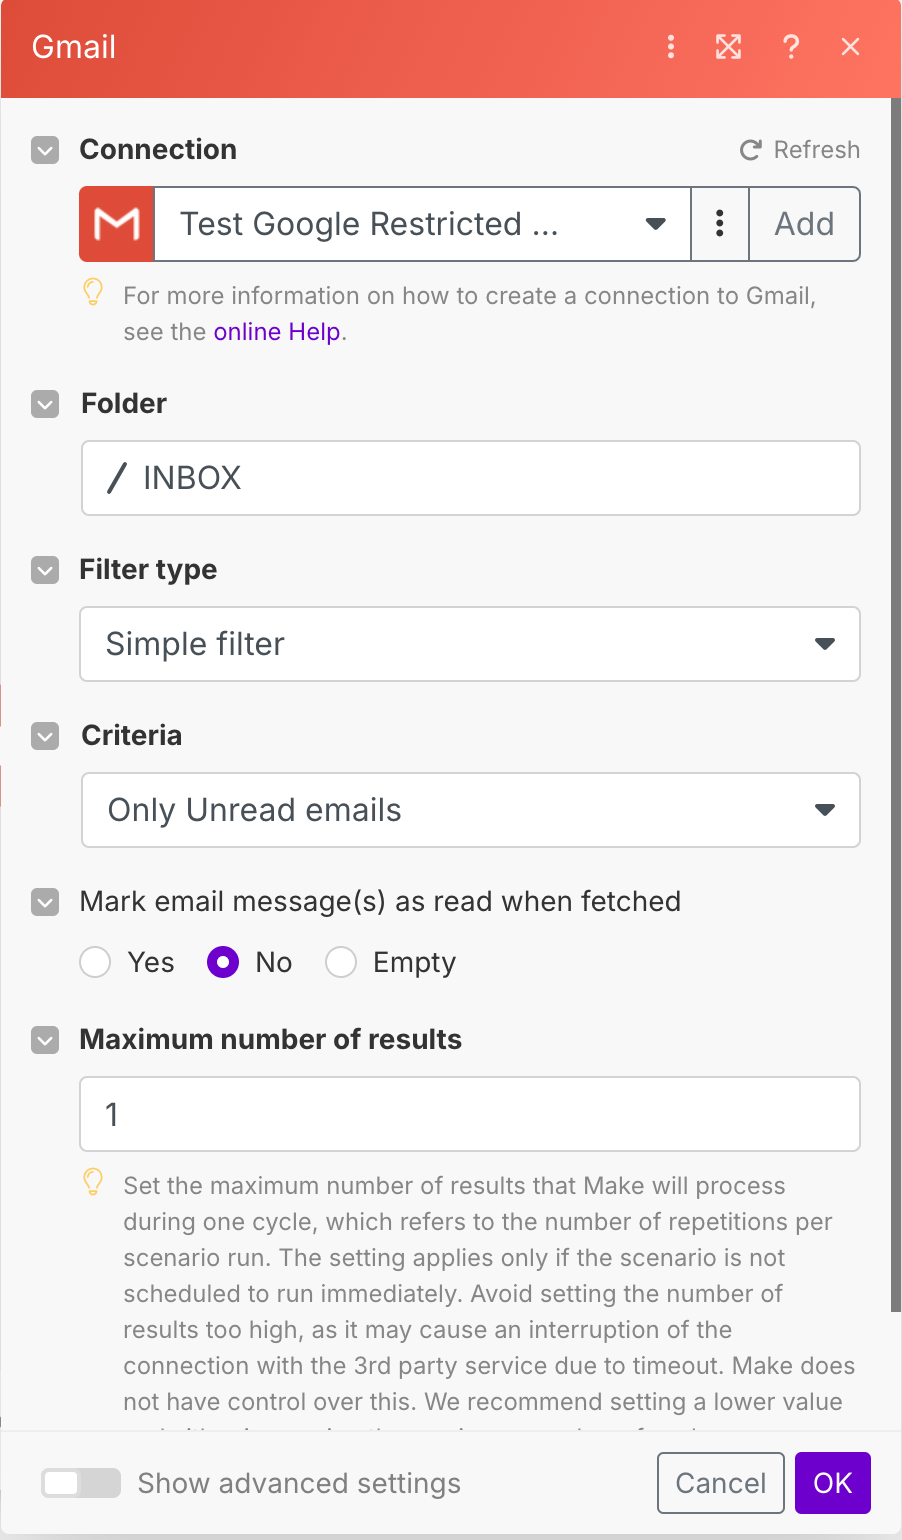
- Add the Gmail > Watch emails modulea module is an application or tool designed to handle specific business functions, such as CRM, project management, or inventory. The system's modular architecture allows you to activate only the modules you need, enabling customization and scalability as your business requirements evolve..
- Create a connection to your email.
- Select the folder whose emails you want to watch.
- Select the criteria of the emails you want to watch from the dropdown menu.
- (optional)Specify if you want to watch emails from a specific email address, emails that contain a specific phrase, etc.
- Click OK to save.
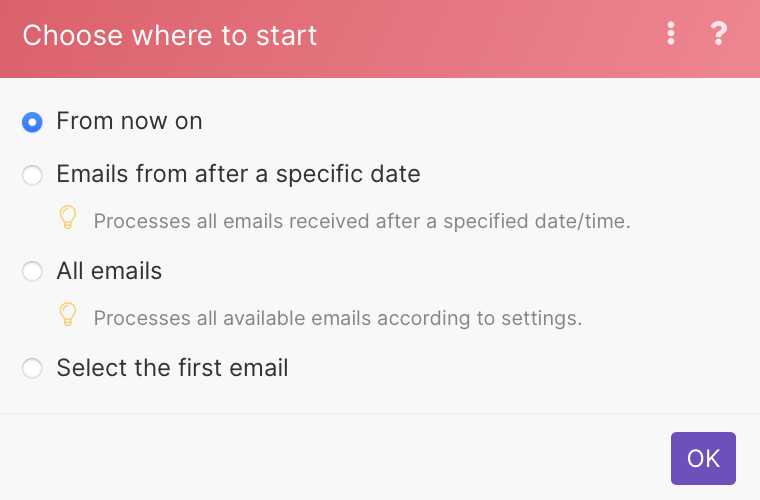
- A pop-up appears. Choose from when to want to start watching emails.
- Click OK to save.
- Click Add another module. An empty module appears.
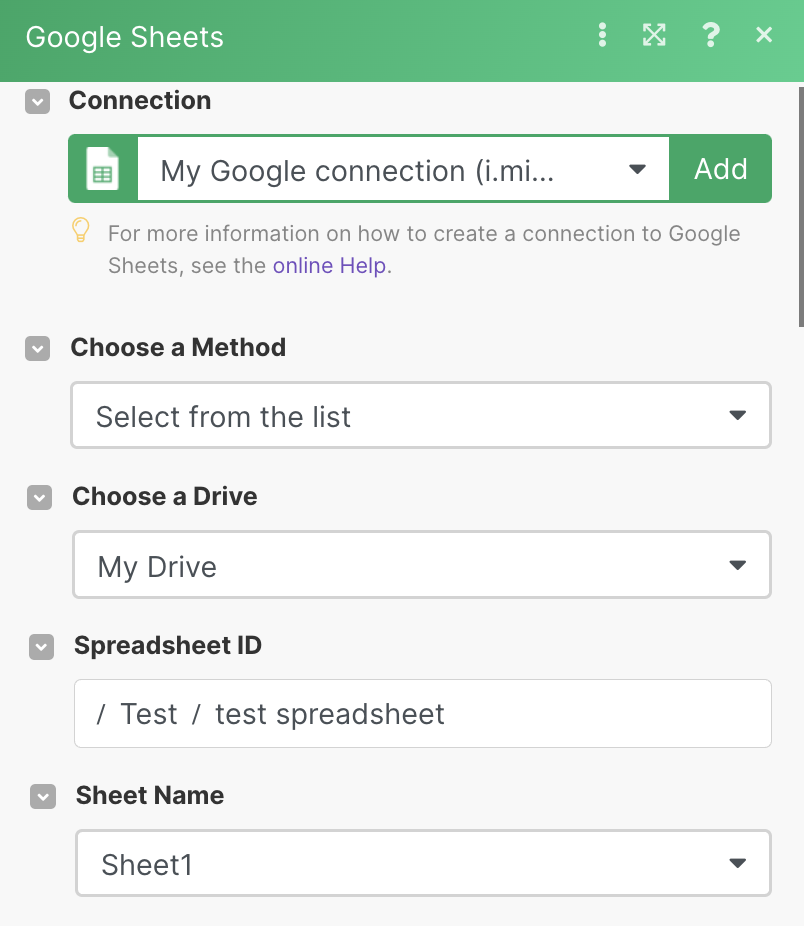
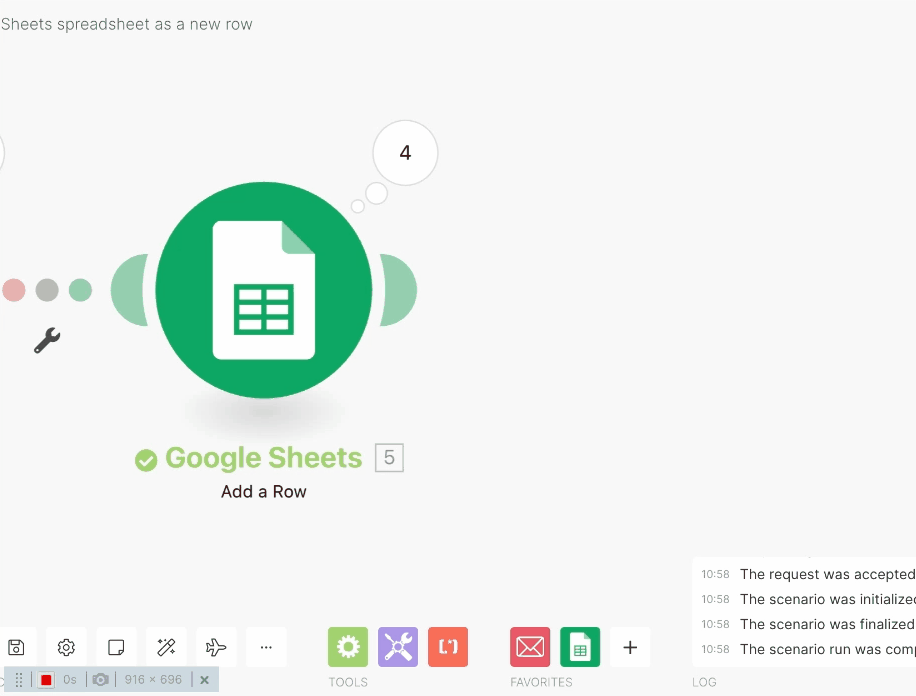
- Search for and click the module you want. In this case, select Google Sheets > Add a row module.
- Create a connection to your Google account.
- Under Choose a method, select whether you want to select your spreadsheet from the list or manually.
- Under Choose a Drive, select your drive.
- In Spreadsheet ID, select your spreadsheet.If your spreadsheet is in the folder, first select the folder. Then, click the plus sign to select the specific spreadsheet in the folder.
- Select the sheet name.
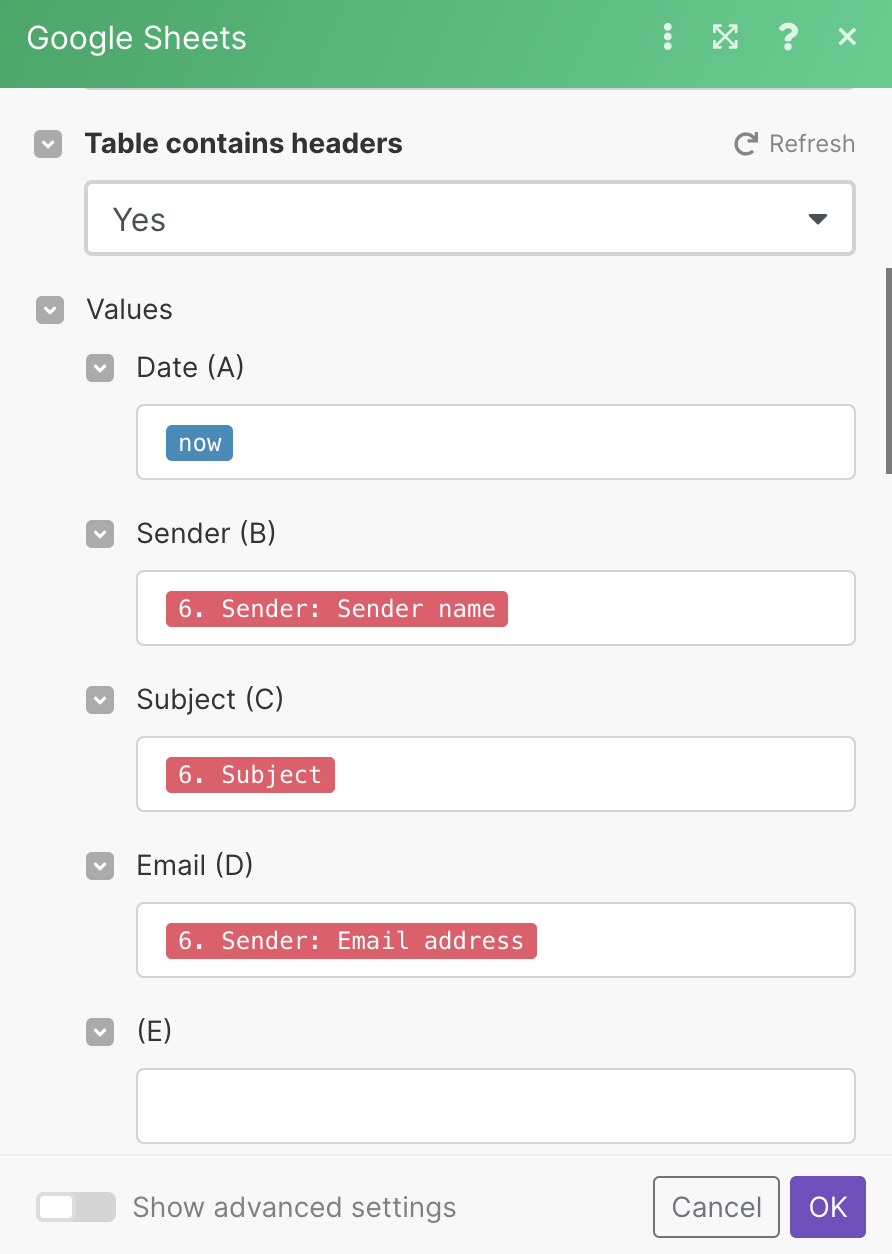
- Select whether your table contains headers. Our table contains headers, but yours doesn’t have to.
- In values, map the data you want to get in your spreadsheet.If your table has headers you will see the header names before the letter in brackets.
- Click OK to save.
|
Note |
|---|---|
| For more robust scenarios, repeat the same steps as in Step 2 until you add all the modules you want. |
Before you activate and schedule your scenario, you should test your scenario to check if everything is working properly.
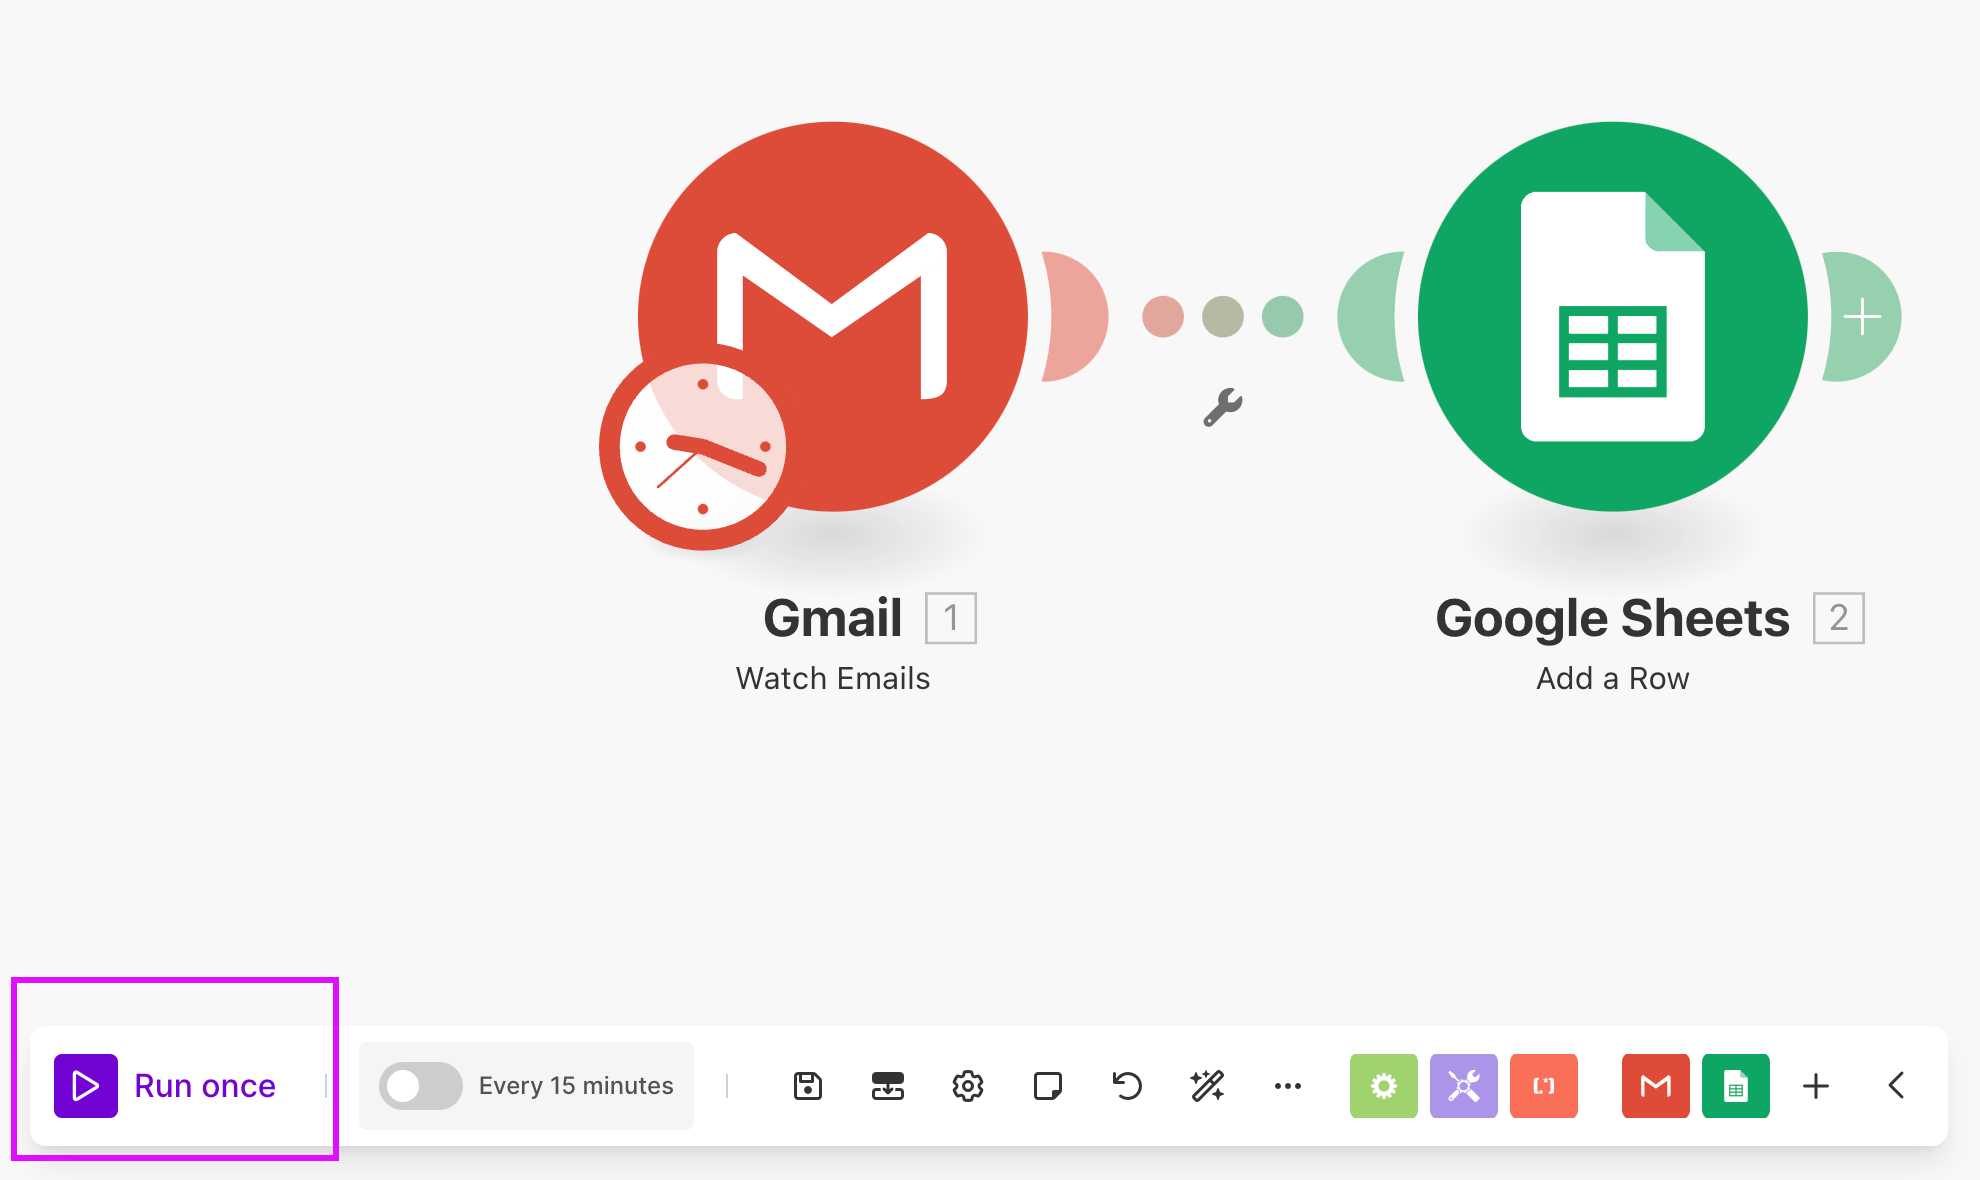
- Click the Run once button to test your scenario.
- Bubbles appear on top of the modules, which gives you information about the processed data, or what is referred to as bundles.Click the number to display the information about the processed bundles, including the number of operations. By clicking the individual operationsOperations are tasks in integration scenarios, similar to "operations" in Make.com. Each action, like reading or updating a record, counts as one operation. They’re essential for data syncing between apps and reset monthly. Going over the limit pauses syncing until you add more or upgrade your plan., you can see which module settings were used and which bundles were returned by which module.For more information, see the Execution flow section.
Testing your scenario is vital for seeing how data flows through your scenario. It also helps to show if there are any errorsService is unavailable due to a failure, a service responds with unexpected data or the validation of input data fails. in your scenario.
|
Note |
|---|---|
| If you encounter an errorService is unavailable due to a failure, a service responds with unexpected data or the validation of input data fails. for any scenario, see our Error processing section. |
Your scenario is almost ready to run, but it’s still inactive.
- To schedule your scenarios, click on the Schedule setting.
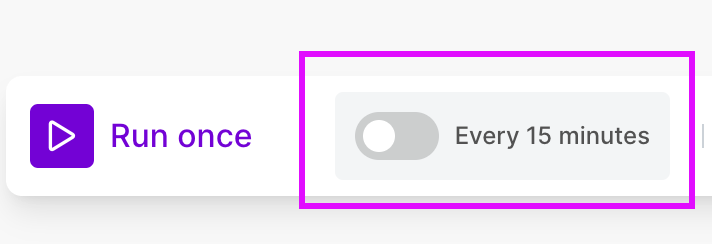
- Set how often you want your scenario to run.
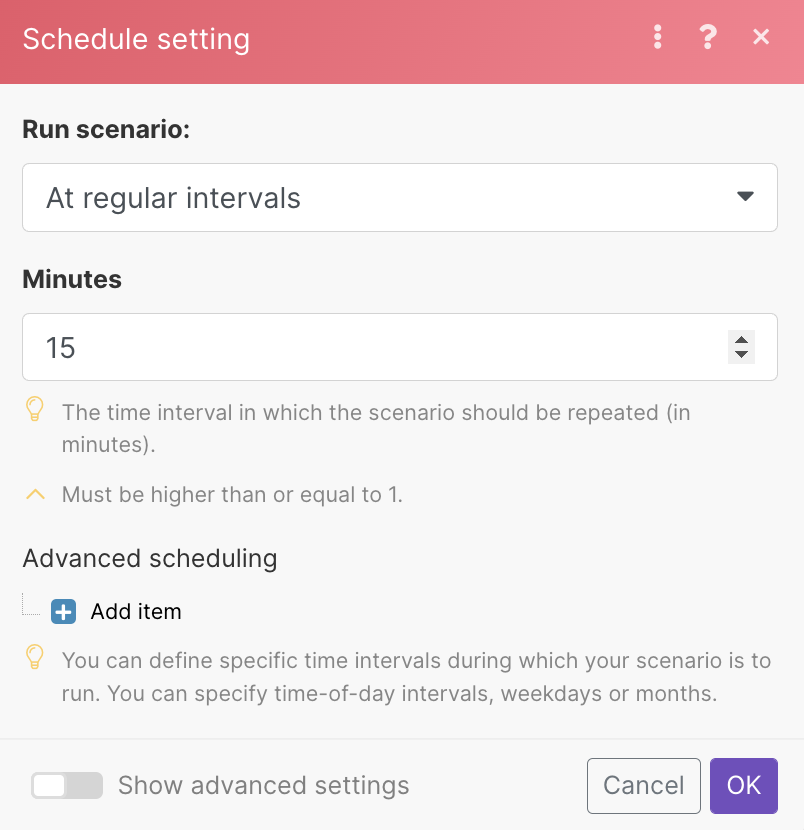
- Click OK to save.
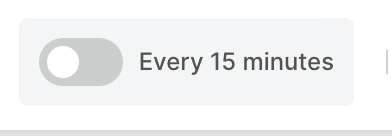
- Click the slider in the schedule setting button to activate your scenario.
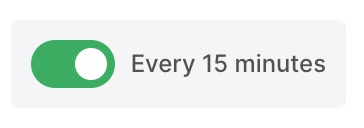
Once activated, your scenario will run according to its schedule.
For further details on Scenario editor, please visit our Scenario editor documentation.
Scenarios are active or inactive. You can change the scenario statusIn Boost.space, statuses are indicators assigned to records within modules to represent their current state or progress. They can be system-defined, such as "Active" or "Done," or custom-created to fit specific workflows. Statuses help track and manage tasks, projects, and processes efficiently. by clicking the ON/OFF button in the scenario detail.
Active scenarios execute according to a schedule. See SchedulingBoost.space Integrator allows you to define when and how often an active scenario runs. Use the Schedule setting panel under the Options tab and choose Scheduling to set your preferred schedule. a scenario.
To rename your scenario, click on the scenario‘s name in the top left corner. Press ENTER or click outside the edited field to save the new scenario name.

TriggersThe initial event that starts a scenario. It can be an action, a scheduled time, or a custom event, and is essential to define at the beginning of each scenario. allow you to select the first bundleA bundle is a chunk of data and the basic unit for use with modules. A bundle consists of items, similar to how a bag may contain separate, individual items. that you want to process in the scenario. See Selecting the first bundle.
Modules, by default, always return only two bundles. You can change this in the module settings field Maximum number of returned bundles.
Boost.space Integrator allows you to configure a number of other advanced settings. See Scenario settings.
For each scenario you create, it is possible to download a blueprintBoost.space Integrator lets you import and export scenarios via a blueprint, a file in JSON format. Your blueprint contains all of your modules and settings except for connections. When importing from a blueprint, you must add your connections. to share with others to use as a template. The blueprint includes the modules used in your scenario, module configuration settings, and the flow of operationsOperations are tasks in integration scenarios, similar to "operations" in Make.com. Each action, like reading or updating a record, counts as one operation. They’re essential for data syncing between apps and reset monthly. Going over the limit pauses syncing until you add more or upgrade your plan..
The blueprint does not include any data or personal connectionUnique, active service acces point to a network. There are different types of connections (API key, Oauth…). information such as API keys, passwords, or OAuth tokens. The recipient of your blueprint must create their own connections.