There are two ways of inserting a key or certificate.
- Direct inserting
- Extracting from the file (P12, PFX or PEM)
- You need the file that contains RSA PRIVATE KEY.
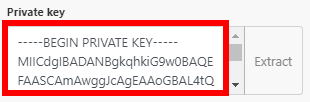
- Copy your key from the file. It should begin and end like this:—–BEGIN RSA PRIVATE KEY—–…..—–END RSA PRIVATE KEY—–
- Paste the key directly in the following field:
![[Note]](https://docs.boost.space/wp-content/uploads/2022/11/note.png)
Note OPENSSH PRIVATE KEY is not supported. This has to be converted using the following command in Terminal: ssh-keygen -p -m PEM -f <pathToTheKey>. For Windows, you can use the PuTTy key generator.
To make everything easier, you can extract a Private Key or Certificate using our key extraction functionFunctions you can use in Boost.space Integrator - create, update, delete, get, search.. This function also allows you to extract the key from encrypted files.
The supported file formats are P12, PFX, and PEM.
There are two types of fields in the certificate extraction dialog:
- Private key
- Certificate
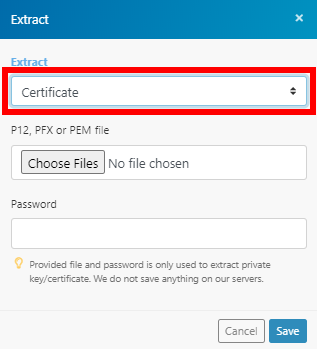
These two options specify which value will be extracted from the provided file.
For example, when you create a Linux Based EC2 instance on AWS, you receive the login credentials in the PEM file:

The file contains the private key that is used to connect to the instance.

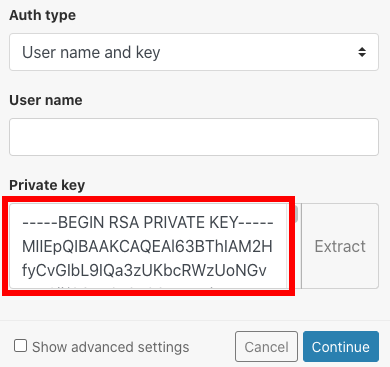
- Go to the module’s Create a connectionUnique, active service acces point to a network. There are different types of connections (API key, Oauth…). dialog and click the Extract button in Advanced Settings.
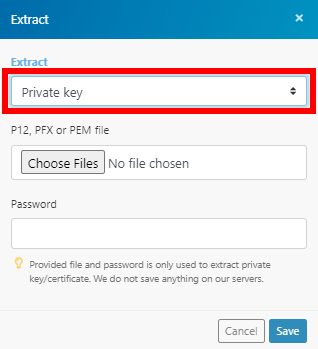
- In the Extract dialog, select the Private Key option to extract the private key from the provided file.
- Click the Choose Files button, browse and Open the desired file.
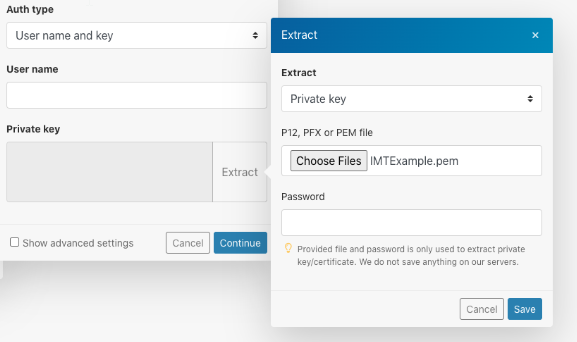
- Enter the password to the respective field, if needed.
- Click the Save button.
The private key has been exported from your file and will be used to connect to the desired service.