Sync IN Data into Boost.space: Contacts
Boost.space offers a powerful solution for synchronizing data from over 2000 third-party applications. In this article, we will walk you through the process of synchronizing your data into Boost.space, allowing you to seamlessly integrate information from various sources. By following these steps, you will be able to set up connections and create scenariosA specific connection between applications in which data can be transferred. Two types of scenarios: active/inactive. to automate the synchronization process.
Note: While this article focuses on syncing contacts into Boost.space, the same process applies to other modules as well.
Video guide: Sync IN – using pre-made template
Video guide: Sync IN – using AI generated template
How to Create Your Connection
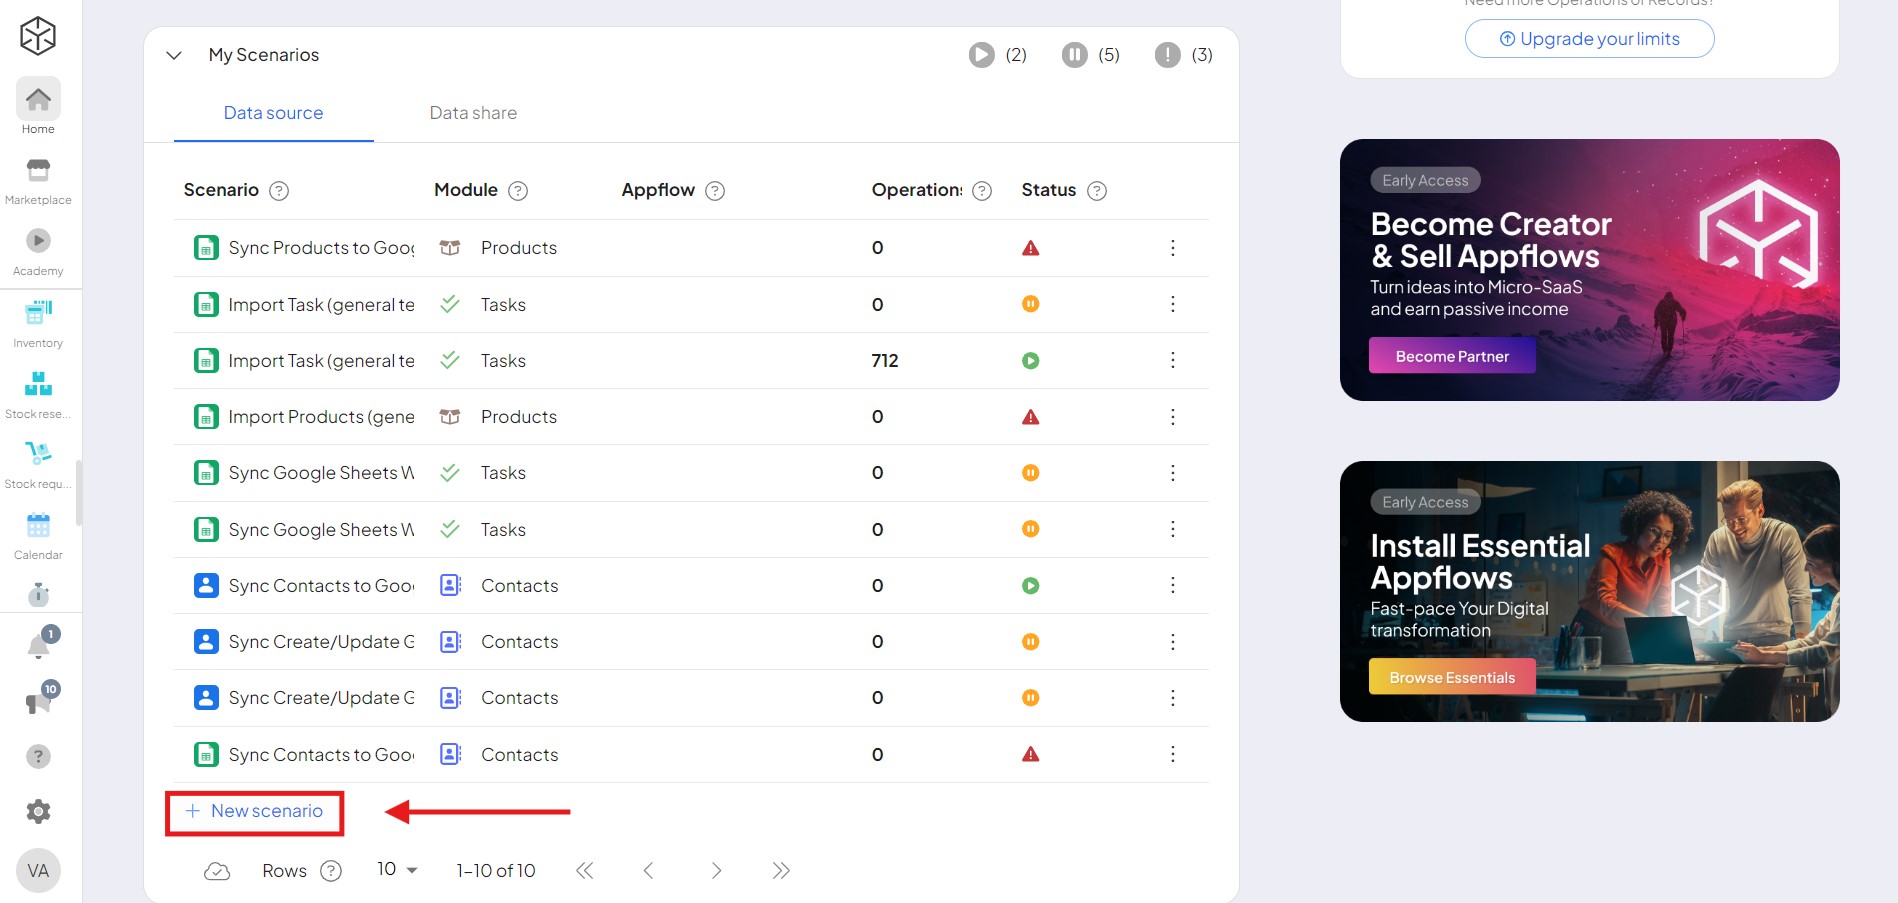
- Start by clicking on “New scenario” in section My Scenarios. This will initiate the process of establishing a connectionUnique, active service acces point to a network. There are different types of connections (API key, Oauth…). between your desired tool and Boost.space.
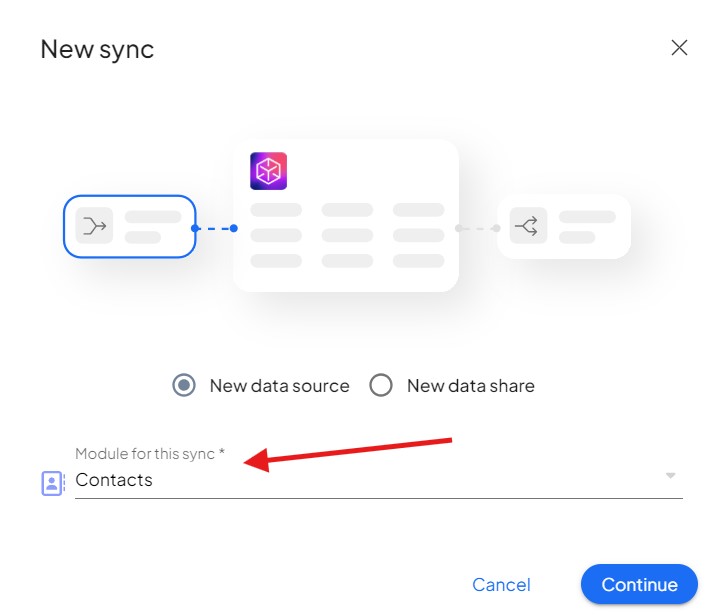
2. Select the module for your synchronization.
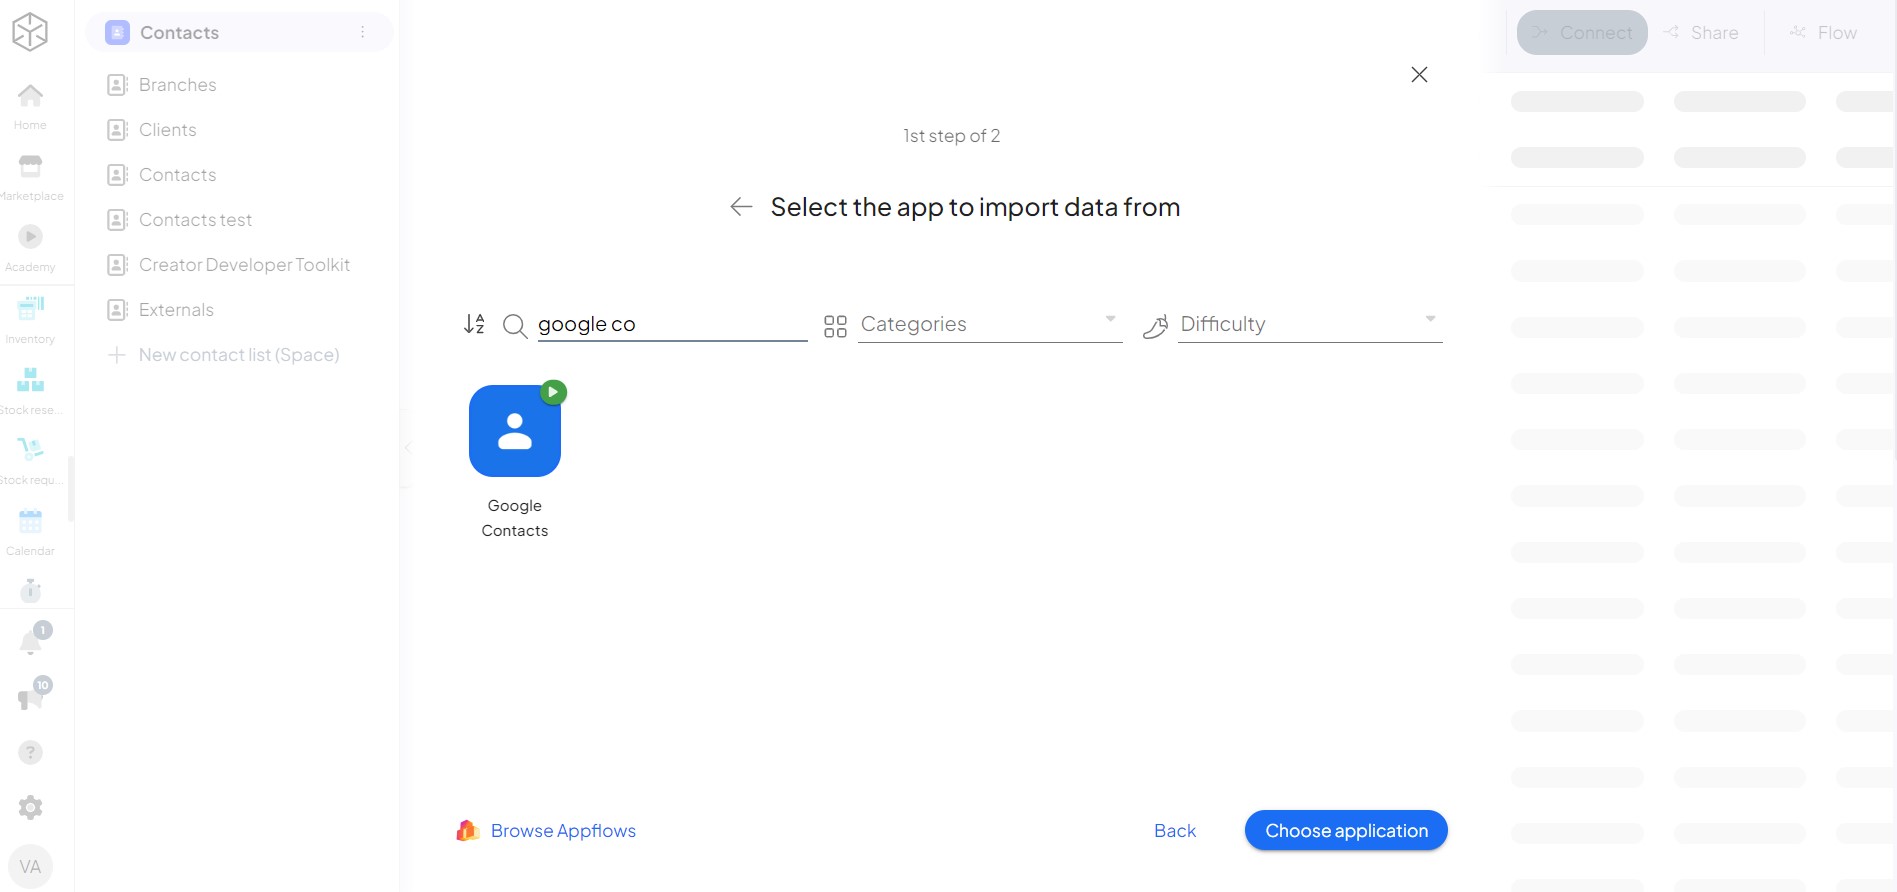
3. Select the tool from which you want to import data. Boost.space supports a wide range of third-party applications, making it flexible for your specific needs.
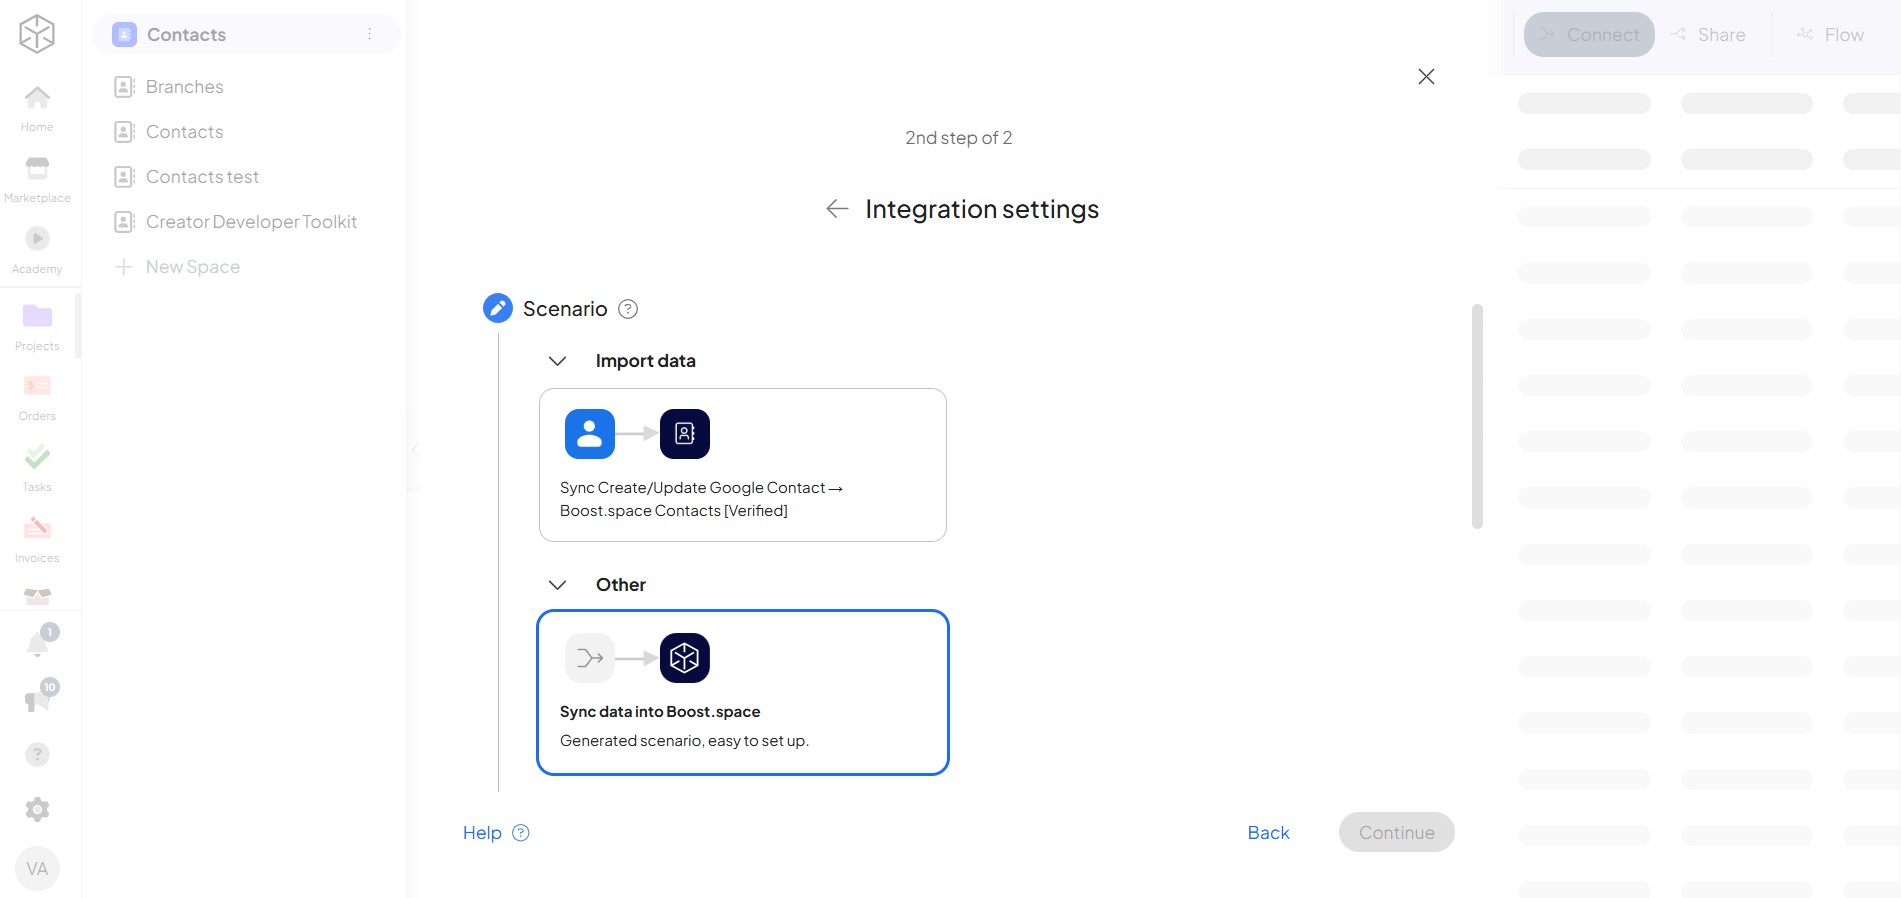
3. Choose the second option.
4. Choose the triggerThe initial event that starts a scenario. It can be an action, a scheduled time, or a custom event, and is essential to define at the beginning of each scenario.. In this case we will go with “Watch Contacts”.
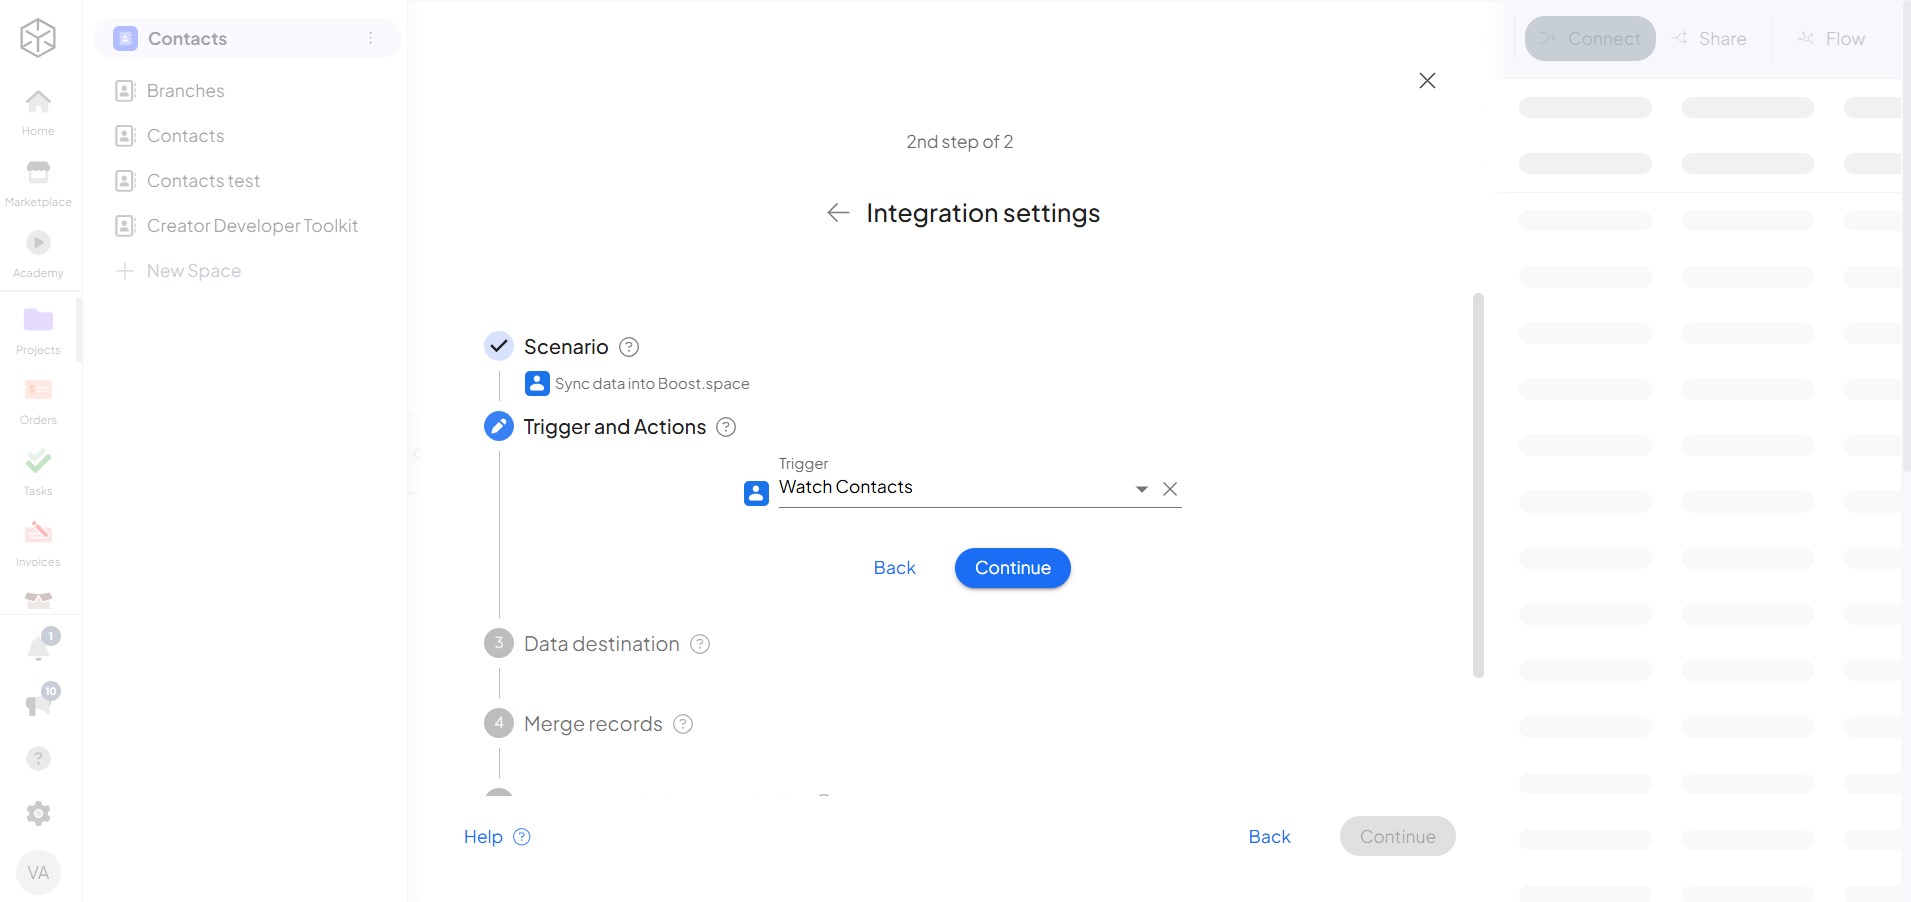
4. Choose your space for your import of data.
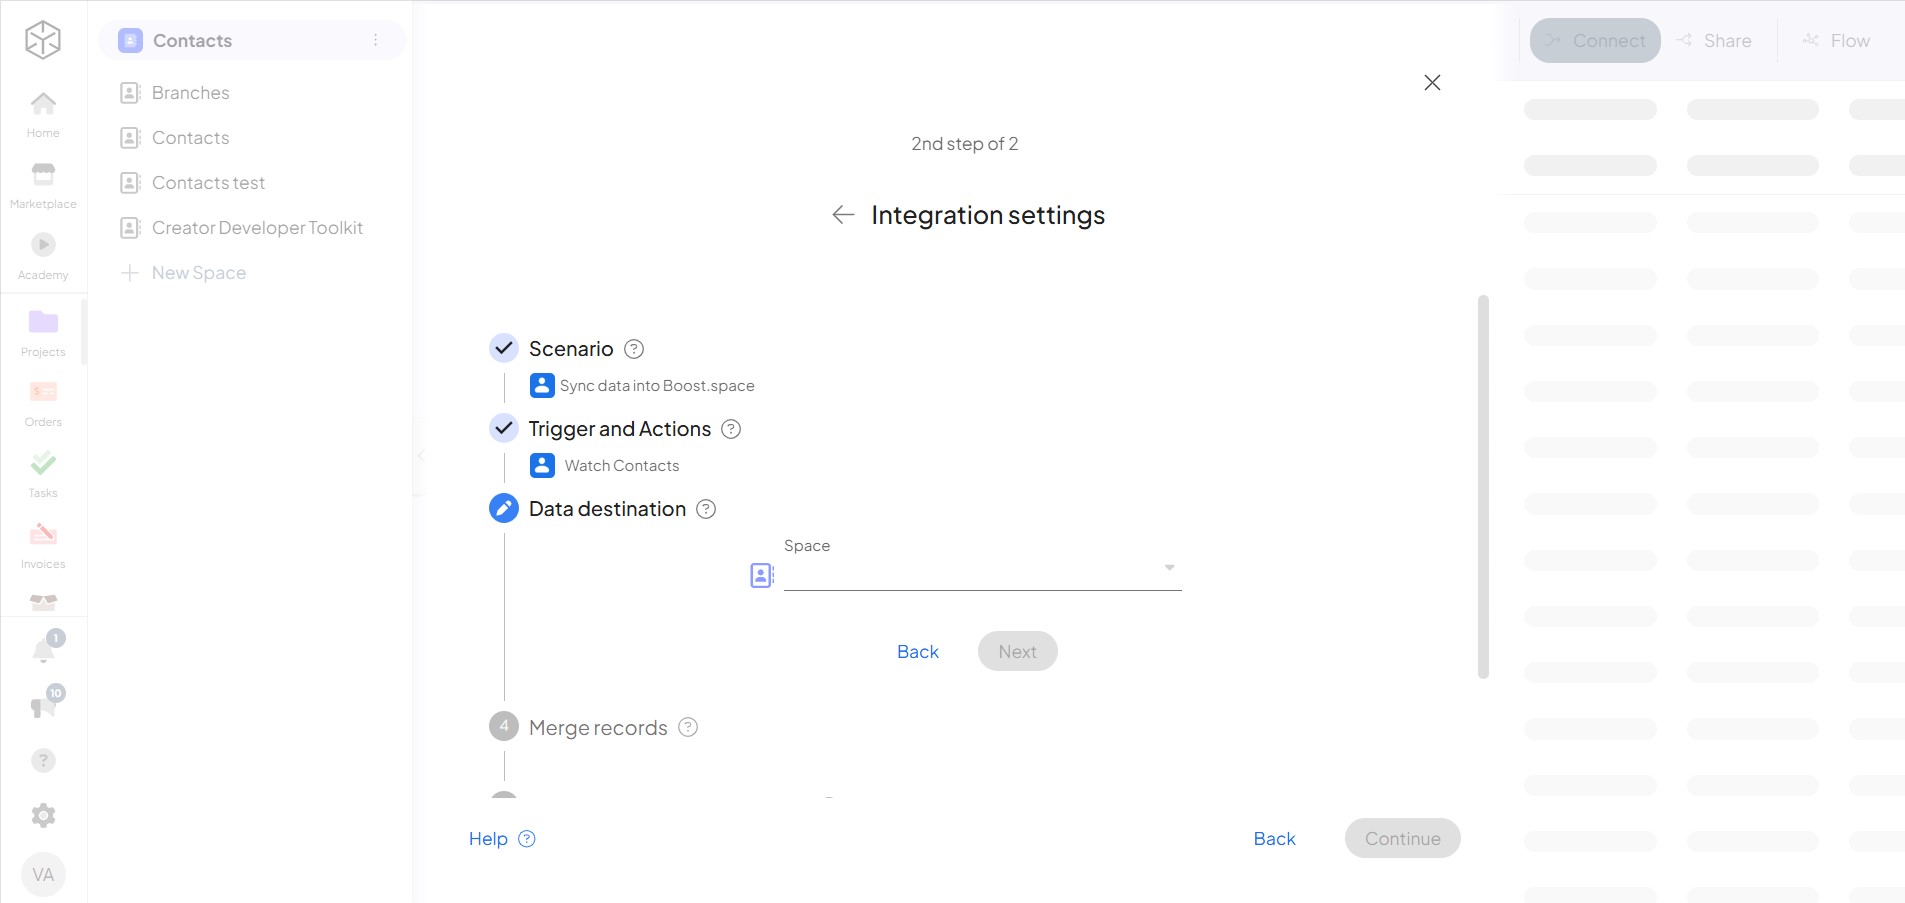
5. Now, you can merge your data – your choice!
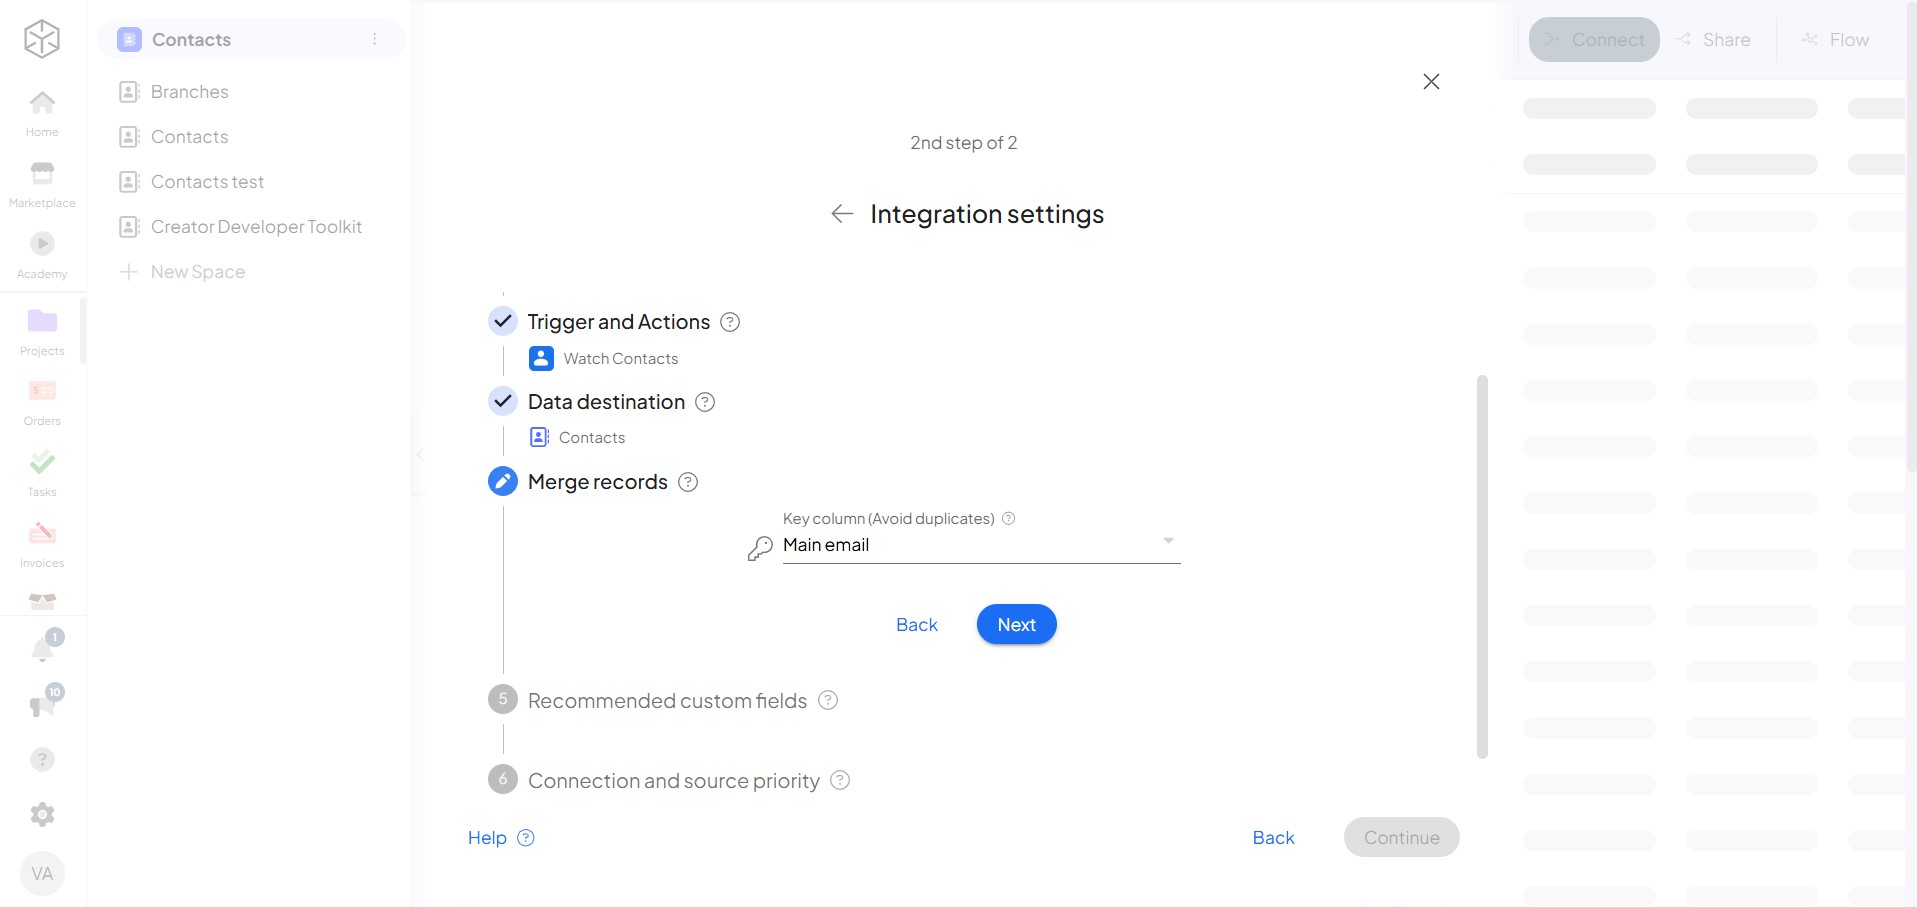
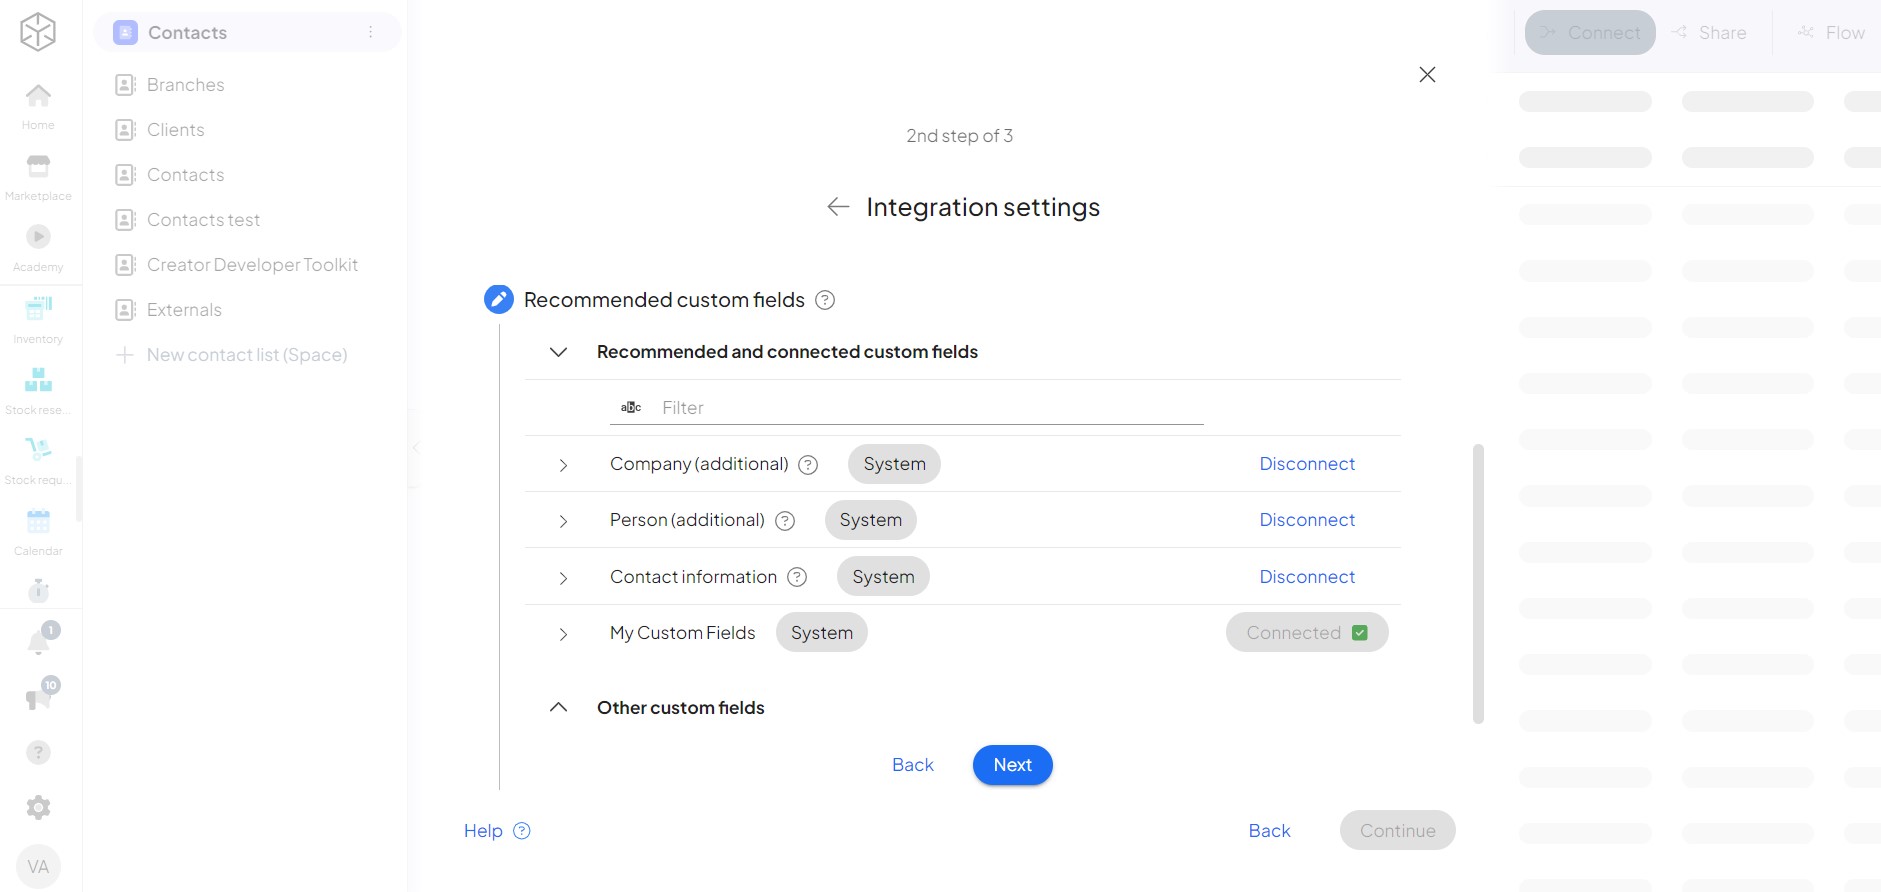
6. Connect custom fields to your system’s space. If you selected a space specifically designed for your tool, Boost.space will automatically suggest recommended custom field groups for connection, simplifying the process.
5. Establish access rights for your tokenA secure code used to authenticate and authorize access to API endpoints, enabling users to connect with third-party applications.. By setting a priority.
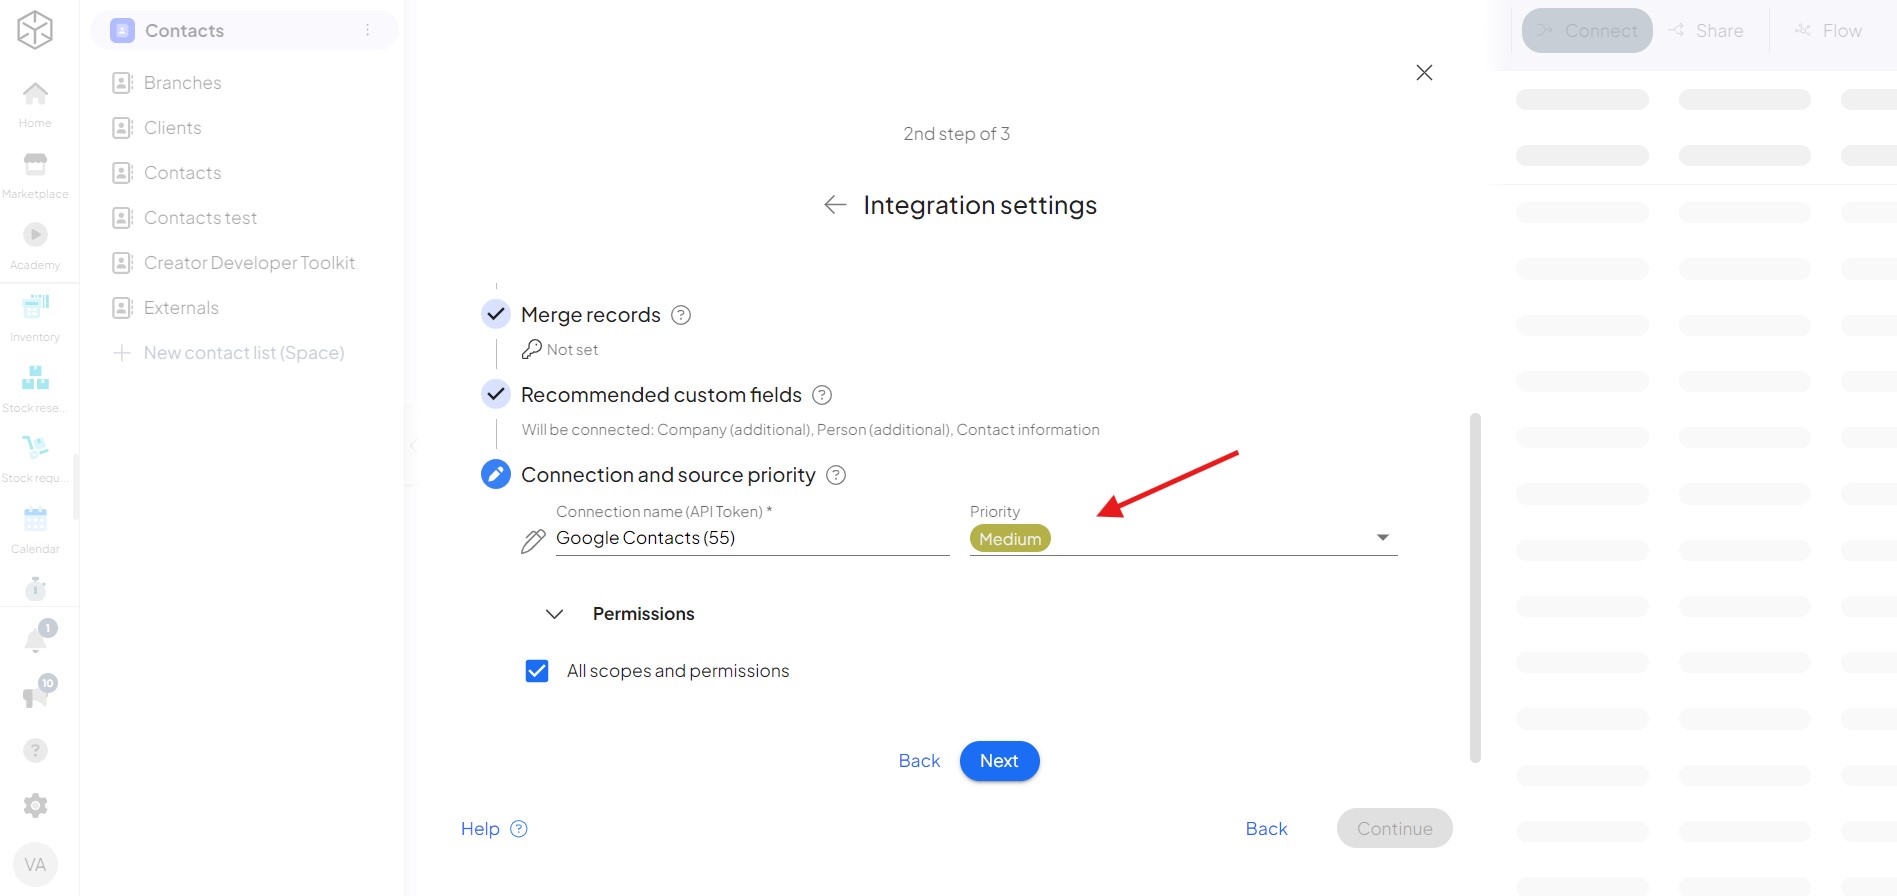
Setting up the scenarioA specific connection between applications in which data can be transferred. Two types of scenarios: active/inactive. in Boost.space Integrator
6. You will now begin working within the Boost.space IntegratorPart of the Boost.space system, where you can create your connections and automate your processes..
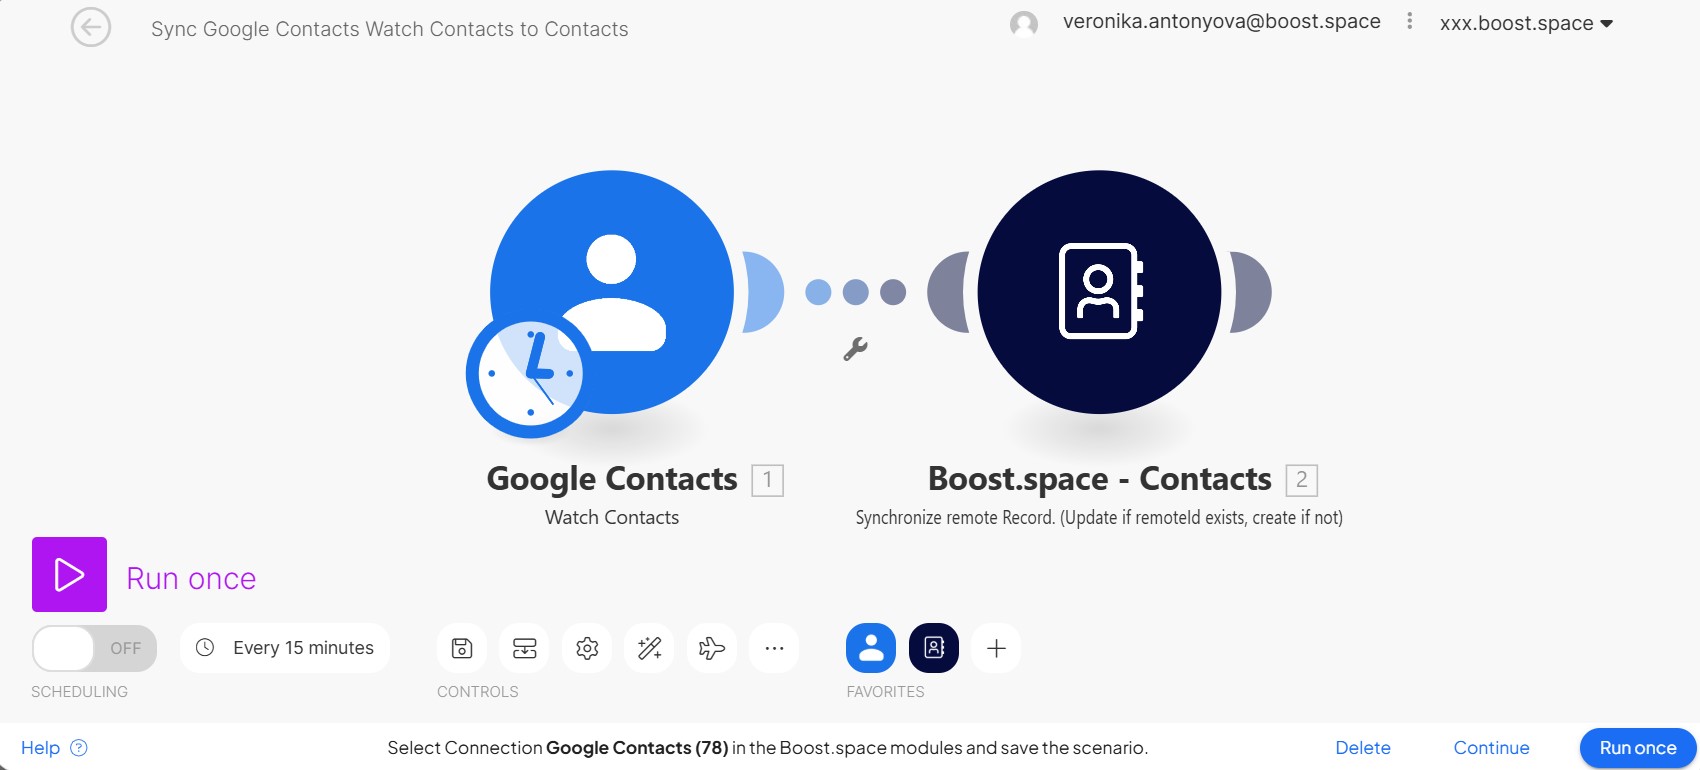
7. Choose the connection that was automatically created for you. Then, you can increase the limits processed by one run of your scenario. Click OK.
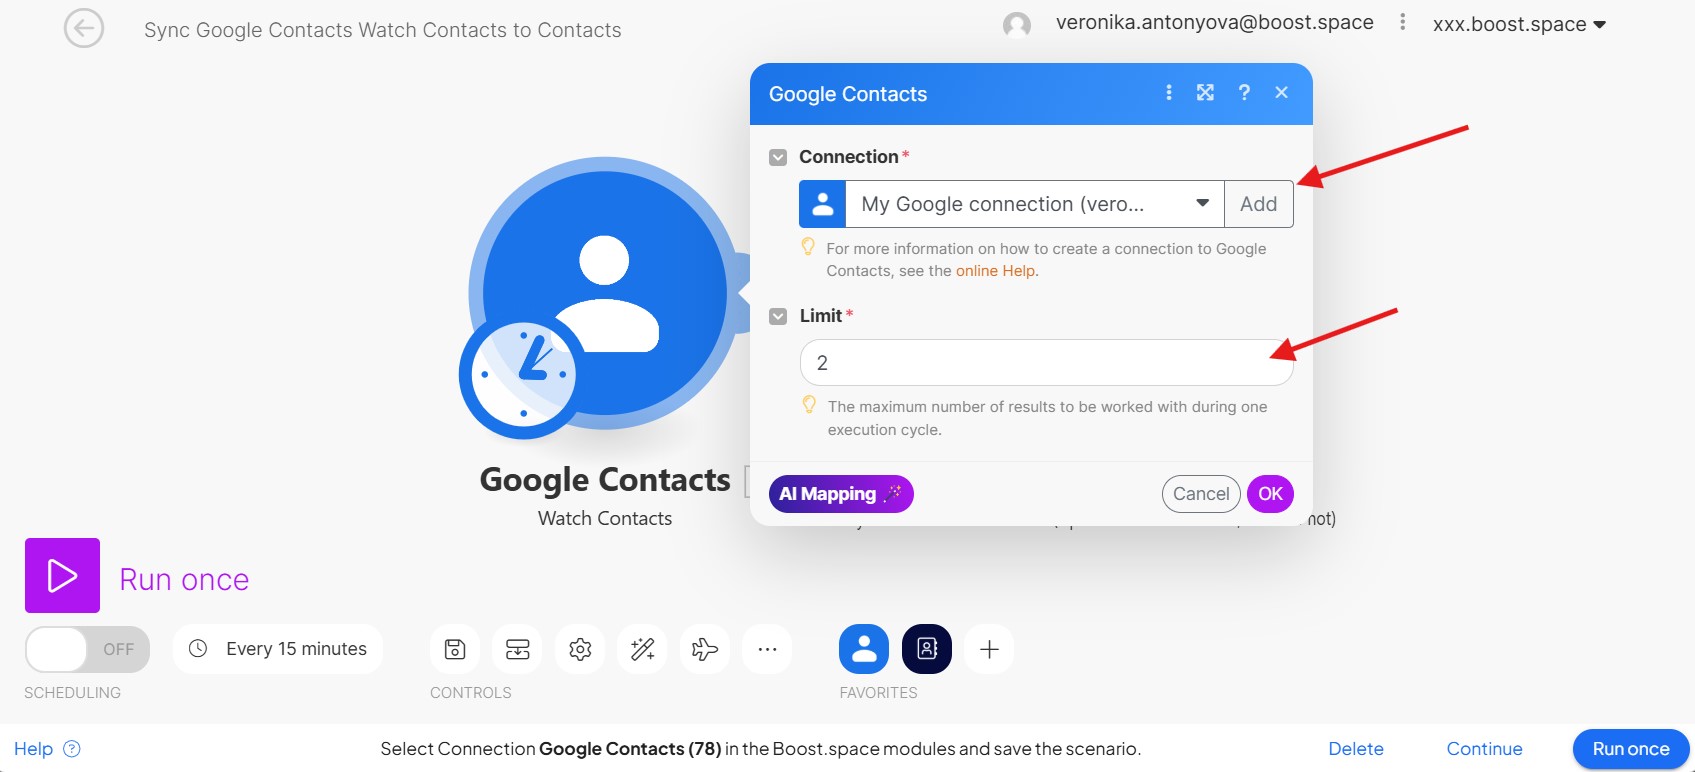
8. Choose where you want to start with synchronizing your data. Then click OK.
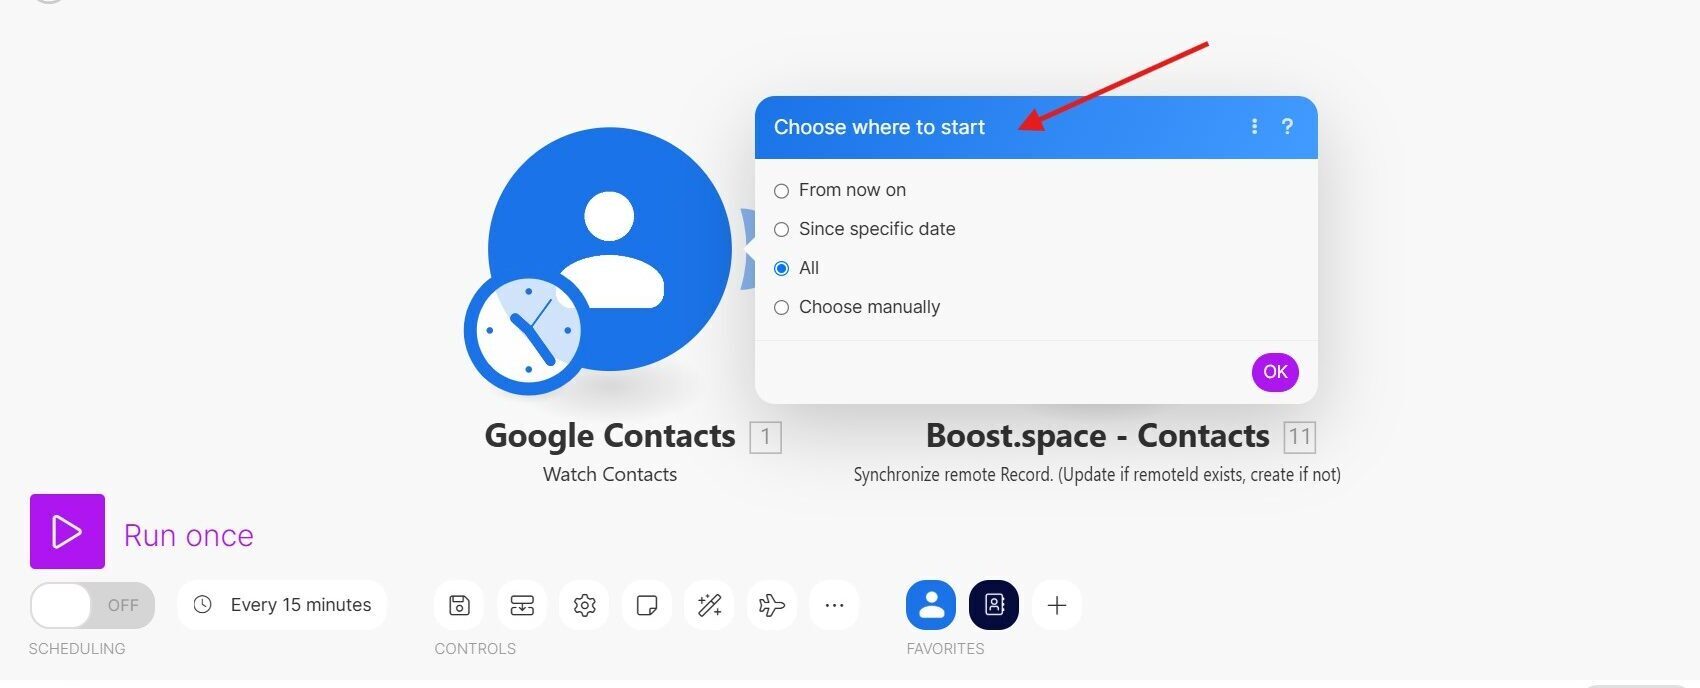
9. Righ click on Google contacts module and click Run this module only. You will get your first set of data.
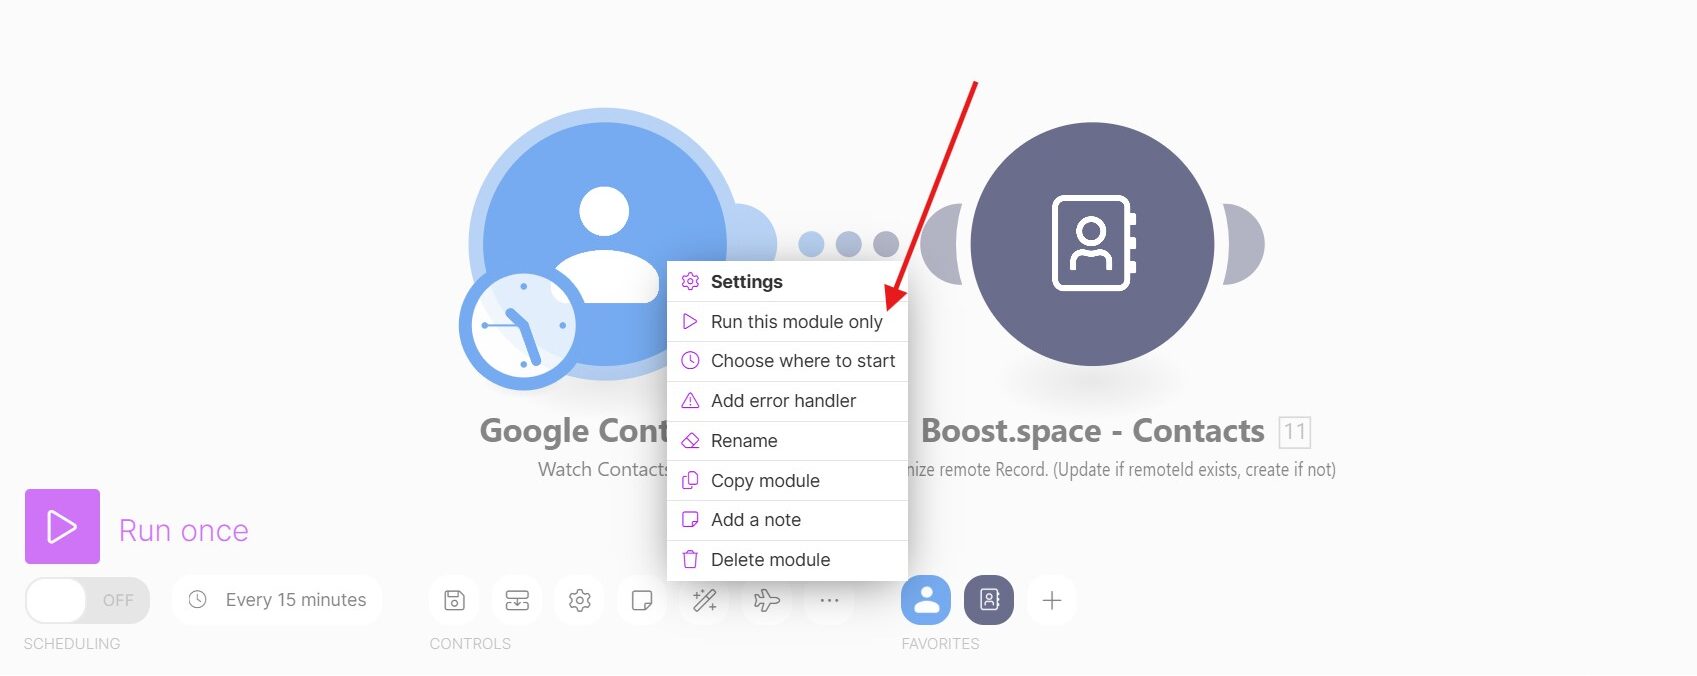
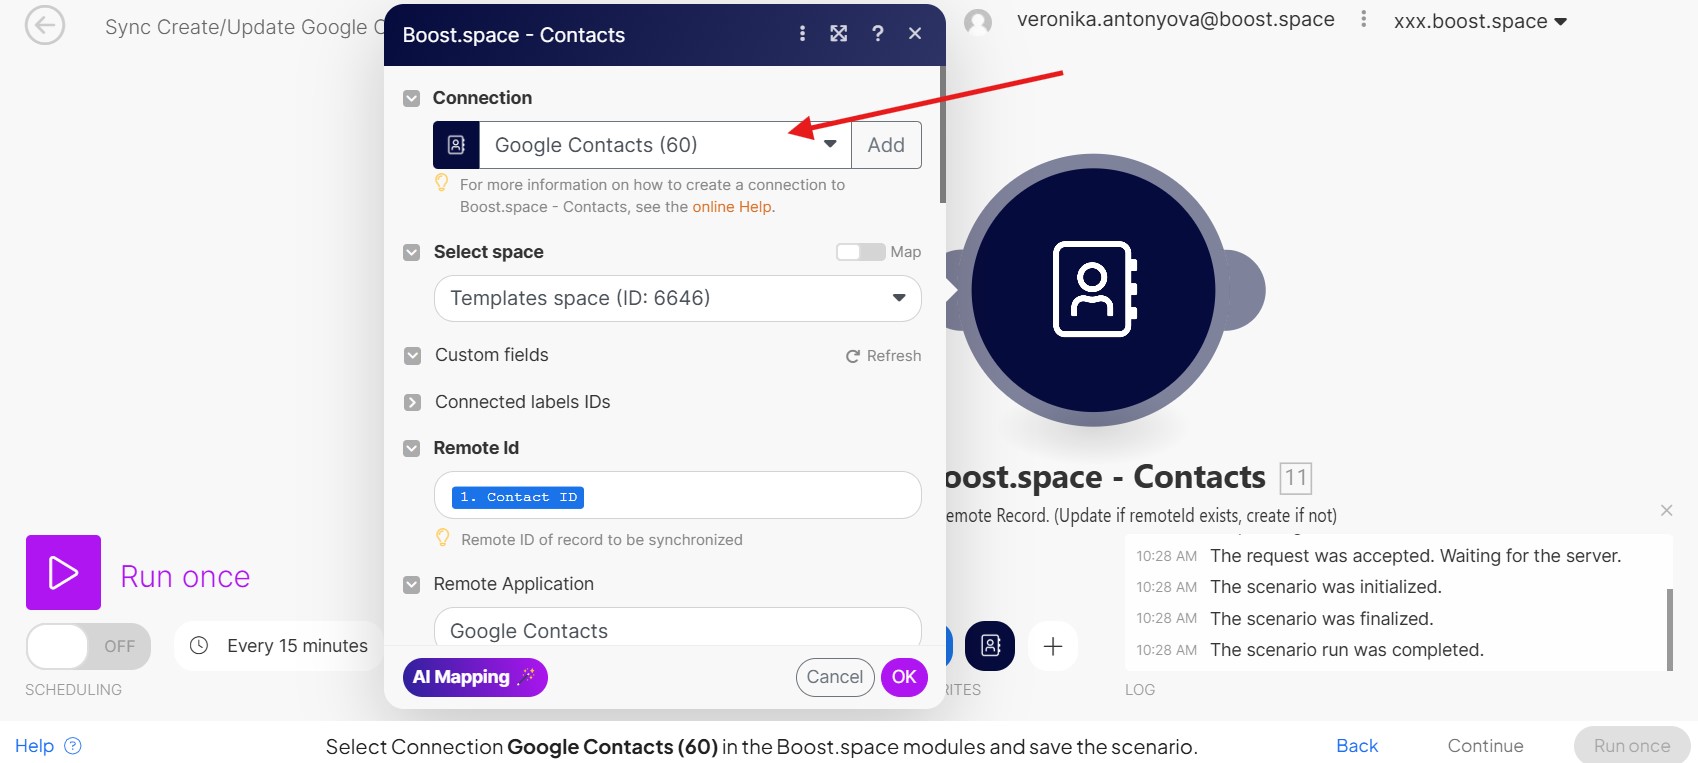
10. Click on Boost.space contacts module. Again, add your connection. It will load the fields that are prepared in Boost.space modules. Now, you can start working on mappingMapping links the modules in your scenario. When you map an item, you connected the data retrieved by one module to another module to perform the desired action. For example, you can map the email address and subject lines from the Email > Watch emails module to Google Sheets > Add a row and create a spreadsheet of email addresses....
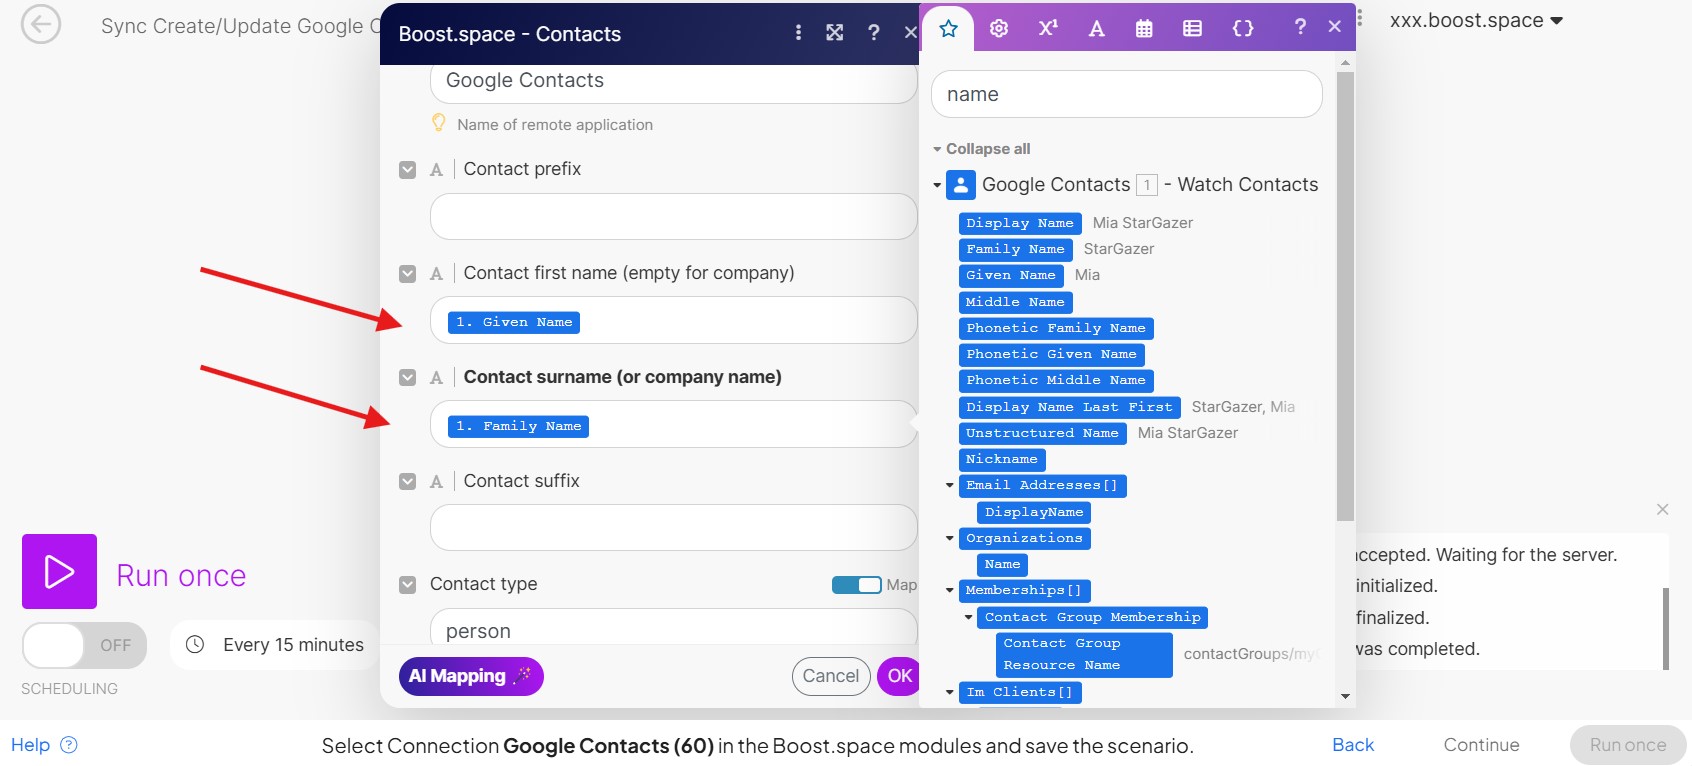
11. Do the mapping (Name, e-mail etc.). You can use AI mapping to help you out, but double check it. Then, click OK.
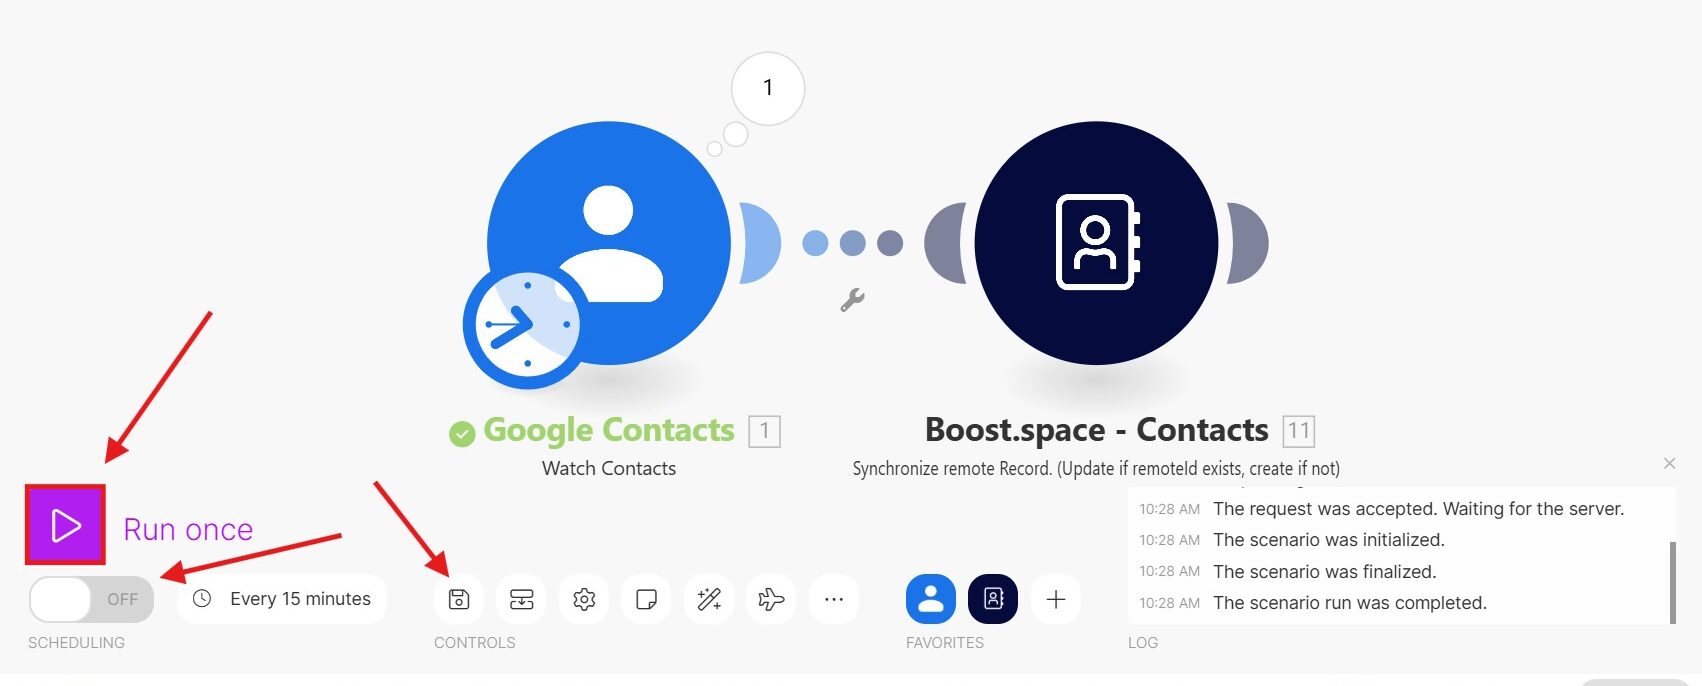
12. Now, you can save your scenario. And again, right click on the Google contacts module and choose where to start. Again, choose All.
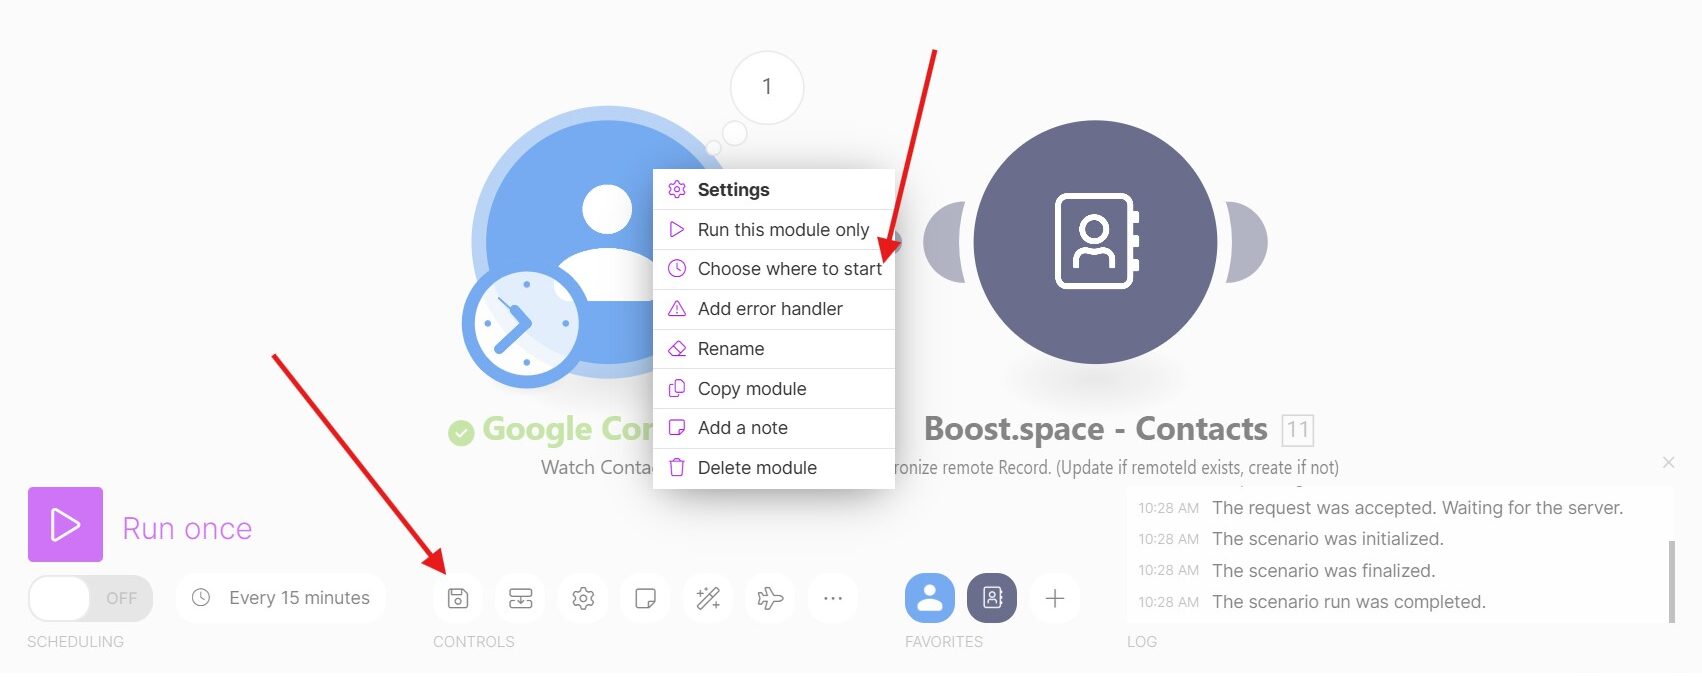
13. Now, you can save your scenario again, turn on the schedulingBoost.space Integrator allows you to define when and how often an active scenario runs. Use the Schedule setting panel under the Options tab and choose Scheduling to set your preferred schedule. and click Run once. That is all, everything is set. Congratulations!
By following this comprehensive guide, you can leverage the power of Boost.space to synchronize data from a wide range of third-party applications, ensuring seamless integration and efficient management of your information. Start synchronizing your data with Boost.space today and unlock new possibilities for data-driven decision-making.

