| Active with remarks |
|---|
| This application needs additional settings. Please follow the documentation below to create your own connection. |
With WordPress modules in Boost.space Integrator, you can manage posts, categories, comments, media, users, tags, and taxonomies in your WordPress account.
To use the WordPress modules, you must have a WordPress account with the Boost.space Integrator Connector plugin enabled. You can get a WordPress account at wordpress.org.
Refer to the WordPress API documentation for a list of available endpoints.
To establish the connection, you must:
To connect your WordPress account to Boost.space Integrator, the Boost.space Integrator Connector plugin must be installed in your WordPress installation.
-
Go to the Boost.space Integrator Connector plugin page in WordPress and download the Boost.space Integrator Connector plugin.
-
Login to your WordPress administration and click Plugins.
-
Click Add New.
-
Click Upload plugin, browse, and select the plugin zip file that you downloaded in step 1 above.
-
Click Install now.
-
After the installation is complete, click Activate Plugin.
You have now successfully installed the Boost.space Integrator Connector plugin.
To obtain your API key from your WordPress account:
To establish the connection in Boost.space Integrator:
-
Log in to your Boost.space Integrator account, add a WordPress module to your scenario, and click Create a connection.
-
Optional: In the Connection name field, enter a name for the connection.
-
In the WordPress REST API base url field, enter the REST API base URL of your WordPress site. For example,
https://my-wordpress-site.com/wp-json -
In the API Key field, enter the API key copied above.
-
Click Save.
-
If prompted, authenticate your account and confirm access.
You have successfully established the connection. You can now edit your scenario and add more WordPress modules. If your connection requires reauthorization at any point, follow the connection renewal steps here.
![[Note]](https://docs.boost.space/wp-content/themes/bsdocs/docs-parser/HTML/css/image/note.png) |
Note |
|---|---|
|
Currently, our plugin is not optimized to run with large websites. If you receive a memory size exhausted error, we recommend increasing the PHP memory limit beyond the default 512MB. |
After connecting the app, you can perform the following actions:
Posts
-
Watch Posts
-
Watch Posts Updated
-
Create a Post
-
Update a Post
-
Delete a Post
-
Get a Post
-
Search Posts
Categories
-
Watch Categories
-
Create a Category
-
Update a Category
-
Delete a Category
-
Get a Category
-
Search Categories
Comments
-
Watch Comments
-
Create a Comment
-
Update a Comment
-
Delete a Comment
-
Get a Comment
-
Search Comments
Media Items
-
Watch Media Items
-
Create a Media Item
-
Update a Media Item
-
Delete a Media Item
-
Get a Media Item
-
Search Media Items
Users
-
Watch Users
-
Create a User
-
Update a User
-
Delete a User
-
Get a User
-
Search Users
Tags
-
Watch Tags
-
Create a Tag
-
Update a Tag
-
Delete a Tag
-
Get a Tag
-
Search Tags
Taxonomies
-
Search for Specific Taxonomies
Other
-
Make an API Call
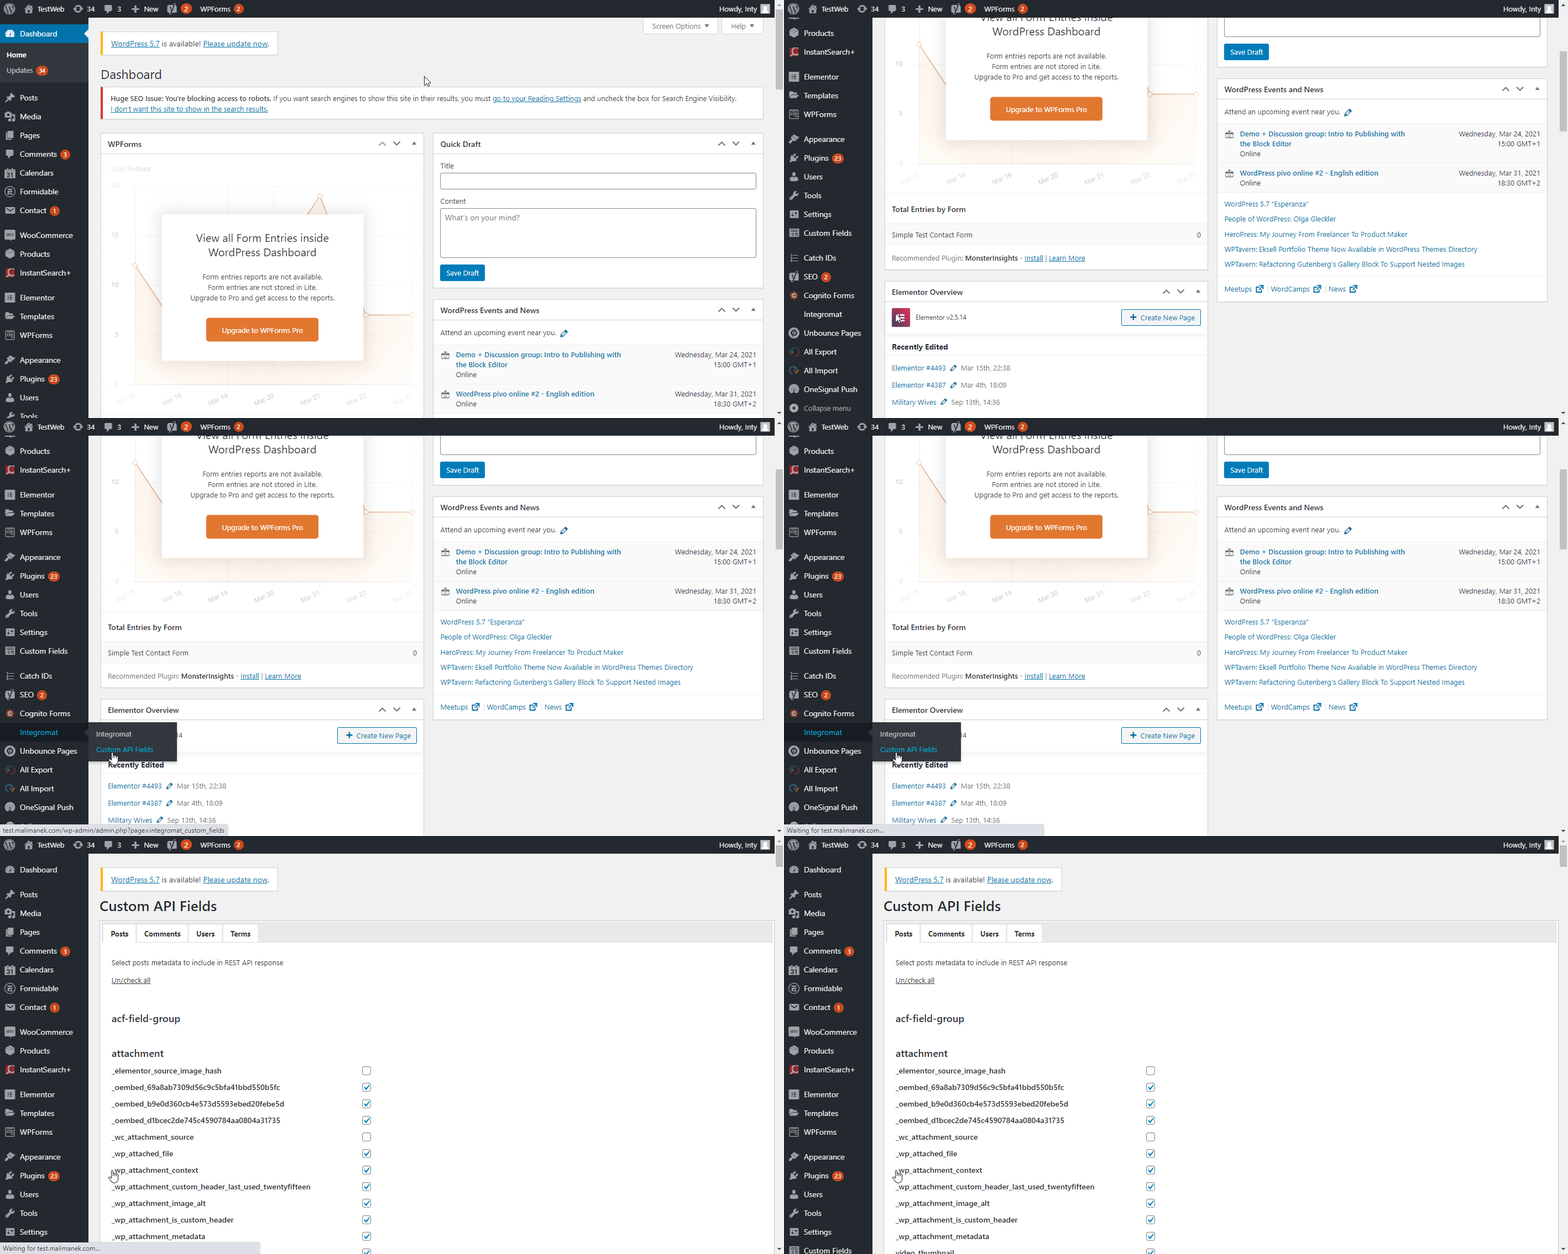
To work with custom fields you want to include in your module output, you need to activate the desired fields in the Boost.space Integrator Connector plugin.
-
Ensure that the Boost.space Integrator Connector plugin is installed.
-
Click Boost.space Integrator (Integromat) > Custom API Fields.
-
Select the desired custom fields you want to include in the module output.
-
Click Save Settings.
The selected custom fields are now available in the module output.


