Boost.space IntegratorPart of the Boost.space system, where you can create your connections and automate your processes. – a basic step-by-step guide
Navigating the Main Interface
This article serves as a simple guide to help you easily navigate the main interface of Boost.space Integrator.
- Click on your profile picture and open the Integrator.
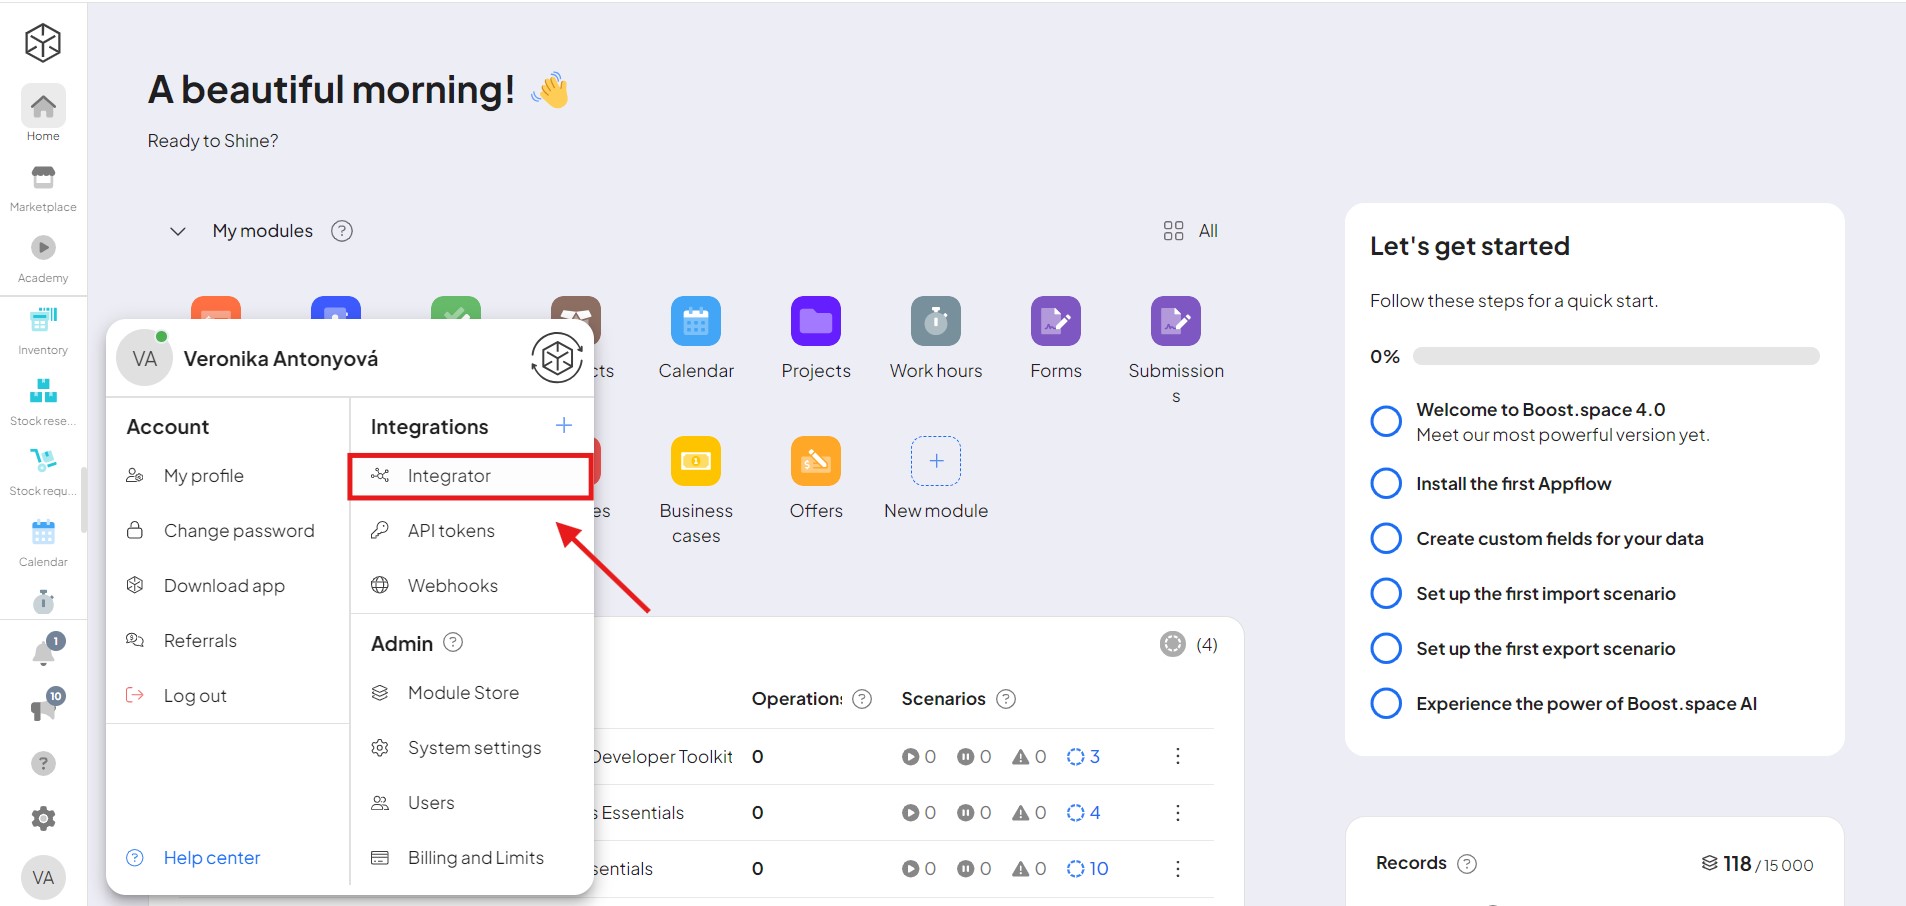
- You can see the main structure of the page. The first one is Organization, its general overview. Here you can create teams, add users, edit their rights and roles, and see installed applications and variables.
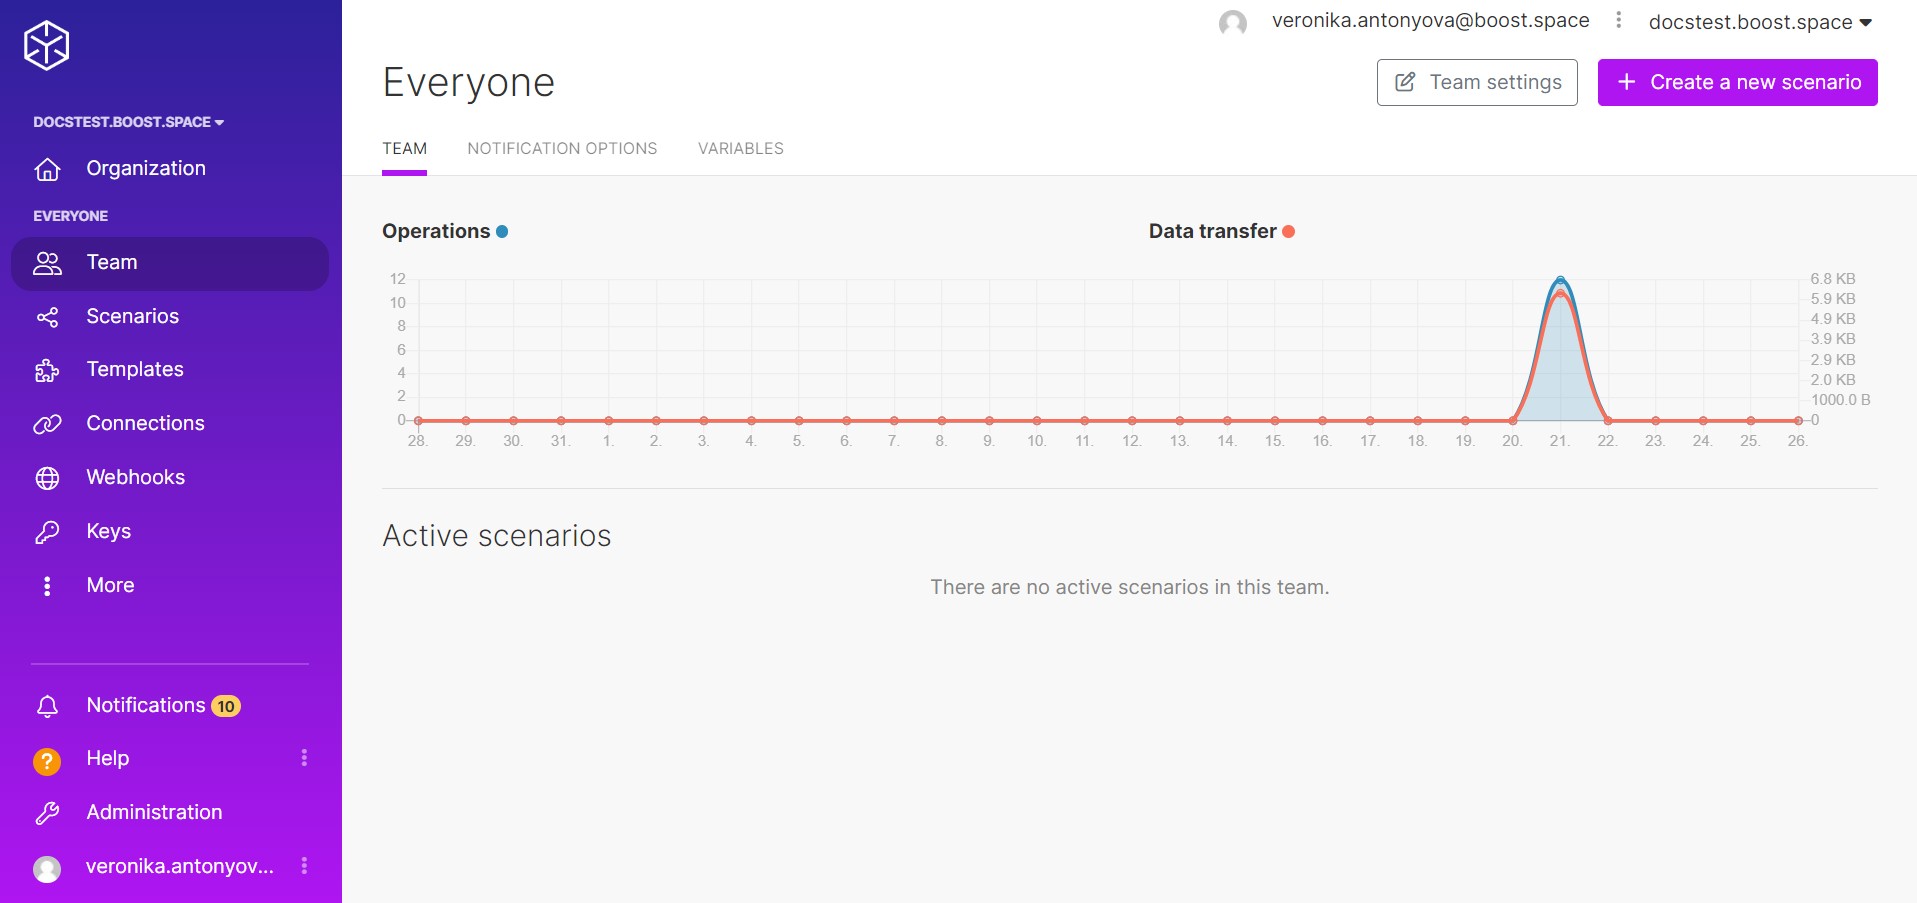
- If you have multiple systems, you can switch between them by clicking on their name.
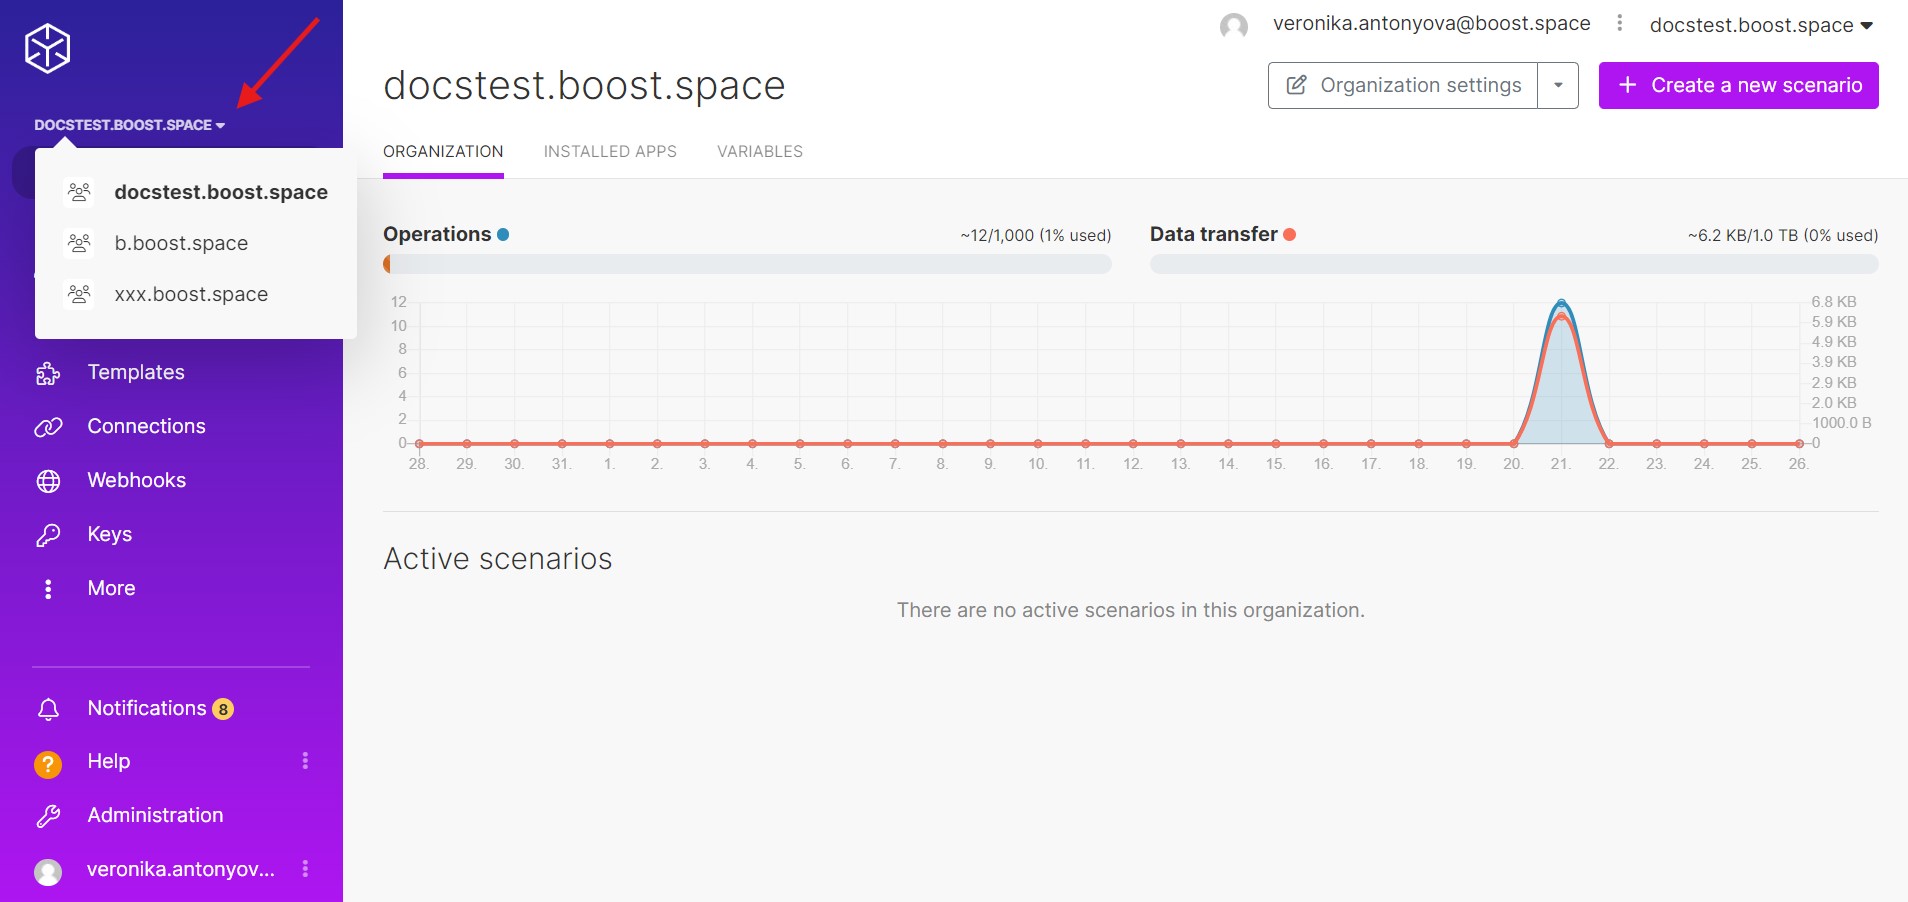
- You can return to the home page by clicking on the logo on the top left.
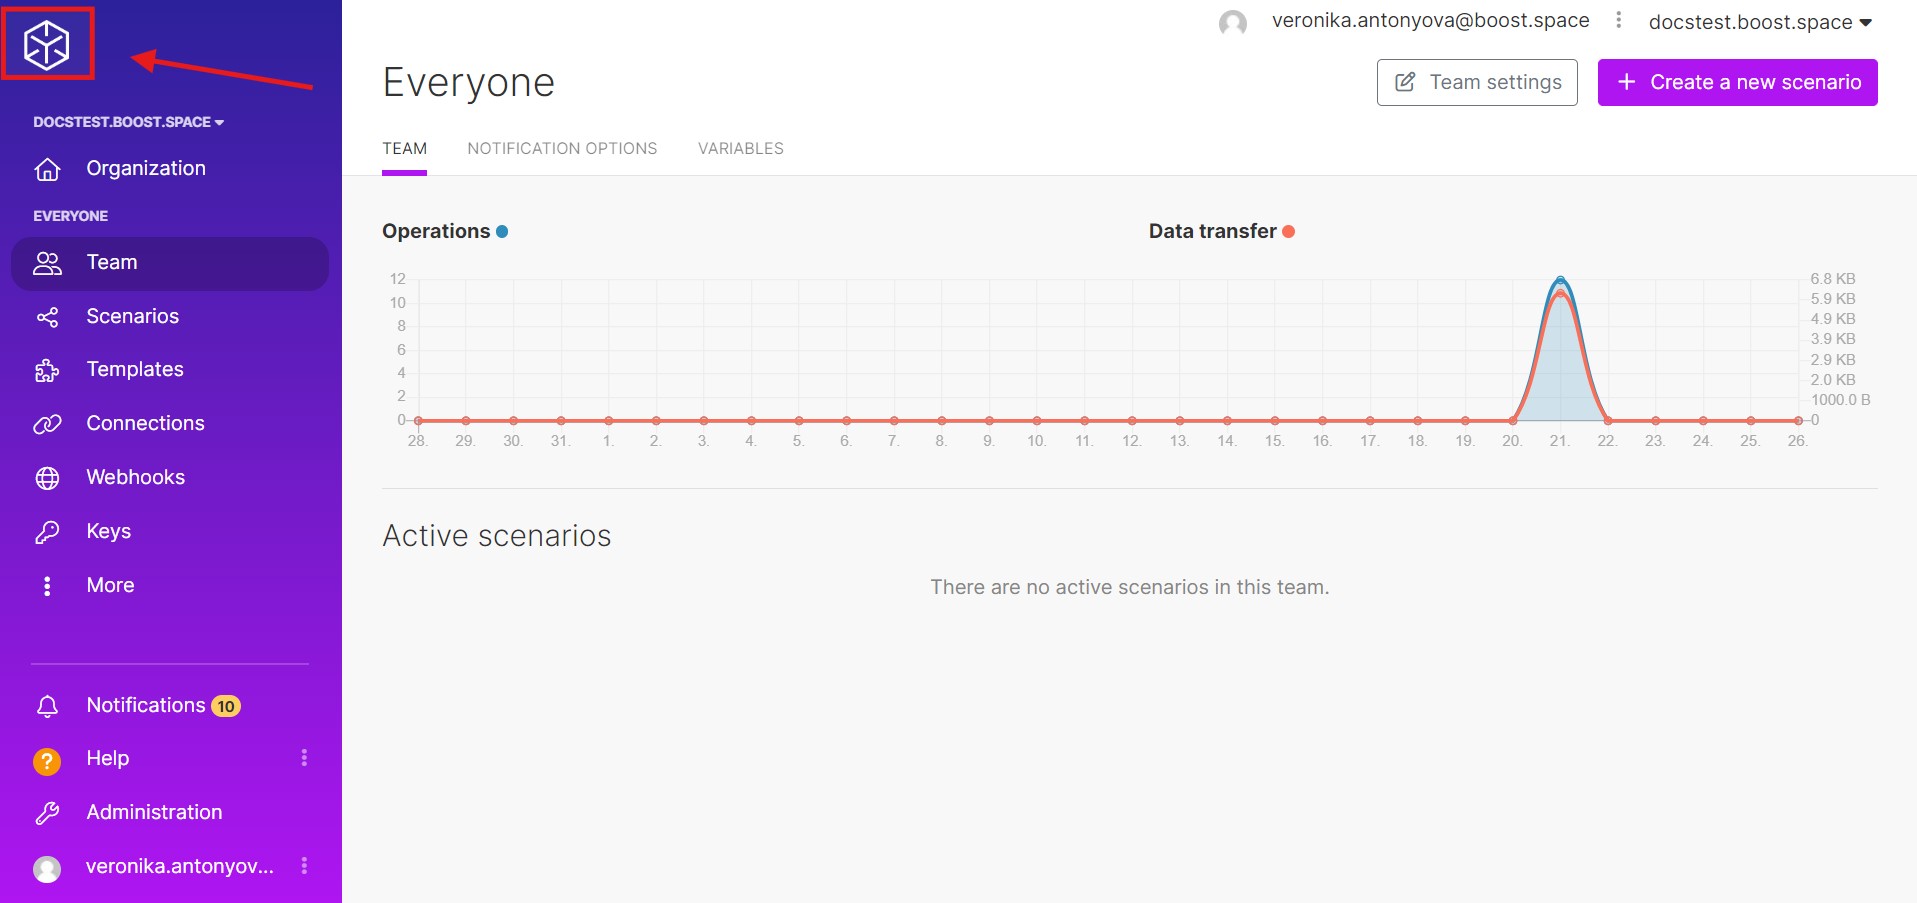
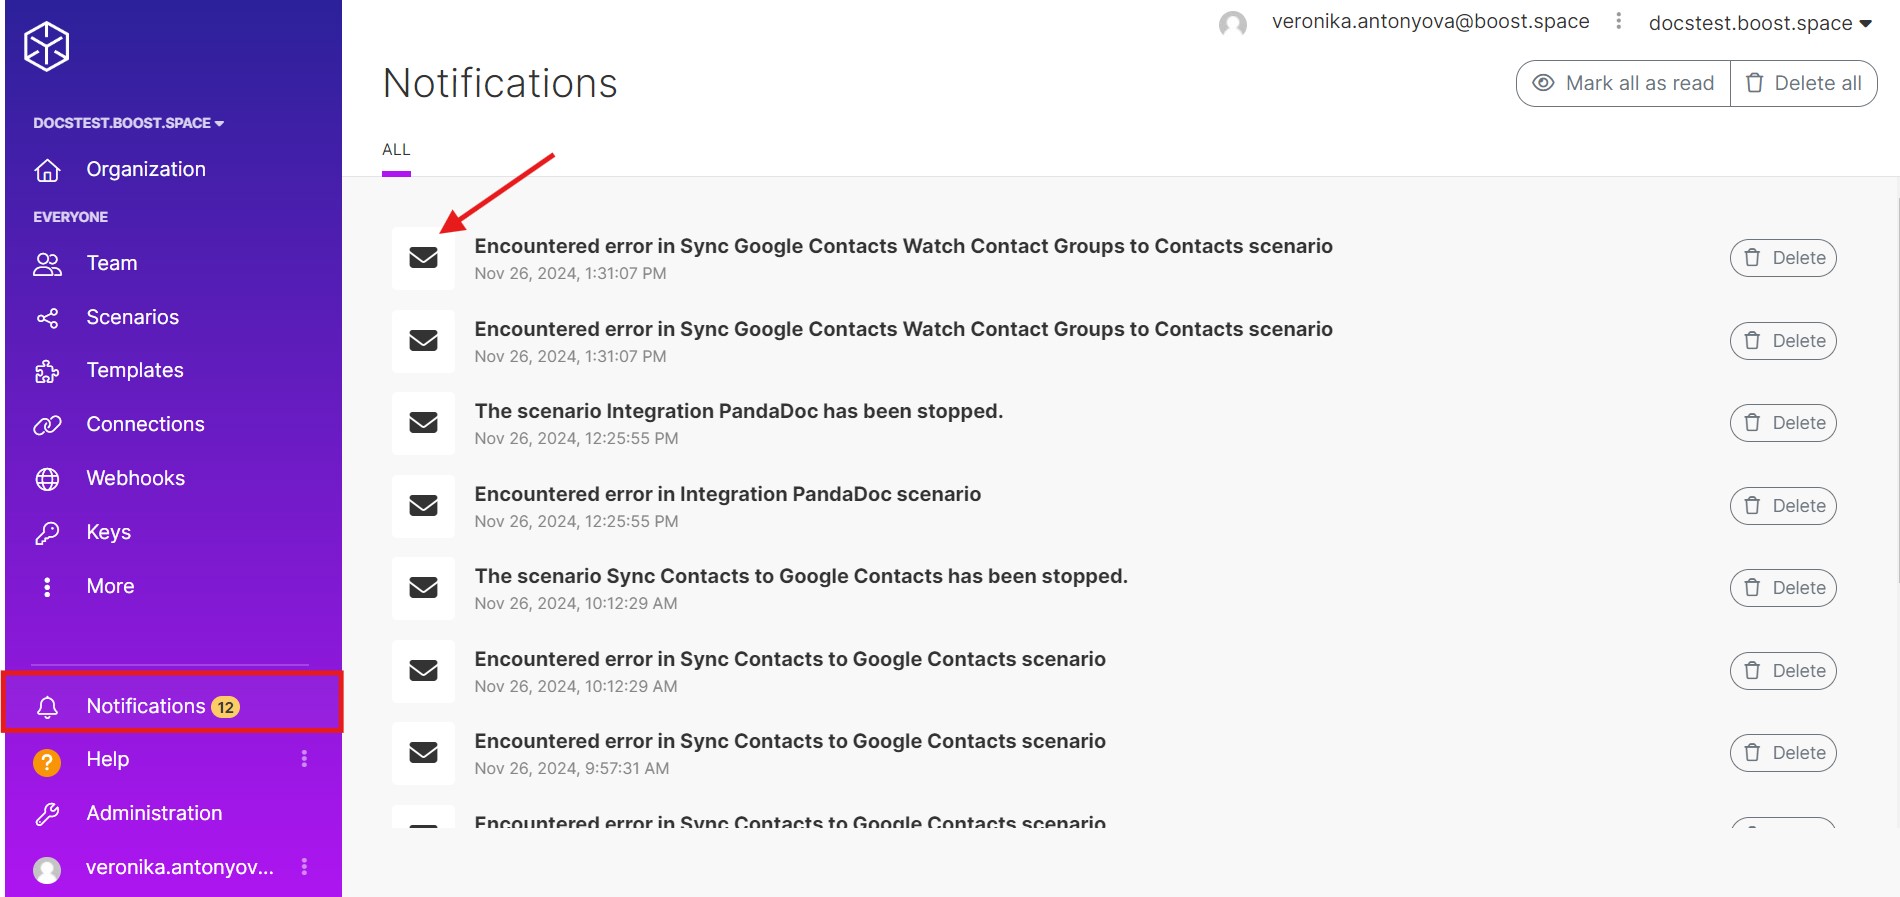
- Second, you see Team. Here you have an overview of all created teams and members of your organization. And you can set alerts and team variables here.
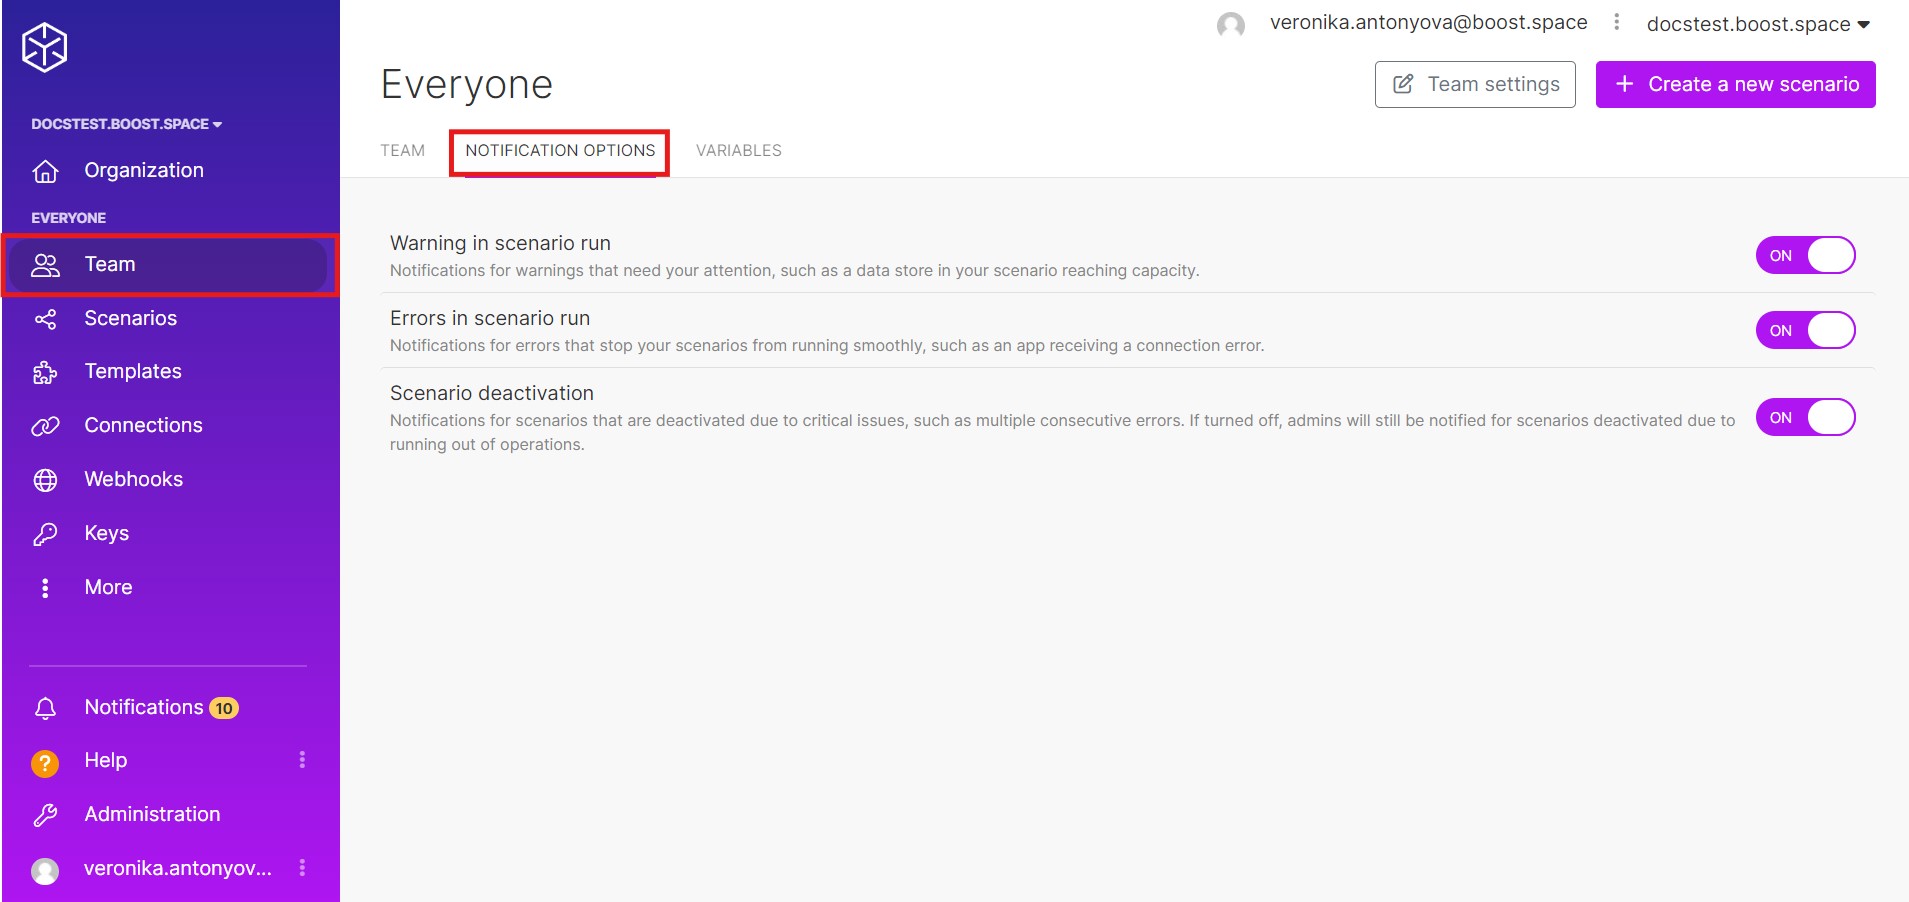
- In the scenariosA specific connection between applications in which data can be transferred. Two types of scenarios: active/inactive., you can see specific automations that you can turn off and on and divide them into folders.
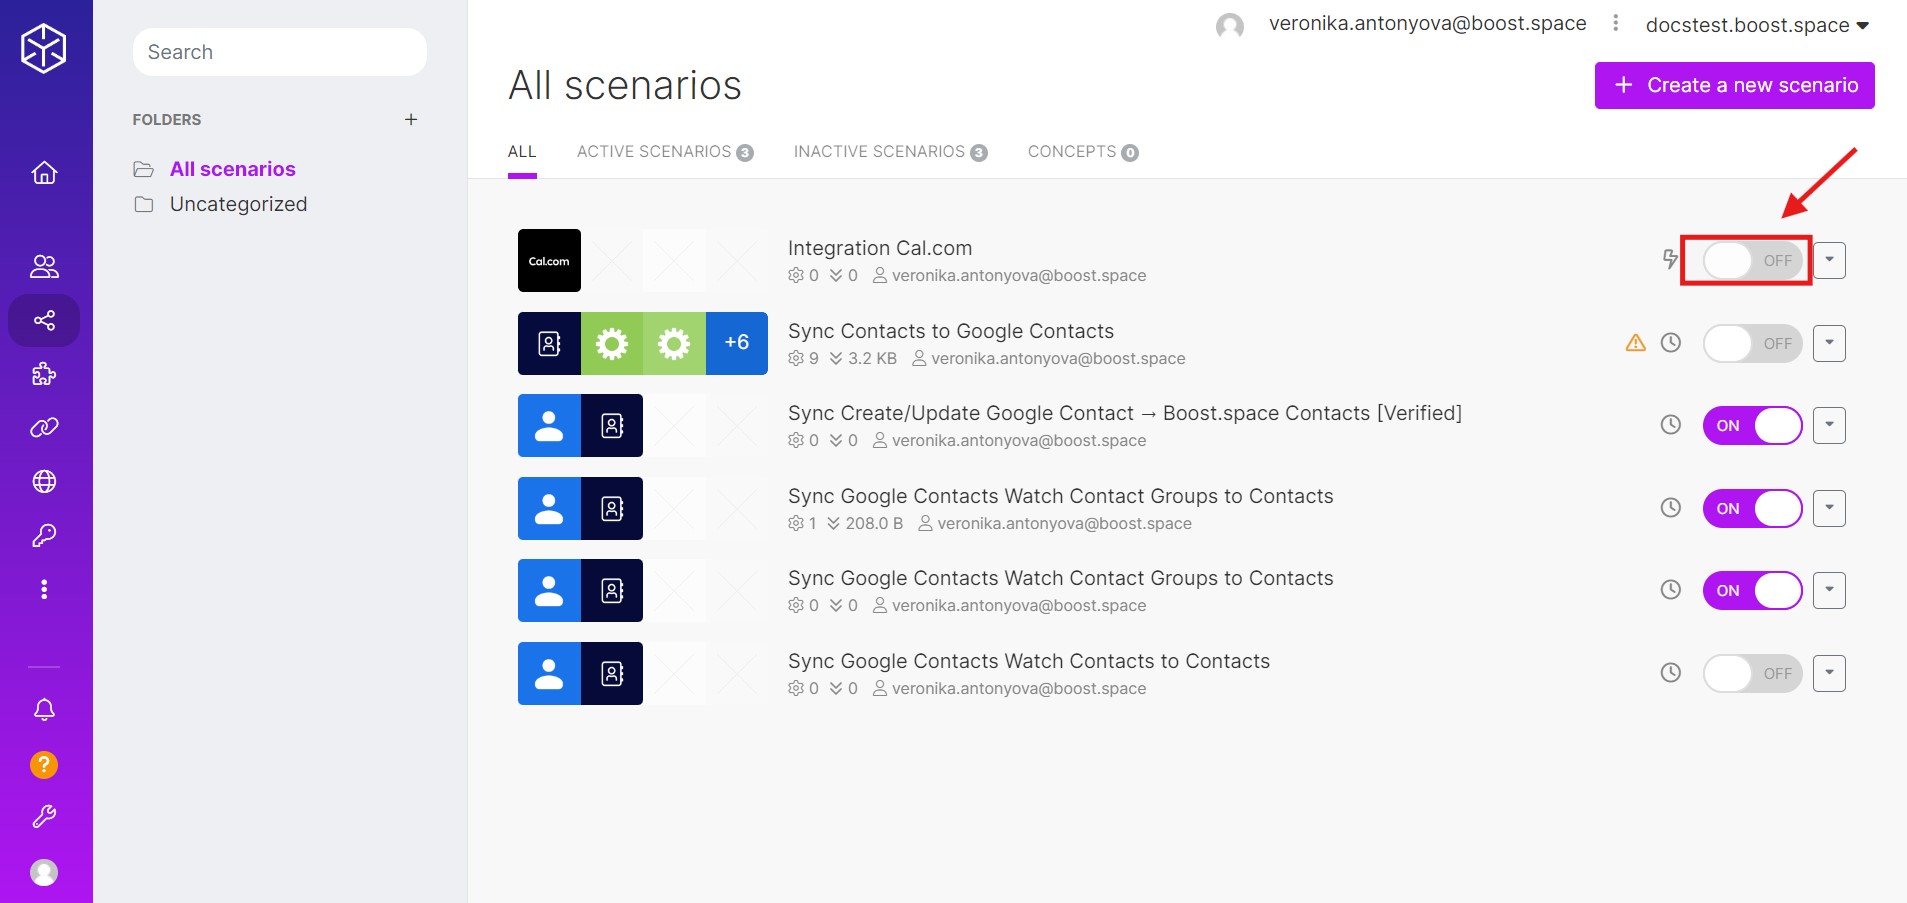
- Next are Templates – public and private. These are pre-made scenarios where you add your own values and then publish them. We are constantly working on new templates that will be published gradually.
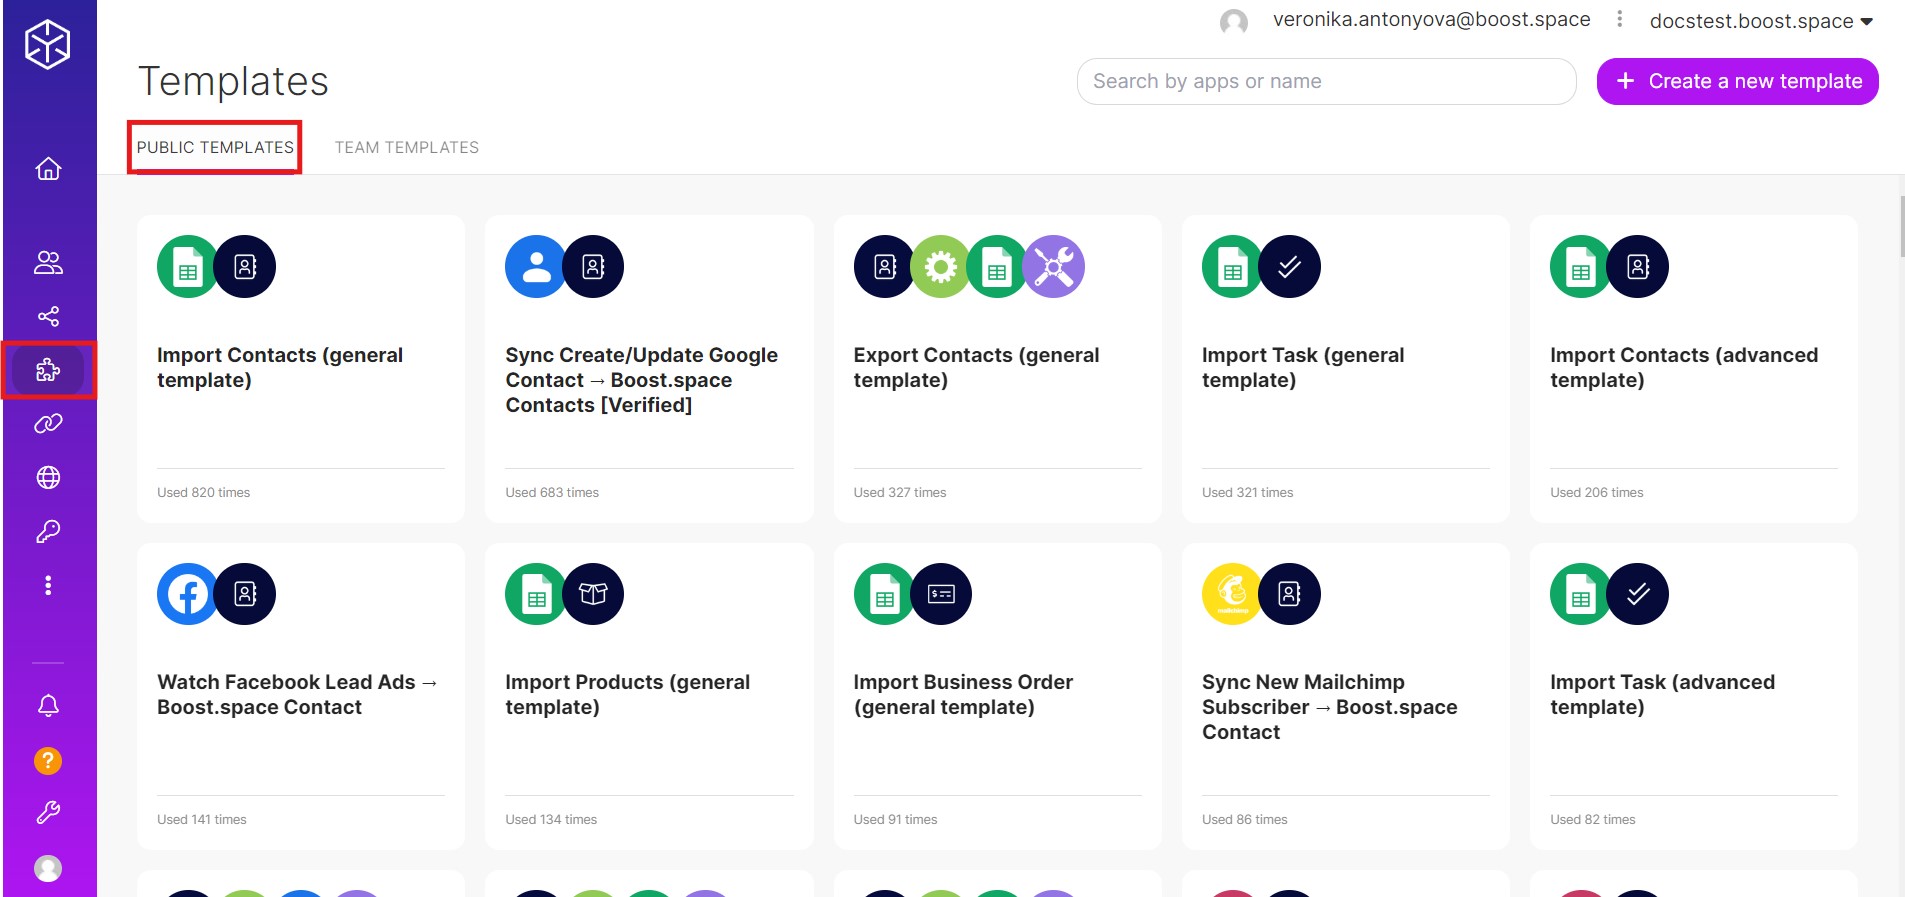
- In the notifications section, you will find all warnings. If you click on the envelope icon, you can see more detailed information.
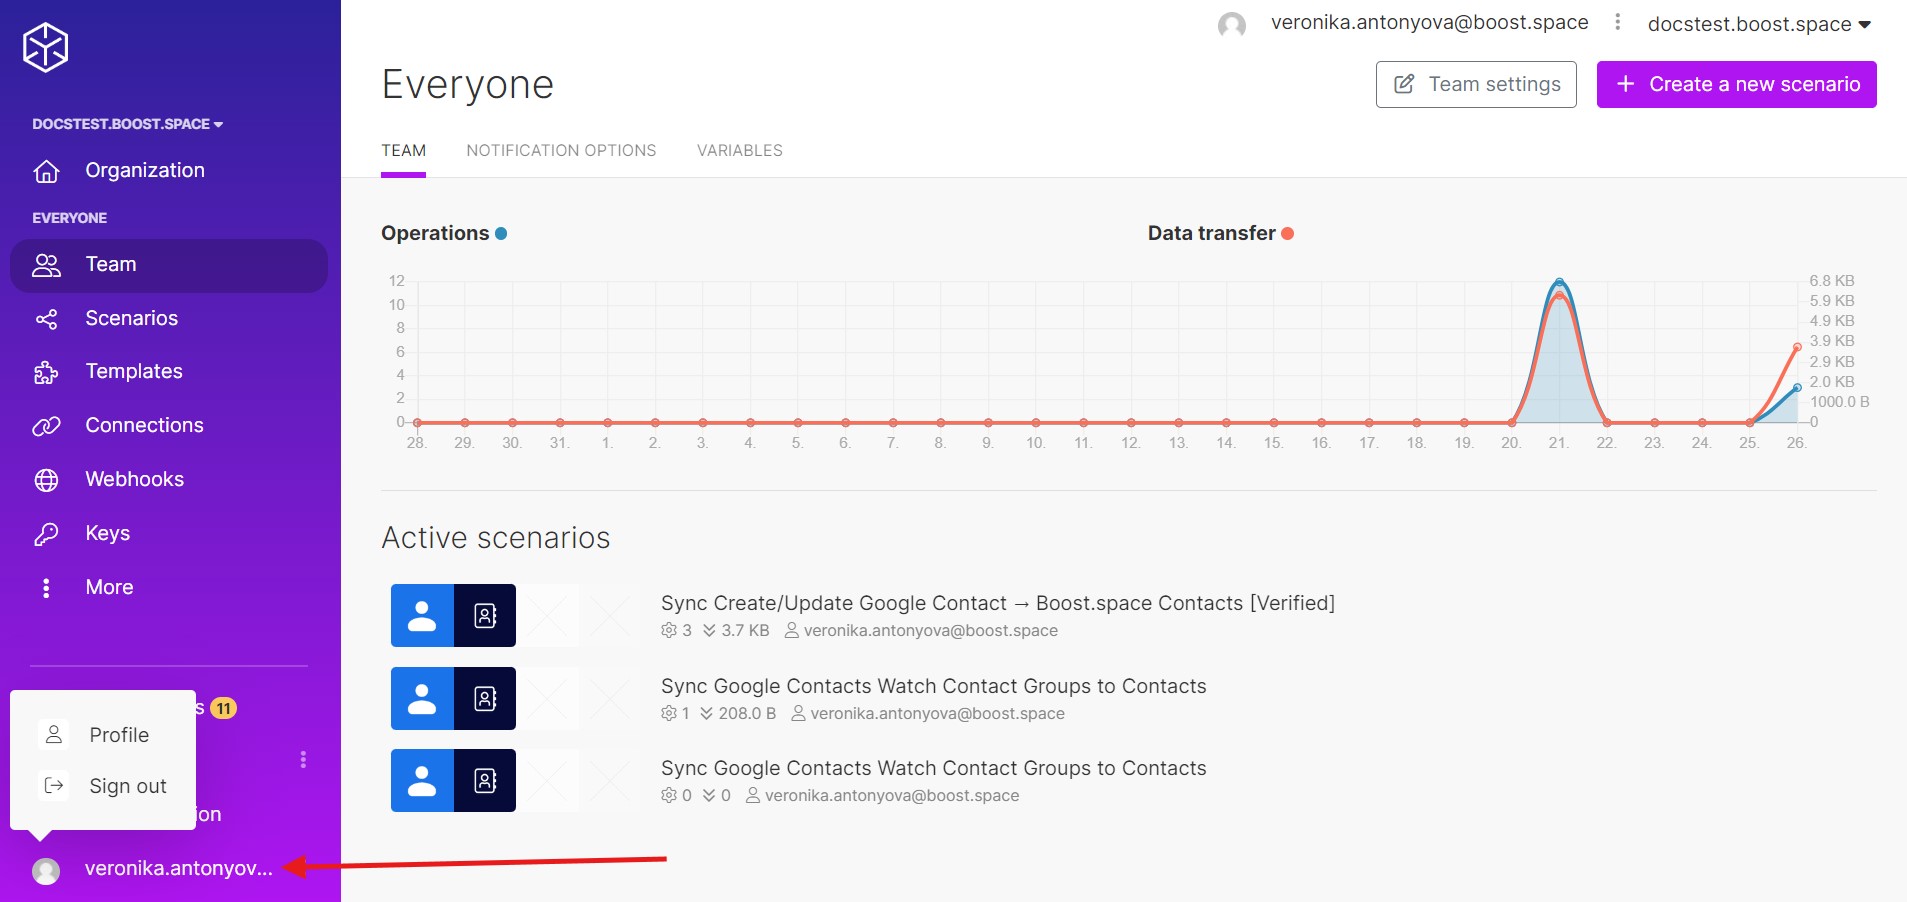
- When you click on your email, you will be presented with options – Profile or Sign out. If you go to Profile, you’ll find settings like your time zone, language, password, or add a tokenA secure code used to authenticate and authorize access to API endpoints, enabling users to connect with third-party applications..
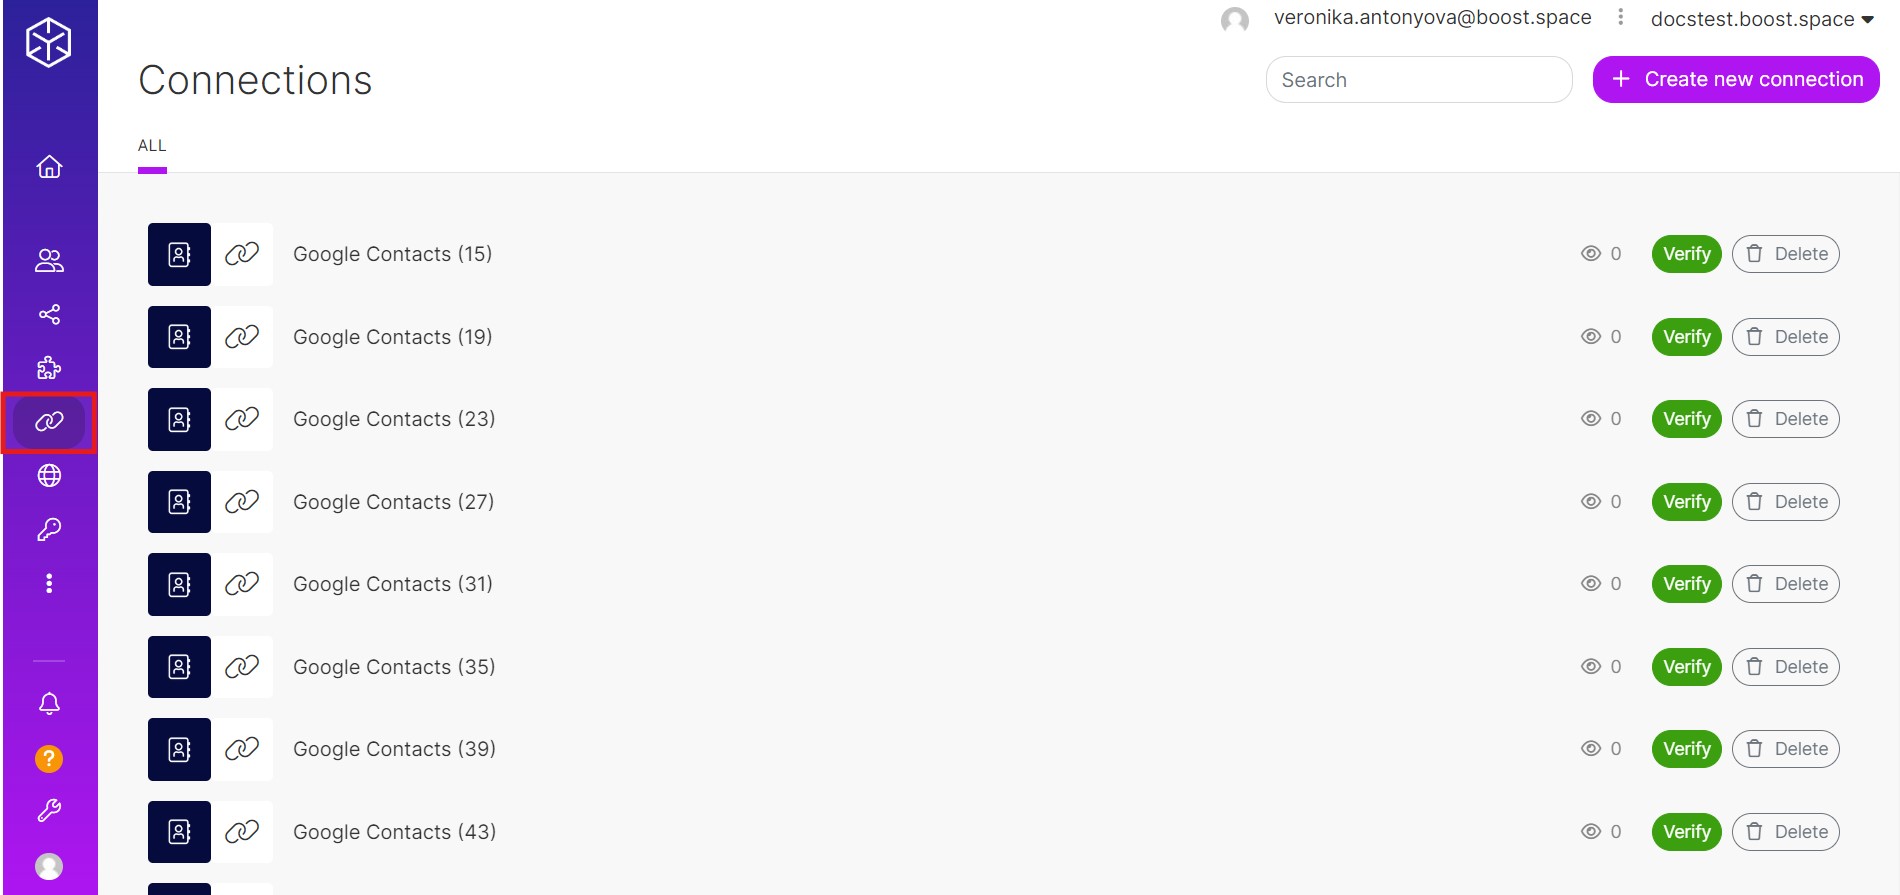
- Here you can see an overview of your actual connections. These are created automatically when you make and run a scenarioA specific connection between applications in which data can be transferred. Two types of scenarios: active/inactive.. If your connectionUnique, active service acces point to a network. There are different types of connections (API key, Oauth…). is disconnected, you can re-establish it here, or you can also delete the connection here.
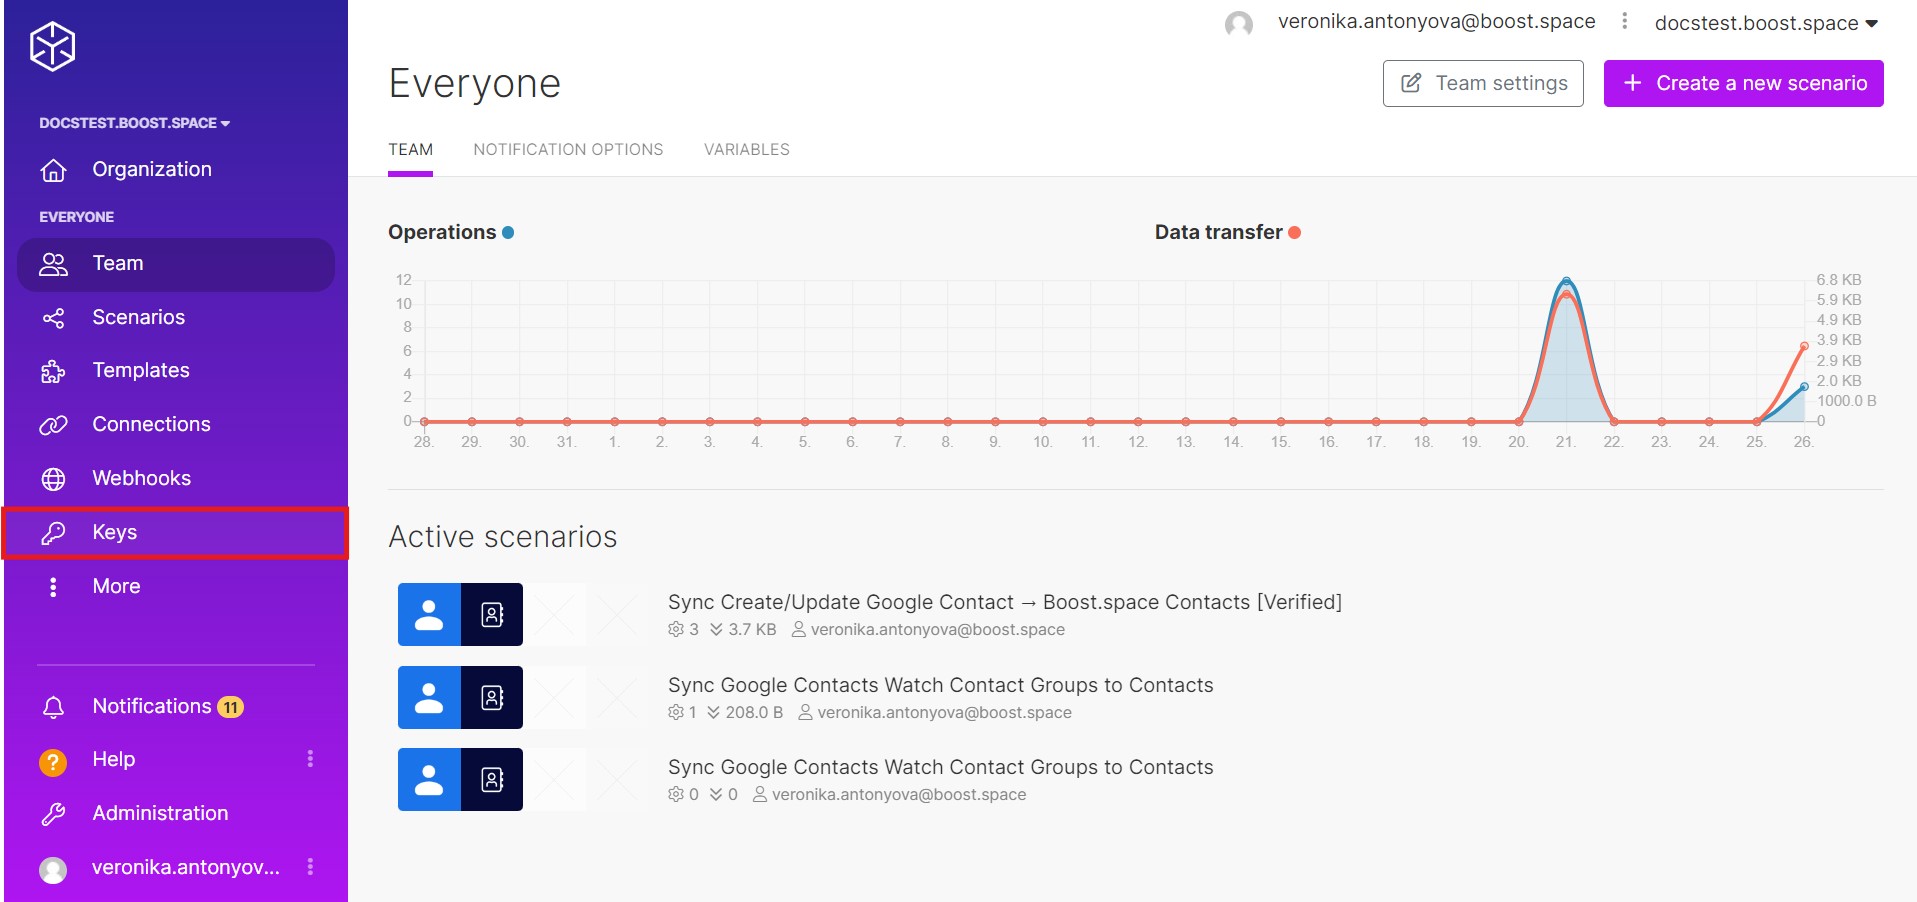
- WebhooksA webhook is a way for an app to send real-time information to a specific URL in response to certain events or triggers. allow you to send data from your website to other applications and automate many processes that you would traditionally do manually. If a module requires a public or private key, you can add it to the keychainThe keychain helps you to administer the keys you have stored in Boost.space Integrator. Each key is a unique identifier used for encryption. in the module setting. Their administration can be done here.
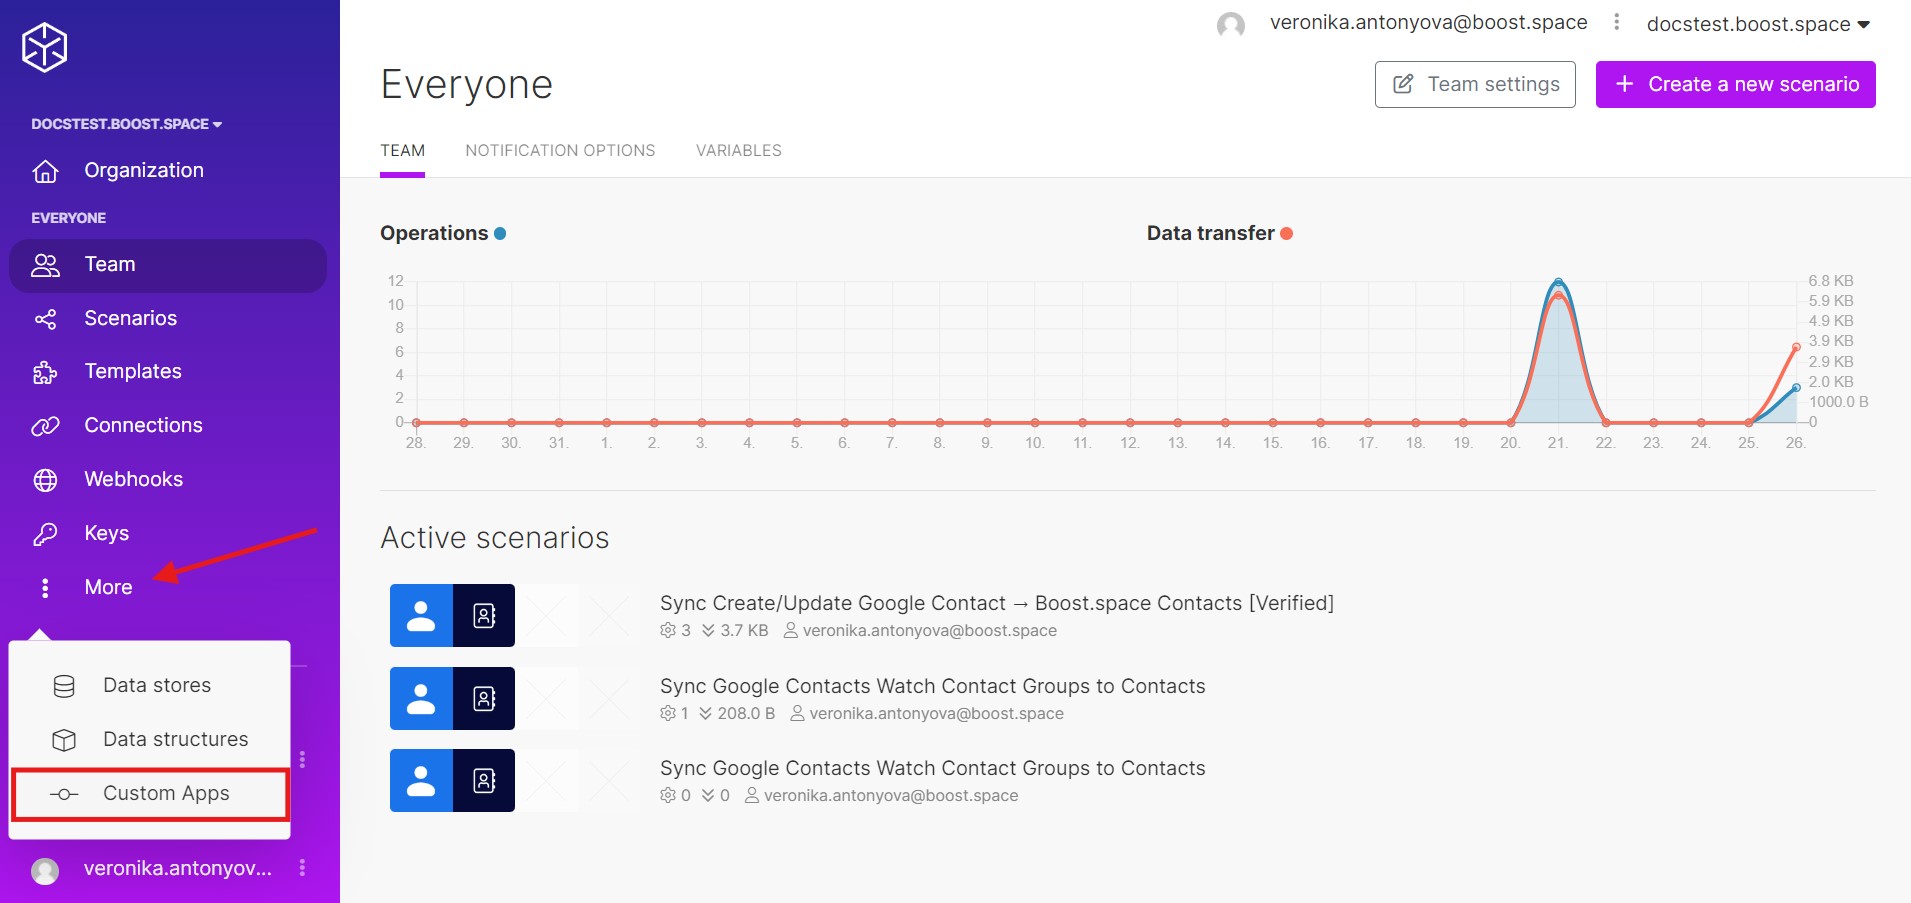
- Click on “More”. Data storesA data store is a built-in database in Boost.space Integrator. You can use data stores to store data from scenarios or transfer data between individual scenarios or scenario runs. Your account includes data stores, so you do not have to register at a third-party service. allow you to store data from scenarios or transfer data between individual scenarios or scenario runs. You can use data stores to store data from apps during scenario execution. Data stores are similar to a simple database. A data structureWhen you create a data store, you need to create a data structure that formats your data store in Boost.space Integrator. Think of the data store as a spreadsheet and the data structure as the headers. The data structure defines the kind of data (i.e. text, numeric, etc.) that the data store records. You can view and manage your data... is a list of the columns for a table, that indicates the column name and data type.
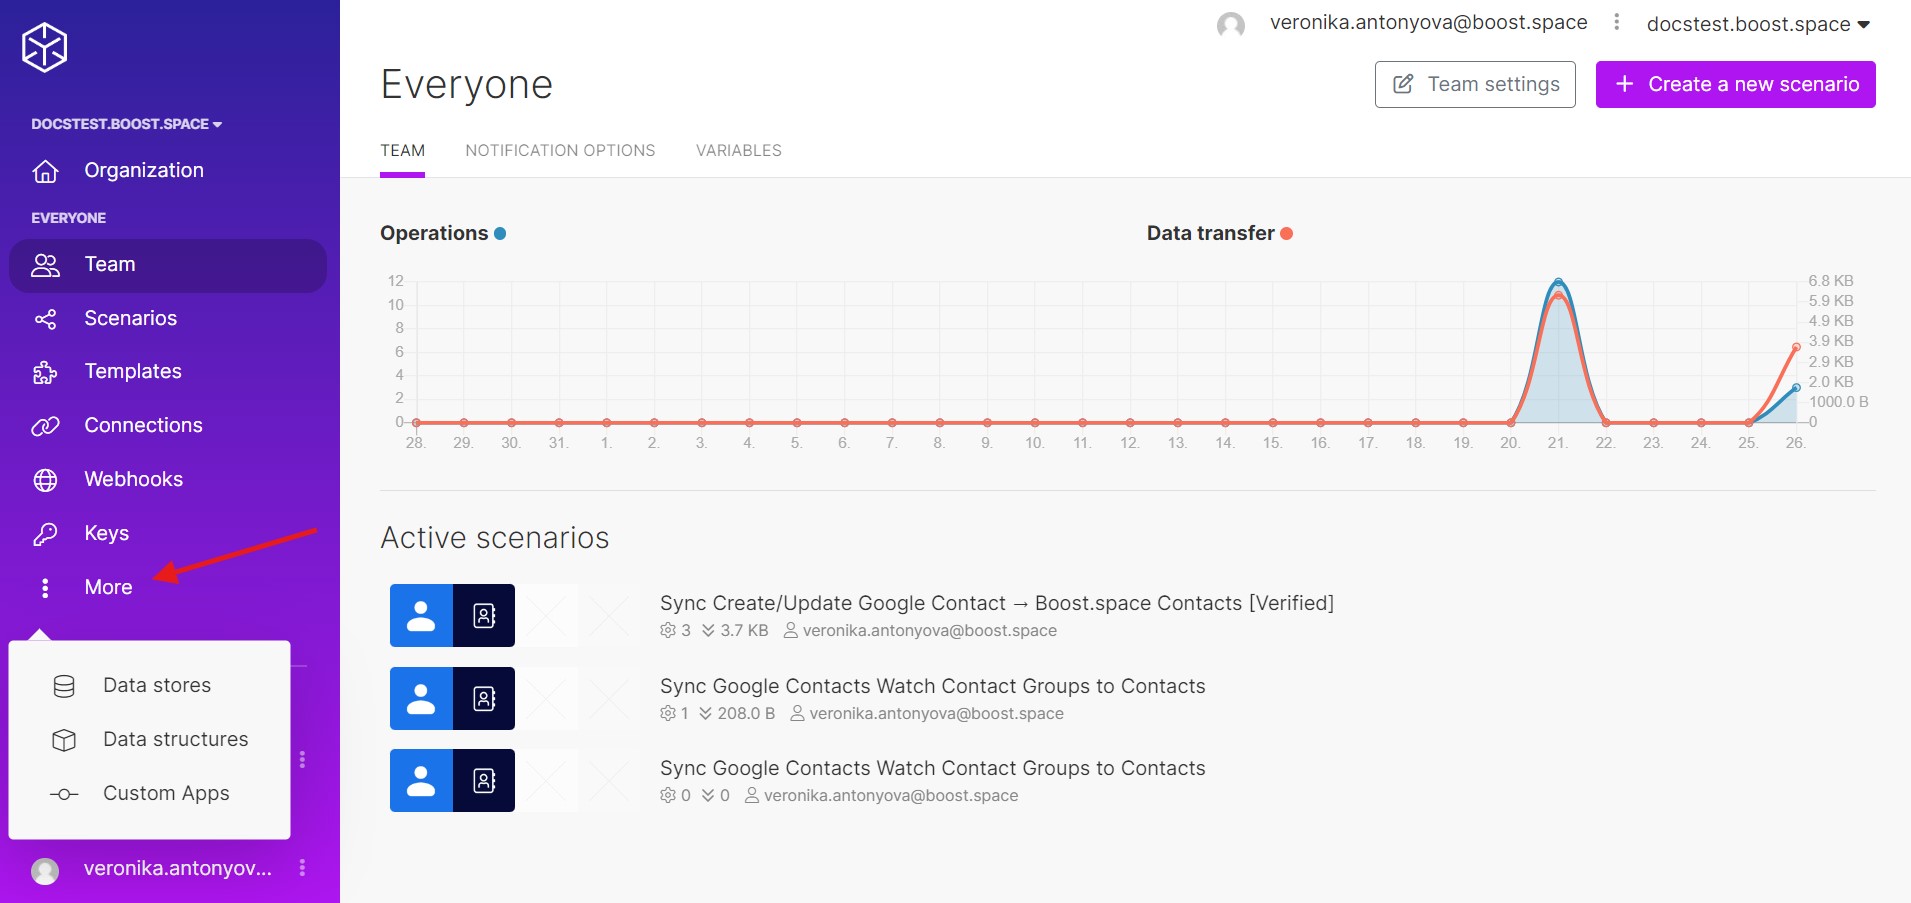
- If you own an application and would like to link it to Make, you define its use and rights here in the settings.
- And that’s it!
If you will have any problem with orientation in Boost.space Integrator, please contact us at [email protected].
