Boost.spaceA platform that centralizes and synchronizes company data from internal and external sources, offering a suite of modules and addons for project management, CRM, data visualization, and more. Has many features to optimize your workflow! IntegratorPart of the Boost.space system, where you can create your connections and automate your processes. visual scenario editor enables you to create and edit scenarios.
Go to Scenarios and click Create a new scenario to open scenario editor.

Select Edit to edit an existing scenario, or click anywhere on the page of the existing scenario to open the scenario editor.
Below is a list and explanation of all of the elements in the scenario editor.
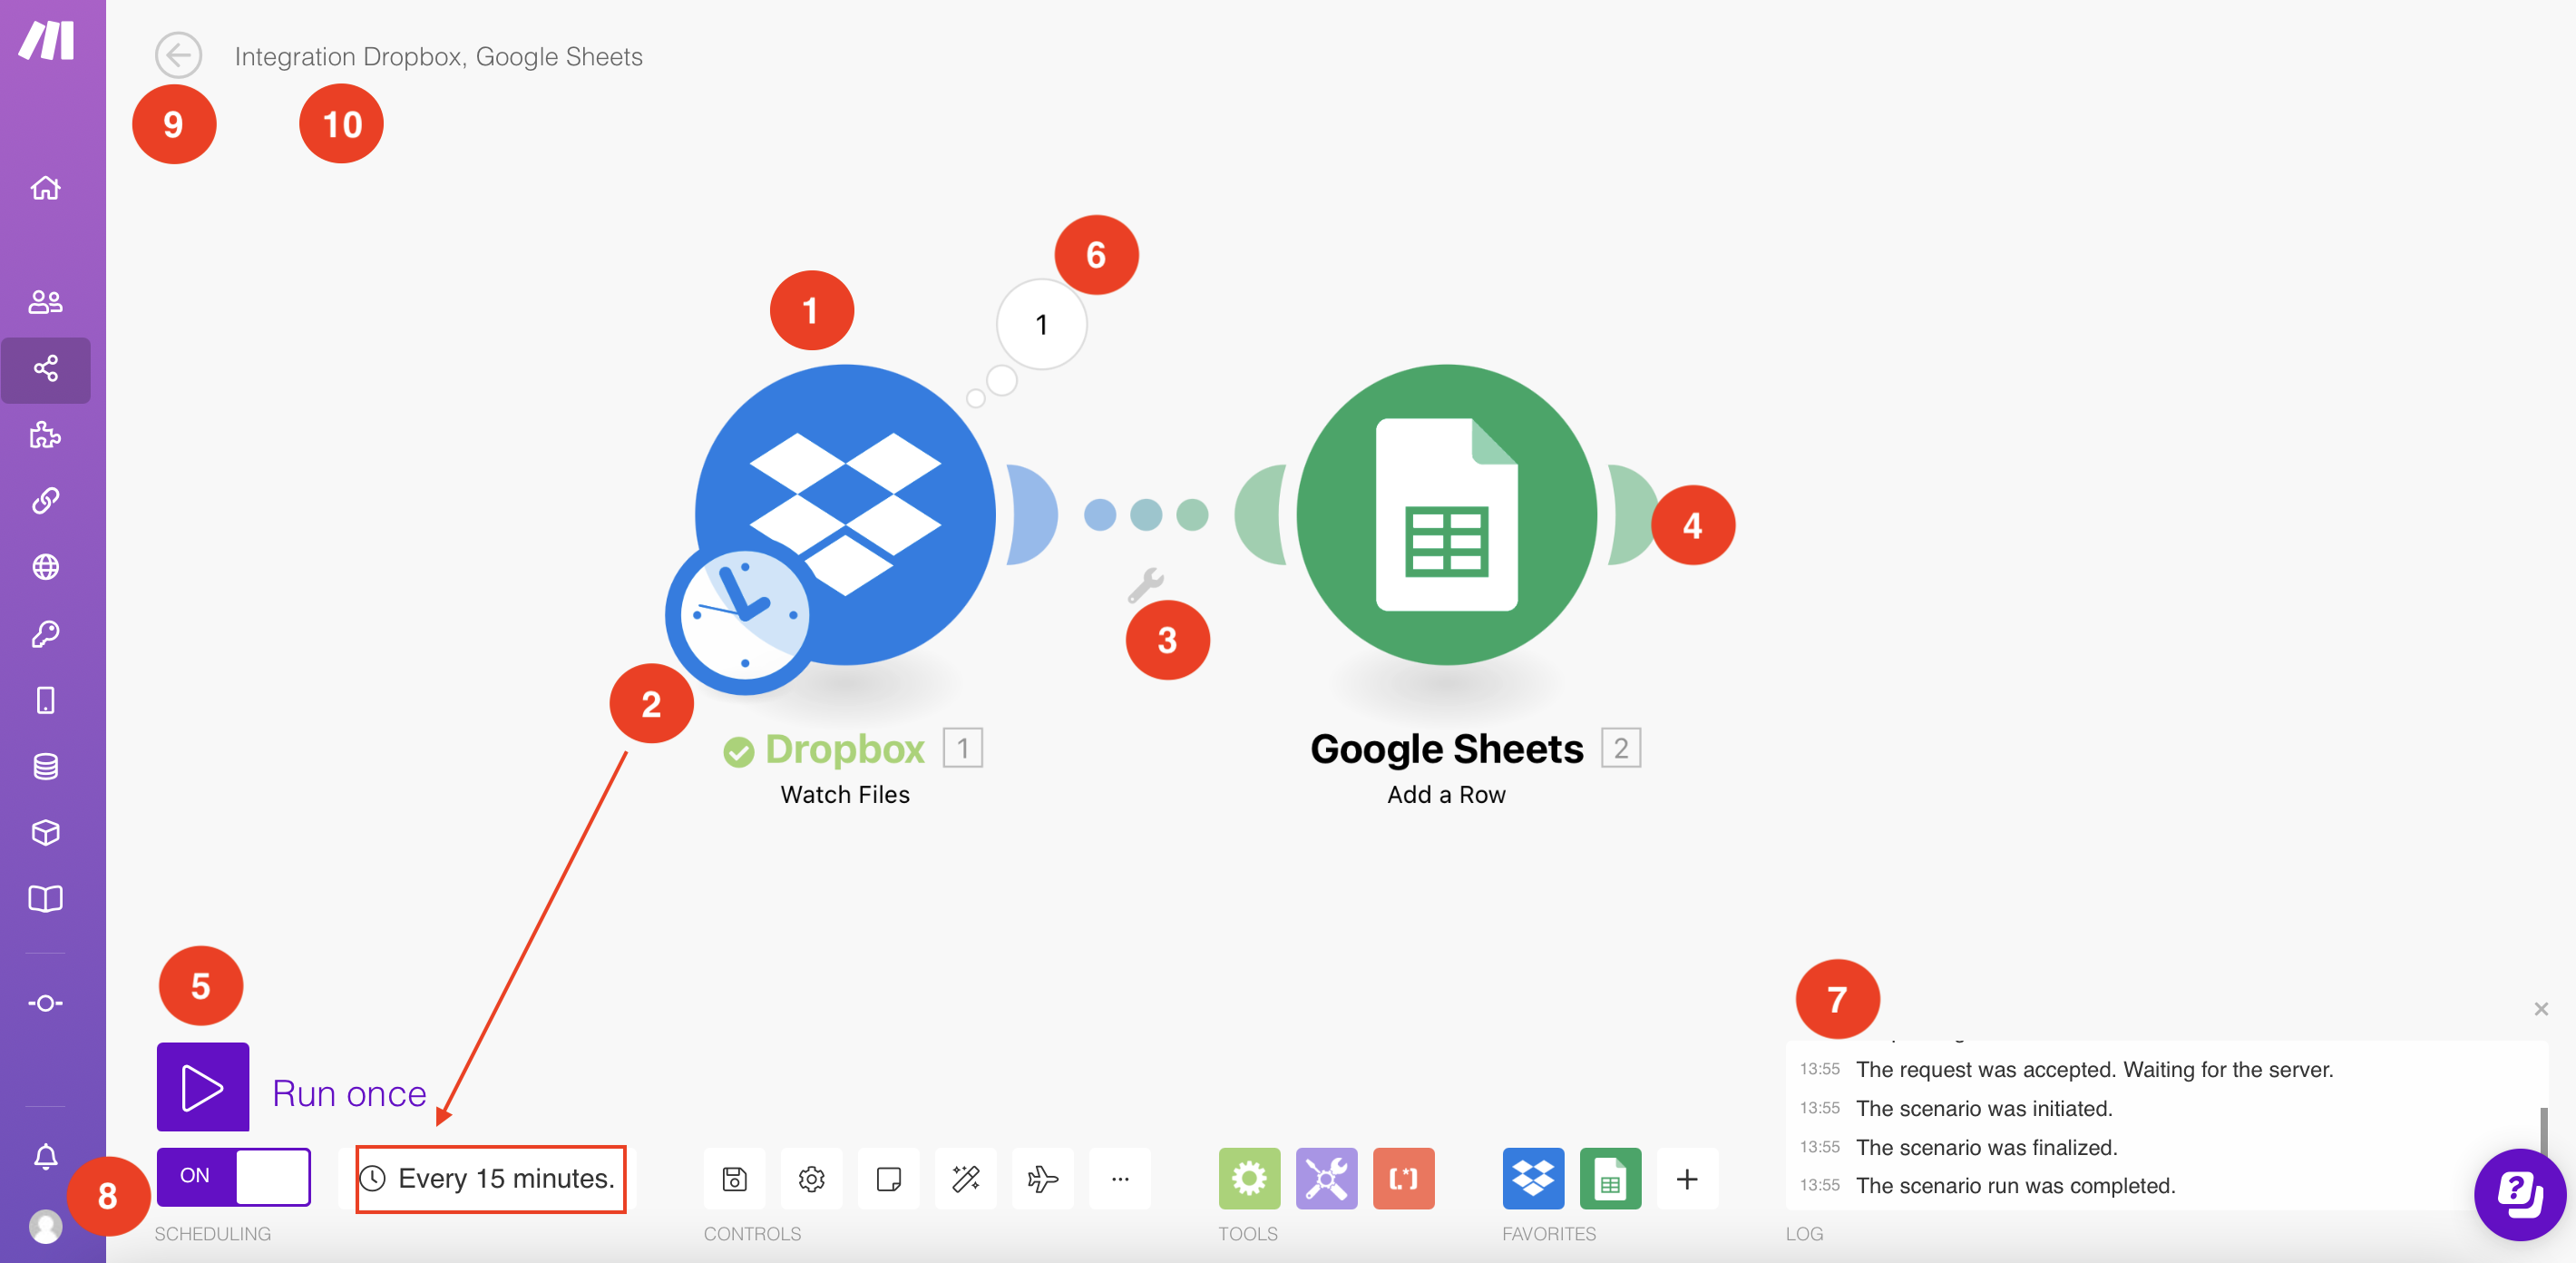
Modulesa module is an application or tool designed to handle specific business functions, such as CRM, project management, or inventory. The system's modular architecture allows you to activate only the modules you need, enabling customization and scalability as your business requirements evolve. in Boost.space Integrator represent individual steps in your automated process. There are different types of modules.
There is no limit to the number of modules you can add to your scenario. The number of operations depends on your subscription.
In order for Boost.space Integrator to communicate with a given app, you need to create a connection.
Depending on the modulea module is an application or tool designed to handle specific business functions, such as CRM, project management, or inventory. The system's modular architecture allows you to activate only the modules you need, enabling customization and scalability as your business requirements evolve. you have selected, right-click the module to open the following options:
Settings
Run this module only
Add a module
Add error handler
Rename
Close
Copy moduleWhen working with multiple scenarios, use the copy module command to create a duplicate of your module that you can paste to any scenario. It functions similarly to cutting and pasting text on your computer. Although cloning a module is faster, copying allows you to paste the module in another scenario. Copying a module will also copy any filters before...
Add a note
Delete module
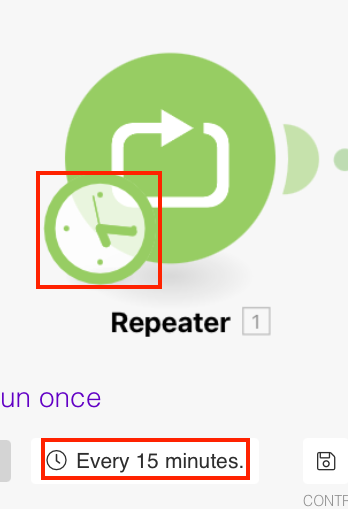
The schedule settings panel lets you adjust the running schedule of your scenario. By default, a scenario runs every 15 minutes. This panel allows you to customize the frequency and timing of your scenario. Click the clock to schedule a scenario. You can also access schedule settings via the toolbar by clicking the Schedule settings.
The clock represents a scheduled triggerThe initial event that starts a scenario. It can be an action, a scheduled time, or a custom event, and is essential to define at the beginning of each scenario., the starting point of your scenario. A scenario can also start with an instant trigger, which is visually represented as lightning ( ). Learn about different types of triggers.
A route is a connectionUnique, active service acces point to a network. There are different types of connections (API key, Oauth…). between two modules, visually represented as a dotted line.
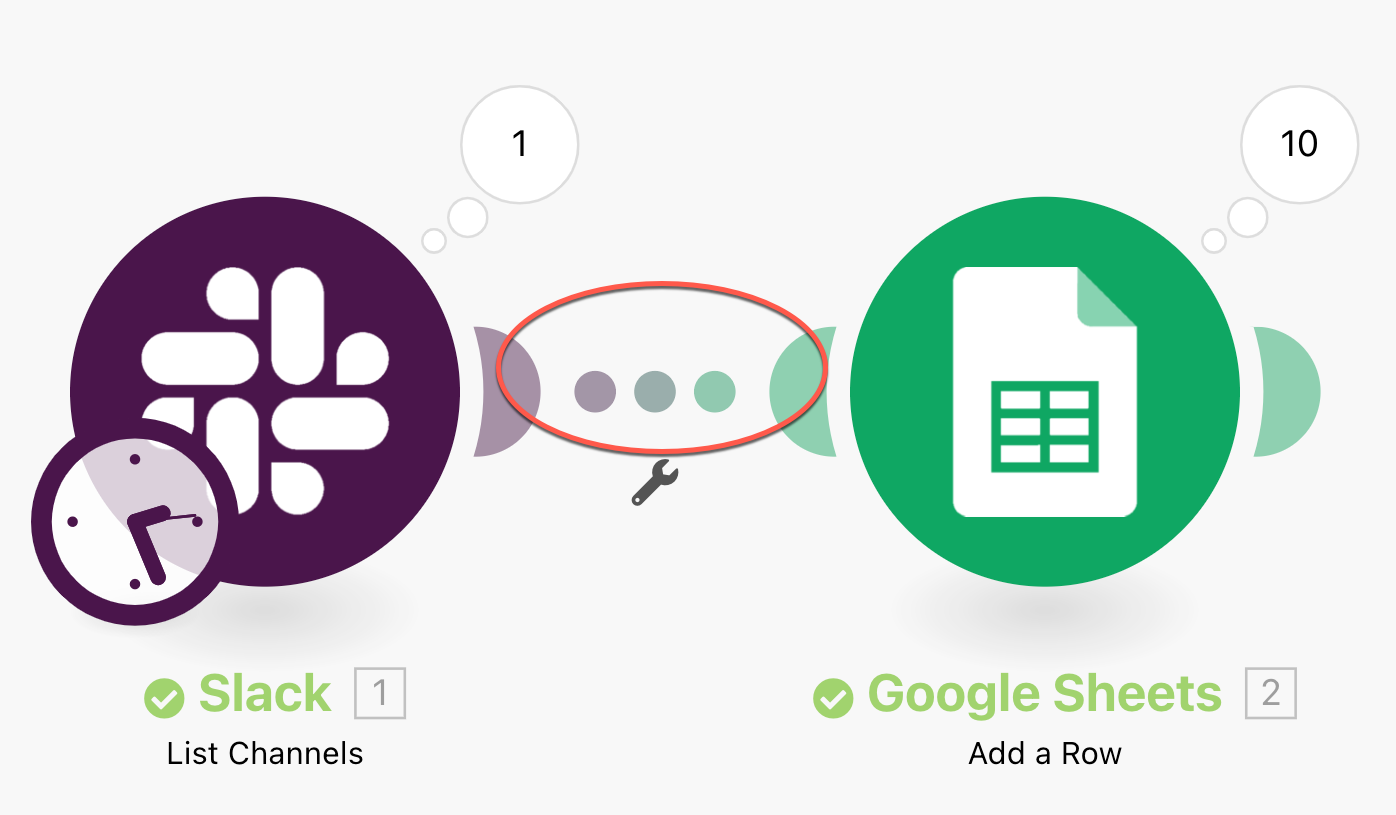
Click the wrench ( ) below the route connecting two modules to display the following options:
- Set up a filter – Filters bundles according to specific criteria. You can also access this option by clicking the route connecting two modules.
- Unlink – When you unlink a module, it will not be executed, unless it is a trigger.
Add a router
Add a module
Add a note
To add a module, hover over the right handle of a module until the plus sign appears. Click the plus sign to create an empty module. A menu with a list of app/services appears, allowing you to add another module to your scenario.
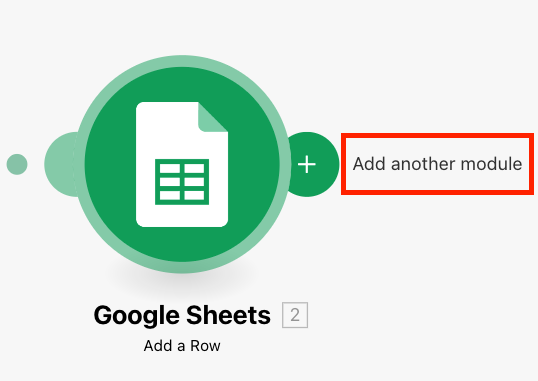
To remove a module, right-click the module you want to delete and select Delete module.
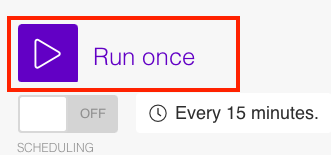
Once you configure your scenario, click Run once to test your scenario. After your scenario executes, you can see the number of operationsOperations are tasks in integration scenarios, similar to "operations" in Make.com. Each action, like reading or updating a record, counts as one operation. They’re essential for data syncing between apps and reset monthly. Going over the limit pauses syncing until you add more or upgrade your plan., as well as more details in the log.
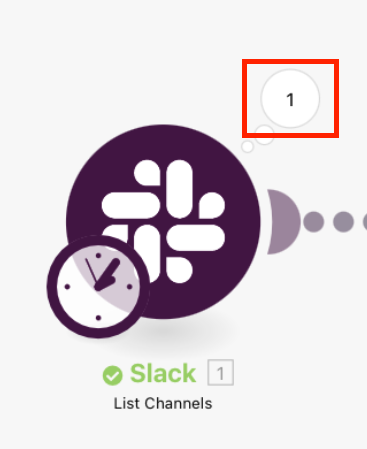
An operationOperations are tasks in integration scenarios, similar to "operations" in Make.com. Each action, like reading or updating a record, counts as one operation. They’re essential for data syncing between apps and reset monthly. Going over the limit pauses syncing until you add more or upgrade your plan. is a task performed by a module. Once the scenario is executed, Boost.space Integrator displays the number of operationsOperations are tasks in integration scenarios, similar to "operations" in Make.com. Each action, like reading or updating a record, counts as one operation. They’re essential for data syncing between apps and reset monthly. Going over the limit pauses syncing until you add more or upgrade your plan. performed by each module in the white bubble on the top-right of each module. Click the bubble to inspect the results of the module’s operation.
Boost.space Integrator charges you according to the total number of operations performed by the modules in your scenario. For more information, check how to count the number of operations.
The log recordsIn Boost.space, a record is a single data entry within a module, like a row in a database. For example, a contact in the Contacts module or a task in the Tasks module. every event that occurs during a single run of a scenario and records it for the scenario execution history. The log contains information about each step and any errorsService is unavailable due to a failure, a service responds with unexpected data or the validation of input data fails. encountered during the execution of the scenario.

If everything works properly, you can activate the scenario. Select ON to activate your scenario or OFF to deactivate the scenario.
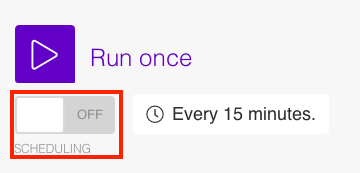
Learn about the difference between active and inactive scenarios.
If your scenario does not run as expected, check our error handling section.
Click the left arrow in the top-left corner to close the scenario editor and return to the scenario detail page.
To rename a scenario, click the scenario name in the top left corner and edit as desired. Press Enter or click outside the edited field to save the scenario under a new name, and click the save icon ( ) to save the new name.
In this section, you can find more information about Controls, Tools, and Favorites.

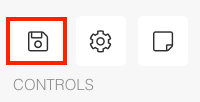
When you finish editing a scenario, click the save icon ( ) to save the current scenario settings.
![[Important]](https://docs.boost.space/wp-content/uploads/2022/11/important.png) |
Important |
|---|---|
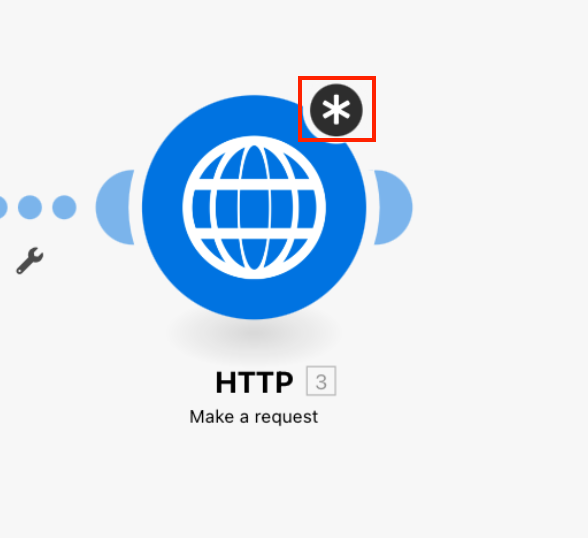
A scenario does not save automatically. If you do not save the scenario and exit it, a pop-up window appears prompting you to save your changes. If module settings are not saved, an asterisk ( ) displays on top of the module, until you press Cancel to discard or OK to save your changes in module settings. ) displays on top of the module, until you press Cancel to discard or OK to save your changes in module settings. |
To add a new note to the module or route (the connection between two modules), right-click the module or click the route you want to add a note to and select Add a note.
Write your note in the allocated spaceIn Boost.space, a space is a subunit within a module that helps organize and categorize data, ensuring clarity even with large volumes. For example, within the Contacts module, you might have spaces like "Client Database" or "Supplier Database." Access to each space is restricted to users who have created it or have been granted access.. You can add an unlimited number of notes.
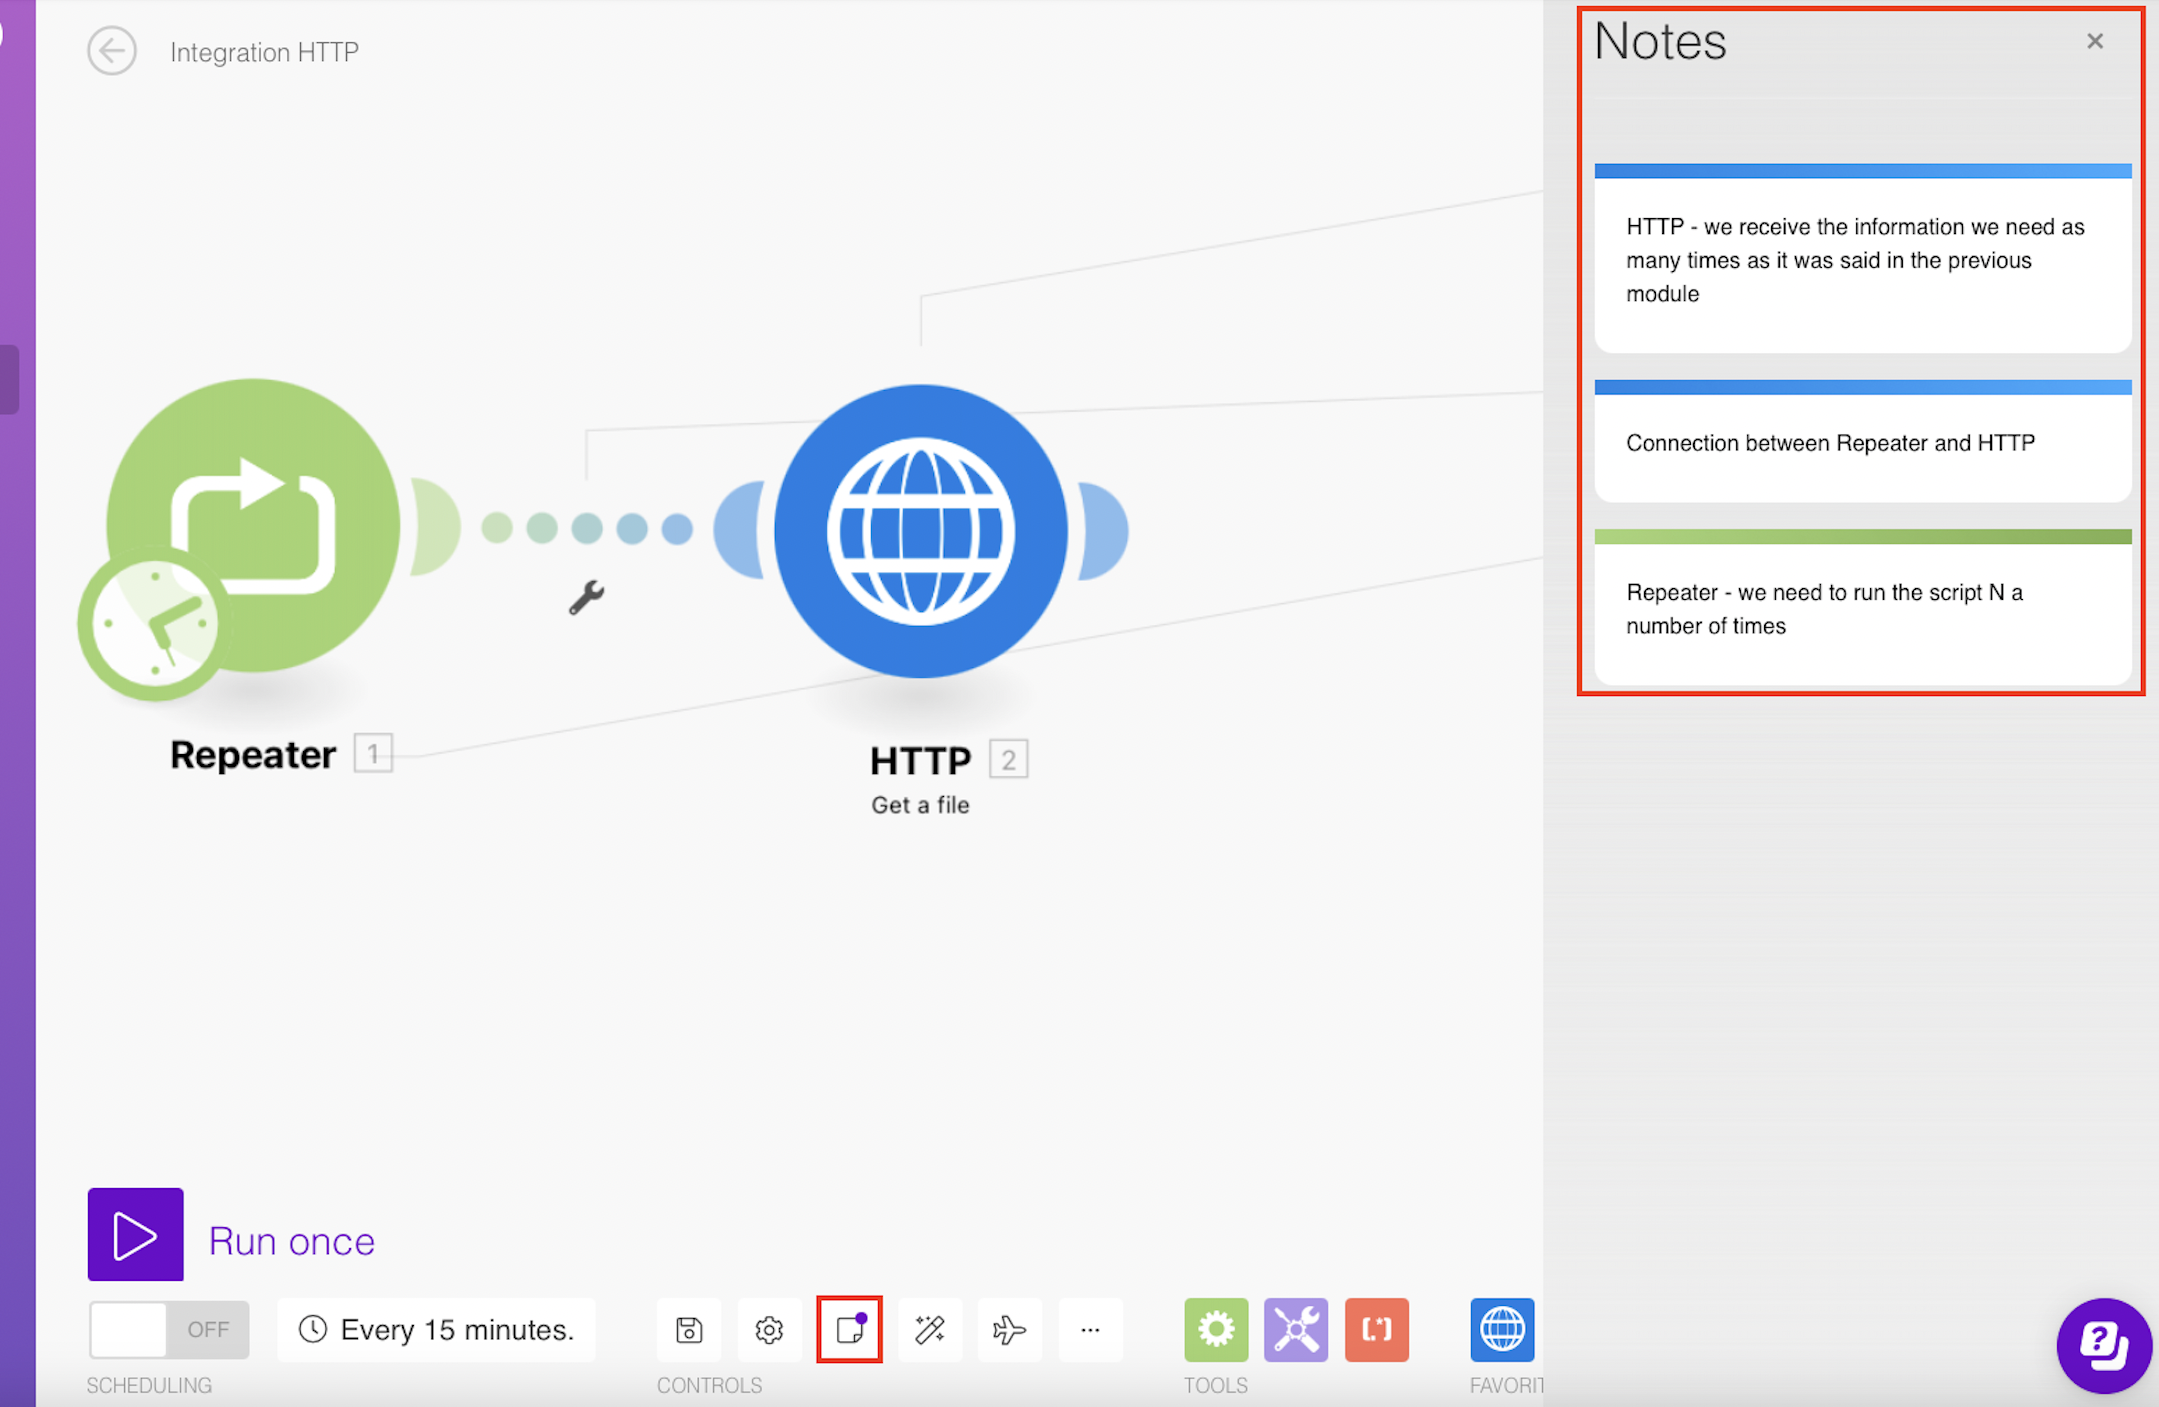
Click the page icon to show or hide notes that have been added to modules in your scenario.
![[Important]](https://docs.boost.space/wp-content/uploads/2022/11/important.png) |
Important |
|---|---|
| This action is not reversible unless you saved the scenario before using this functionFunctions you can use in Boost.space Integrator - create, update, delete, get, search.. |
Boost.space Integrator gives you the possibility to create highly sophisticated scenarios with many modules. Click the magic wand to adjust the overall layout of the modules in the scenario so you can see them aligned.

Click the airplane before running the scenario to see your data flow between modules.

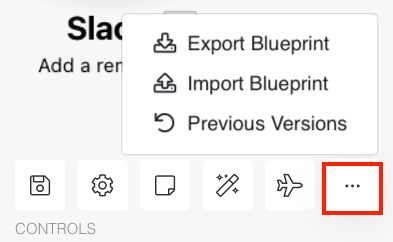
Click the three dots to open the following menu:
- Export BlueprintBoost.space Integrator lets you import and export scenarios via a blueprint, a file in JSON format. Your blueprint contains all of your modules and settings except for connections. When importing from a blueprint, you must add your connections. – Allows you to save the scenario blueprint in the JSON format to your computer.
- Import Blueprint – Allows you to load the scenario blueprint in the JSON format from your computer.
- Previous Versions – Allows you to restore a previous version of the scenario. Learn how to restore a previous scenario version.
