Sync IN Data into Boost.space: Products
In this article, you’ll learn how to sync product data into Boost.spaceA platform that centralizes and synchronizes company data from internal and external sources, offering a suite of modules and addons for project management, CRM, data visualization, and more. Has many features to optimize your workflow!—step by step. The goal is to help you get your product information into the system, so it’s easier to manage, update, and connect with other workflows.
We’ll focus on the Products moduleOne of the modules of the Boost.space system. In this module, you can easily manage your business products., which is designed to store and organize all your product-related data in one place.
While we’ll use Google Sheets as an example in this guide, the same approach applies if you’re using a different tool to manage your product data. The process stays similar—you just need to adapt the connectionUnique, active service acces point to a network. There are different types of connections (API key, Oauth…). based on your source.
Note: While this article focuses on syncing products into Boost.space, the same process applies to other modulesa module is an application or tool designed to handle specific business functions, such as CRM, project management, or inventory. The system's modular architecture allows you to activate only the modules you need, enabling customization and scalability as your business requirements evolve. as well.
Step-by-step Guide: Syncing Product Data
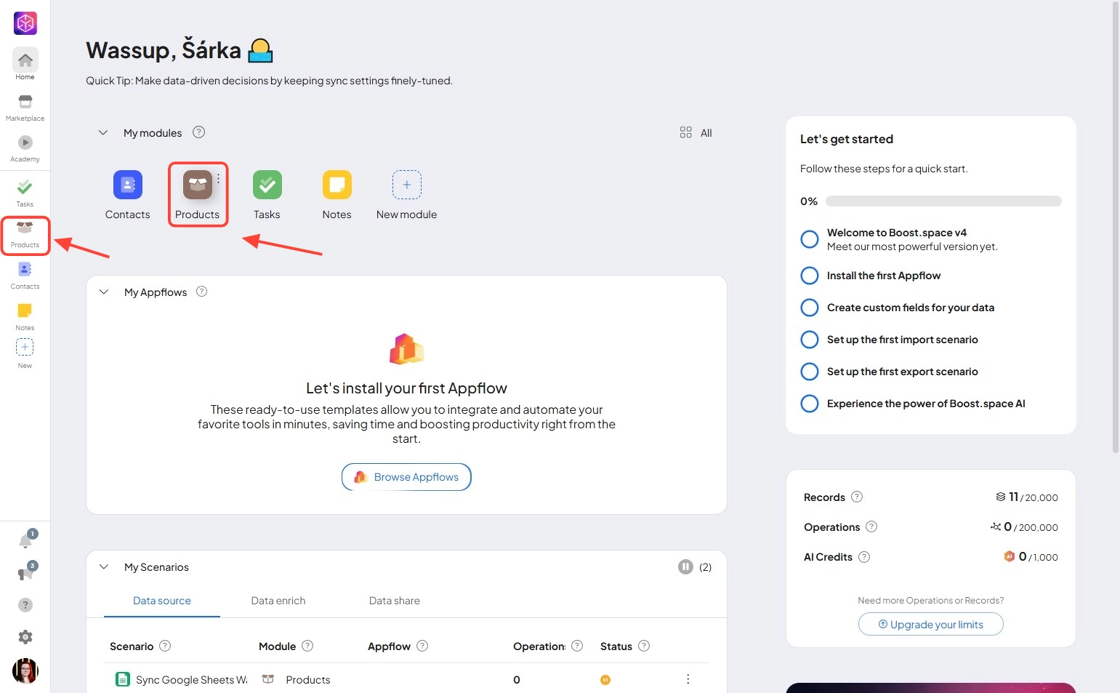
1. Navigate to Product Modulea module is an application or tool designed to handle specific business functions, such as CRM, project management, or inventory. The system's modular architecture allows you to activate only the modules you need, enabling customization and scalability as your business requirements evolve. in your system.
Start by navigating to the Products module in your Boost.space workspace.
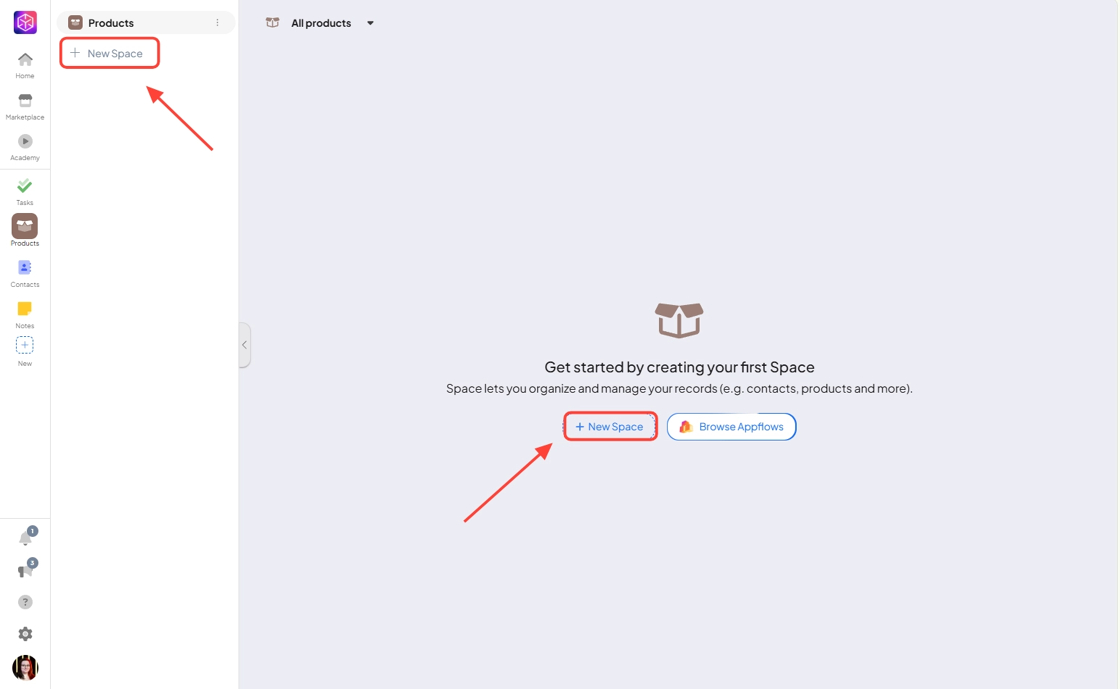
2. Create a New SpaceIn Boost.space, a space is a subunit within a module that helps organize and categorize data, ensuring clarity even with large volumes. For example, within the Contacts module, you might have spaces like "Client Database" or "Supplier Database." Access to each space is restricted to users who have created it or have been granted access. in Products Module.
Create a new space dedicated to the products you want to sync. This space will serve as the destination for your Google Sheets data.
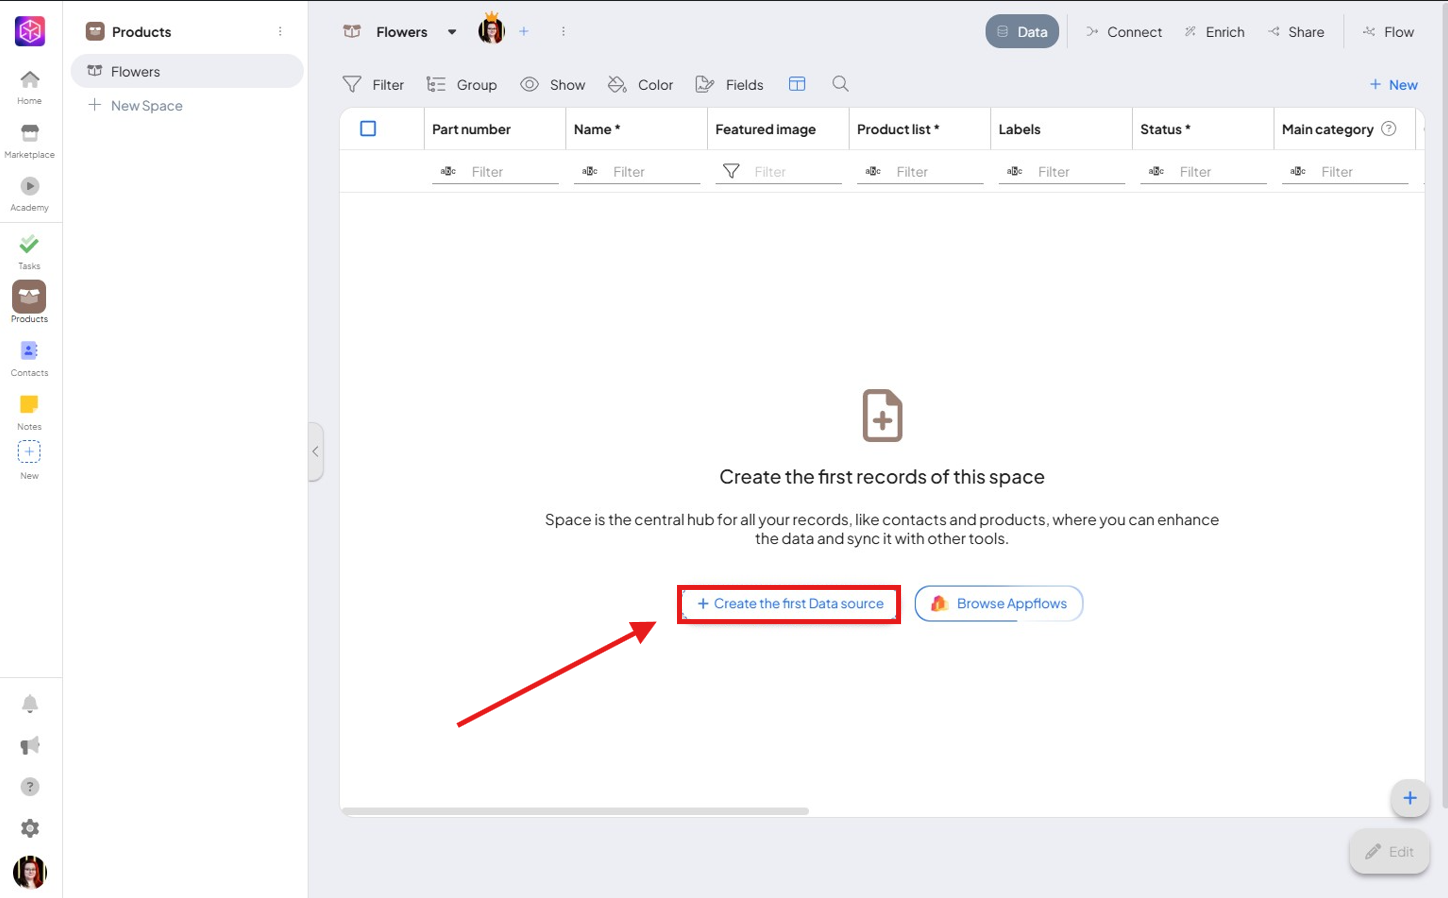
3. Set Up a New Data Source.
Once you have created the Space, you need to create Data Sources.
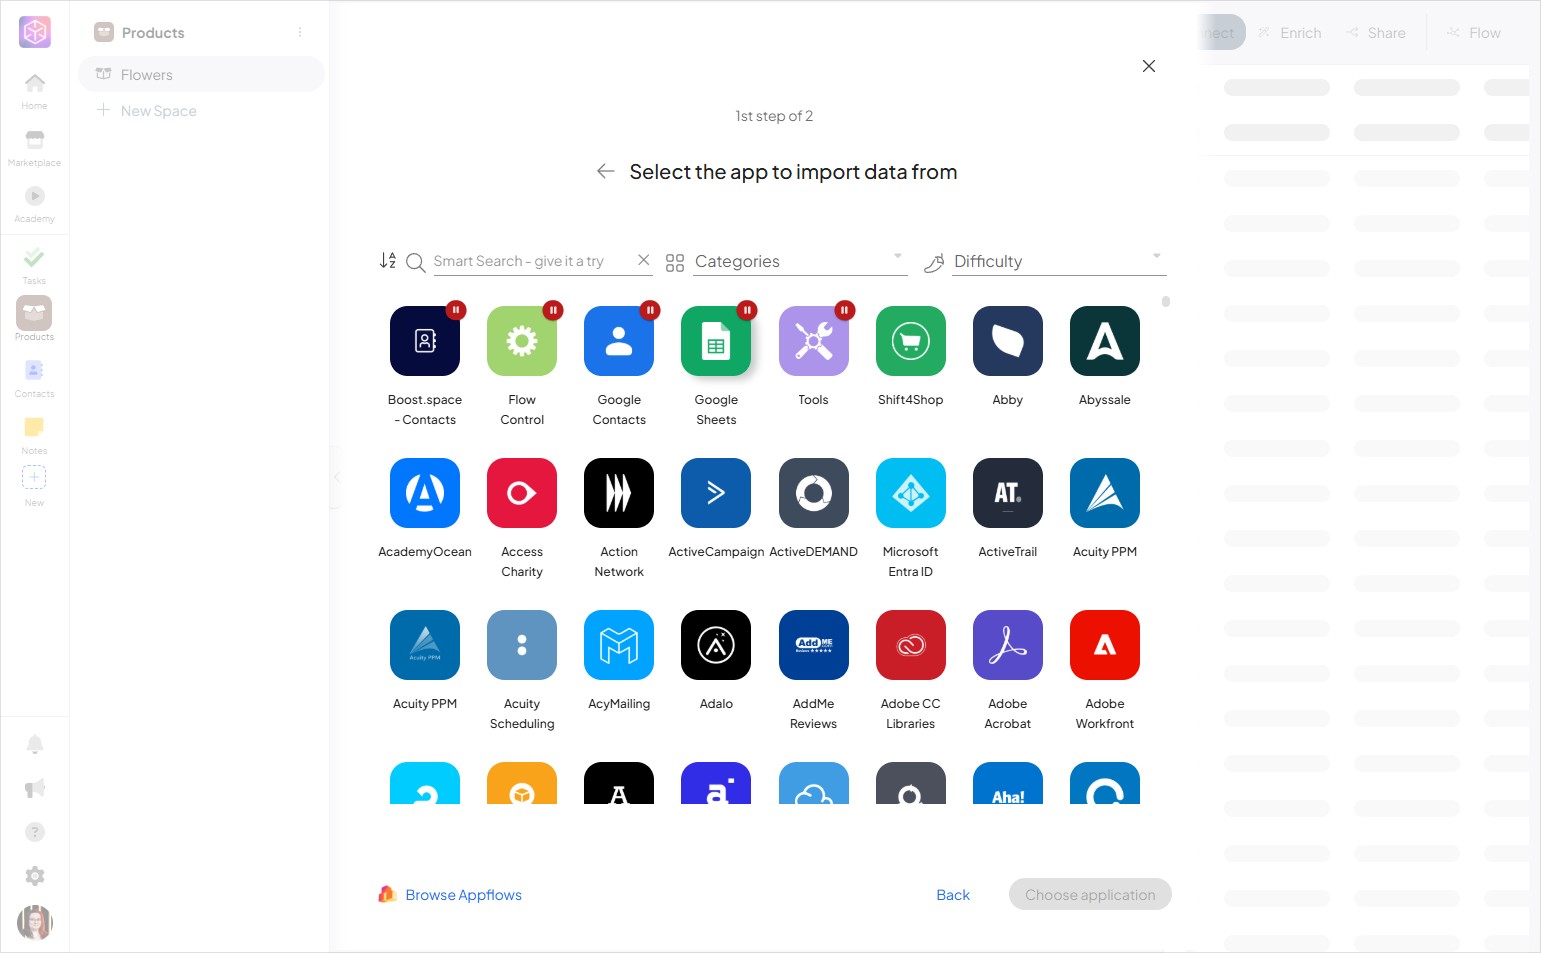
Here is the list of apps you can choose from to import your data. In this case, select Google Sheets as your data source.
4. Setting up the data source
Select the generated scenarioA specific connection between applications in which data can be transferred. Two types of scenarios: active/inactive..
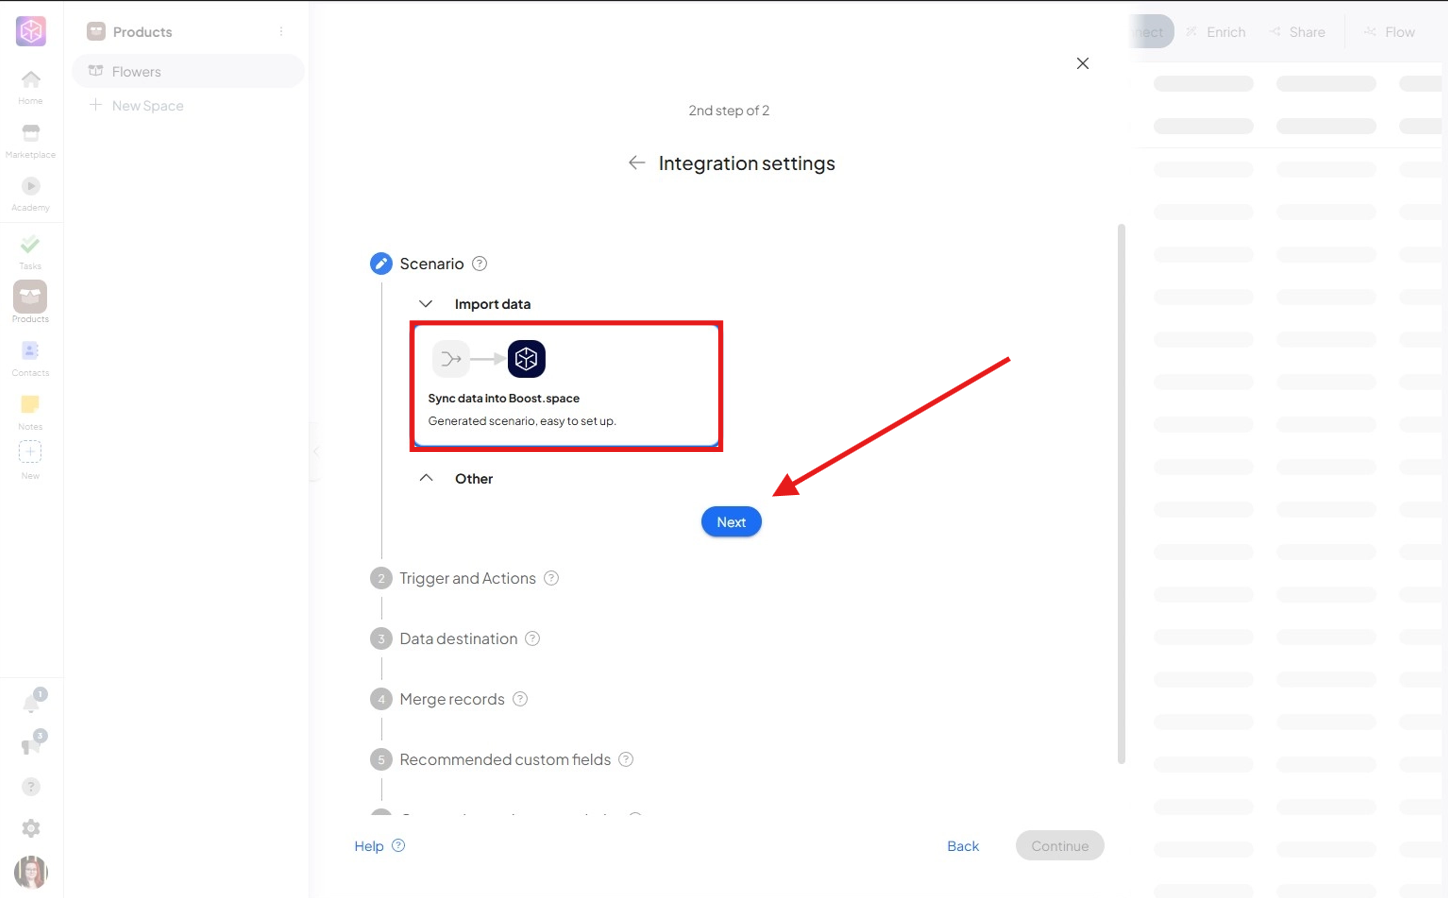
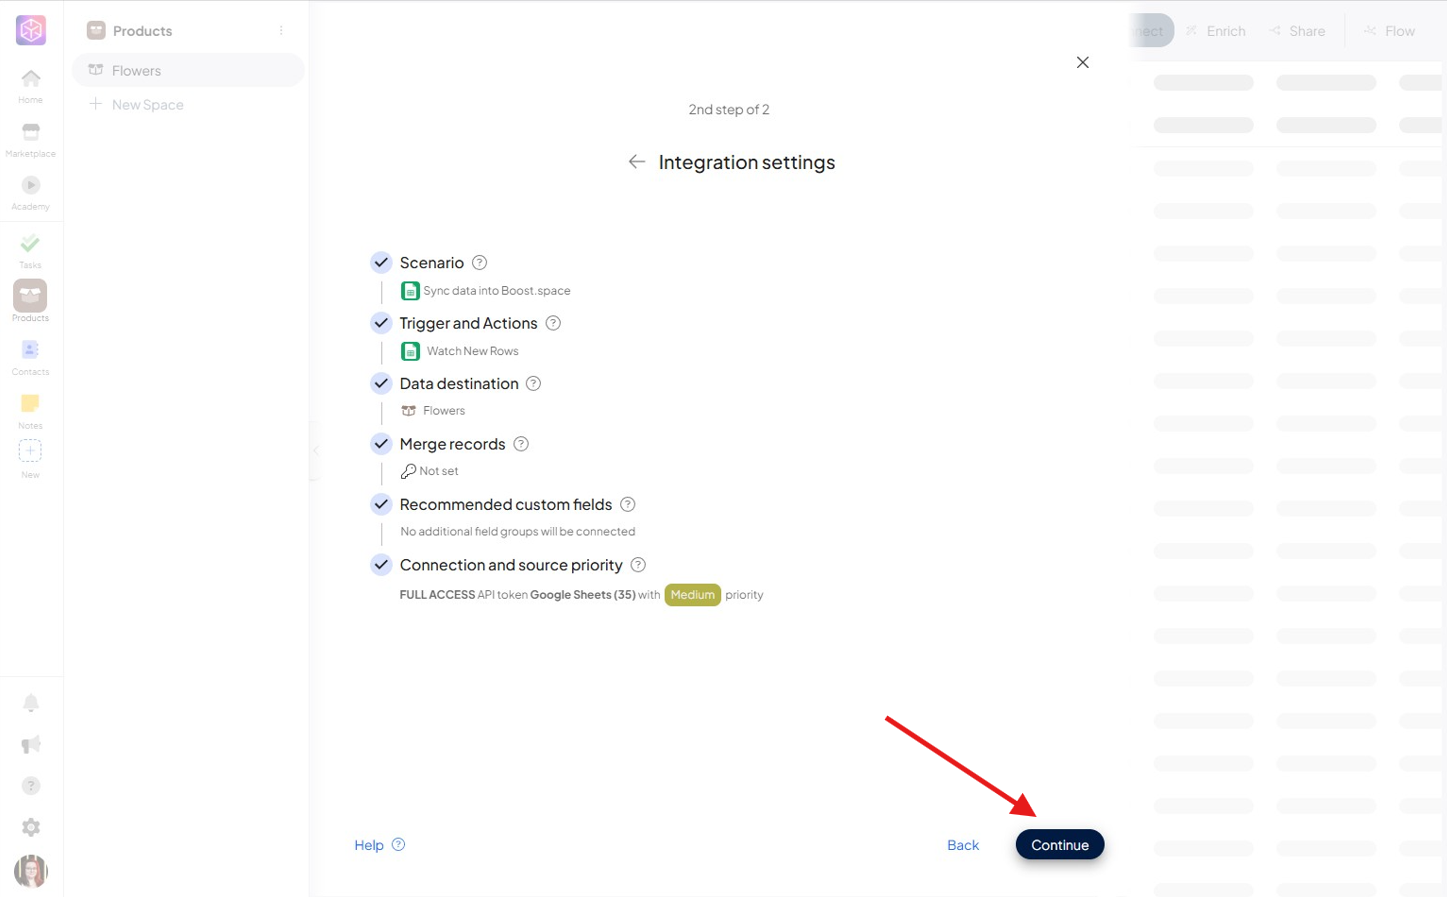
After clicking next you can see the system will automatically fill the “Scenario”, “TriggerThe initial event that starts a scenario. It can be an action, a scheduled time, or a custom event, and is essential to define at the beginning of each scenario. and Actions”, and “Data Destination” for you.
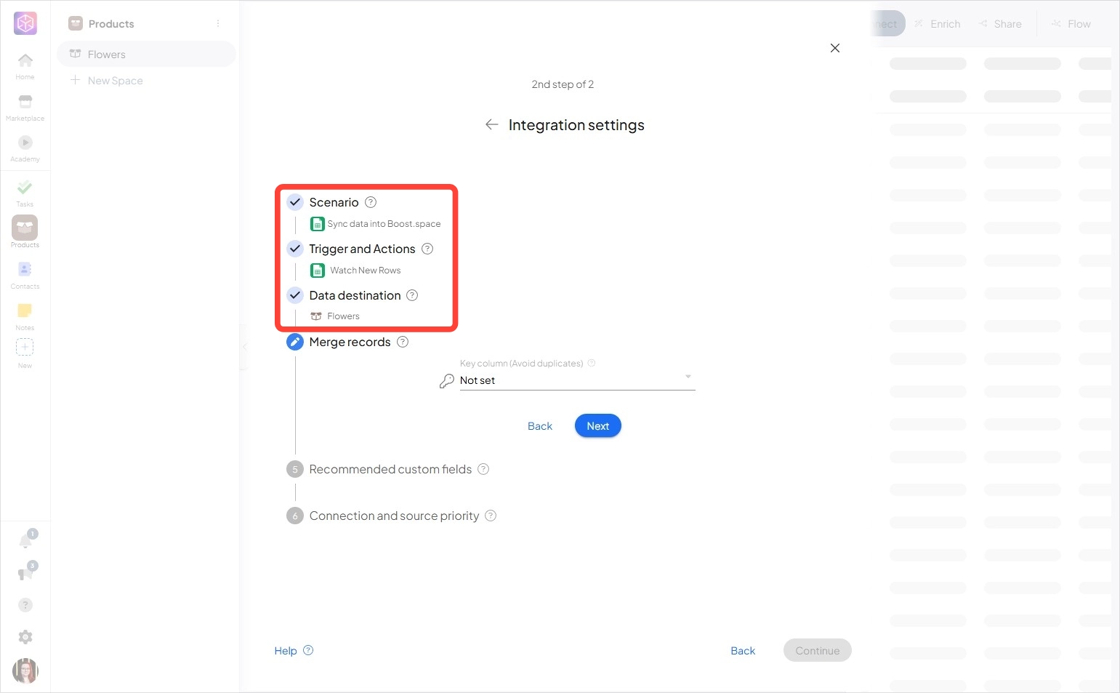
Once you’ve set all the necessary information, click “Continue” to move forward.
5. Create a Scenario
Once the data source is set, it’s time to build a new scenario. This is where the magic happens.
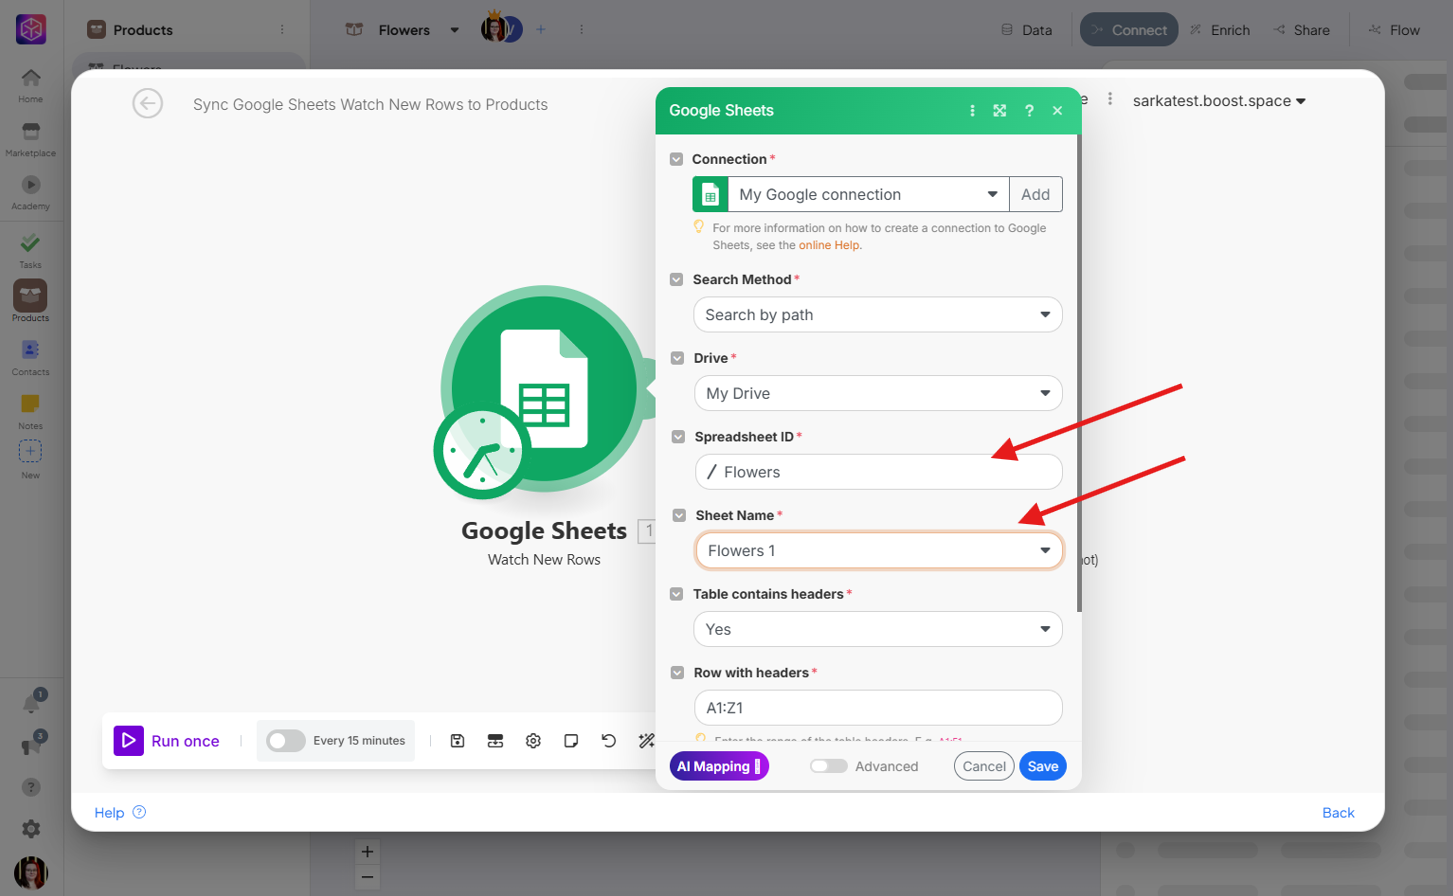
- You’ll be prompted to connect your Google account if you dont already have connection.
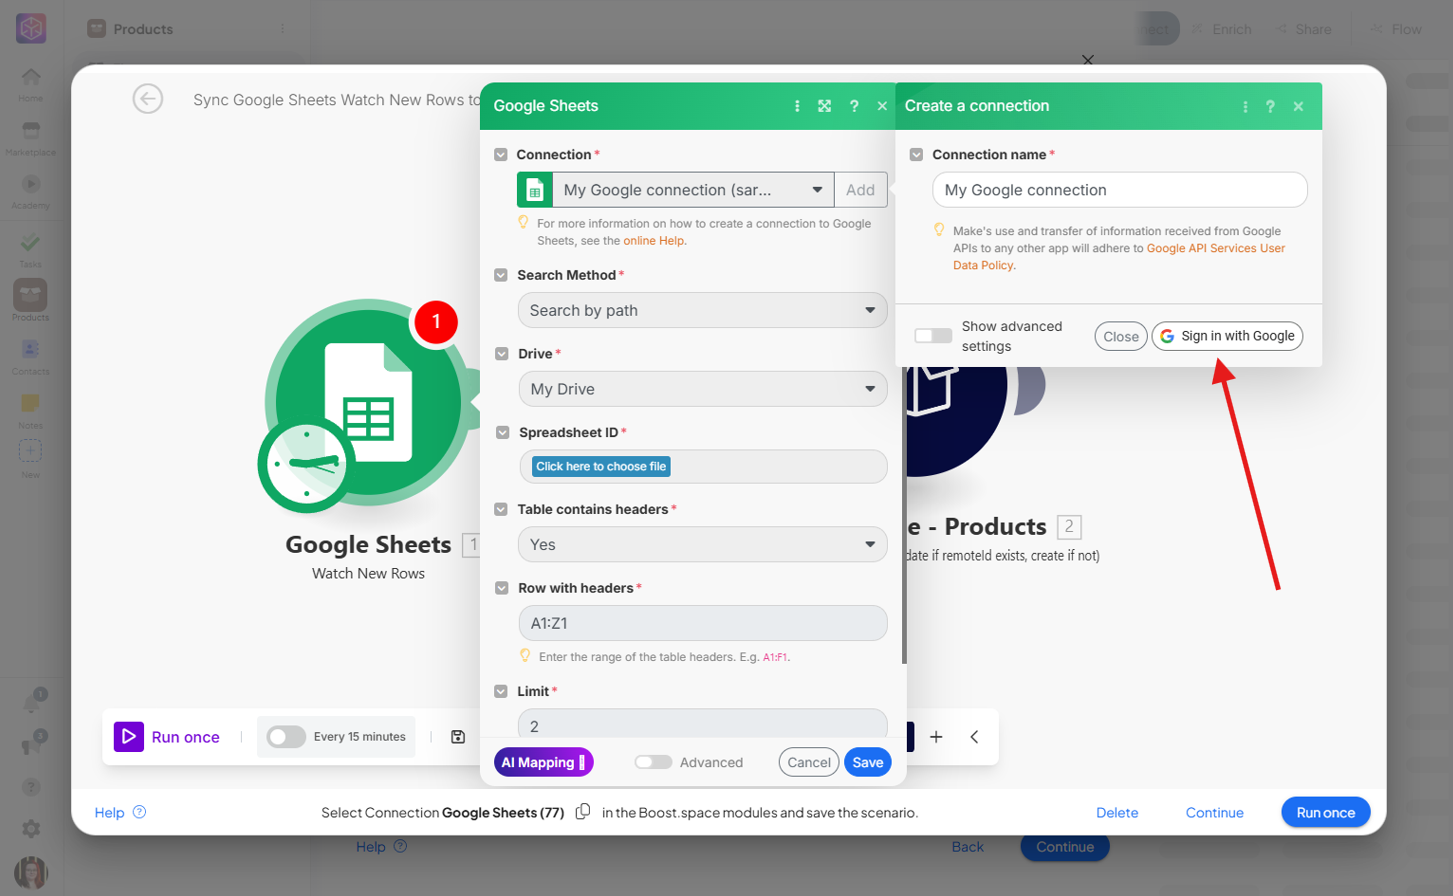
Select the specific spreadsheet that contains your product data.
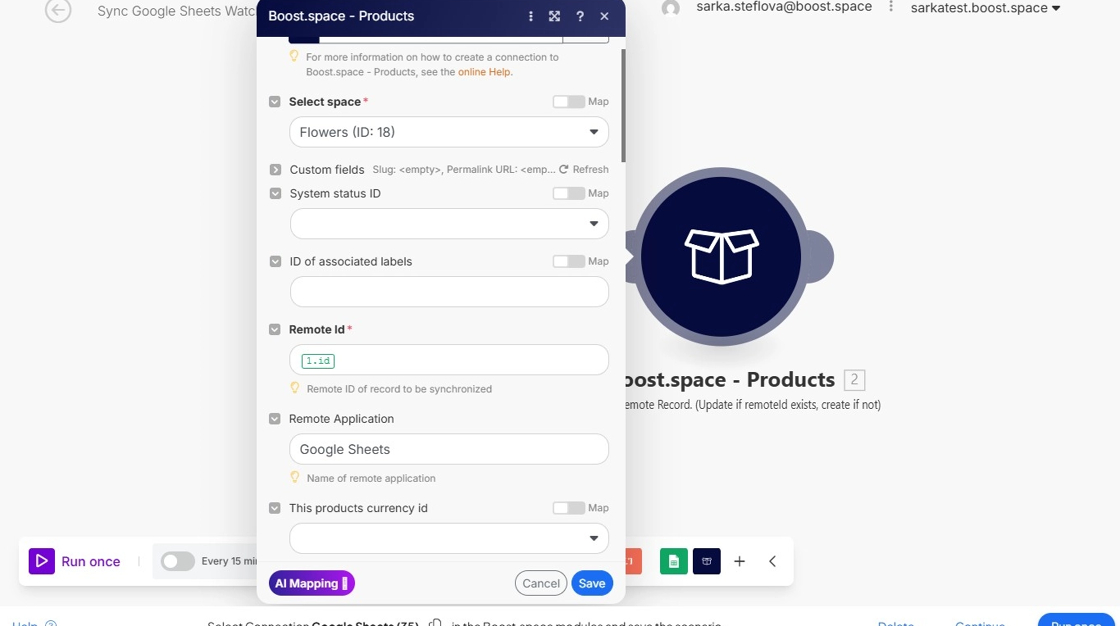
Select the Boost.space- Products module (Synchronize remote RecordIn Boost.space, a record is a single data entry within a module, like a row in a database. For example, a contact in the Contacts module or a task in the Tasks module.) as your destination.
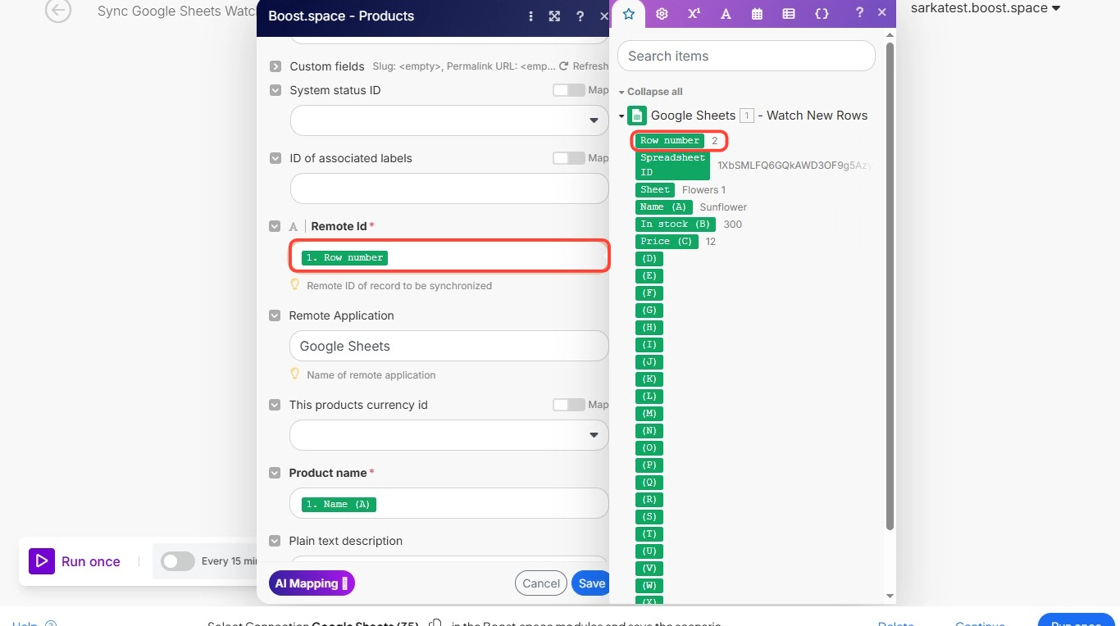
Map the fields from your spreadsheet to the corresponding fields in Boost.space. For example, map “Name (A)” in Sheets to the ” Product Name” field in Boost.space, “Price (C)” to “Price”, and so on.
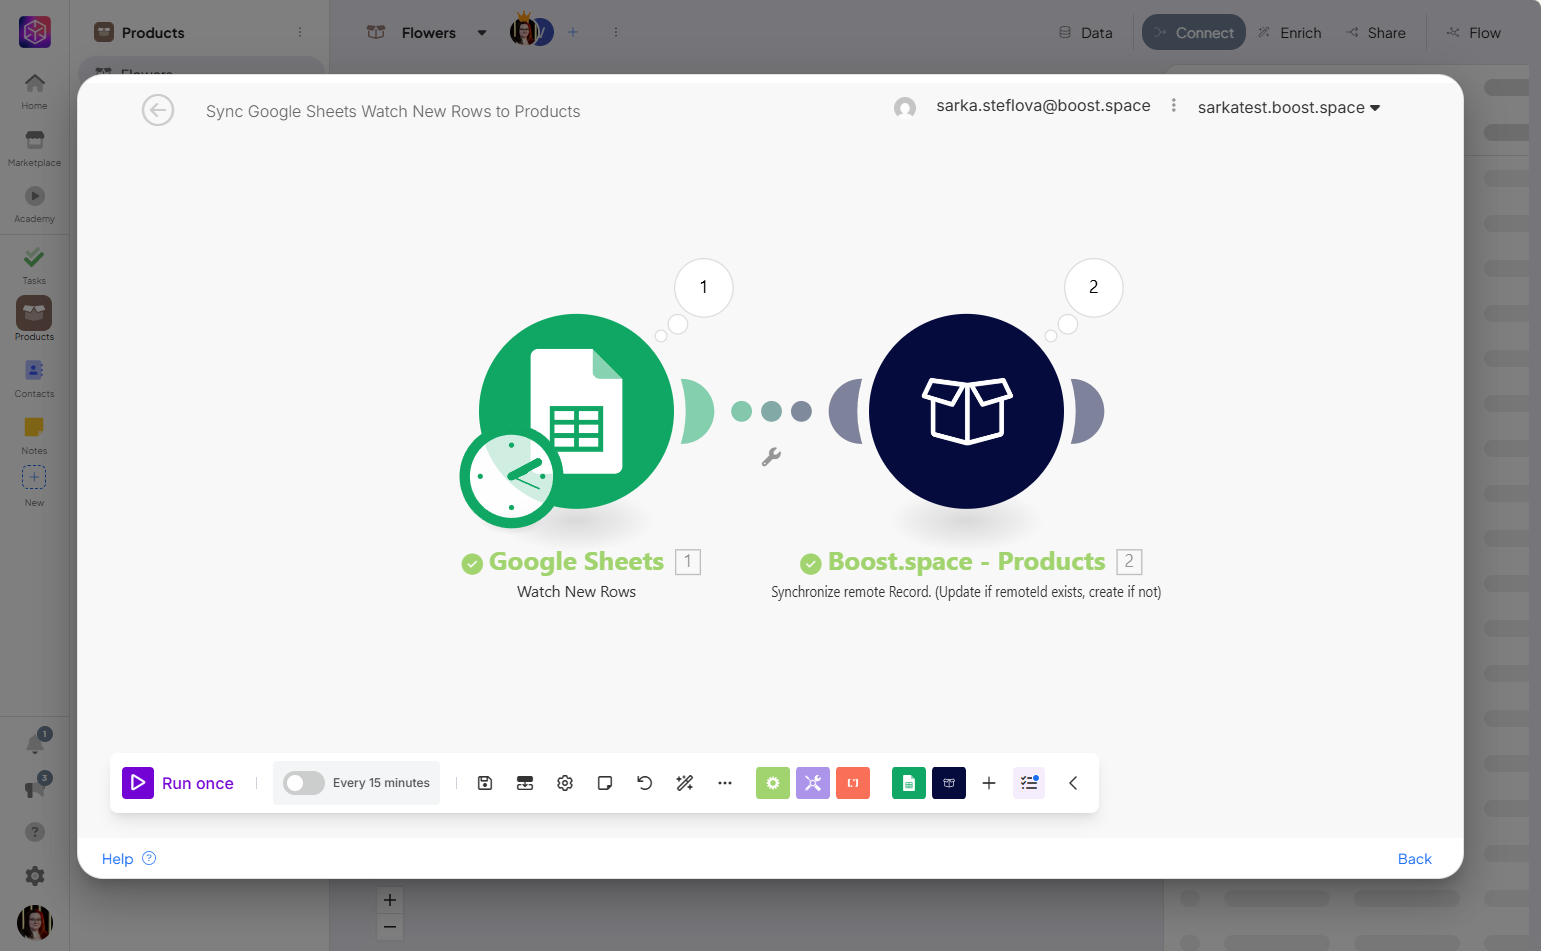
6. Save and Run
After mappingMapping links the modules in your scenario. When you map an item, you connected the data retrieved by one module to another module to perform the desired action. For example, you can map the email address and subject lines from the Email > Watch emails module to Google Sheets > Add a row and create a spreadsheet of email addresses... all the required fields, save your scenario. Once saved, you can run the scenario and it will pull your product data from Google Sheets and importing it into your Boost.space Products space.
From now on, any updates in your Google Sheet can be synced with Boost.space, ensuring your product catalog remains consistent across tools.
Conclusion
By following these steps, you’ve learned how to sync product data into Boost.space and set up an ongoing connection with your external data source.
Although we used Google Sheets integration as an example, the same method can be applied to other tools you may already be using for product management.
Now that your product data is synced, you can start working with it directly inside the Products module—updating recordsIn Boost.space, a record is a single data entry within a module, like a row in a database. For example, a contact in the Contacts module or a task in the Tasks module., connecting them to other parts of your workspace, or building automations around them.
If you ever need to adjust your setup (for example, change the source file or update the mapped fields), you can easily modify your scenario without starting from scratch.
If you encounter any problems during the process, please contact us at [email protected].