With Dropbox modules in Boost.space Integrator, you can manage the files and folders in your Dropbox account.
To use the Dropbox modules, you must have a Dropbox account. You can create an account at www.dropbox.com/register.
Refer to the Dropbox API documentation for a list of available endpoints.
To establish the connection in Boost.space Integrator:
-
Log in to your Boost.space Integrator account, add a Dropbox module to your scenario, and click Create a connection.
-
Optional: In the Connection name field, enter a name for the connection.
-
Optional: Click Show advanced settings and enter your custom app client credentials. For more information, refer to Dropbox OAuth Guide.
If requested, use the following Redirect URI when creating your custom app:
https://integrator.boost.space/oauth/cb/dropboxhttps://auth.redirect.celonis.cloud/oauth/cb/dropbox -
Click Save.
-
If prompted, authenticate your account and confirm access.
You have successfully established the connection. You can now edit your scenario and add more Dropbox modules. If your connection requires reauthorization at any point, follow the connection renewal steps here.
After connecting the app, you can perform the following actions:
Trigger Files
-
Watch Files
Get Files/Folders
-
Search Files/Folders
-
Download a File
-
List All Files/Subfolders in a Folder
-
List File Revisions
Create & Update File/Folder
-
Upload a File
-
Create a Folder
-
Create/Overwrite a Text File
-
Create/Update a Share Link
-
Restore a File
-
Move a File/Folder
-
Rename a File/Folder
-
Delete a File/Folder
-
Copy a File/Folder
File Requests
-
Create a File Request
-
Get a File Request
-
Update a File Request
-
Delete Closed File Requests
-
List File Requests
Other
-
Make an API Call
There are several situations when uploading or updating a file fails:
-
The uploaded file is too big and exceeds the maximum file size allowed for your Dropbox plan or you have used all of your Dropbox account’s storage quota. You will either need to delete existing files from your Dropbox account or upgrade your plan.
-
The previously selected folder, to which the file is being uploaded to, no longer exists. The scenario gets stopped and you will need to select the target folder again.
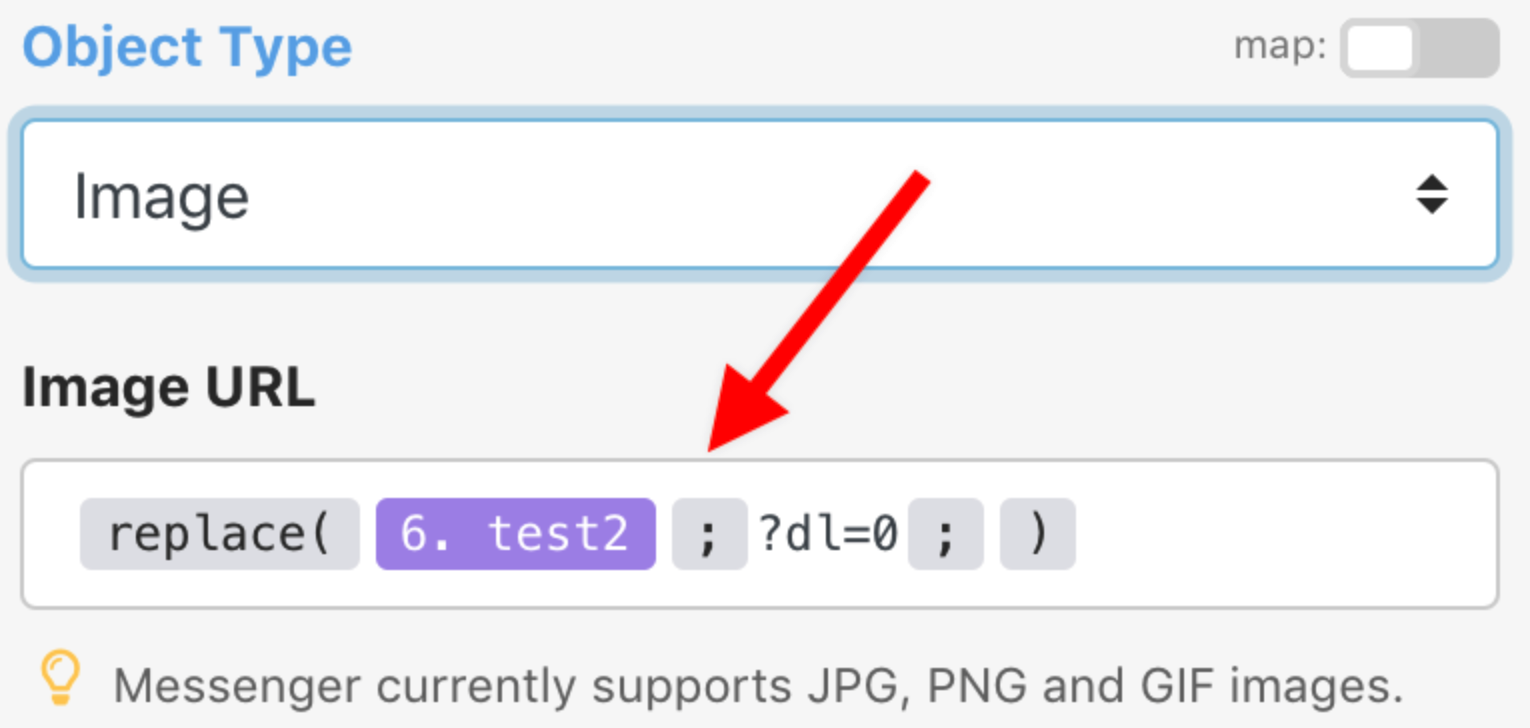
The URL returned by the Dropbox > Create a shared link does not link directly to an image, but to a Dropbox page – see https://www.dropbox.com/help/desktop-web/force-download for further details. To force the image to download, replace the trailing ?dl=0 with ?dl=1. To force the image to render (e.g. in a Web browser or in Facebook Messenger), append &raw=1 to the URL.
If you need to get the direct/raw link of your image which you can use for your website or for other Boost.space Integrator modules you need to modify the initial shared URL in the following way:
Let’s say your initial URL is:
https://www.dropbox.com/s/ia8qtvs20f3a5ux/Screen%20Shot%202018-10-15%20at%204.21.11%20PM.png?dl=0
1. replace www with dl
2. remove ?dl=0
Your final URL should be:
https://dl.dropbox.com/s/ia8qtvs20f3a5ux/Screen%20Shot%202018-10-15%20at%204.21.11%20PM.png
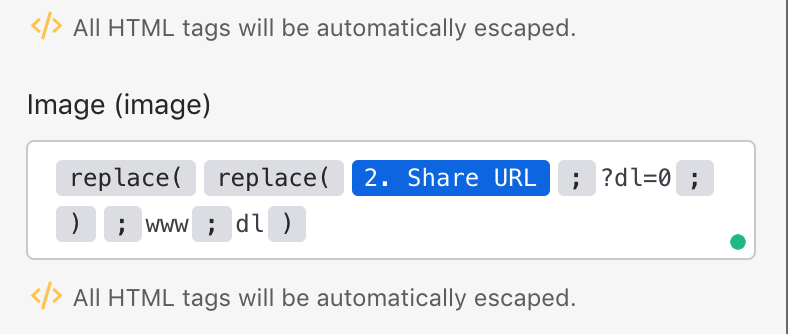
To do it automatically, use thereplace() function twice:
to replace www with dl
 |
and
to remove ?dl=0
 |
To do it in one step, combine these functions:
 |
You can use this code. Just copy it and paste it into the field and replace variable with the URL.
{{replace(replace(1.url; “?dl=0”; “”); “www”; “dl”)}}


![[Important]](https://docs.boost.space/wp-content/themes/bsdocs/docs-parser/HTML/css/image/important.png)