The Channels modules allow you to create, update, retrieve, list, and delete the contacts in your Channels account.
Prerequisites
-
A Channels account
In order to use Channels with Boost.space Integrator, it is necessary to have a Channels account. If you do not have one, you can create a Channels account at channels.app.
![[Note]](https://docs.boost.space/wp-content/themes/bsdocs/docs-parser/HTML/css/image/note.png) |
Note |
|---|---|
|
The module dialog fields that are displayed in bold (in the Boost.space Integrator scenario, not in this documentation article) are mandatory! |
To connect your Channels account to Boost.space Integrator you need to obtain the API Key from your Channels account and insert it in the Create a connection dialog in the Boost.space Integrator module.
-
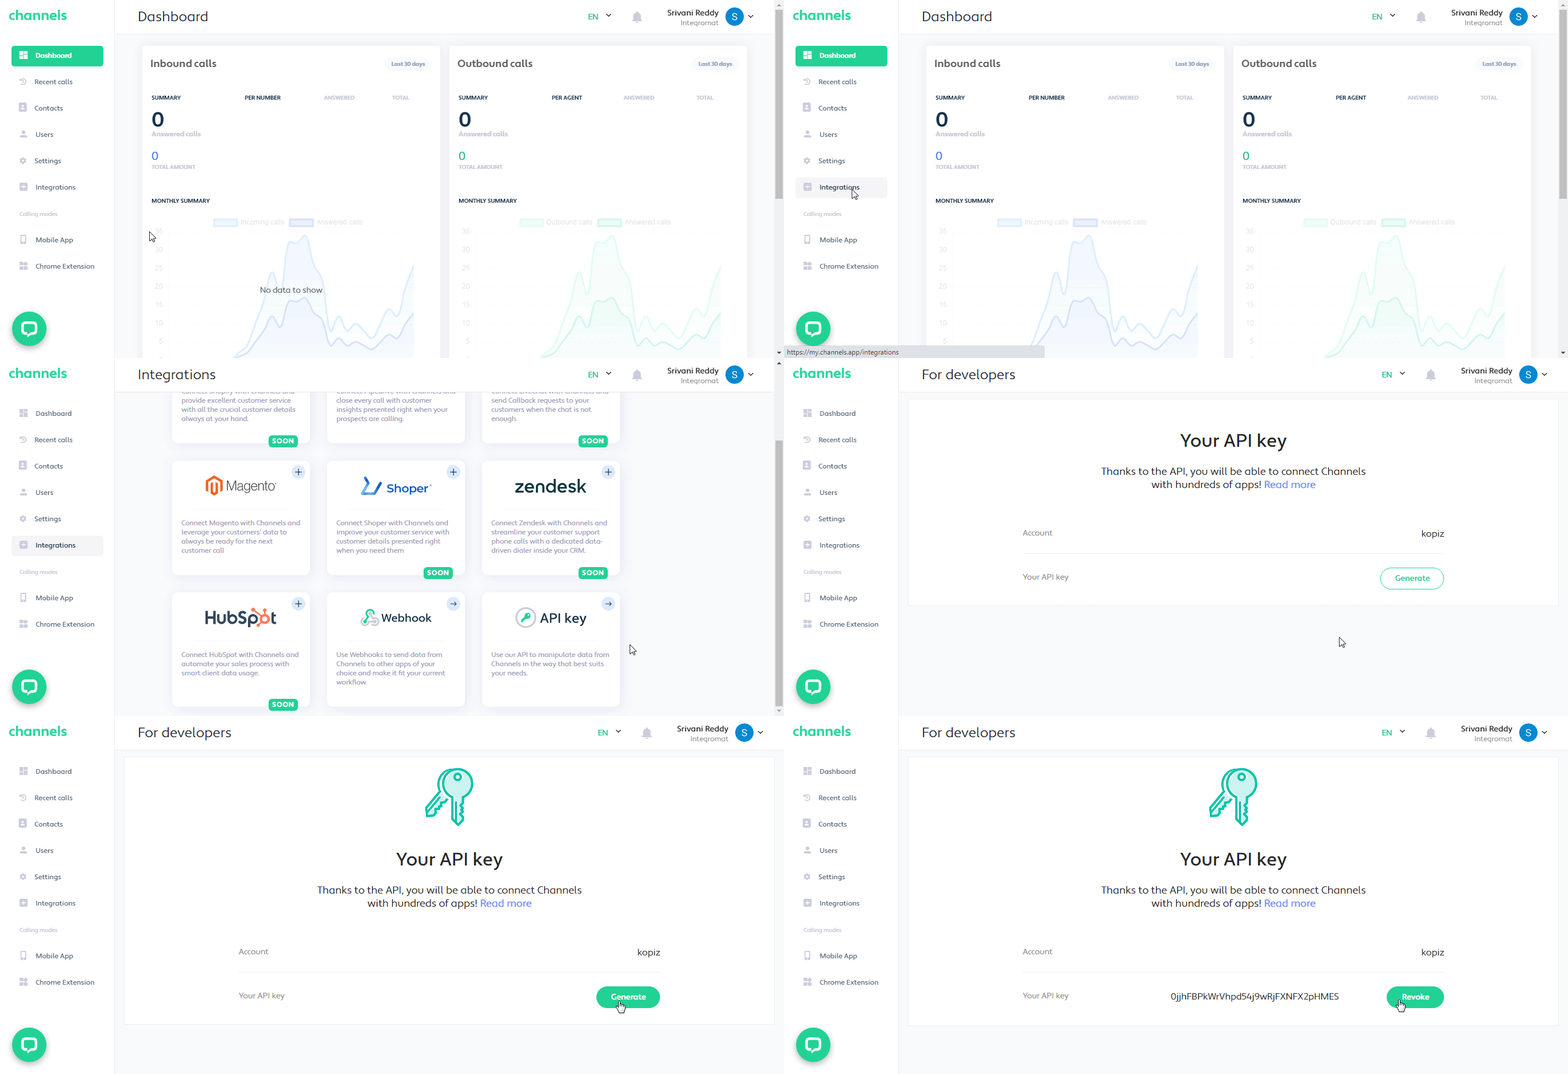
Log in to your Channel account.
-
Click Integrations > API Key > Generate.
-
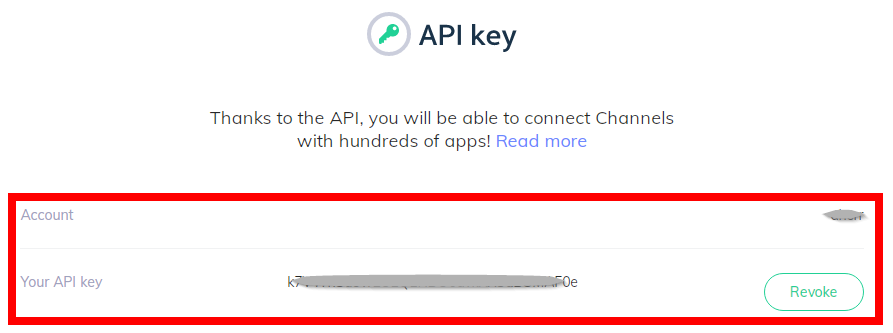
Copy the Channel name and API Key to a safe place.
-
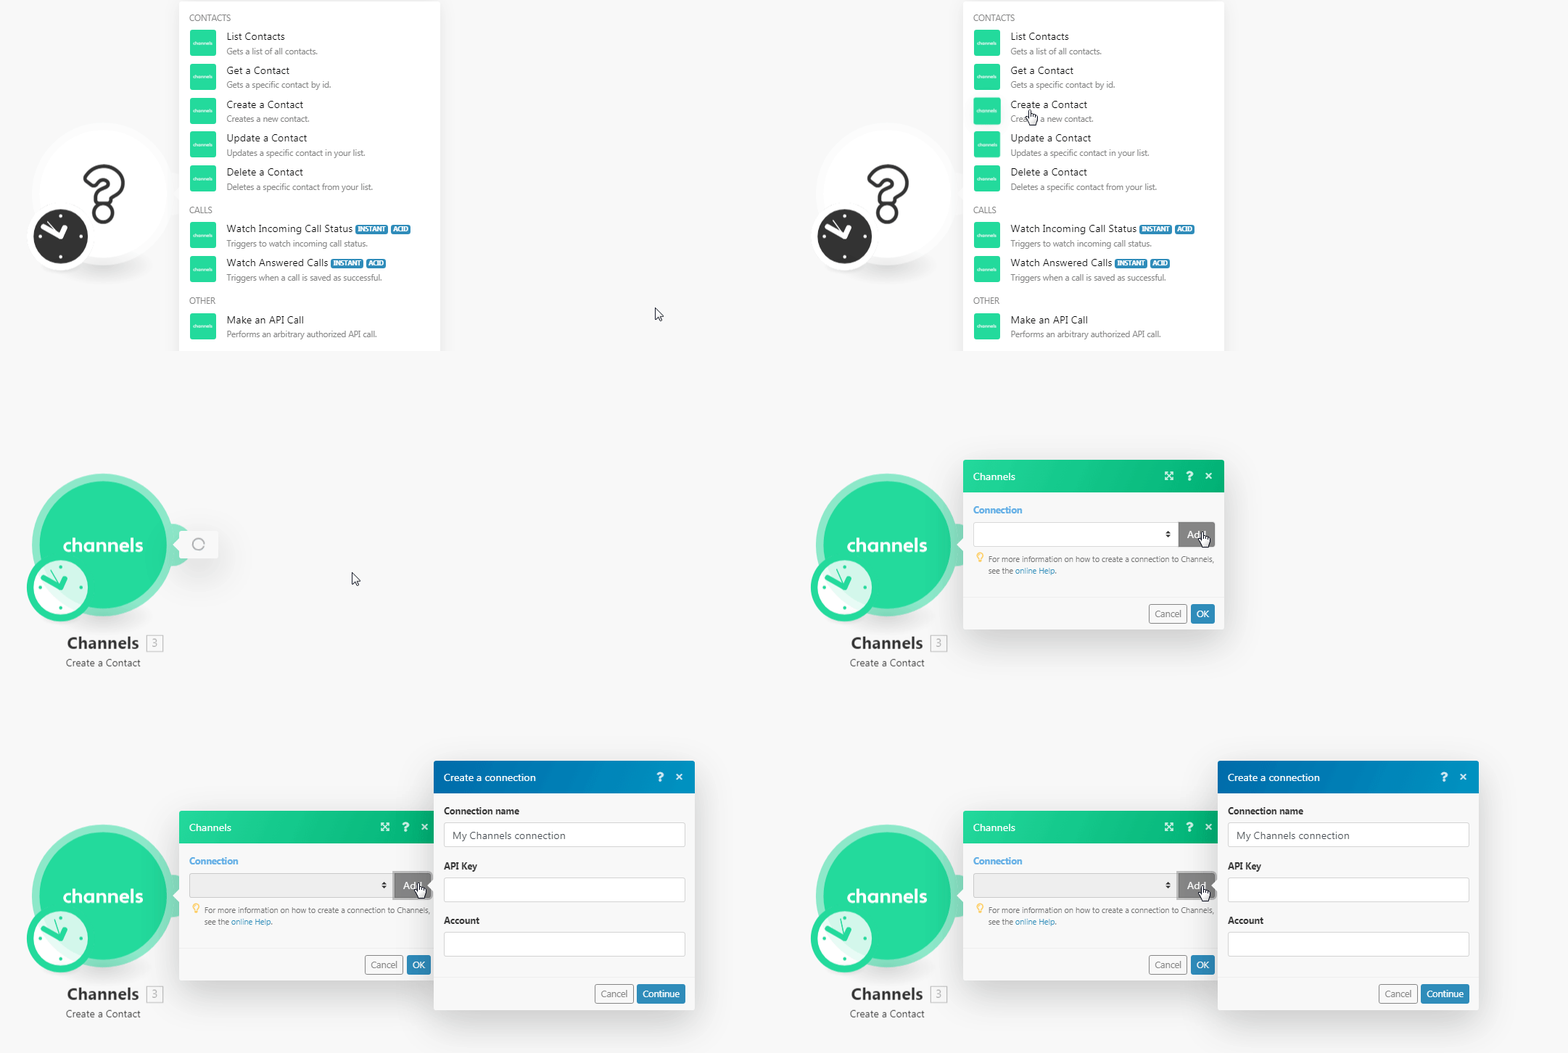
Go to Boost.space Integrator and open the Channel module’s Create a connection dialog.
-
In the Connection name field, enter a name for the connection.
-
In the API Key and Account field, enter the API key and account details copied in step 3 and click Continue.
The connection has been established.
Gets a list of all contacts.
|
Connection |
|
|
Limit |
Set the maximum number of contacts Boost.space Integrator should return during one scenario execution cycle. |
Gets a specific contact by ID.
|
Connection |
Creates a new contact.
|
Connection |
|
|
First Name |
Enter the contact’s first name. |
|
Last Name |
Enter the contact’s last name. |
|
Email Name |
Enter the contact’s email address. |
|
Company Name |
Enter the company name to which the contact belongs to. |
|
External Link |
Enter the external link for contact. For example, |
|
Tag Names |
Enter the tags for the contact. For example, |
|
MSISDN |
Enter the contact’s phone number with the country code. For example, |
|
Force New Entity |
Select whether you want to enforce a new entity for the contact. |
|
Existing Contact ID |
Select the existing whose details to be overridden with this new contact. |
Updates contact.
|
Connection |
|
|
Contact ID |
Select the Contact ID whose details you want to update. |
|
First Name |
Enter the contact’s first name. |
|
Last Name |
Enter the contact’s last name. |
|
Email Name |
Enter the contact’s email address. |
|
Company Name |
Enter the company name to which the contact belongs to. |
|
External Link |
Enter the external link for contact. For example, |
|
Tag Names |
Enter the tags for the contact. For example, |
|
MSISDN |
Enter the contact’s phone number with the country code. For example, |
|
Force New Entity |
Select whether you want to enforce a new entity for the contact. |
|
Existing Contact ID |
Select the existing whose details to be overridden with this new contact. |
Deletes a contact.
|
Connection |
|
|
Contact ID |
Select the Contact ID you want to delete. |
See the Setting Up the Channel Webhooks to add webhooks in your Channel account.
Triggers to watch incoming call status.
|
Connection |
Triggers when a call is saved as successful.
|
Connection |
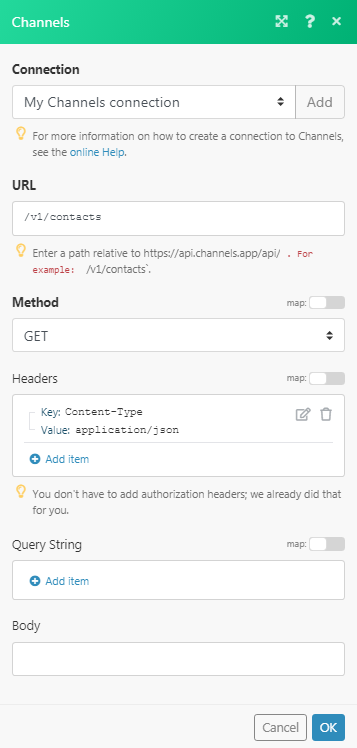
Performs an arbitrary authorized API call.
|
Connection |
||||
|
URL |
Enter a path relative to
|
|||
|
Method |
Select the HTTP method you want to use: GET to retrieve information for an entry. POST to create a new entry. PUT to update/replace an existing entry. PATCH to make a partial entry update. DELETE to delete an entry. |
|||
|
Headers |
Enter the desired request headers. You don’t have to add authorization headers; we already did that for you. |
|||
|
Query String |
Enter the request query string. |
|||
|
Body |
Enter the body content for your API call. |
The following API call returns all the contacts from your Channels account:
URL:
/v1/contacts
Method:
GET
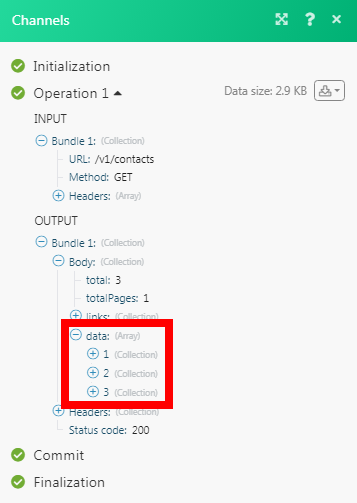
Matches of the search can be found in the module’s Output under Bundle > Body > data.
In our example, 3 contacts were returned:
-
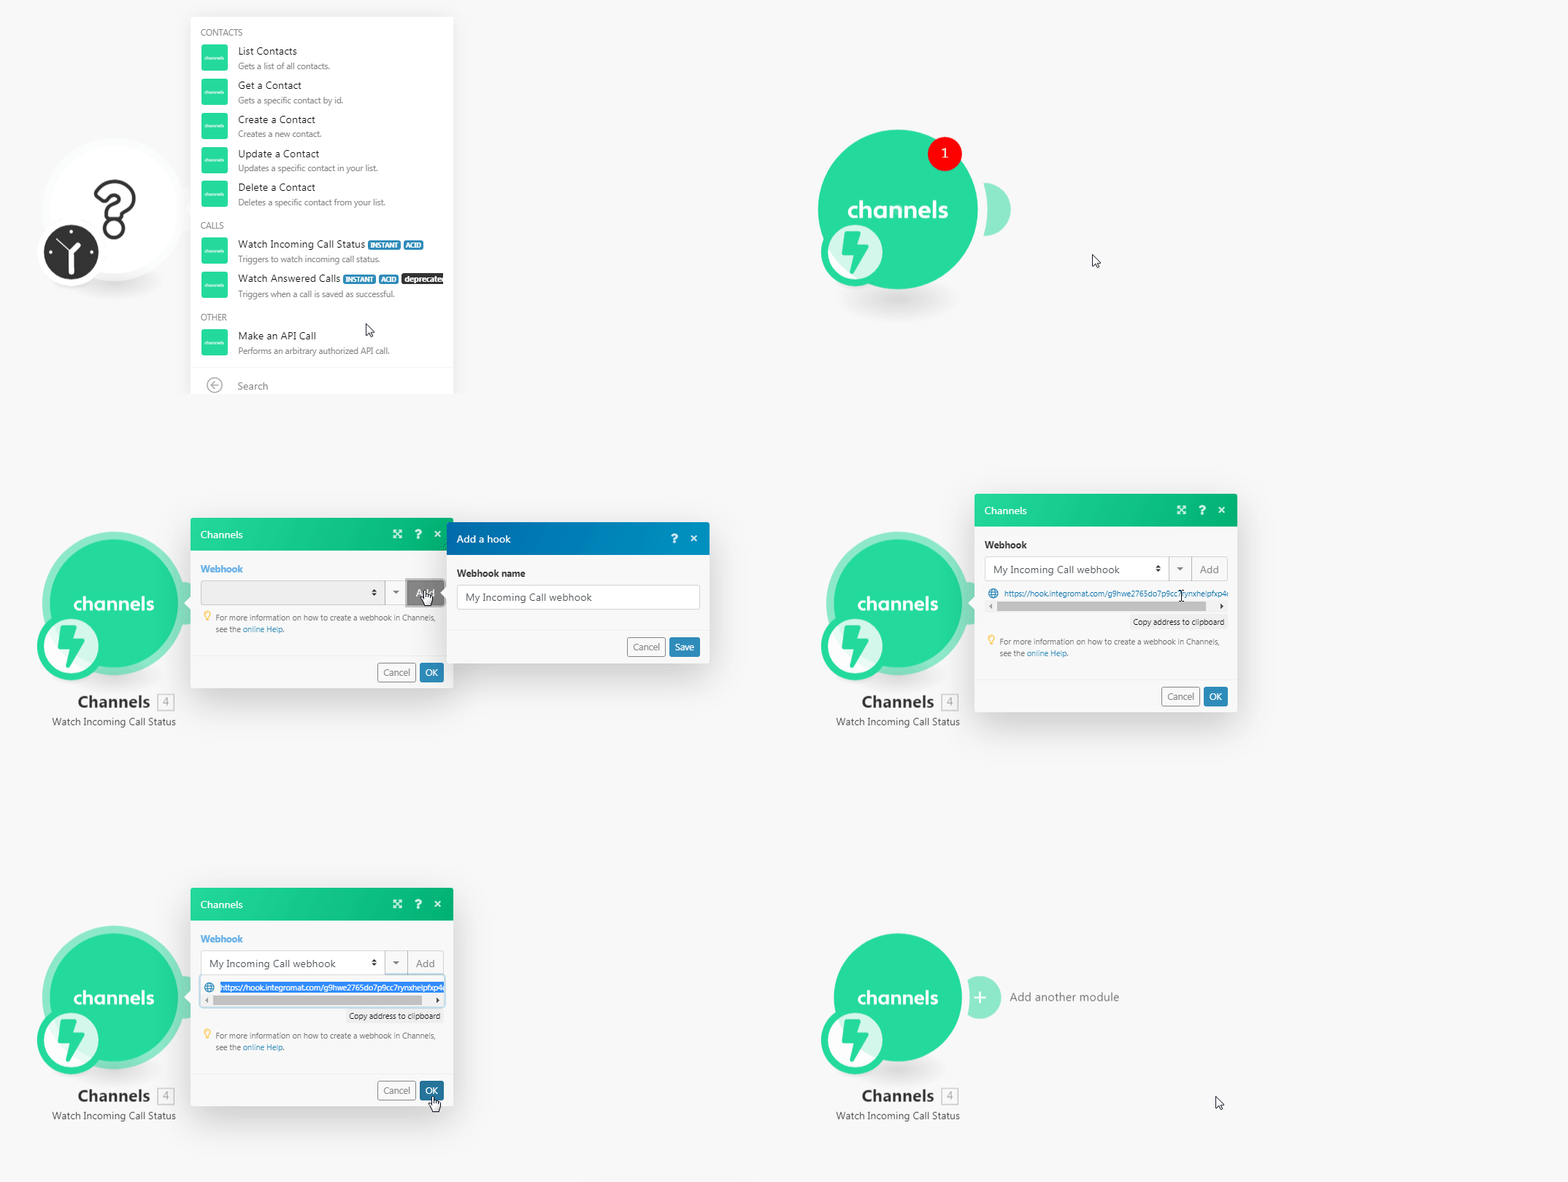
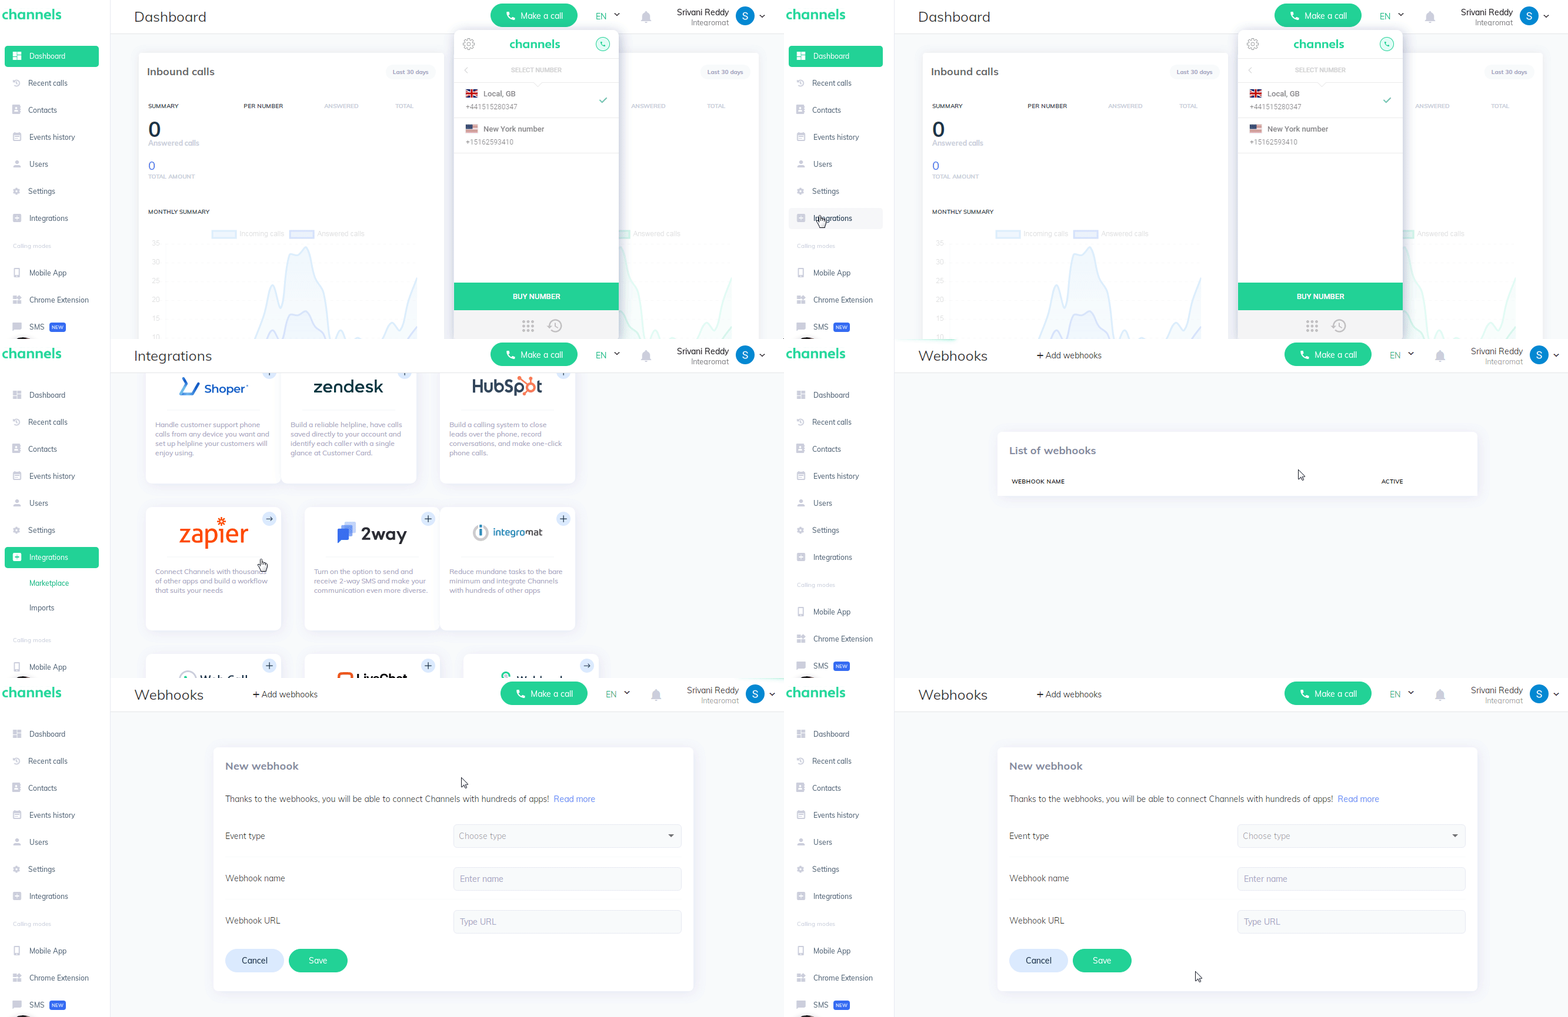
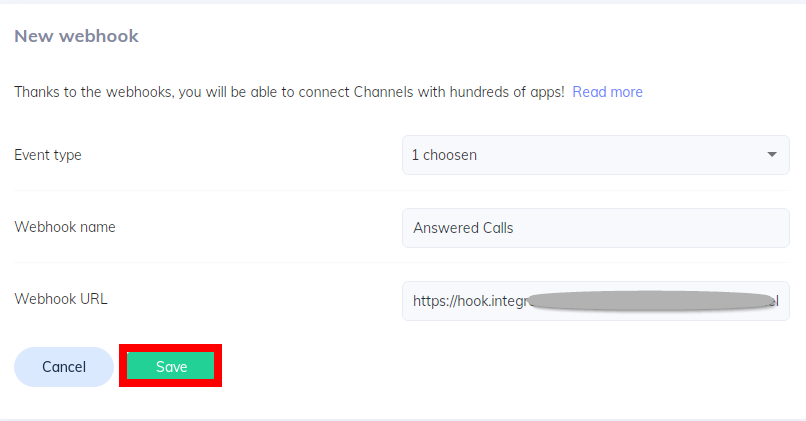
Open any Watch module, enter a name for the webhook, click Save, and copy the URL address to your clipboard.
-
Log in to your Channel account.
-
Click Integrations > Webhooks.
-
Select the events you want to watch, enter a name for the webhook, and enter the webhook URL address copied in step1. Click Save.
You have successfully added the webhooks.
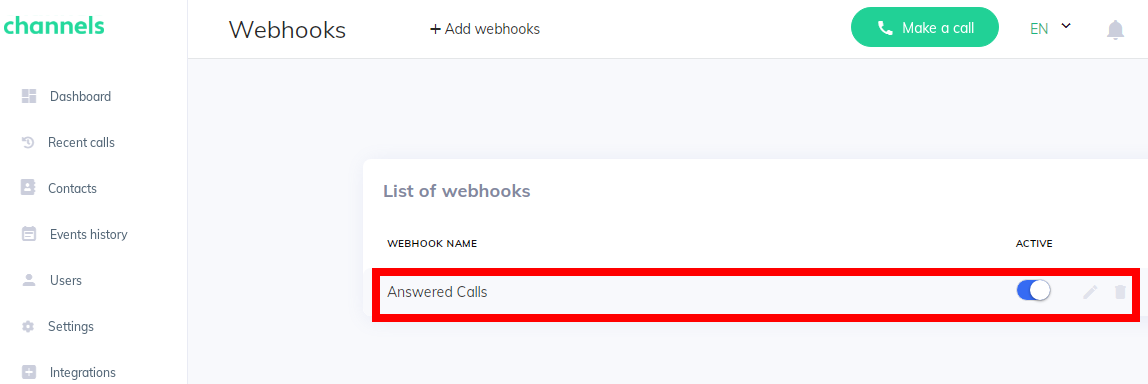
You can now execute the scenario in Boost.space Integrator and will receive triggers for specified webhook events.
