The Prospero modules allow you to create, and watch the proposals in your Prospero account.
Prerequisites
-
A Prospero account
In order to use Prospero with Boost.space Integrator, it is necessary to have a Prospero account. You can create a Prospero account at app.goprospero.com/signUp.
![[Note]](https://docs.boost.space/wp-content/themes/bsdocs/docs-parser/HTML/css/image/note.png) |
Note |
|---|---|
|
The module dialog fields that are displayed in bold (in the Boost.space Integrator scenario, not in this documentation article) are mandatory! |
You can establish a connection either directly from the Prospero account or from Boost.space Integrator.
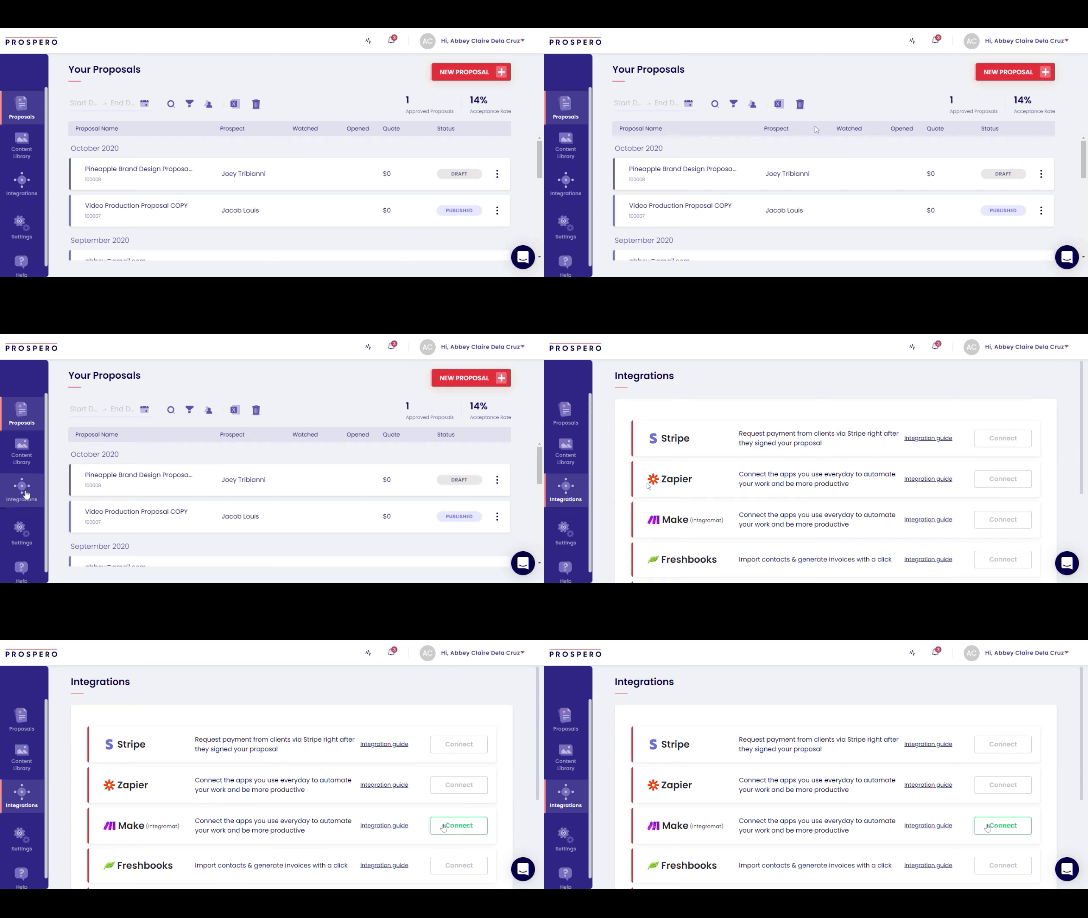
To connect from your Prospero account, click your Username > Integrations. Navigate to Boost.space Integrator,click Connect, and enter your Boost.space Integrator user credentials to connect.

To connect to Prospero from Boost.space Integrator:
-
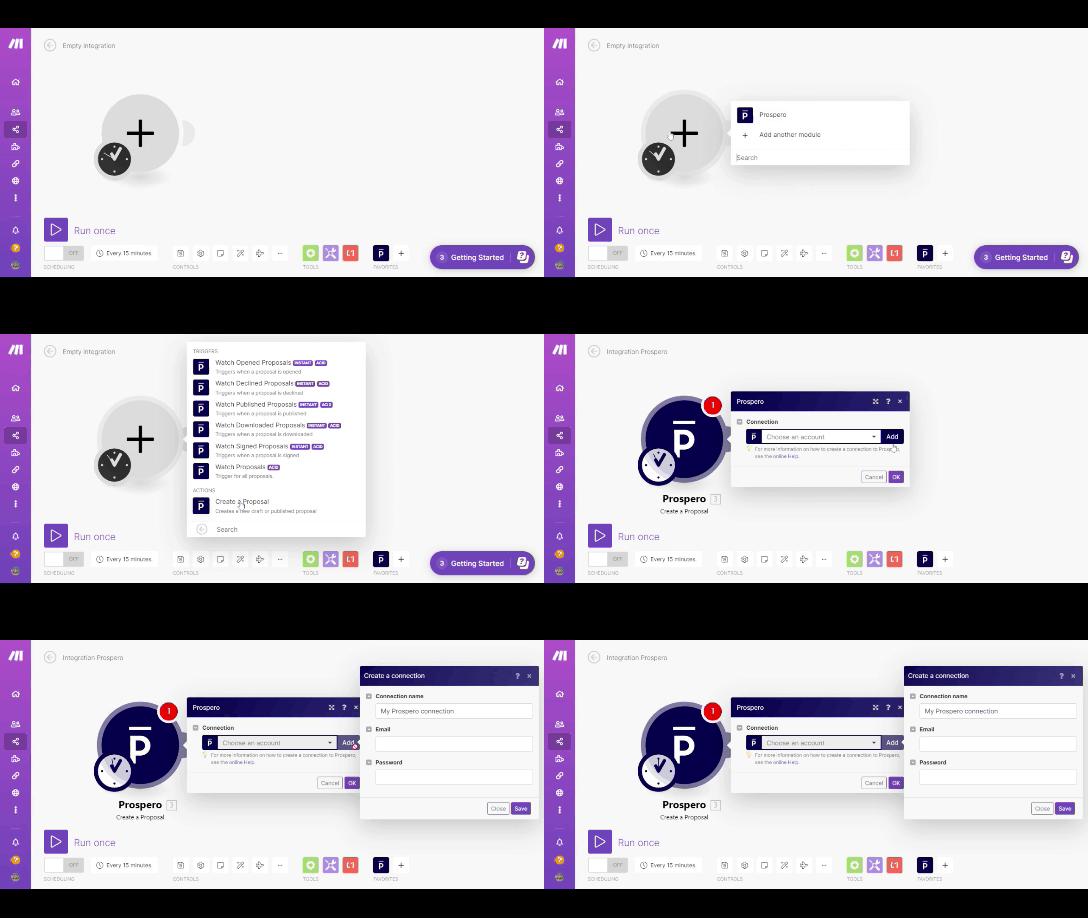
Go to Boost.space Integrator and open the Prospero module’s Create a connection dialog.
-
In the Connection name field, enter a name for the connection.
-
In the Email and Password fields, enter your Prospero account credentials respectively, and click Continue.
The connection has been established.
![[Note]](https://docs.boost.space/wp-content/themes/bsdocs/docs-parser/HTML/css/image/note.png) |
Note |
|---|---|
|
You do not have to add the webhooks in the Prospero as it is automatically done for you once you add and save an instant trigger module to your scenario. |
Triggers when a proposal is opened.
|
Webhook Name |
Enter a name for the webhook. |
|
Connection |
Triggers when a proposal is declined.
|
Webhook Name |
Enter a name for the webhook. |
|
Connection |
Triggers when a proposal is published.
|
Webhook Name |
Enter a name for the webhook. |
|
Connection |
Triggers when a proposal is downloaded.
|
Webhook Name |
Enter a name for the webhook. |
|
Connection |
Triggers when a proposal is signed.
|
Webhook Name |
Enter a name for the webhook. |
|
Connection |
Trigger for all proposals.
|
Webhook Name |
Enter a name for the webhook. |
|
Connection |
Creates a new draft or published proposal.
|
Connection |
|
|
Proposal Type |
Select the proposal type you want to create:
|
|
Project Name |
Enter the name of the project. |
|
Client Name |
Enter the client’s name. |
|
Client Email |
Enter the email address of the client. |
|
Select Template |
Select the proposal template. |
|
Section Order |
Select the order of the fields in the template. The field is auto-populated depending on the template. |
|
Select Type of Pricing |
Select the pricing type of the proposal:
|
|
Price Value |
Enter the details of the proposal price value details. |
|
Price Table |
Enter the details of the pricing table details of the proposal. |
