
| Active with remarks |
|---|
| This application needs additional settings. Please follow the documentation below to create your own connection. |
With Brevo (formerly Sendinblue) modules in Boost.space Integrator, you can watch, create, update, list, and delete the contacts, lists, folders, email campaigns, events, emails, and SMS in your Brevo account.
To get started with Brevo, create an account at Brevo.com.
![[Note]](https://docs.boost.space/wp-content/themes/bsdocs/docs-parser/HTML/css/image/note.png) |
Note |
|---|---|
|
Refer to the Brevo API documentation for the list of available endpoints. |
To connect Brevo to Boost.space Integrator, you must first create an API key in your Brevo account.
To establish the connection:
-
Log in to your Brevo account.
-
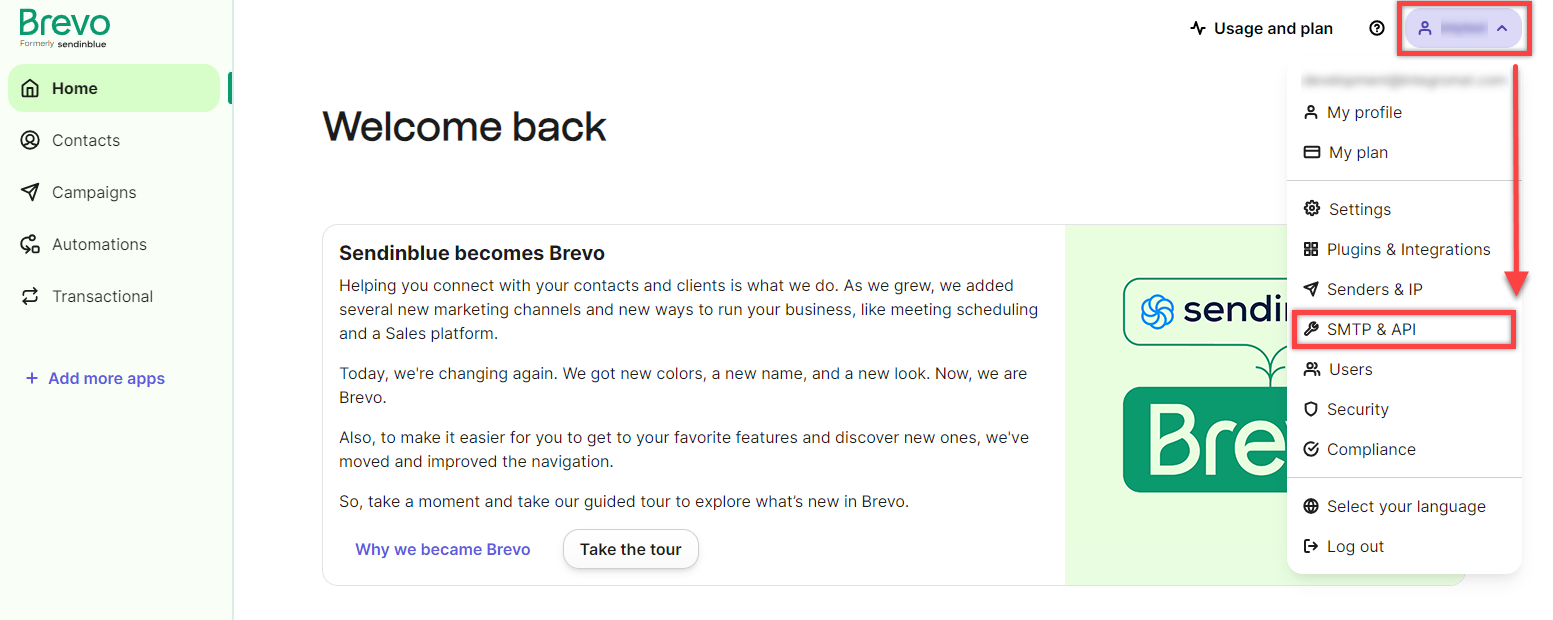
Click on your Profile Icon > SMTP&API.
-
Go to theAPI Keys tab and click on Generate a new API key.
-
Enter a name for your API key and click Generate.
-
Copy the generated API key, store it in a safe place as you will not be able to view it again, and click OK.
-
Log in to your Boost.space Integrator account, add a Brevo module to a scenario, and click Create a connection.
-
Optional: In the Connection name field, enter a name for the connection.
-
In the API Key field, enter the API key copied in Step 5 and click Save.
You have successfully established the connection. You can now edit your scenario and add more Brevo modules. If your connection requires reauthorization at any point, follow the connection renewal steps here.
After connecting the app, you can perform the following actions:
Contacts
-
Watch Contacts
-
List Contacts
-
List Lists in a Folder
-
List Contacts in a List
-
Get a Contact
-
Add Existing Contacts to a List
-
Create a Contact
-
Update a Contact
-
Delete a Contact
Lists
-
Watch Lists
-
List Lists
-
Get a List
-
Create a List
-
Update a List
-
Delete a List
Folders
-
Watch Folders
-
List Folders
-
Get a Folder
-
Create a Folder
-
Update a Folder
-
Delete a Folder
Campaigns
-
Watch Email Campaigns
-
List Email Campaigns
-
Create an Email Campaign
-
Get an Email Campaign
-
Update an Email Campaign
-
Delete an Email Campaign
Other
-
New Event
-
Send an SMS
-
Send an Email
-
Send a Campaign Report
-
Make an API Call
-
Get My Account