How to map an array of connected items in Boost.space
When working with Boost.spaceA platform that centralizes and synchronizes company data from internal and external sources, offering a suite of modules and addons for project management, CRM, data visualization, and more. Has many features to optimize your workflow! modulesa module is an application or tool designed to handle specific business functions, such as CRM, project management, or inventory. The system's modular architecture allows you to activate only the modules you need, enabling customization and scalability as your business requirements evolve. (like invoices), you may need to map an arrayWithin a bundle, data items of the same type are sometimes in an array. You can find an array by looking at the details of a bundle. Depending on the details of your scenario, you can map other modules to a specific item in an array or use iterators and aggregators to manipulate your data into other formats. When mapping,... of connected itemsItems are rows in records (order/request/invoice/purchase...). If the number of items differs each time, it’s essential to create and manage the array properly to ensure everything is passed and stored correctly. This guide walks you through the steps to set up such a workflow using tools like Google Sheets and an Array AggregatorWhen designing a scenario, use an array aggregator to merge multiple bundles into one single bundle. This may be necessary to format data properly for subsequent modules. The array aggregator also lets you define your target data structure..
Step-by-step guide
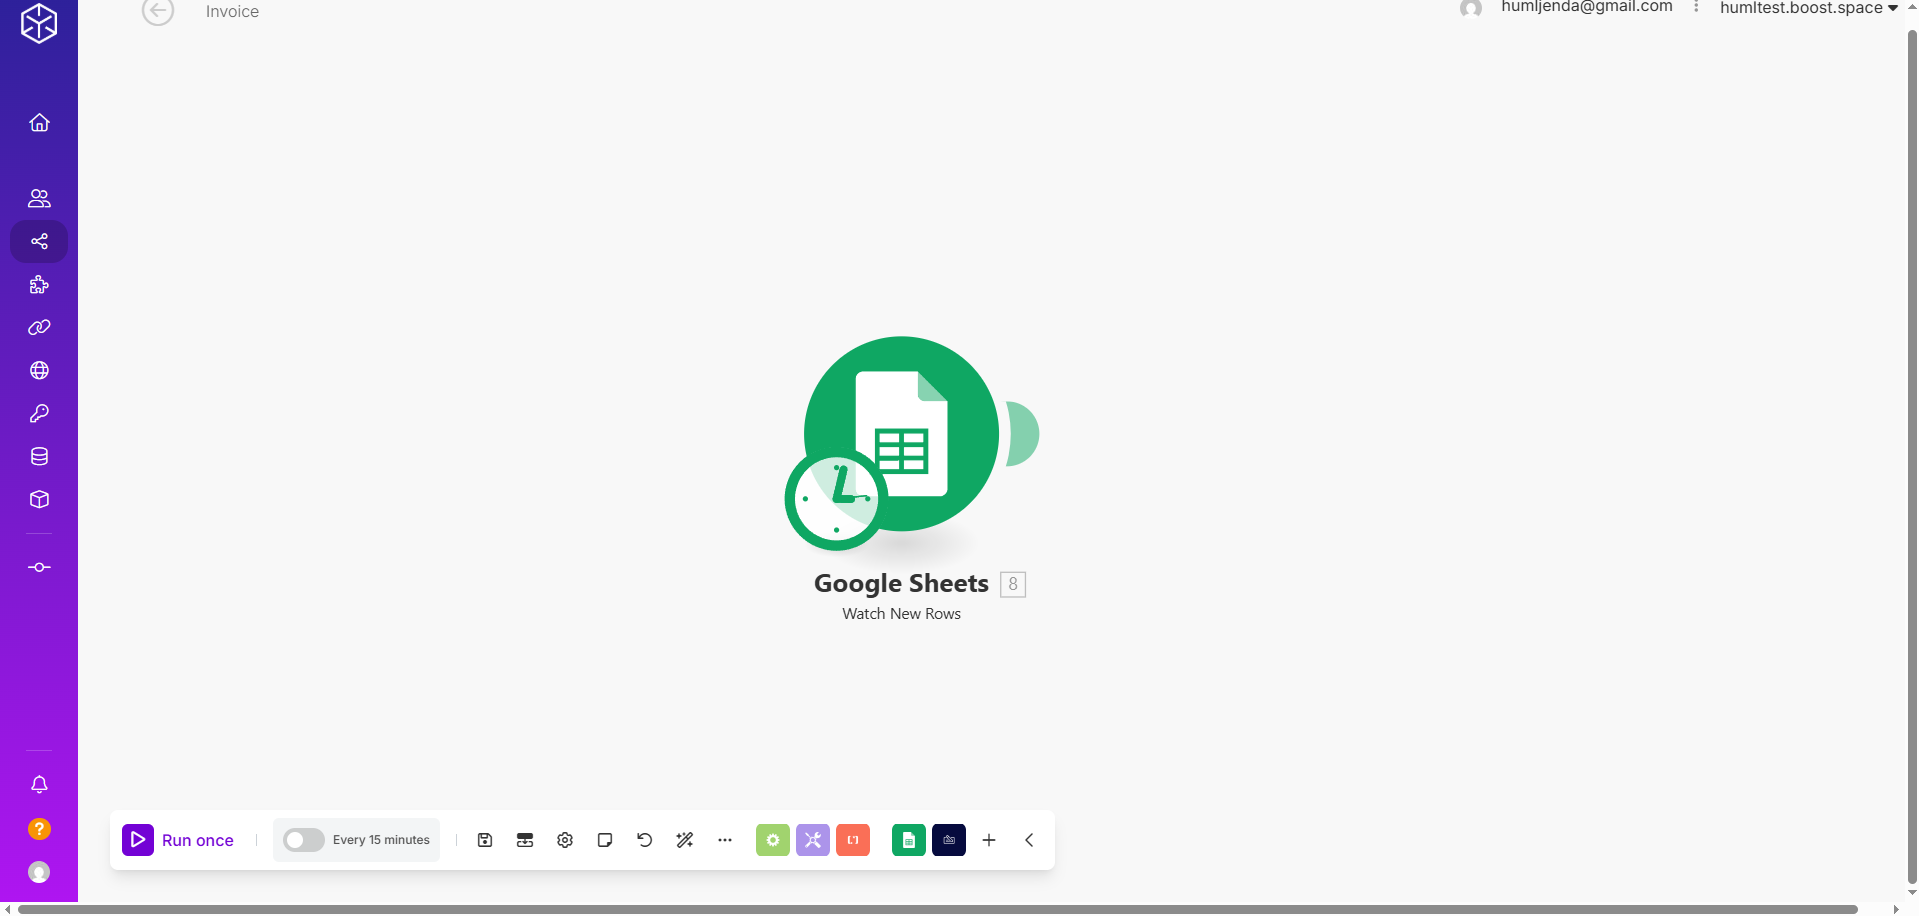
1. Set up your source modulea module is an application or tool designed to handle specific business functions, such as CRM, project management, or inventory. The system's modular architecture allows you to activate only the modules you need, enabling customization and scalability as your business requirements evolve.
Start with your source of data. In this example, we’ll use Google Sheets to provide the initial data you want to send to Boost.space.
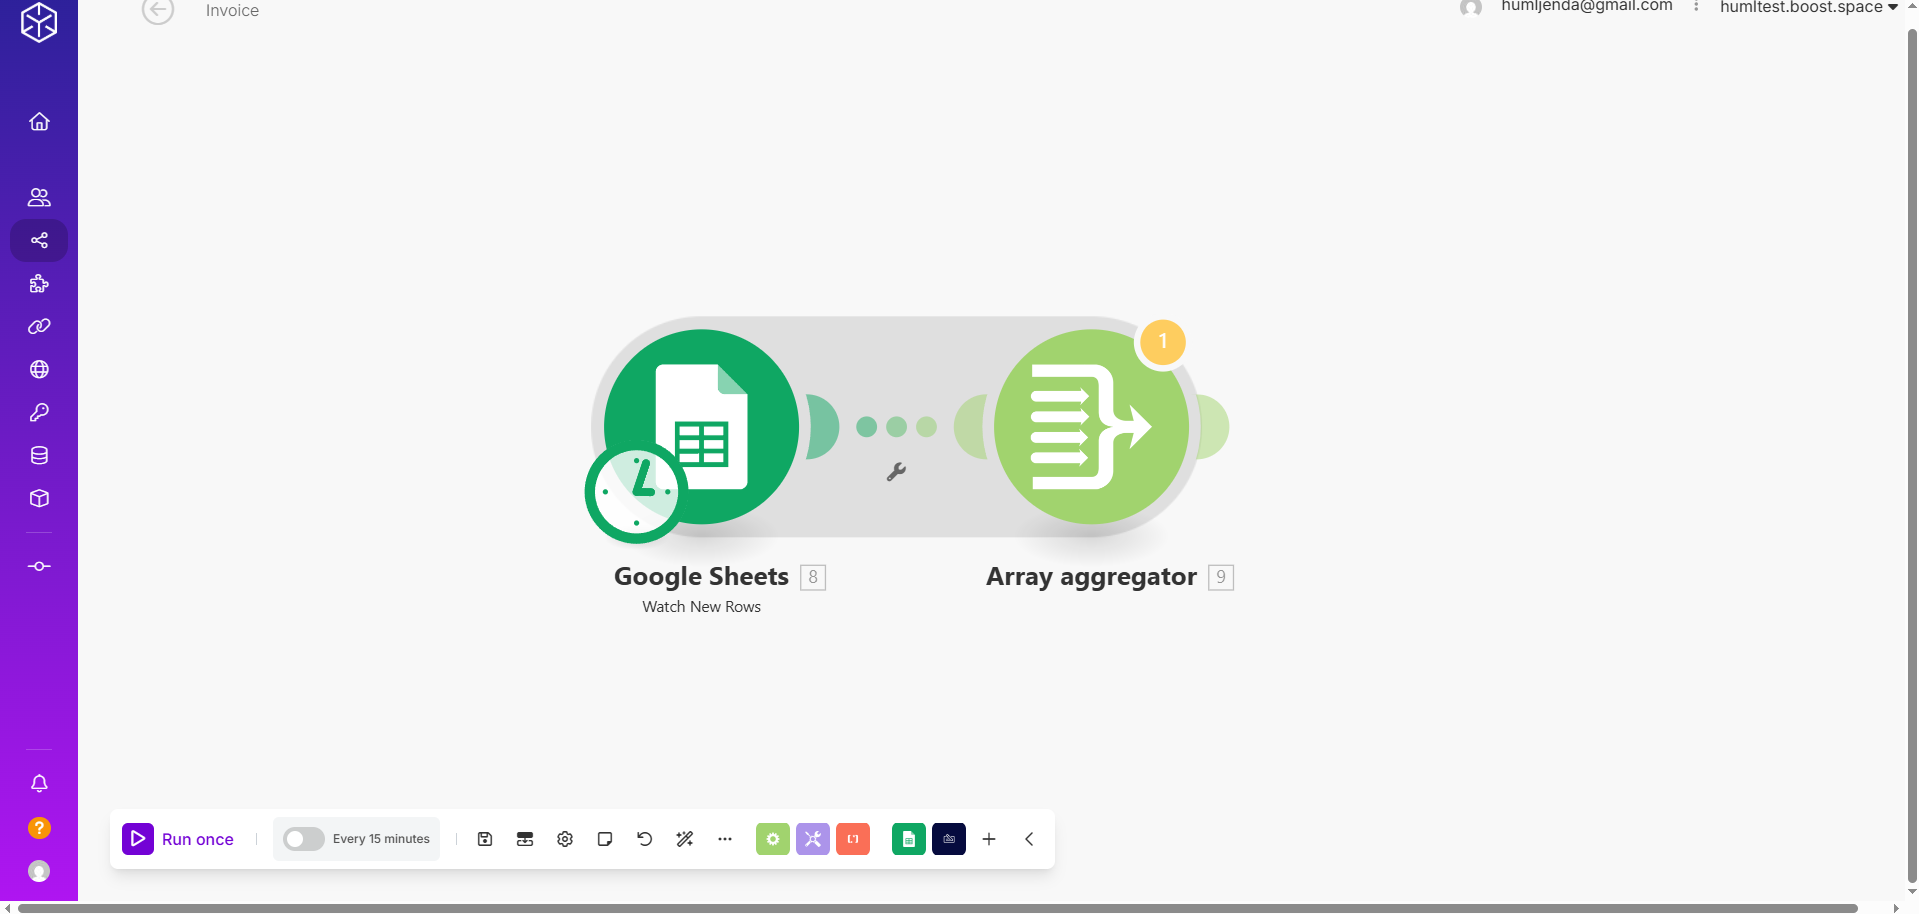
2. Add an Array AggregatorYou can use a table aggregator to create a table from multiple bundles. The table aggregator merges values based on your specified column and row parameters and outputs into a single bundle. One possible use is compiling blog posts or emails into a single email summary.
After your source module, add an Array AggregatorAn aggregator is a type of module that allows you to merge multiple bundles into one single bundle. Aggregators are useful in making data readable for certain modules or generating meaningful output. Boost.space Integrator offers: <br> Array aggregator<br> Numerical aggregator<br> Table aggregator<br> Text aggregator<br>. This module is used to bundleA bundle is a chunk of data and the basic unit for use with modules. A bundle consists of items, similar to how a bag may contain separate, individual items. the repeating data into an array format that can be accepted by Boost.space.
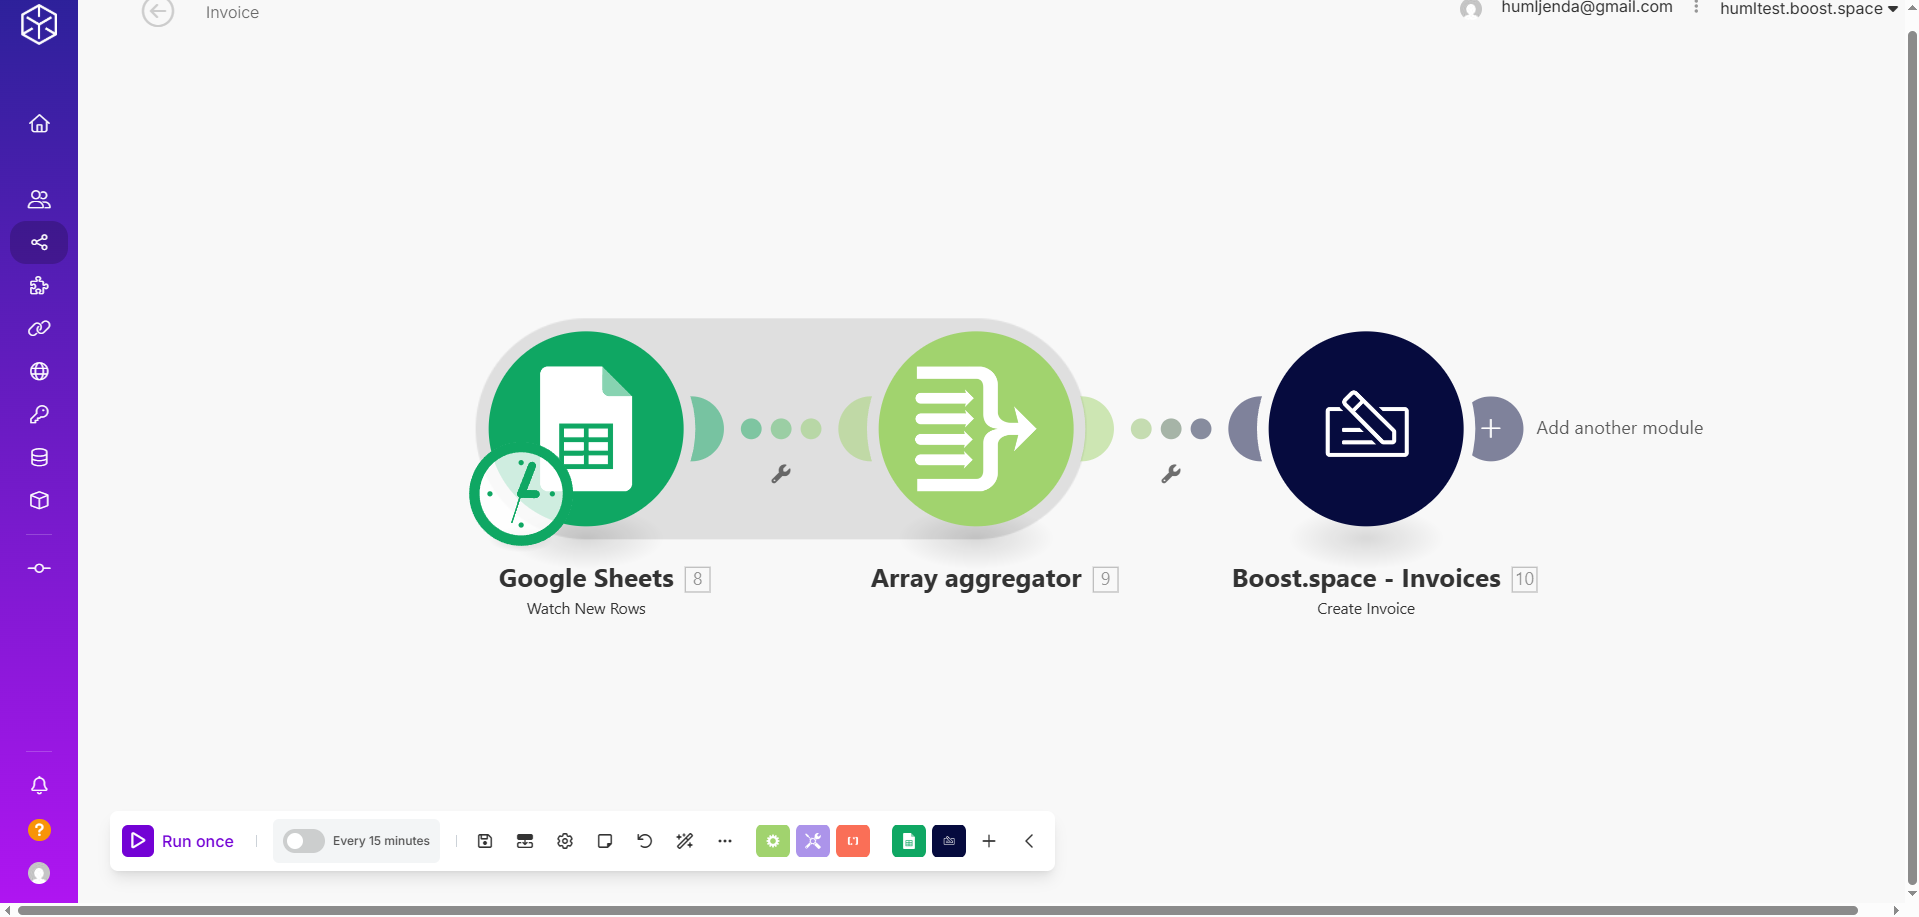
3. Connect the Boost.space module
Now, connect the Boost.space module after the Array Aggregator. This is where the final data will be sent.
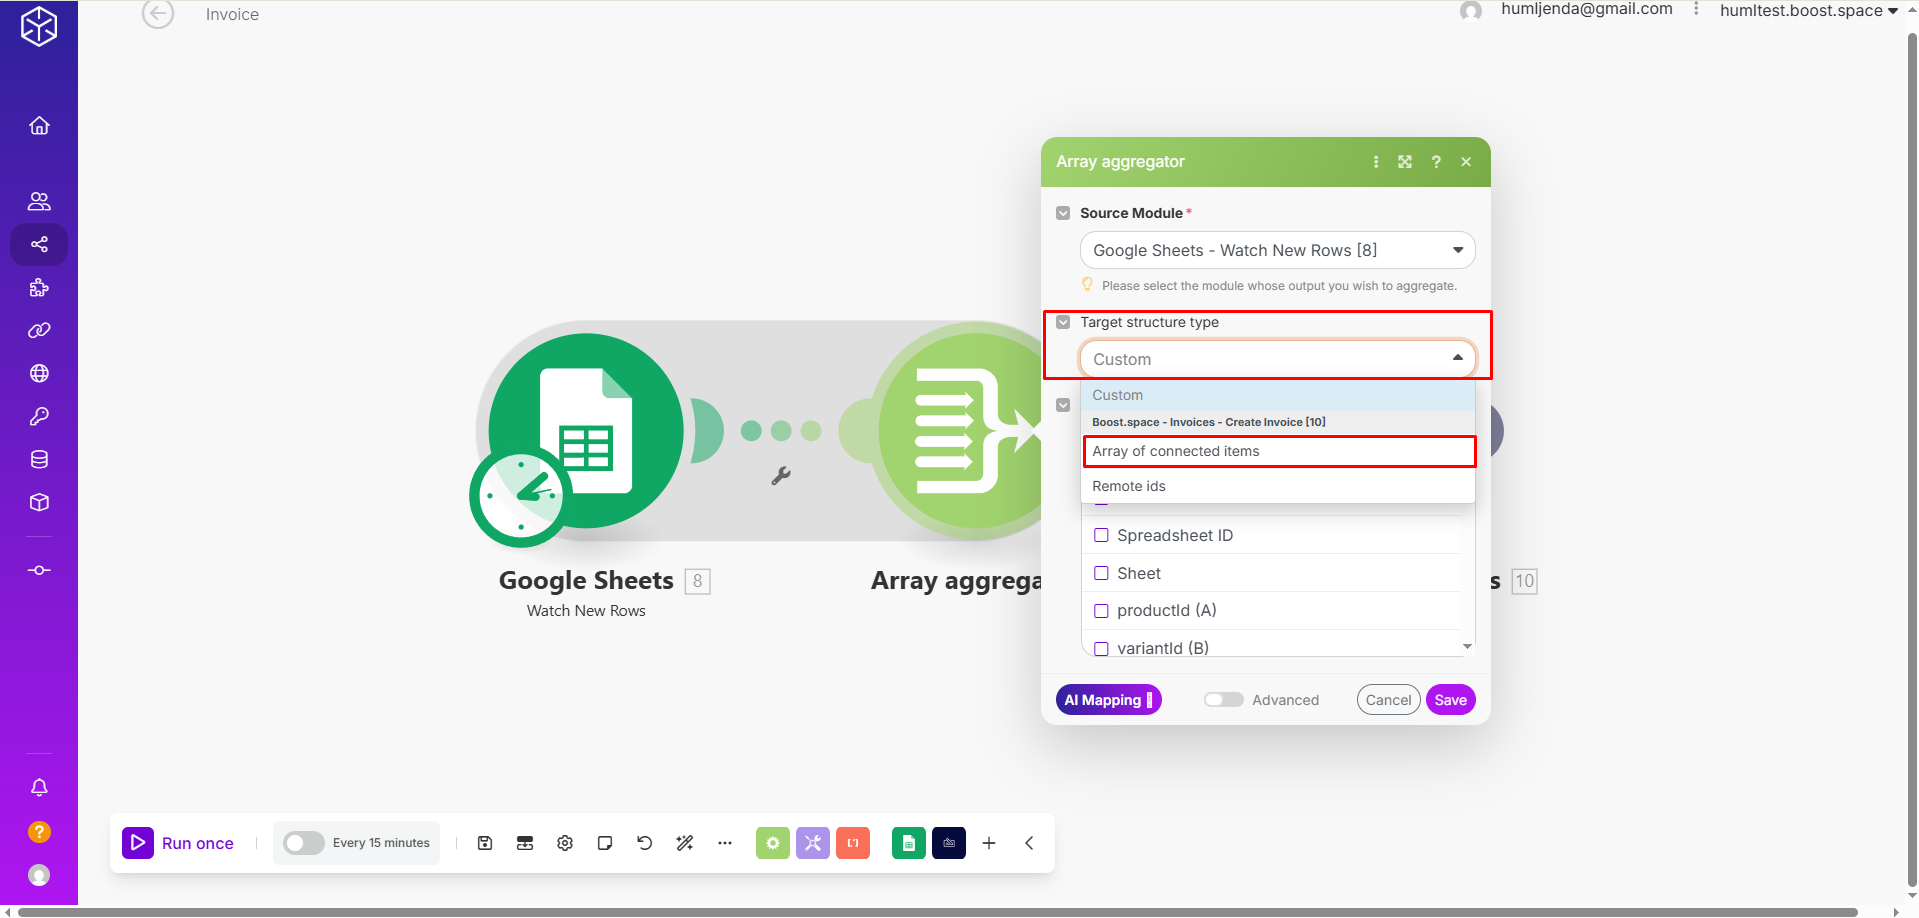
4. Configure the Array Aggregator
Once your Boost.space module is set up, save it and go back and configure the Array Aggregator.
- Set the Target Structure Type to match the connected items expected by the Boost.space module.
- Map the necessary fields as you normally would.
5. Save and return to Boost.space module
Click Save to apply your Array Aggregator settings. Then, return to the Boost.space module.
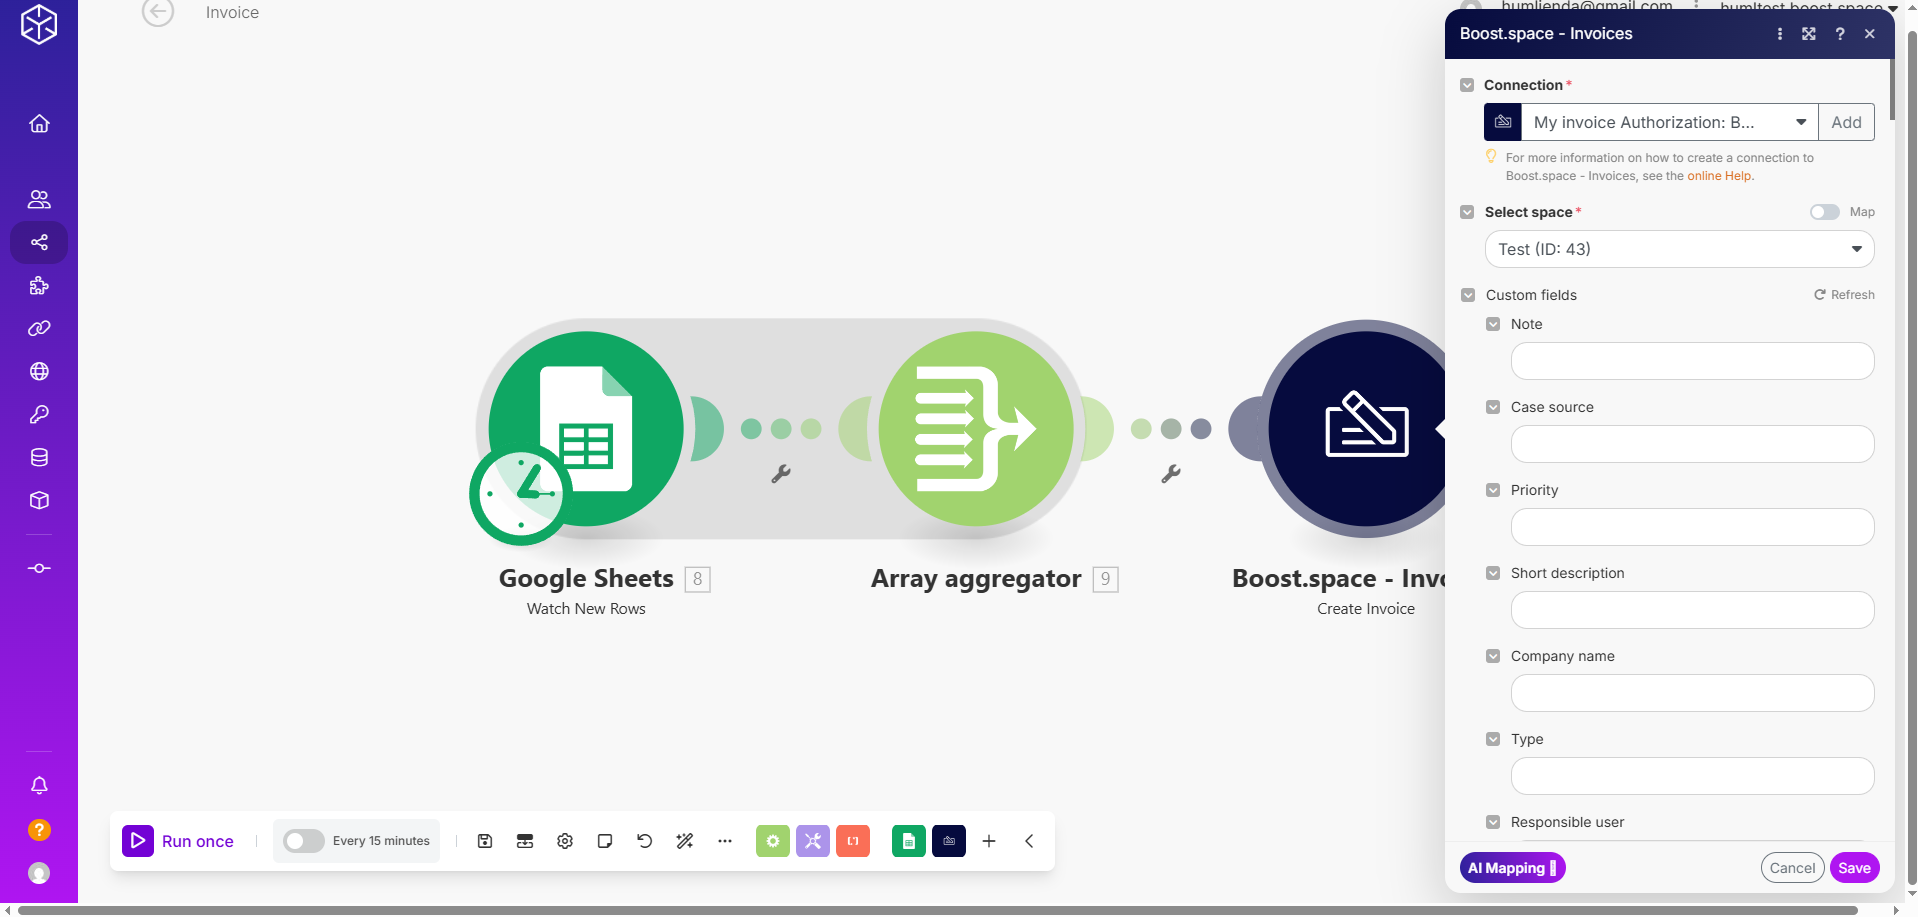
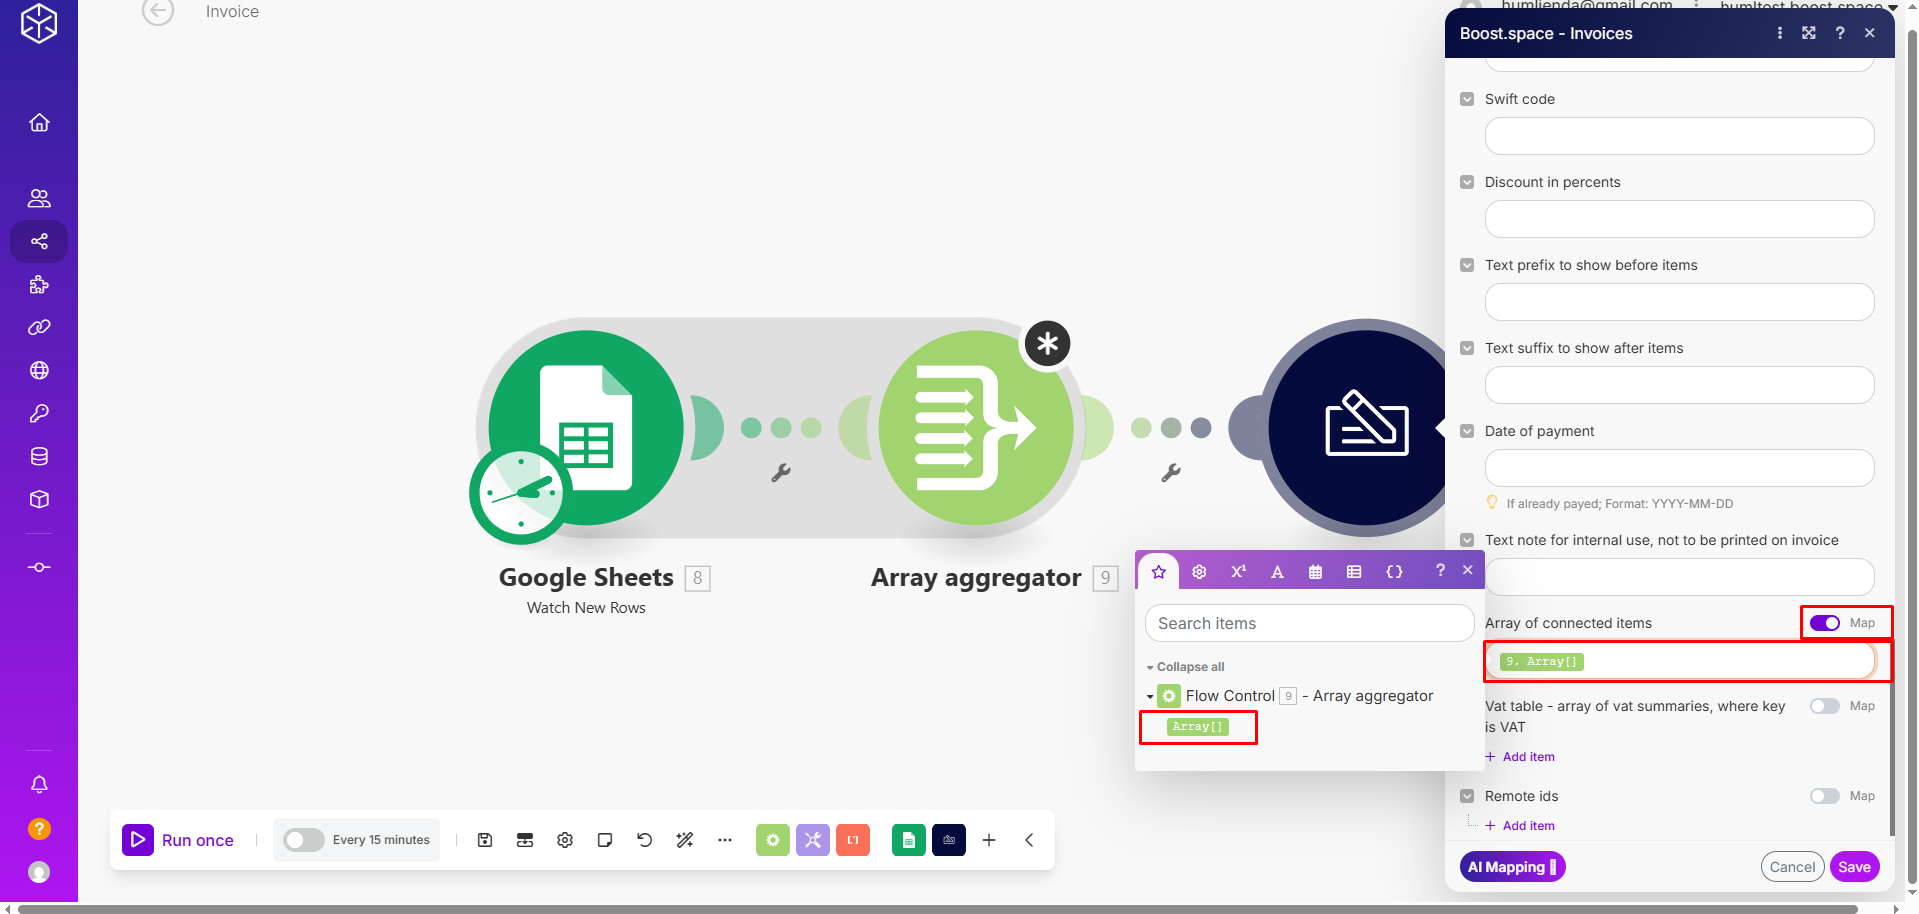
6. Map the array of connected items
Inside the Boost.space module, you’ll now be able to map the entire array of connected items using the output from the Array Aggregator.
Conclusion
MappingMapping links the modules in your scenario. When you map an item, you connected the data retrieved by one module to another module to perform the desired action. For example, you can map the email address and subject lines from the Email > Watch emails module to Google Sheets > Add a row and create a spreadsheet of email addresses... an array of connected items in Boost.space may seem tricky at first—especially when the number of items varies—but with the right setup using a source module, Array Aggregator, and the Boost.space module, it becomes a smooth and scalable process. By structuring your data properly and carefully mapping fields, you ensure that your workflows remain clean, dynamic, and ready to handle real-world scenariosA specific connection between applications in which data can be transferred. Two types of scenarios: active/inactive..