The pCloud modules allow you to watch, create, copy, update, list, retrieve, and delete the folders and files in your pCloud account.
Prerequisites
-
A pCloud account
In order to use pCloud with Boost.space Integrator, it is necessary to have a pCloud account. If you do not have one, you can create a pCloud account at pcloud.com.
![[Note]](https://docs.boost.space/wp-content/themes/bsdocs/docs-parser/HTML/css/image/note.png) |
Note |
|---|---|
|
The module dialog fields that are displayed in bold (in the Boost.space Integrator scenario, not in this documentation article) are mandatory! |
-
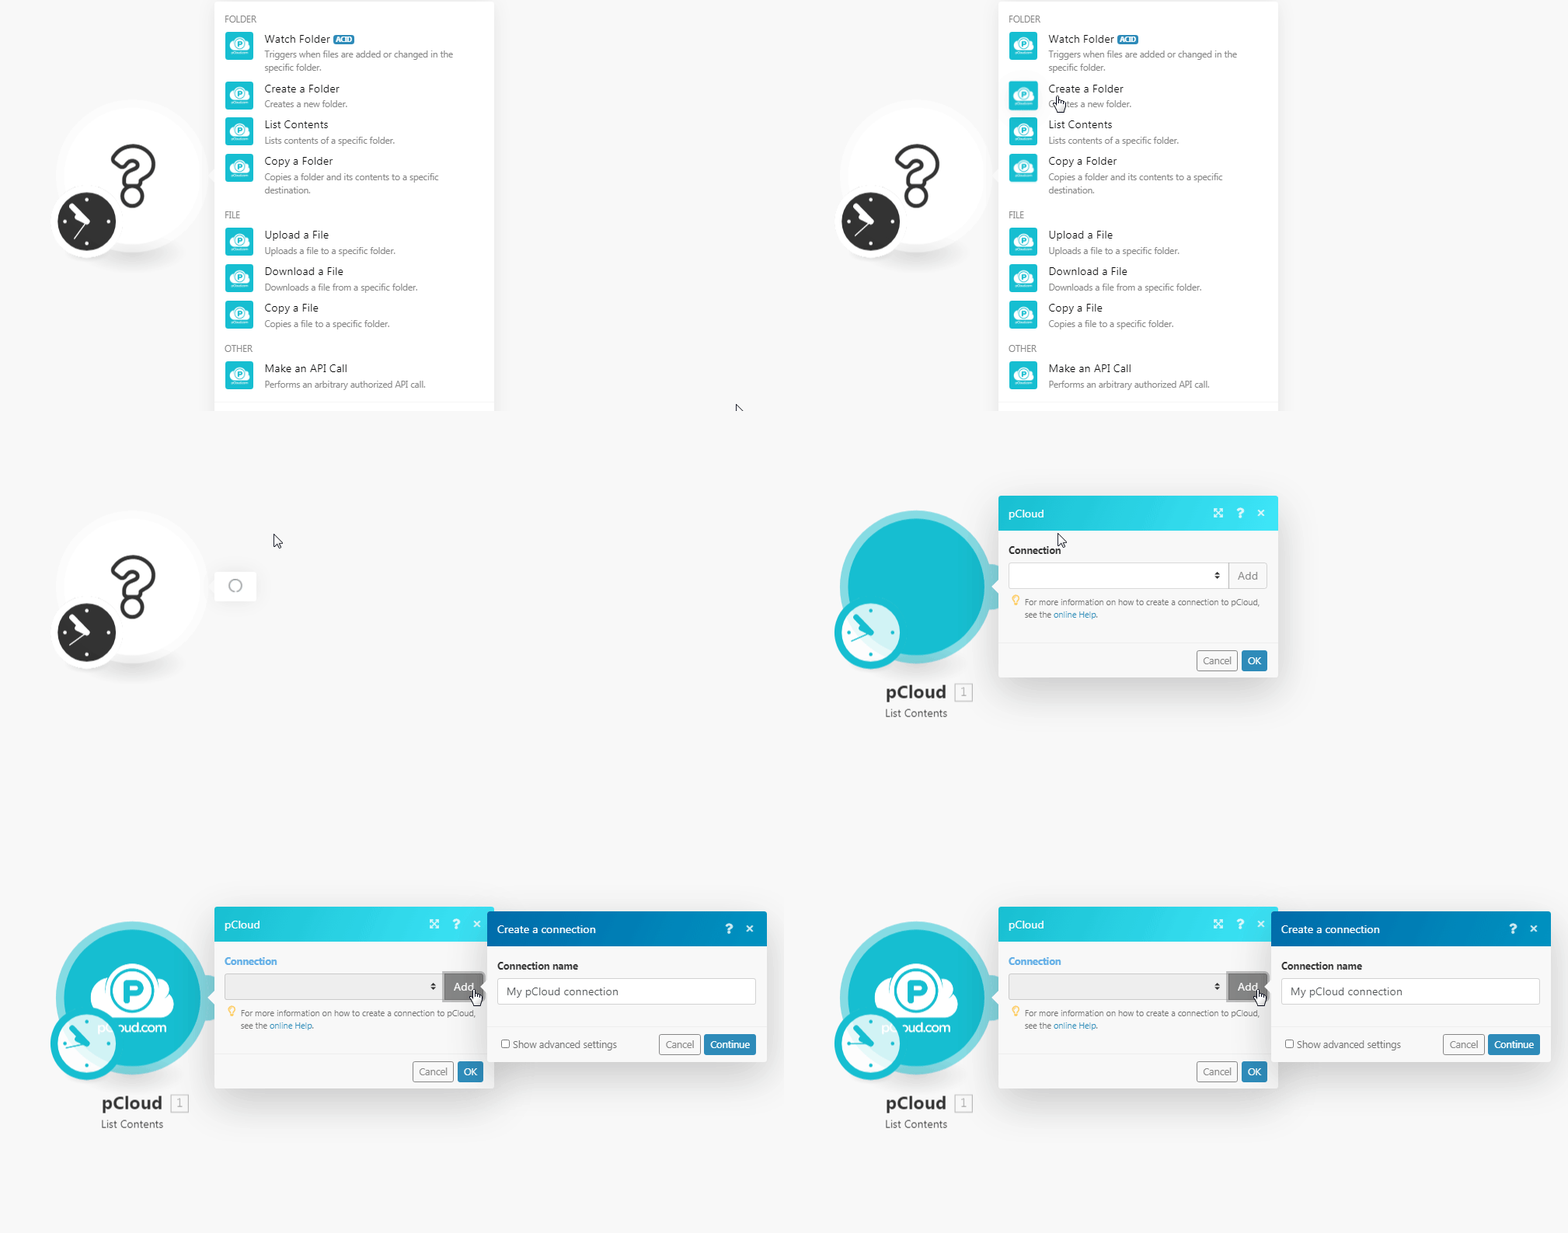
Go to Boost.space Integrator and open the pCloud module’s Create a connection dialog.
-
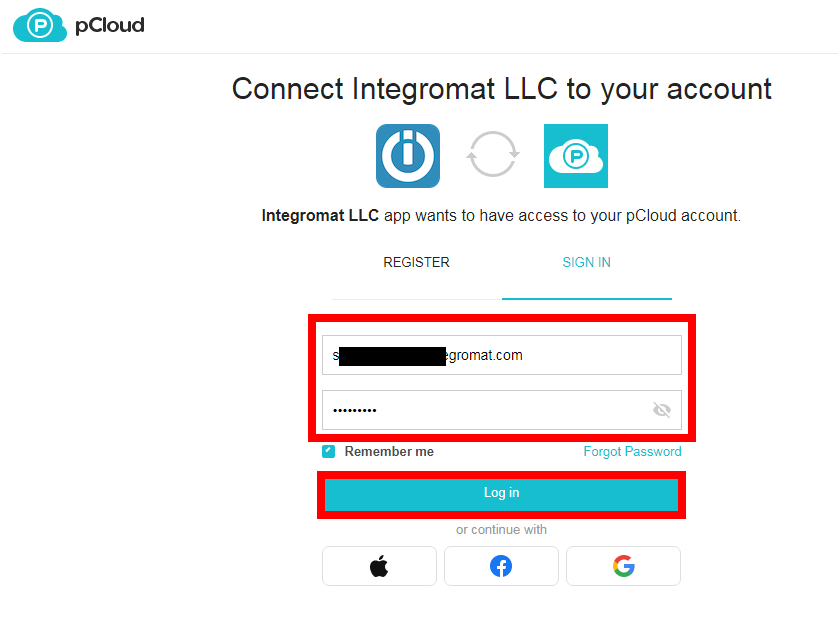
Enter your pCloud account credentials and click Login.
-
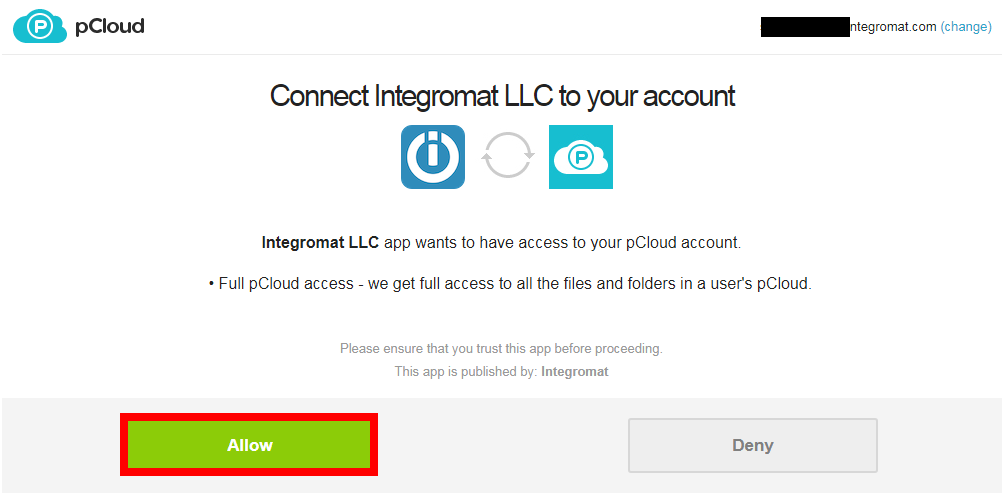
Confirm the access by clicking Allow.
The connection has been established.
Triggers when files are added or changed in the specific folder.
|
Connection |
|
|
Parent Folder |
Select the folder you want to watch. |
|
Trigger Type |
Select the option to watch the files of the folder:
|
|
Limit |
Set the maximum number of files Boost.space Integrator should return during one scenario execution cycle. |
Creates a new folder.
|
Connection |
|
|
Parent Folder |
Select the parent folder in which you want to create the new folder. |
|
Folder |
Enter a name for the folder. |
Lists content of a specific folder.
|
Connection |
|
|
Parent Folder |
Select the folder which contents you want to list. |
|
Show Deleted |
Select whether you want to list the deleted contents. |
|
Limit |
Set the maximum number of contents Boost.space Integrator should return during one scenario execution cycle. |
Copies a folder and its contents to a specific destination.
|
Connection |
|
|
Source Folder |
Select the folder from which you want to copy. |
|
Target Folder |
Select the destination folder to which you want to copy the folder and its contents. |
|
No File Over Writing |
Select the checkbox to keep the folder content without overwriting any existing files. |
|
Skip Existing Files |
Select the checkbox to skip any existing files when copying the folder and its contents. |
|
Copy Folder Content Only |
Select the checkbox to copy only the folder contents. |
Uploads a file to a specific folder.
|
Connection |
|
|
Target Folder |
Select the folder where you want to upload a file. |
|
Choose Source to Upload |
Select the option to upload the file. |
|
File Name |
Enter a name for the file. |
|
Data |
Enter or map the file data. |
|
File URL |
Enter the URL address to the file. |
|
New File Name |
Enter a new name for the file along with the file extension if applicable. |
|
Overwrite File |
Select the checkbox to overwrite the existing file. |
Downloads a file from a specific folder.
|
Connection |
|
|
Source File |
Select the file location which you want to download. |
Copies a file to a specific folder.
|
Connection |
|
|
Source File |
Select the folder where you want to upload a file. |
|
Target Folder |
Select the option to upload the file. |
|
Overwrite File |
Select the checkbox to overwrite the existing file. |
|
New File Name |
Enter a new file name. |
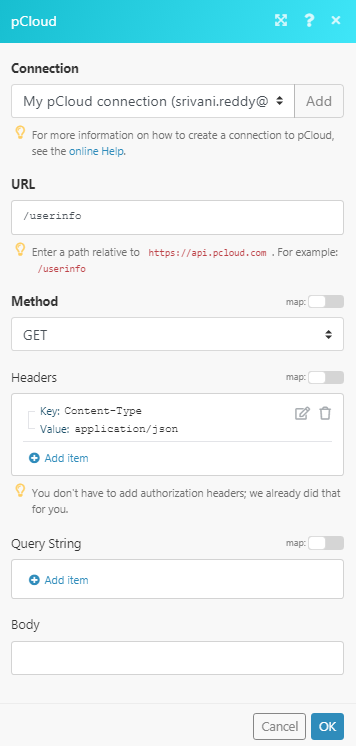
Performs an arbitrary authorized API call.
|
Connection |
||||
|
URL |
Enter a path relative to
|
|||
|
Method |
Select the HTTP method you want to use: GET to retrieve information for an entry POST to create a new entry. PUT to update/replace an existing entry. PATCH to make a partial entry update. DELETE to delete an entry. |
|||
|
Headers |
Enter the desired request headers. You don’t have to add authorization headers; we already did that for you. |
|||
|
Query String |
Enter the request query string. |
|||
|
Body |
Enter the body content for your API call. |
