How to create a custom template in Boost.space
Creating Custom Templates
To create your own templates, you must have created your own spaceIn Boost.space, a space is a subunit within a module that helps organize and categorize data, ensuring clarity even with large volumes. For example, within the Contacts module, you might have spaces like "Client Database" or "Supplier Database." Access to each space is restricted to users who have created it or have been granted access. in the Task modulea module is an application or tool designed to handle specific business functions, such as CRM, project management, or inventory. The system's modular architecture allows you to activate only the modules you need, enabling customization and scalability as your business requirements evolve.. This article will teach you how to create your custom template.
1. Click on “+ New task list” to create a new space.
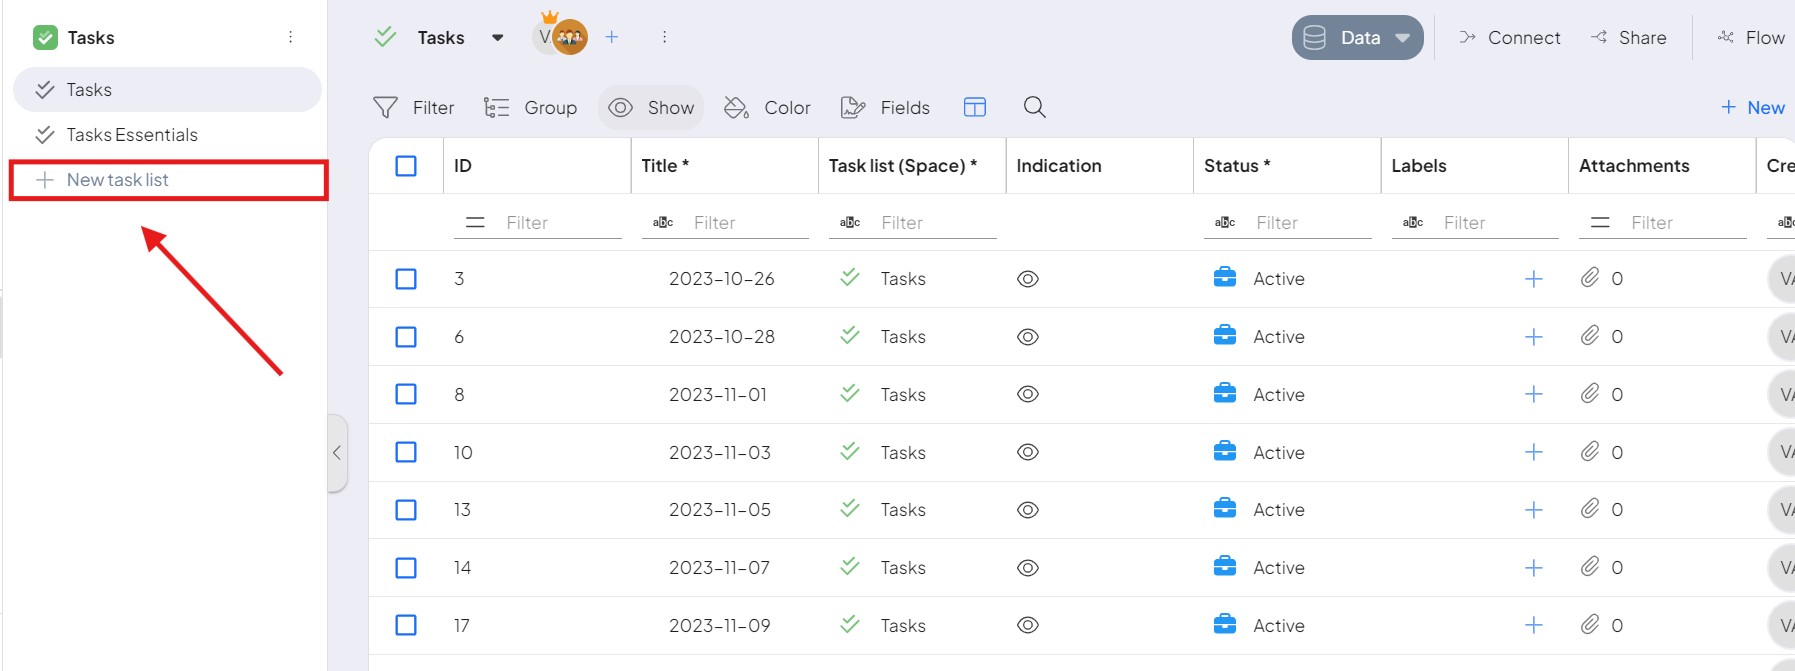
2. In the first step name your space and you can even create a subspace by selecting Parent space, click on “next step”. In the second step choose who will have access to this space and select a role. And in the last steps, you can set other settings for this space.
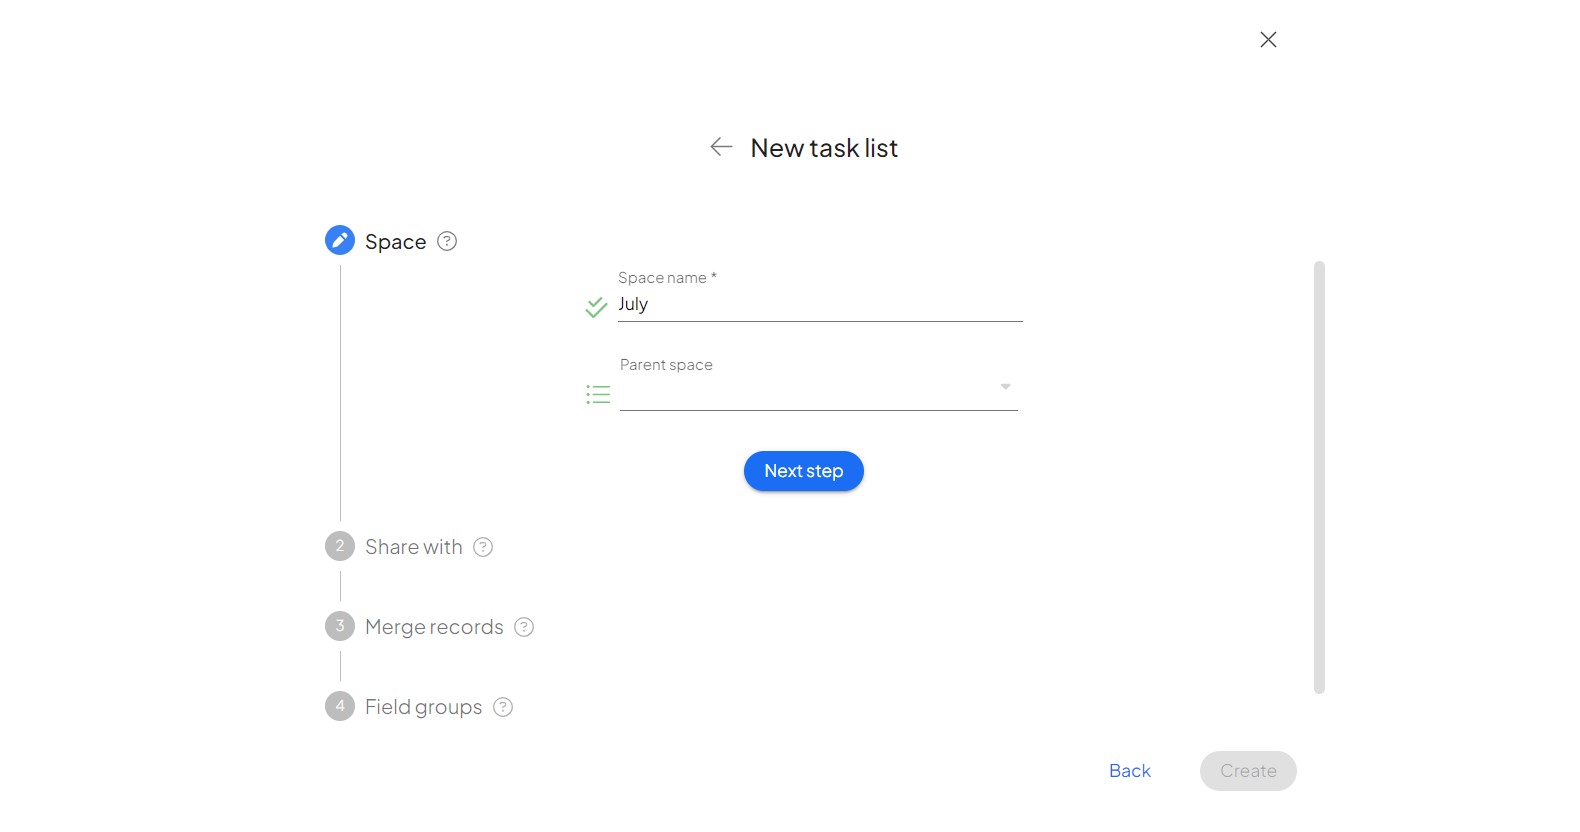
3. Then create a new task by clicking on “New task”.
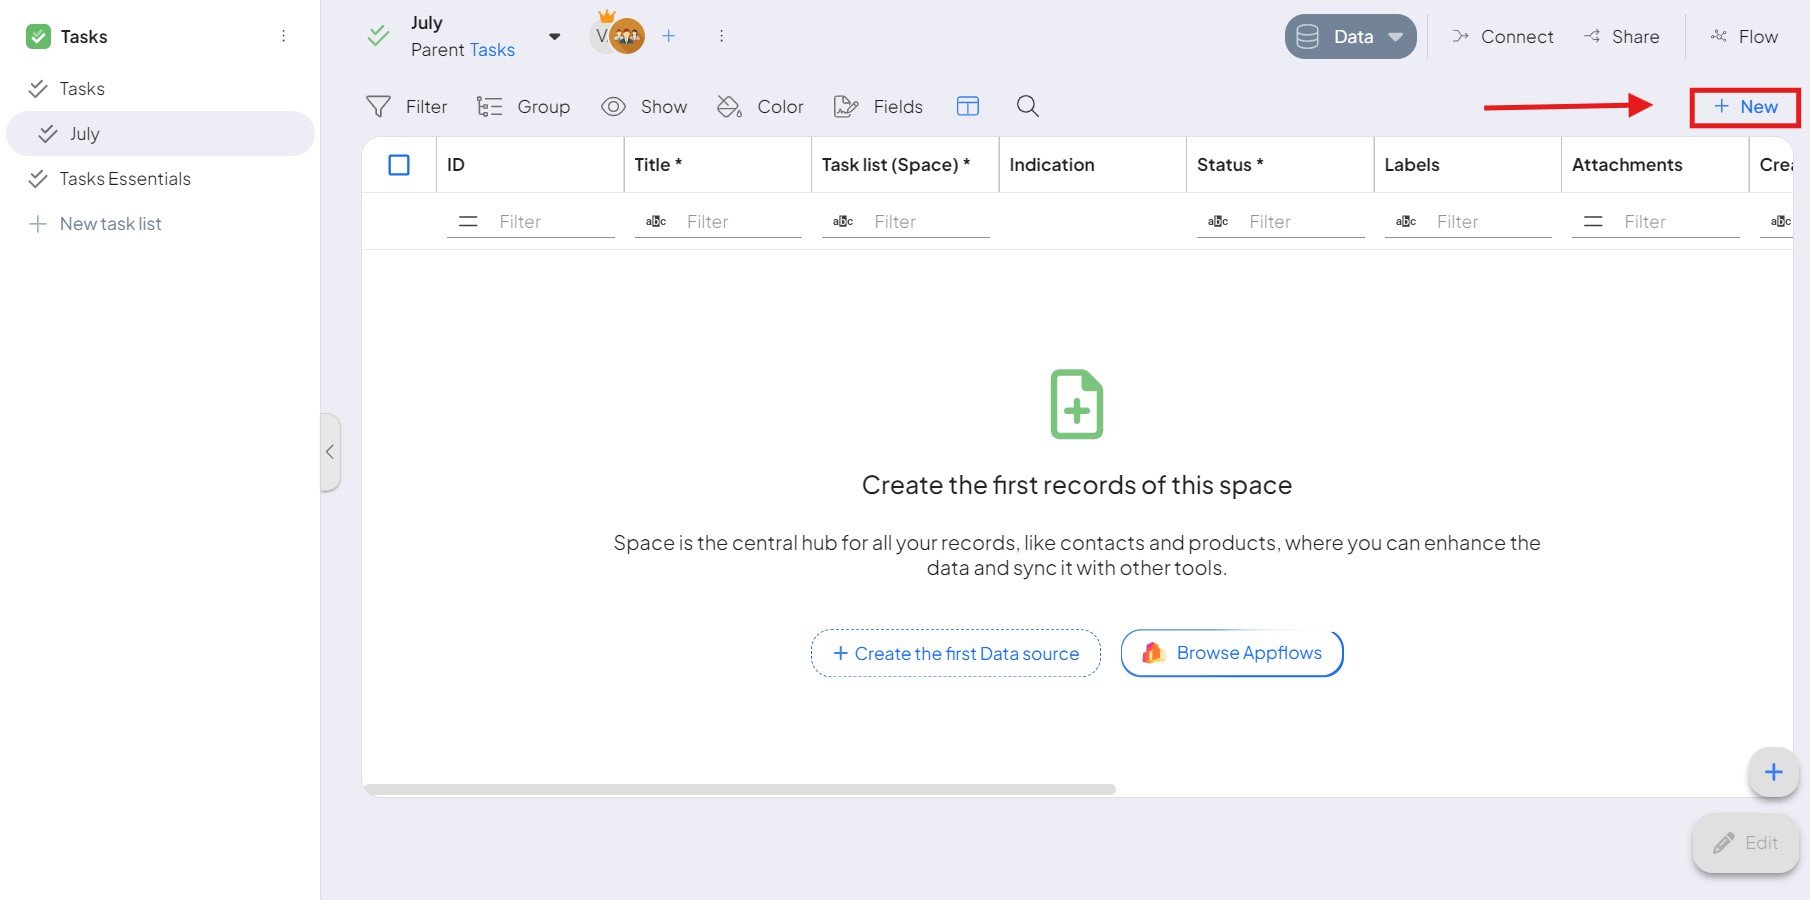
4. To create a new task you need to fill in the name and click on “create”.
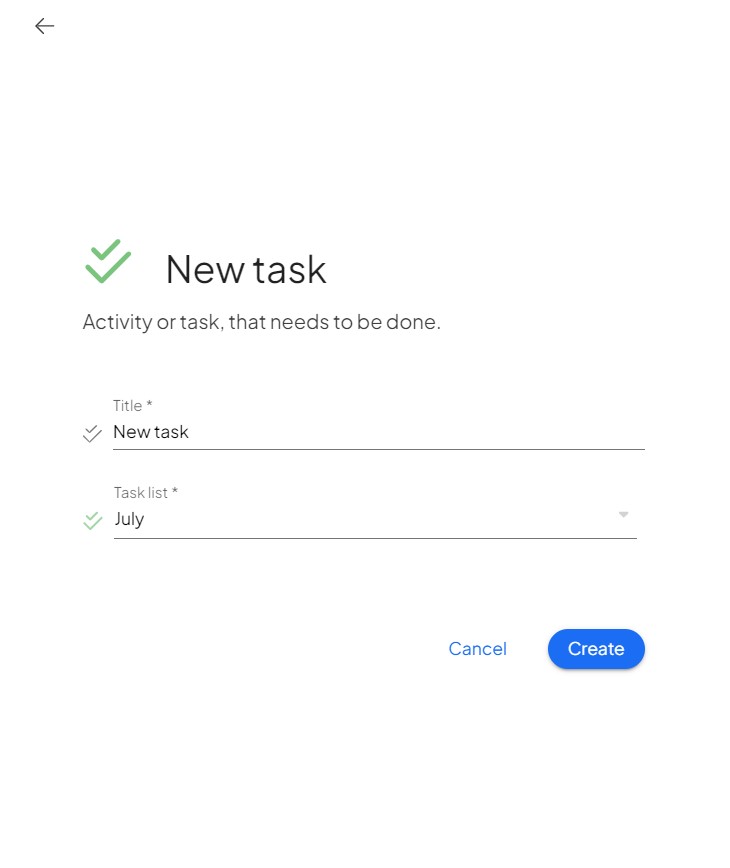
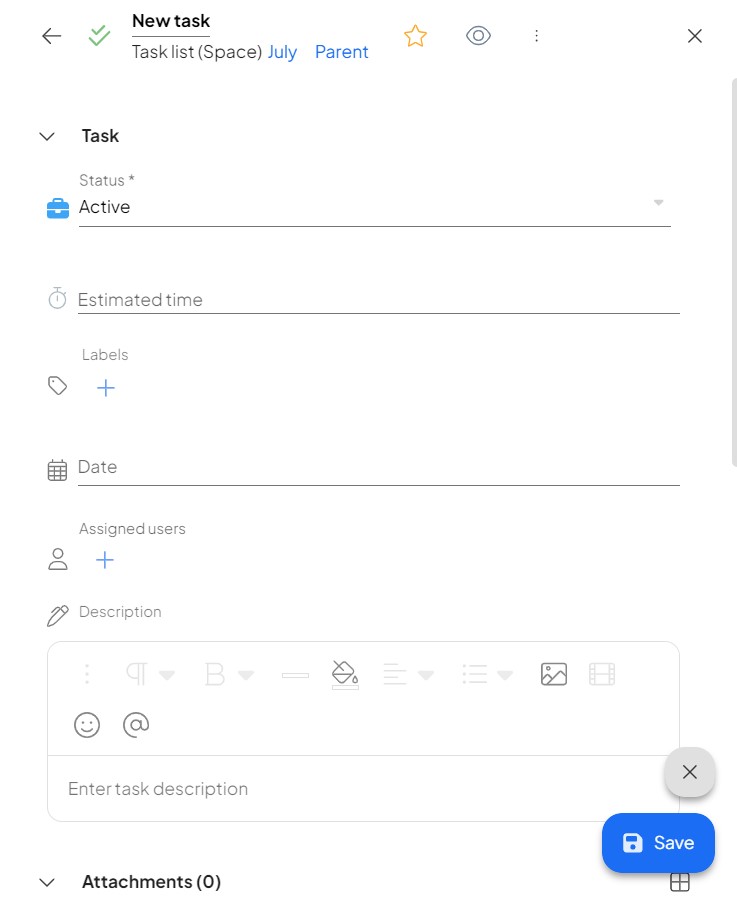
5. In the task detail, fill in the information you want (e.g. date, estimated time, description, add labelsIn Boost.space, a label is a tag that can be added to items within a module. It's a flexible tool used to categorize and organize data, making it easier to customize workflows and processes. …).
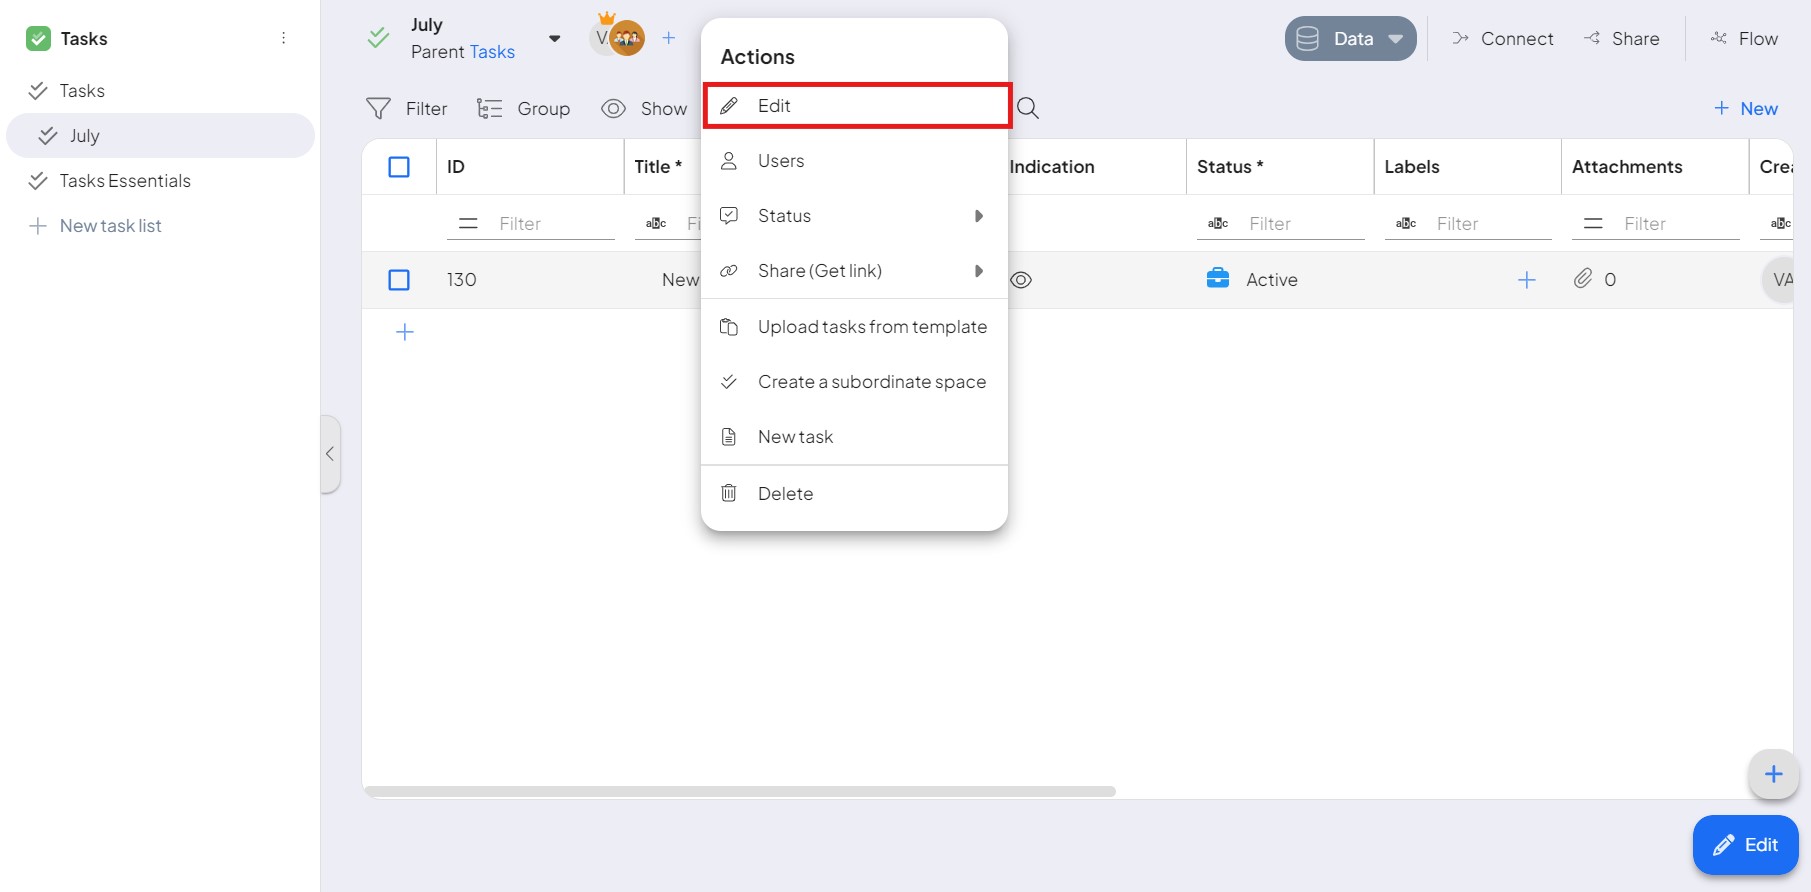
6. After creating the desired tasks, click on the three dots at the top of the screen and click Edit.
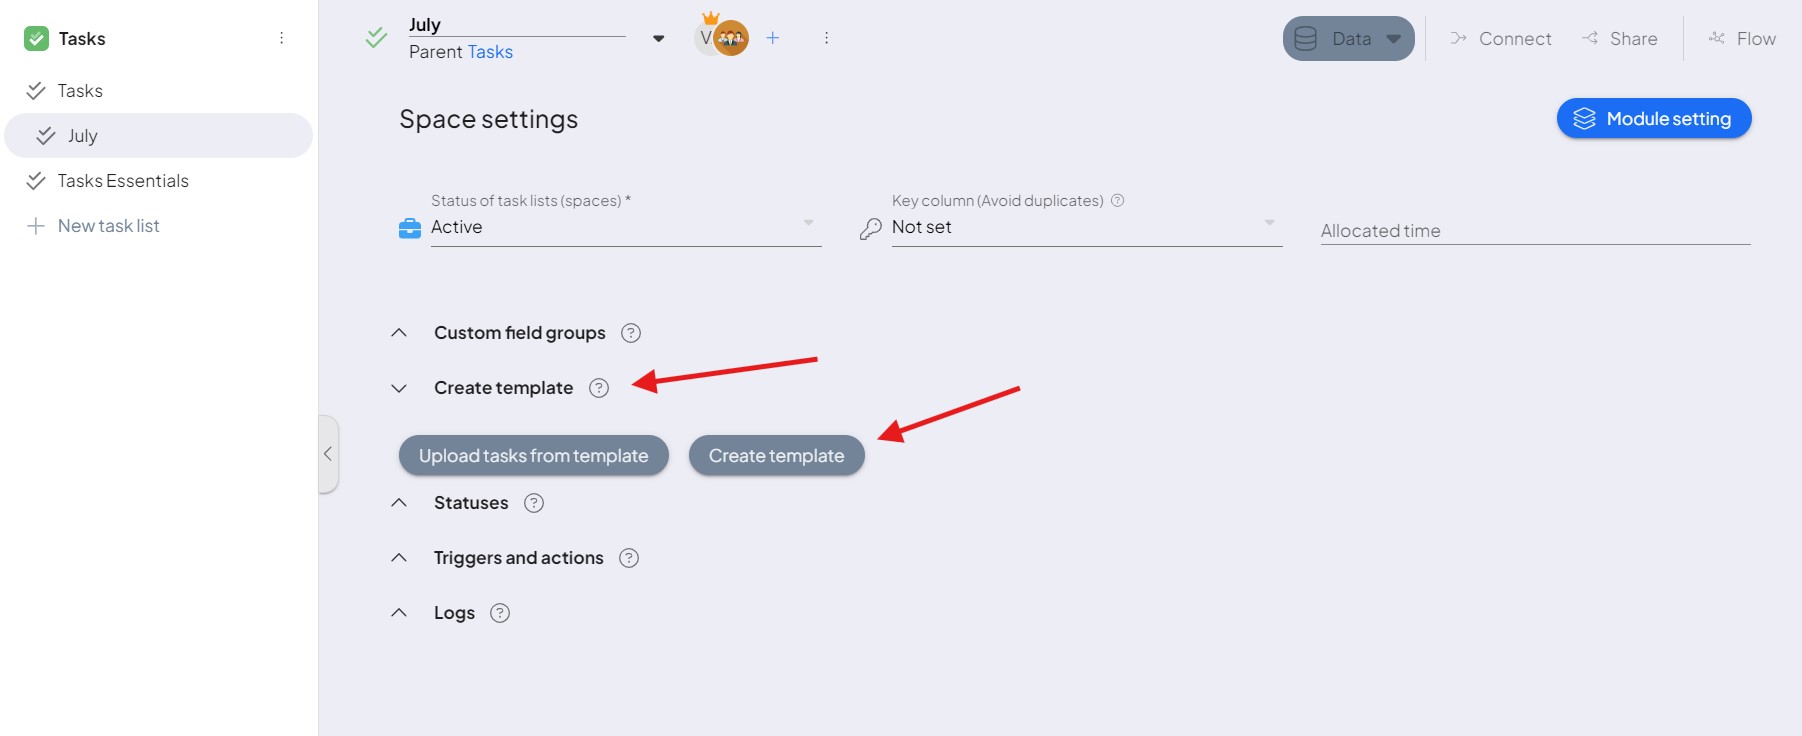
7. Then click on “create template”.
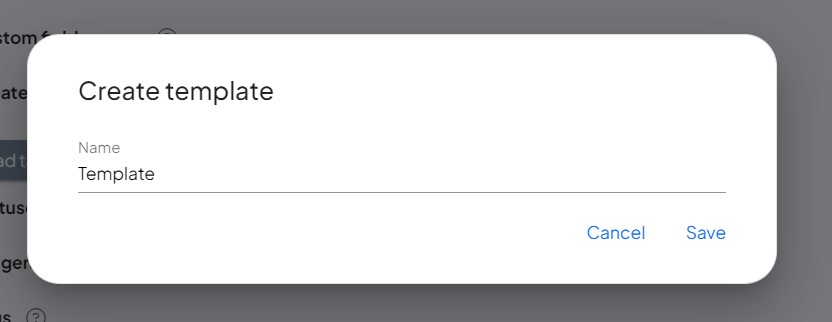
8. Name your template and click save.
9. In the newly created space where you want to use your template, click on three dots and edit at the top of the screen.

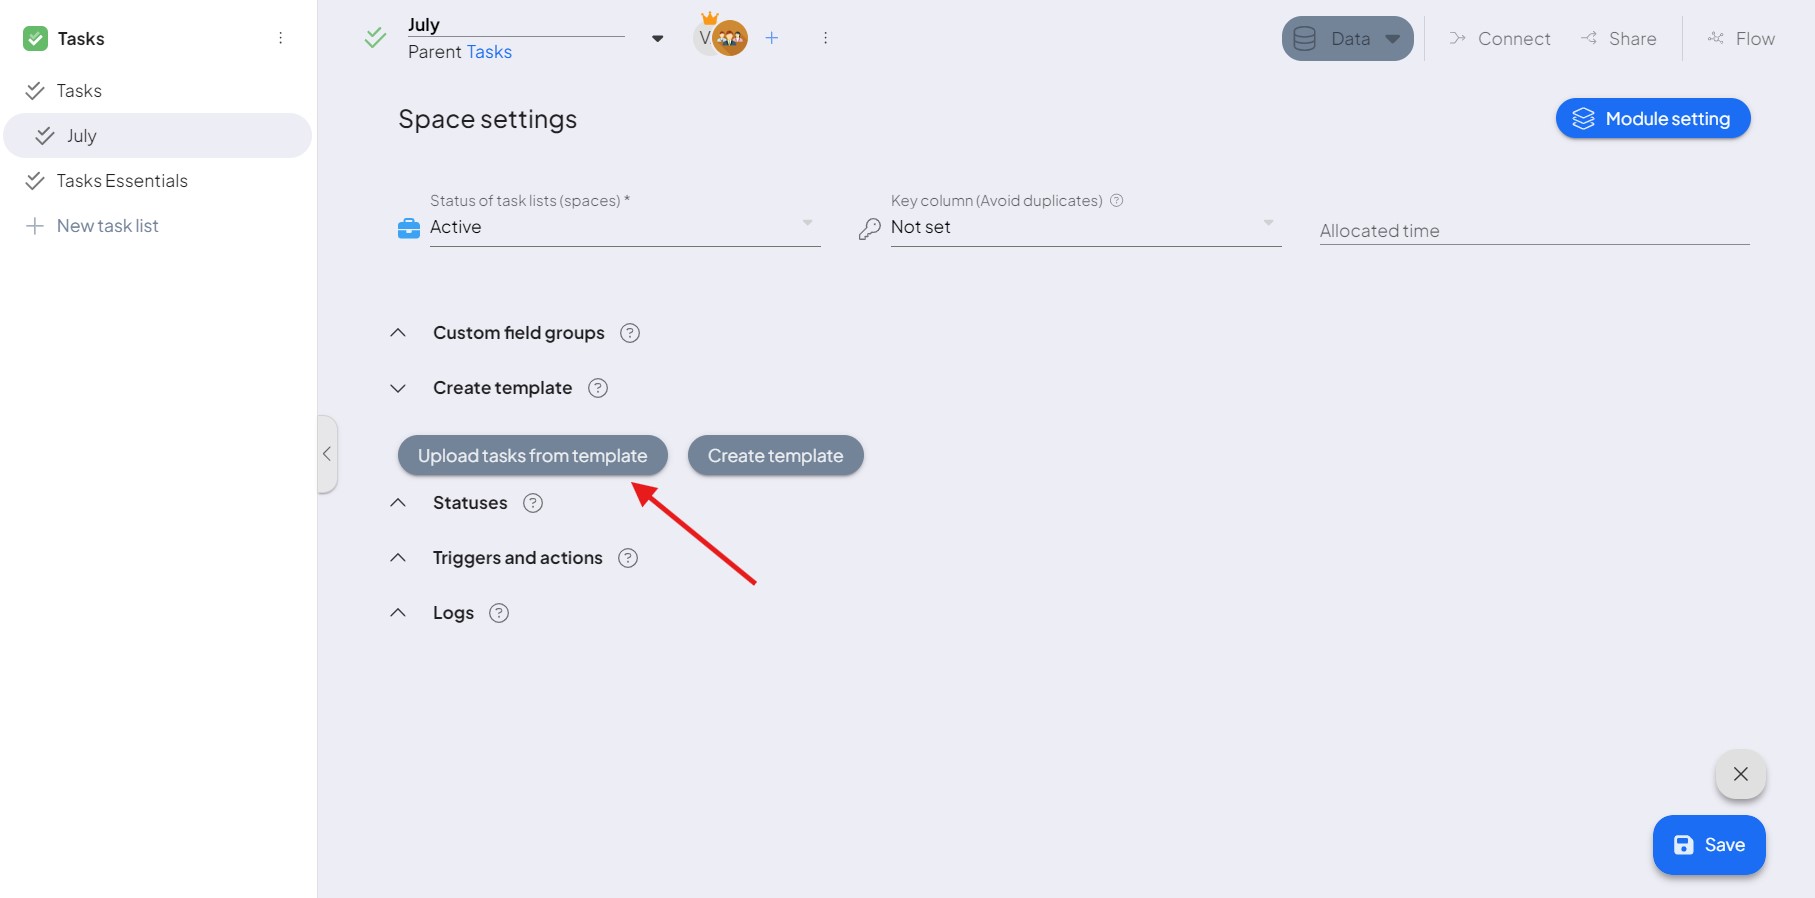
10. In the first section, select “upload tasks from template”.
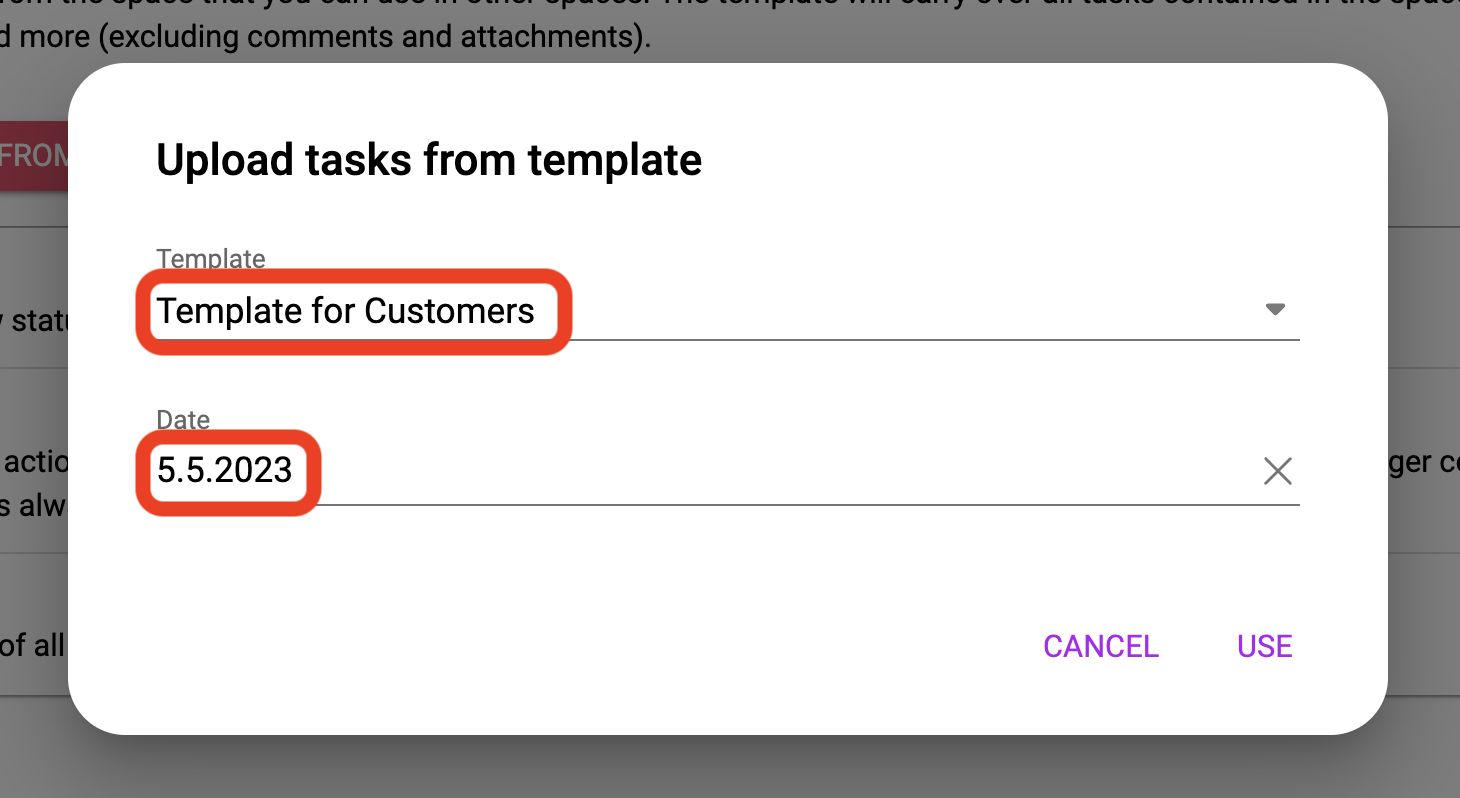
11. Select your template and set the date from which each task should be loaded.
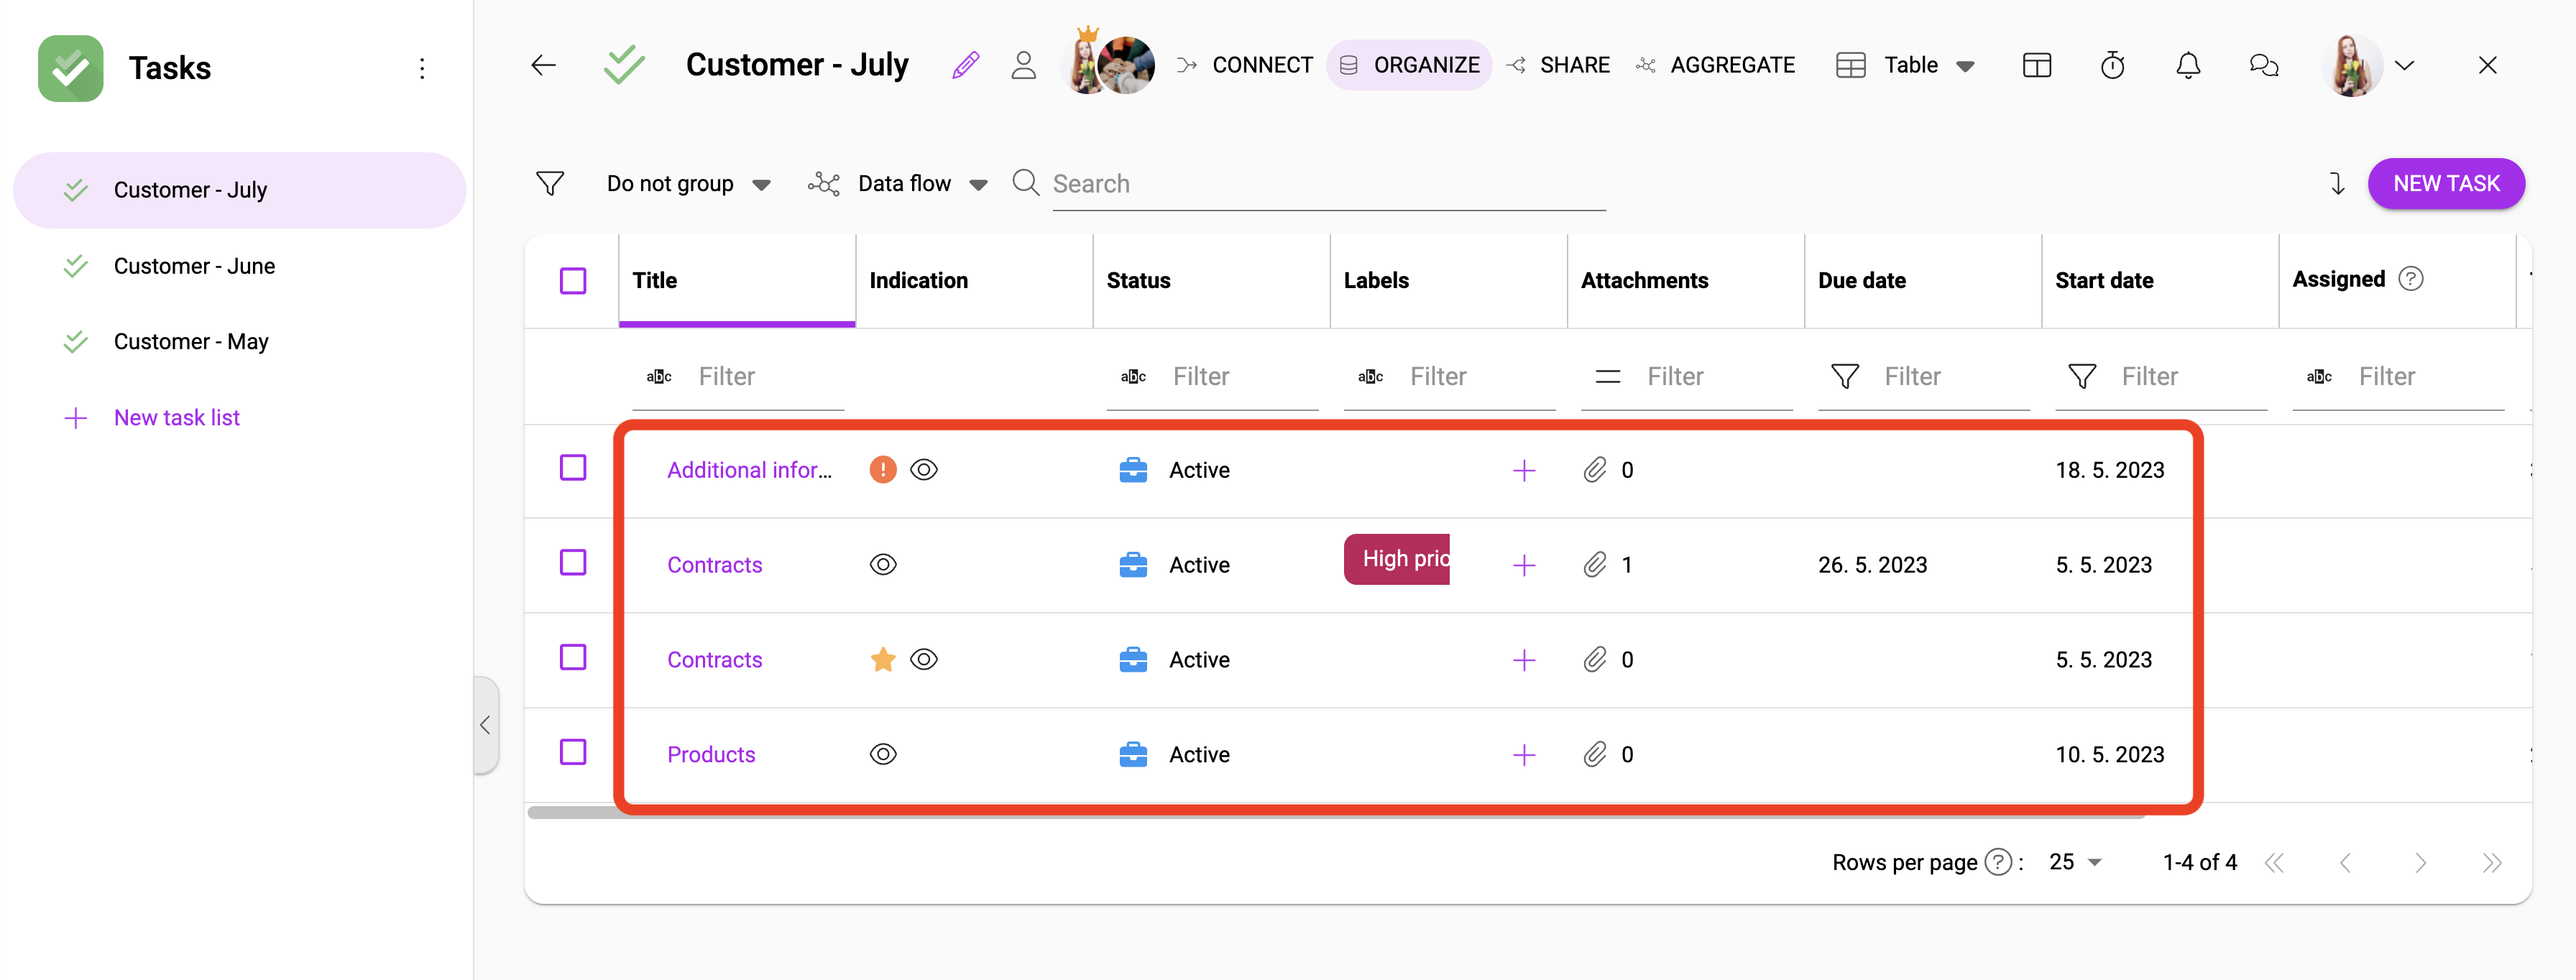
12. In this new space you can see that the tasks have been rewritten. The date has also been moved automatically, according to your choice.
If you encounter any problems while creating a Custom template, feel free to contact us at our support.