
| Active |
|---|
| This application does not need additional settings. So you can make connection only by using your login credentials or by following the instructions below . |
With Digistore24 modules in Boost.space Integrator, you can watch new payments, etickets, and approved affiliates.
To get started with Digistore24, create an account at digistore24.com.
To connect Digistore24 app, you need to obtain the API Key value from your Digistore24 account and insert them in the Digistore24 module scenario.
-
Log in to your Digistore24 account.
-
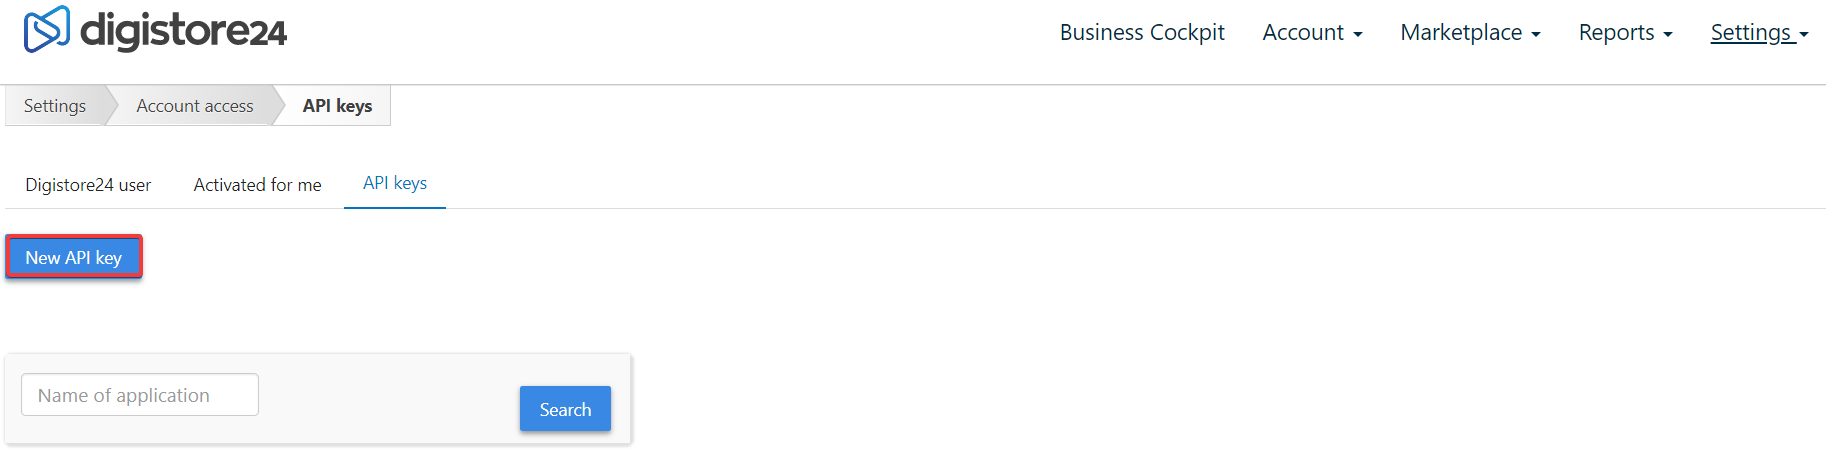
Click Settings > Account Access >API Keys. Click New API key.
-
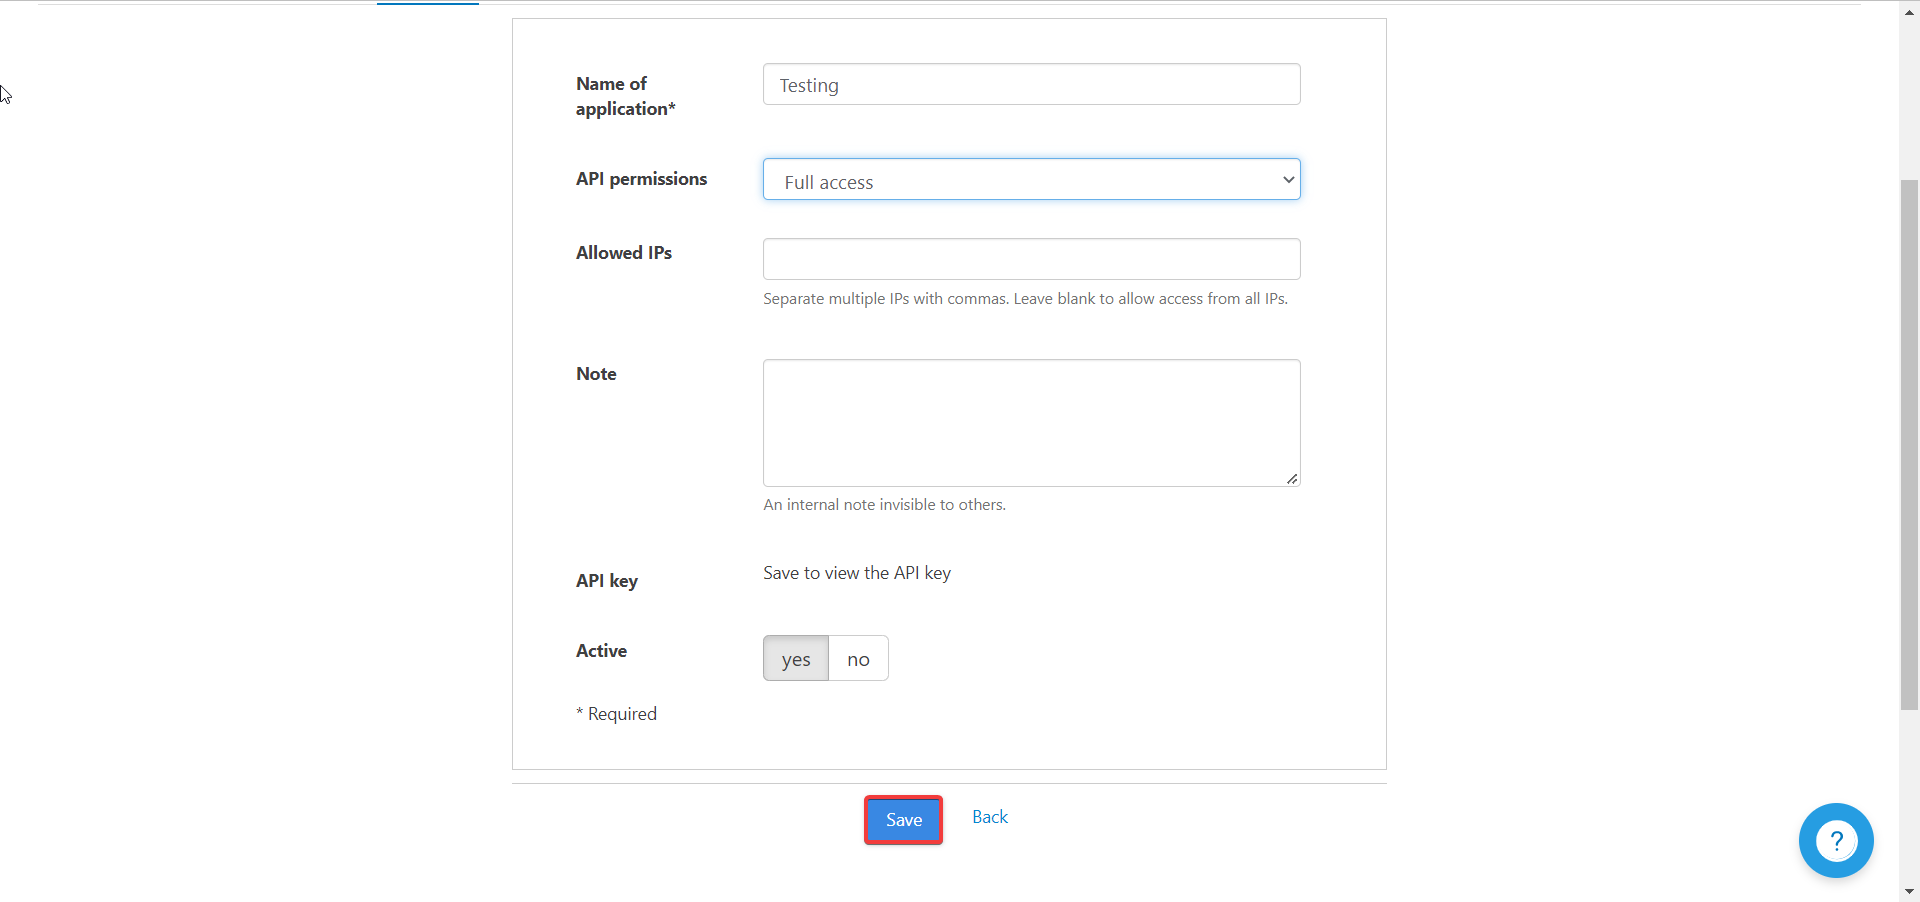
Enter a name for the application, select the API Permissions, and click Save.
-
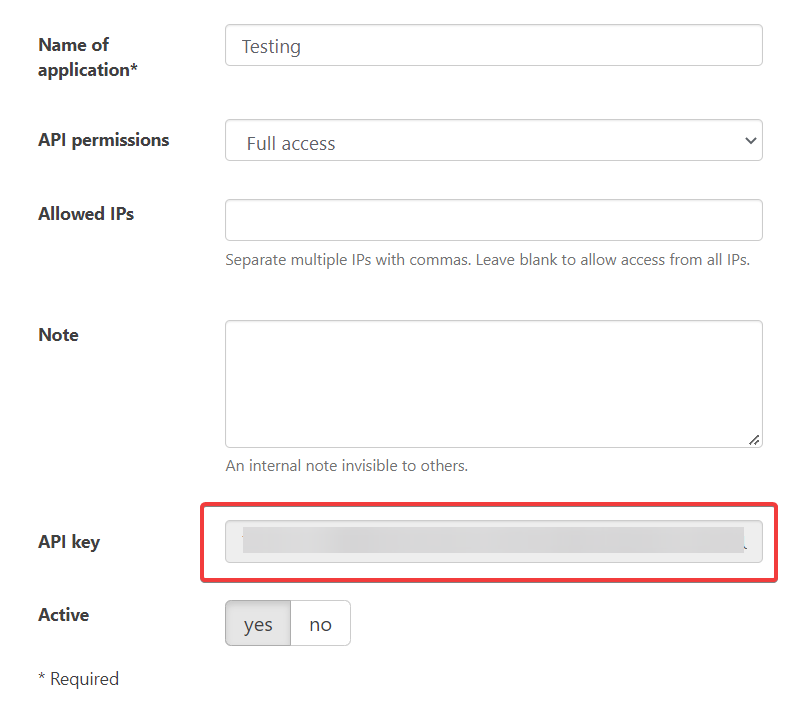
Copy the API Key to a safe place.
-
Log in to your Boost.space Integrator account, insert a Digistore24 module scenario and click the Add button next to the Connection field.
-
In the Connection name field, enter a name for the connection.
-
In the API Key field, enter the details copied in step 2 and click Save.
You have successfully established the connection. You can now begin editing your scenario and adding more Digistore24 modules. If your connection needs reauthorization at any point, follow the connection renewal steps here.
You can watch new payments using the following module.
Triggers when a new payment is created.
|
Webhook |
Enter a name for the webhook. |
See Setting Up Digistore24 Webhooks to set up webhooks in your Digistore24 account.
You can watch new etickets using the following module.
Triggers when a new eticket is created.
|
Webhook |
Enter a name for the webhook. |
See Setting Up Digistore24 Webhooks to set up webhooks in your Digistore24 account.
You can watch affiliate approved using the following module.
Triggers when an affiliate is created.
|
Webhook |
Enter a name for the webhook. |
See Setting Up Digistore24 Webhooks to set up webhooks in your Digistore24 account.
You can call APIs using the following module.
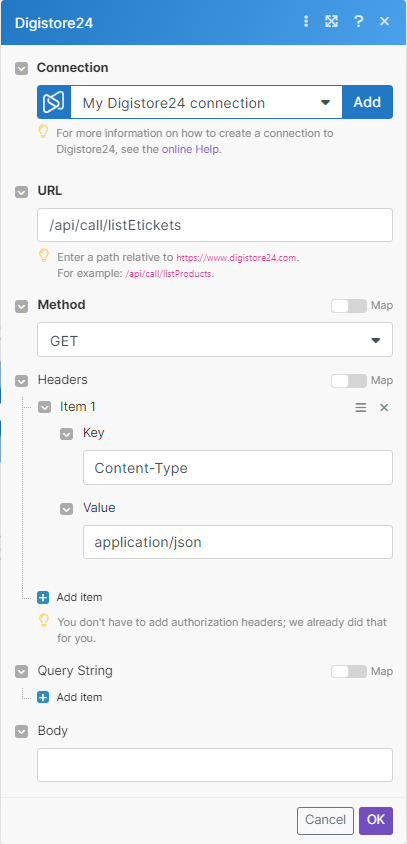
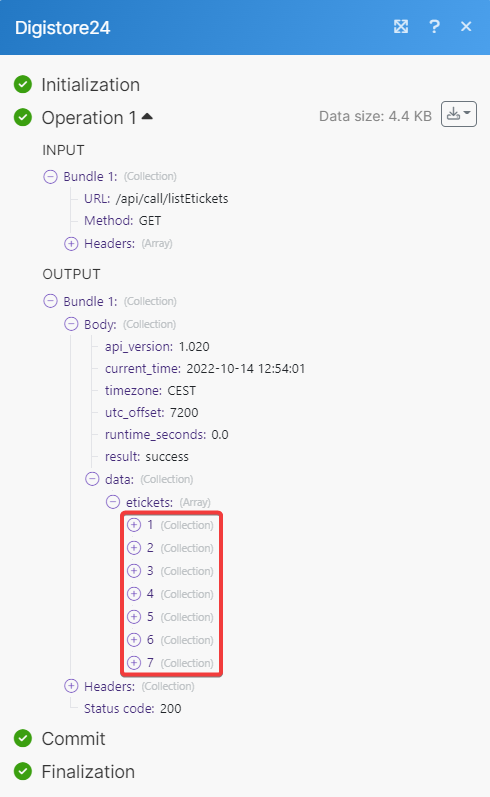
Performs an arbitrary authorized API call.
![[Note]](https://docs.boost.space/wp-content/themes/bsdocs/docs-parser/HTML/css/image/note.png) |
Note |
|---|---|
|
For the list of available endpoints, refer to the Digistore24 API documentation. |
|
Connection |
|
|
URL |
Enter a path relative to |
|
Method |
GET to retrieve information for an entry. POST to create a new entry. PUT to update/replace an existing entry. PATCH to make a partial entry update. DELETE to delete an entry. |
|
Headers |
Enter the desired request headers. You don’t have to add authorization headers; we already did that for you. |
|
Query String |
Enter the request query string. |
|
Body |
Enter the body content for your API call. |
To set up the webhook:
-
Open any Watch module, click Add, enter a name for the webhook, click Save and copy the URL to your clipboard.
-
Log in to your Digistore24 account.
-
Click Setting > Integrations (IPN) > Webhook and enter the details as provided in the below table.
Name
Name of the webhook.
For Products
Products for which you want to receive triggers.
For add-ons
Select whether you want to receive triggers for add-ons. By default, Yes is selected.
For orders in these languages
Language of the order for which you want to receive notifications.
Send notifications for
Events for which you want to receive notifications.
For order event
Events for which you want to receive the trigger.
Webhook URL
URL address copied in step 1.
Perform also for follow-up payments
If NO, the webhook is only executed for the first payment (and, if necessary, the first cancellation)
GET parameter names
Select the parameters to include in the triggers.
Success check is …
Options to define success for the trigger.
Active
Determines whether the webhook is active.
Email address for error notifications
Email addresses to notify about trigger errors.
-
Click Save.

You have successfully set up the webhook.