| Active |
|---|
| This application does not need additional settings. So you can make connection only by using your login credentials or by following the instructions below . |
The SendPulse modules allow you to add, retrieve, and search contacts or list, retrieve, and send emails in your SendPulse account.
Prerequisites
-
A SendPulse account
In order to use SendPulse with Boost.space Integrator, it is necessary to have a SendPulse account. If you do not have one, you can create a SendPulse account at sendpulse.com/register.
![[Note]](https://docs.boost.space/wp-content/themes/bsdocs/docs-parser/HTML/css/image/note.png) |
Note |
|---|---|
|
The module dialog fields that are displayed in bold (in the Boost.space Integrator scenario, not in this documentation article) are mandatory! |
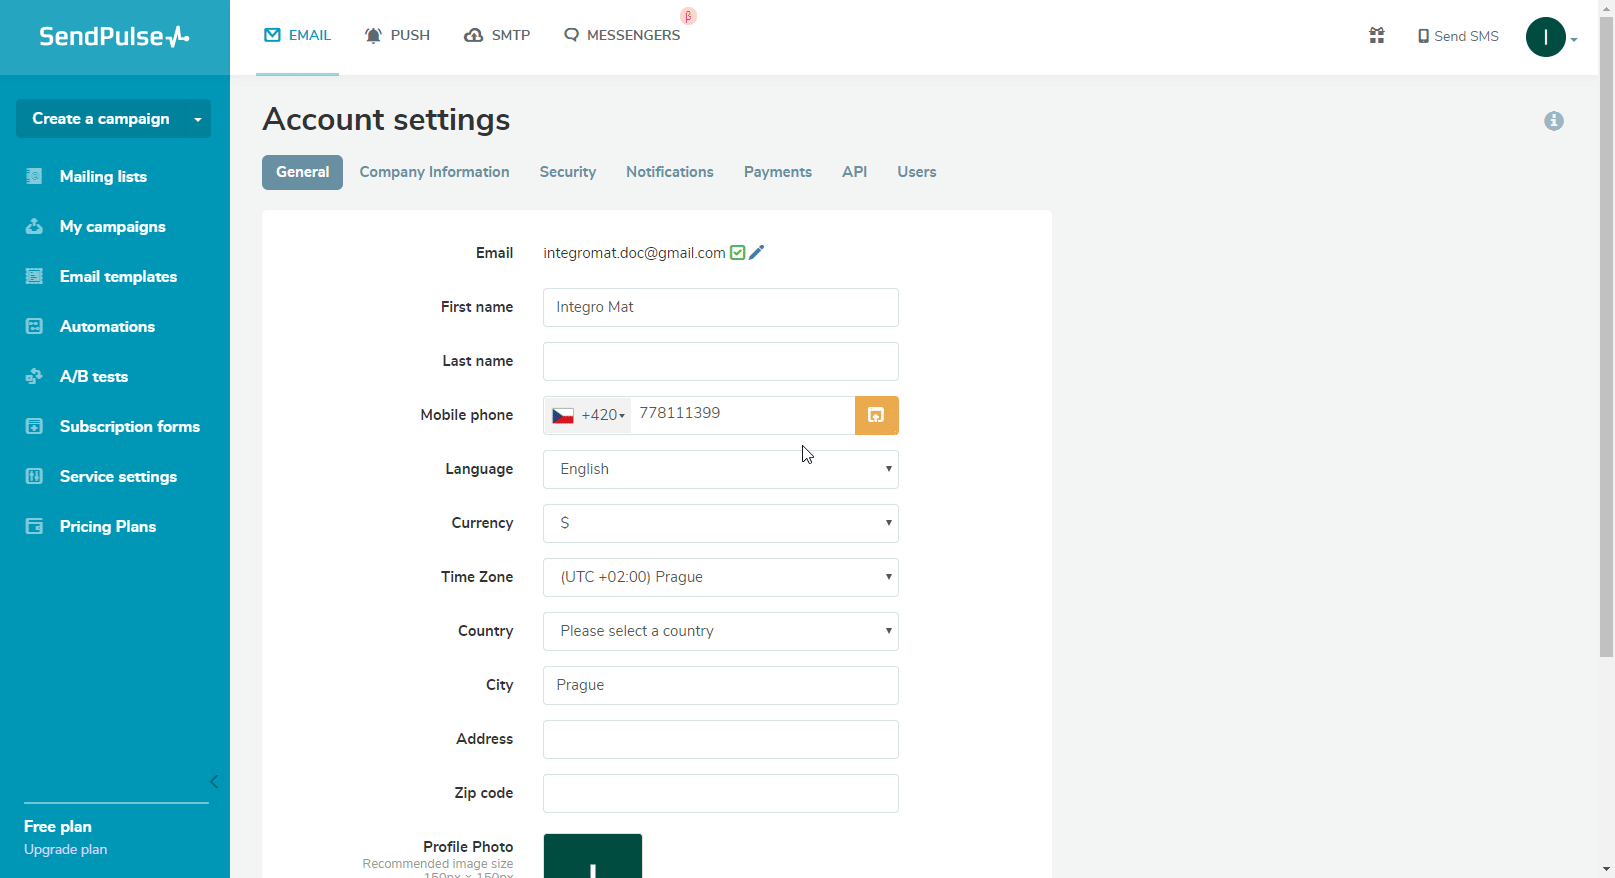
To connect your SendPulse account to Boost.space Integrator you need to enable the REST API first.
-
Log in to your SendPulse account.
-
Click on your profile icon in the top-right corner and select the Account settings option.
-
Click on the API tab, turn the Activate Rest API button on, and click the Save button.
-
Go to Boost.space Integrator and open the SendPulse module’s Create a connection dialog.
-
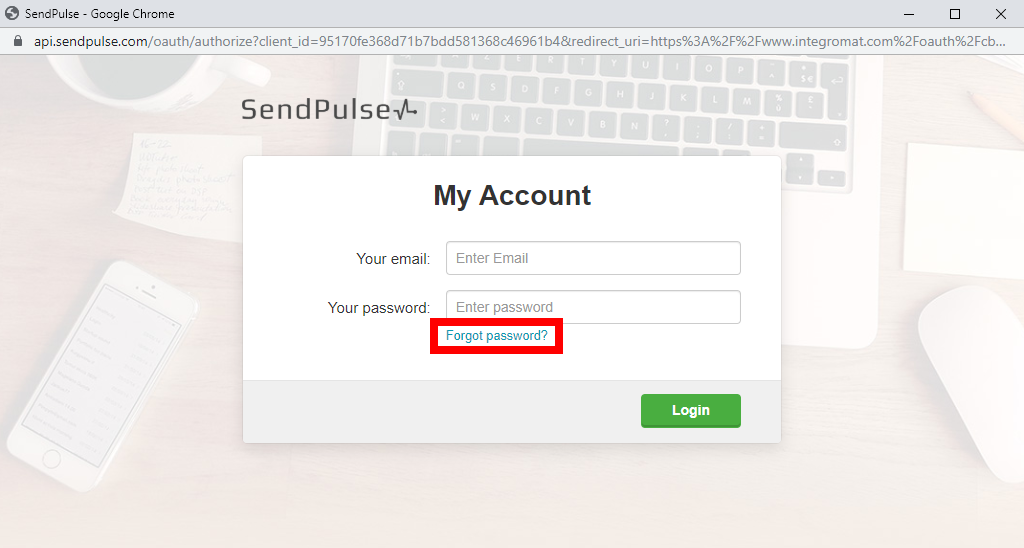
After you click the Continue button, Boost.space Integrator will redirect you to the SendPulse website.
-
Enter your credentials and click the Login button to establish the connection.n
Adds an email address to the mailing list.
|
Connection |
|
|
Option |
Select whether you want to add Single opt-in or Double opt-in (requires a user to confirm the email). |
|
List ID |
Select the mailing list you want to add a new email address to. |
|
Emails |
Add emails and specify the variables (e.g. Name or Phone) that will be added together with the email address to the mailing list. |
|
Confirmation |
The parameter required by the SendPulse service for double opt-in contacts. Please do not change. |
|
Sender Email |
Specify the sender email for the confirmation email. |
Retrieves all contacts from the specified mailing list.
|
Connection |
|
|
List ID |
Select the mailing list you want to retrieve contacts from. |
|
Limit |
Set the maximum number of contacts Boost.space Integrator will return during one execution cycle. |
Retrieves all contacts in the mailing list by the specified value of a variable.
|
Connection |
|
|
List ID |
Select the mailing list you want to search for the specified value. |
|
Variable |
Select or map the variable you want to specify the value for. |
|
Value |
Enter the variable you want to search the mailing list for. |
|
Limit |
Set the maximum number of contacts Boost.space Integrator will return during one execution cycle. |
Retrieves a contact with the specified email address.
|
Connection |
|
|
List ID |
Select the mailing list you want to search for the specified value. |
|
|
Enter the email address you want to search the mailing list for. |
|
Limit |
Set the maximum number of contacts Boost.space Integrator will return during one execution cycle. |
Retrieves contact details.
|
Connection |
|
|
|
Enter the email address you want to retrieve details about. |
Deletes an email address from the mailing list.
|
Connection |
|
|
List ID |
Select the mailing list you want to remove the email address from. |
|
Emails |
Enter email addresses you want to delete from the mailing list. |
Retrieves information about campaigns in your account.
|
Connection |
|
|
Limit |
Set the maximum number of campaigns Boost.space Integrator will return during one execution cycle. |
Retrieves campaign details.
|
Connection |
|
|
Campaign ID |
Enter (map ID) or select the campaign you want to retrieve information about. |
Sends Email.
|
Connection |
|
|
From |
Name Enter the sender’s name. Email Enter the sender’s email. |
|
To |
Enter the recipient’s email address and name. |
|
Subject |
Enter the subject of the email. |
|
Html |
Enter the html-formatted version of the email. |
|
Text |
Enter the text version of the email. |
Sends an email using the selected template.
|
Connection |
|
|
Template ID |
Select or map the template you want to use for the email. |
|
From |
Name Enter the sender’s name. Email Enter the sender’s email. |
|
To |
Enter the recipient’s email address and name. |
|
Subject |
Enter the subject of the email. |
|
Variables |
Enter variables’ names and values (e.g. phone, name, code, etc.) |
Allows you to create a template using the html code.
|
Connection |
||||
|
Name |
Enter the name for the new template.
|
|||
|
HTML |
Enter the html formatted template. Use the curly brackets |
Returns all bounces for the last 24 hours.
|
Connection |
|
|
Day |
Enter the day you want to get information about in the YYYY-MM-DD format. E.g. |
|
Limit |
Set the maximum number of bounces Boost.space Integrator will return during one execution cycle |
Retrieves a list of web push subscribers for a certain website.
|
Connection |
|
|
Website ID |
Enter or select the ID of the website you want to retrieve push subscriptions for. |
|
Limit |
Set the maximum number of subscribers Boost.space Integrator will return during one execution cycle |
|
Day From |
Enter the date you want to filter subscribers from. E.g. |
|
Day to |
Enter the date you want to filter subscribers to. E.g. |
Retrieves website details.
|
Connection |
|
|
Website ID |
Enter (map ID) or select the website you want to retrieve information about. |
Sets the subscriber as activated or deactivated.
|
Connection |
|
|
Subscriber ID |
Enter (map) the ID of the website subscriber. |
|
State |
Set subscriber as activated or deactivated (disabled). |
Creates a new push campaign.
|
Note |
|---|---|
|
The limit is 1 message per 15 minutes for each website. |
|
Connection |
|
|
Title |
Enter the name of the new push campaign. |
|
Website ID |
Enter (map) the ID of the website you want to create a push campaign for. |
|
Body |
Enter the content for the push notification. |
|
Ttl |
“time to live”. Enter the push notification lifetime in seconds. |
|
Link |
Enter the web push navigation link; if it’s not specified, the website URL will be used. |
|
Lang |
Enter the language code to filter subscribers by language. E.g. |
|
Browser |
Enter the browser name to filter subscribers by the browser; this parameter can take multiple values separated by commas (e.g. – |
|
Region |
Enter the country code to filter subscribers by the country. E.g. |
|
URL |
|
|
Subscription from |
Use “YYYY-MM-DD” format to specify the start date of the interval to filter subscribers by the date they were added to the list. |
|
Subscription to |
Use “YYYY-MM-DD” format to specify the end date of the interval to filter subscribers by the date they were added to the list. |
|
Filter |
Add up to 10 filters for 1 campaign. |
|
Stretch time |
Enter the timespan (in seconds) during which the campaign must be completed. If not specified, the default time (5 hours) applies. |
|
Send date |
Enter the date in YYYY-MM-DD hh:mm:ss to schedule a campaign for a specific date and time. E.g. 2020-09-11 16:19:10. |
|
Buttons |
Insert buttons in the campaign, maximum two buttons. |
|
Image |
Enter the name and data of the image that is inserted into the web-push notification. It can be mapped from the previous module (e.g. Dropbox > Get a file). The image must be in JPG, PNG, GIF format and within 200KB. |
|
Icon |
Enter the name and data of the image that is inserted into the web-push notification. It can be mapped from the previous module (e.g. Dropbox > Get a file). The image must be in JPG, PNG, GIF format and within 200KB. |
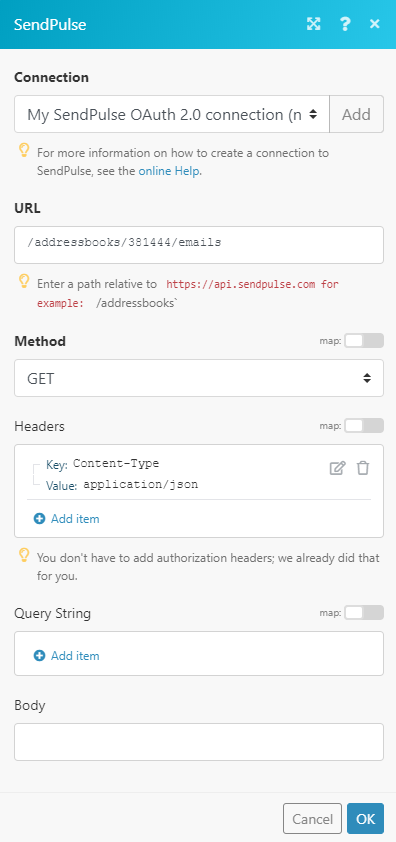
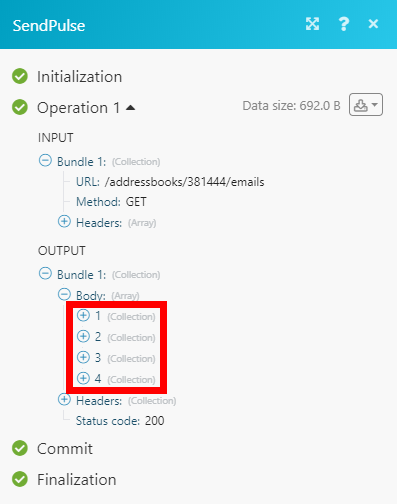
Allows you to perform a custom API call.
|
Connection |
||||
|
URL |
Enter a path relative to
|
|||
|
Method |
Select the HTTP method you want to use: GET to retrieve information for an entry. POST to create a new entry. PUT to update/replace an existing entry. PATCH to make a partial entry update. DELETE to delete an entry. |
|||
|
Headers |
Enter the desired request headers. You don’t have to add authorization headers; we already did that for you. |
|||
|
Query String |
Enter the request query string. |
|||
|
Body |
Enter the body content for your API call. |