A majority of Boost.spaceA platform that centralizes and synchronizes company data from internal and external sources, offering a suite of modules and addons for project management, CRM, data visualization, and more. Has many features to optimize your workflow! IntegratorPart of the Boost.space system, where you can create your connections and automate your processes. apps rely on external services, particularly on their APIs (Application Programming Interfaces). As the services evolve, so do their APIs. New API versions are being regularly released and legacy versions are getting deprecated and eventually shut down.
We closely follow releases of new API versions and implement new app versions based on the latest APIs.To keep scenariosA specific connection between applications in which data can be transferred. Two types of scenarios: active/inactive. running even after the shutdown of a legacy API, make sure to replace all the legacy (old) modules with new modulesa module is an application or tool designed to handle specific business functions, such as CRM, project management, or inventory. The system's modular architecture allows you to activate only the modules you need, enabling customization and scalability as your business requirements evolve.. Here is a step by step guide:
- Choose the ScenarioA specific connection between applications in which data can be transferred. Two types of scenarios: active/inactive. that is using legacy modules, and clone it to make a copy – make the new Scenario.
- Navigate to the Scenario DiagramThe diagram is a visual representation of your scenario and appears exactly the same way as you see your scenario in the Scenario editor. Use the diagram tab to quickly view: <br> the execution history of your scenario.<br> the number of operations and data consumed.<br> the controls to manage the scenario.<br>.
- Open the Options drop-down menu in the top-right corner and select the Clone option.
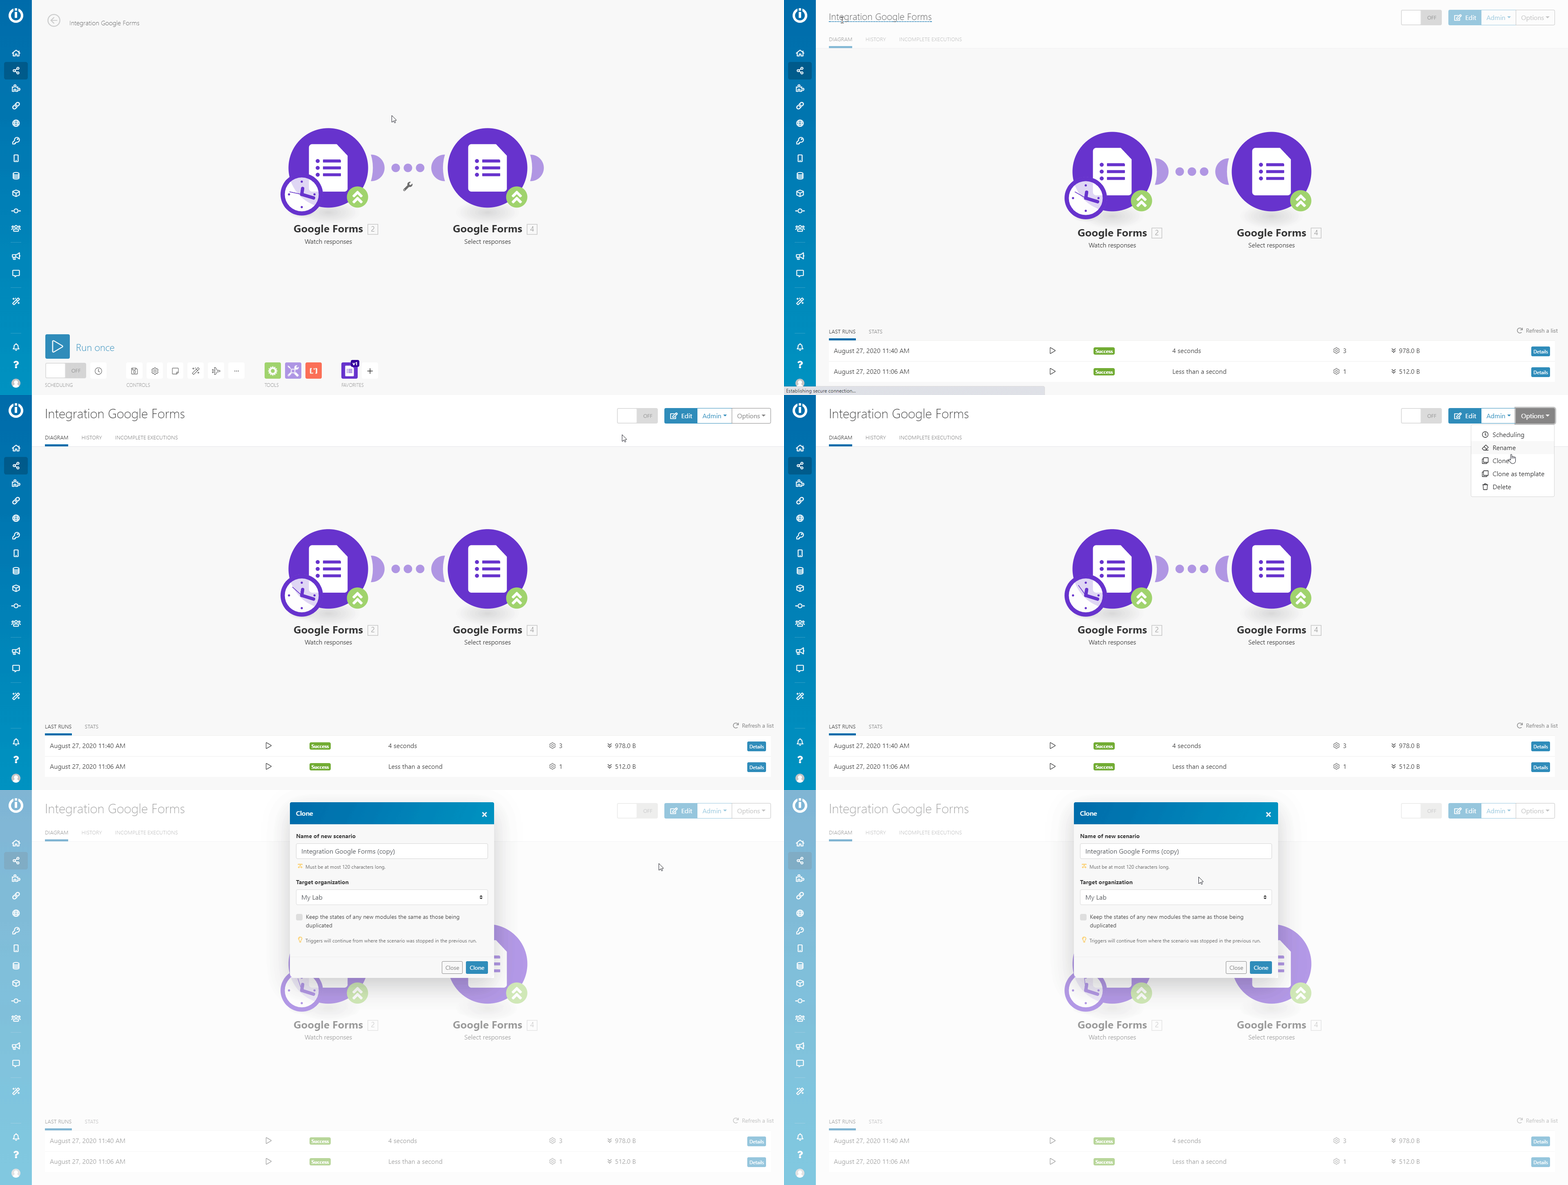
- Change the name to distinguish between the legacy scenario and the new scenario and click the Clone button.
- The new scenario (still with the legacy modules) is created.
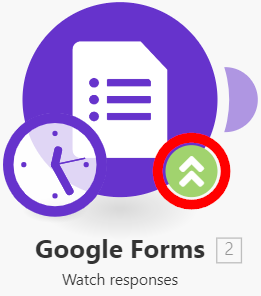
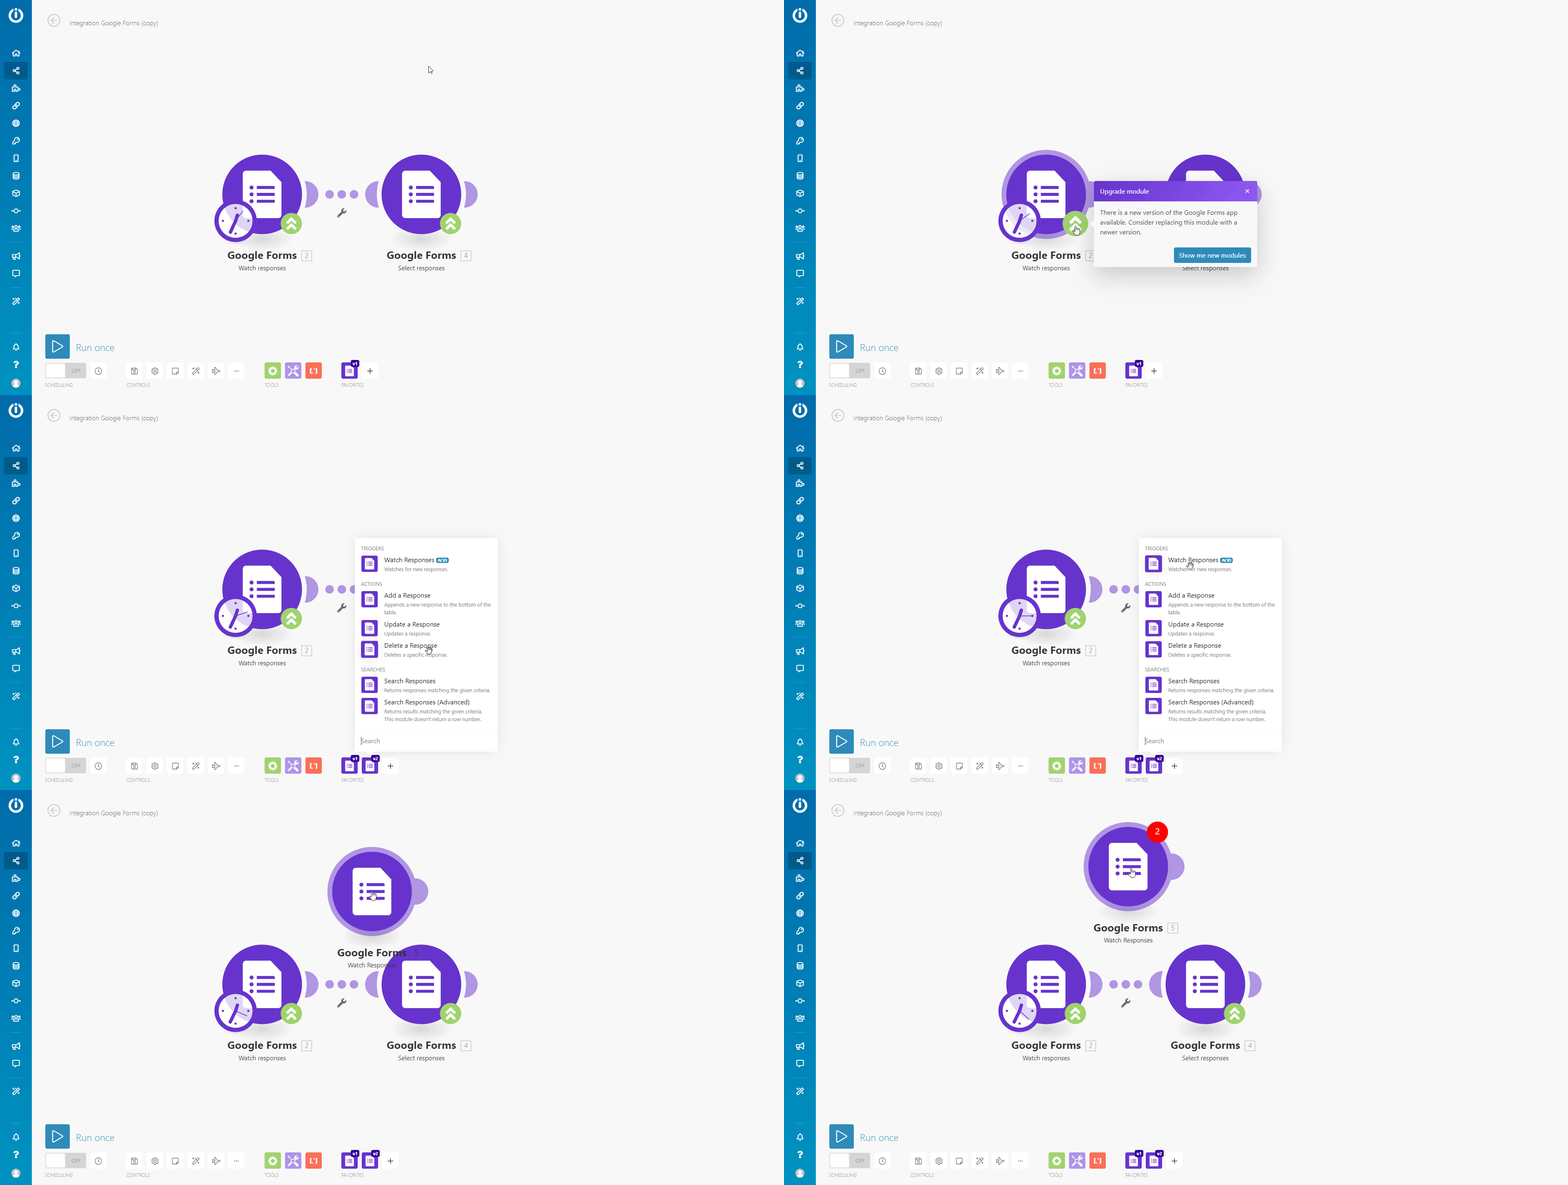
- In the new scenario you have created using the Clone functionFunctions you can use in Boost.space Integrator - create, update, delete, get, search., choose the legacy modulea module is an application or tool designed to handle specific business functions, such as CRM, project management, or inventory. The system's modular architecture allows you to activate only the modules you need, enabling customization and scalability as your business requirements evolve. you want to upgrade to the new version, and click on the green upgrade arrows (
 ).
).
- Choose the corresponding new module from the list of modules. The new module is placed in the scenario (not connected).
- For Google Forms, check this table to find a new counterpart of your legacy module:
Legacy Module New Module Watch responses Watch Responses Select responses Search Responses Add a response Add a Response Update a response Update a Response Delete a response Delete a Response Search Responses (Advanced)
- For Google Forms, check this table to find a new counterpart of your legacy module:
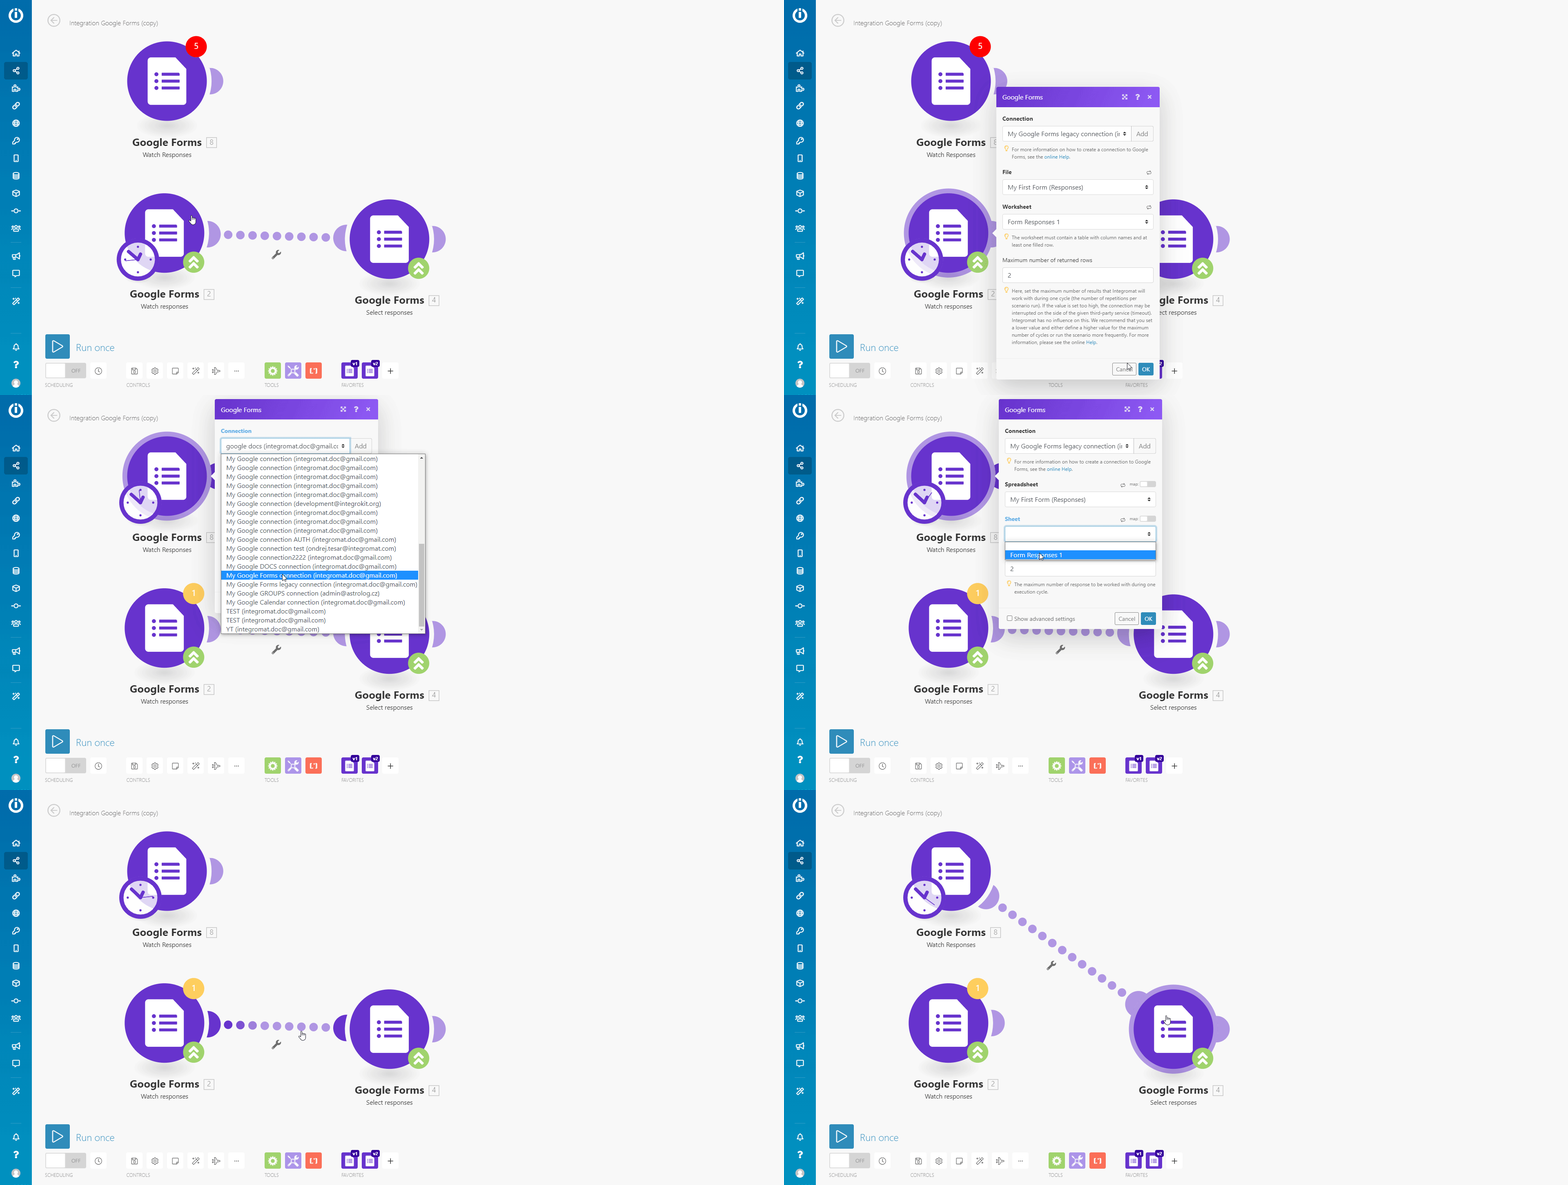
- Replace modules.
- TriggersThe initial event that starts a scenario. It can be an action, a scheduled time, or a custom event, and is essential to define at the beginning of each scenario.:
- Set the same field values in the new module as field values in the legacy module.
- Move the clock icon from the legacy module to the new module.
- Unlink the legacy module and link the new module to the desired module in your scenario.
- Other modules:
- After adding the new module to the scenario (step 3 above), connect it after the legacy module.
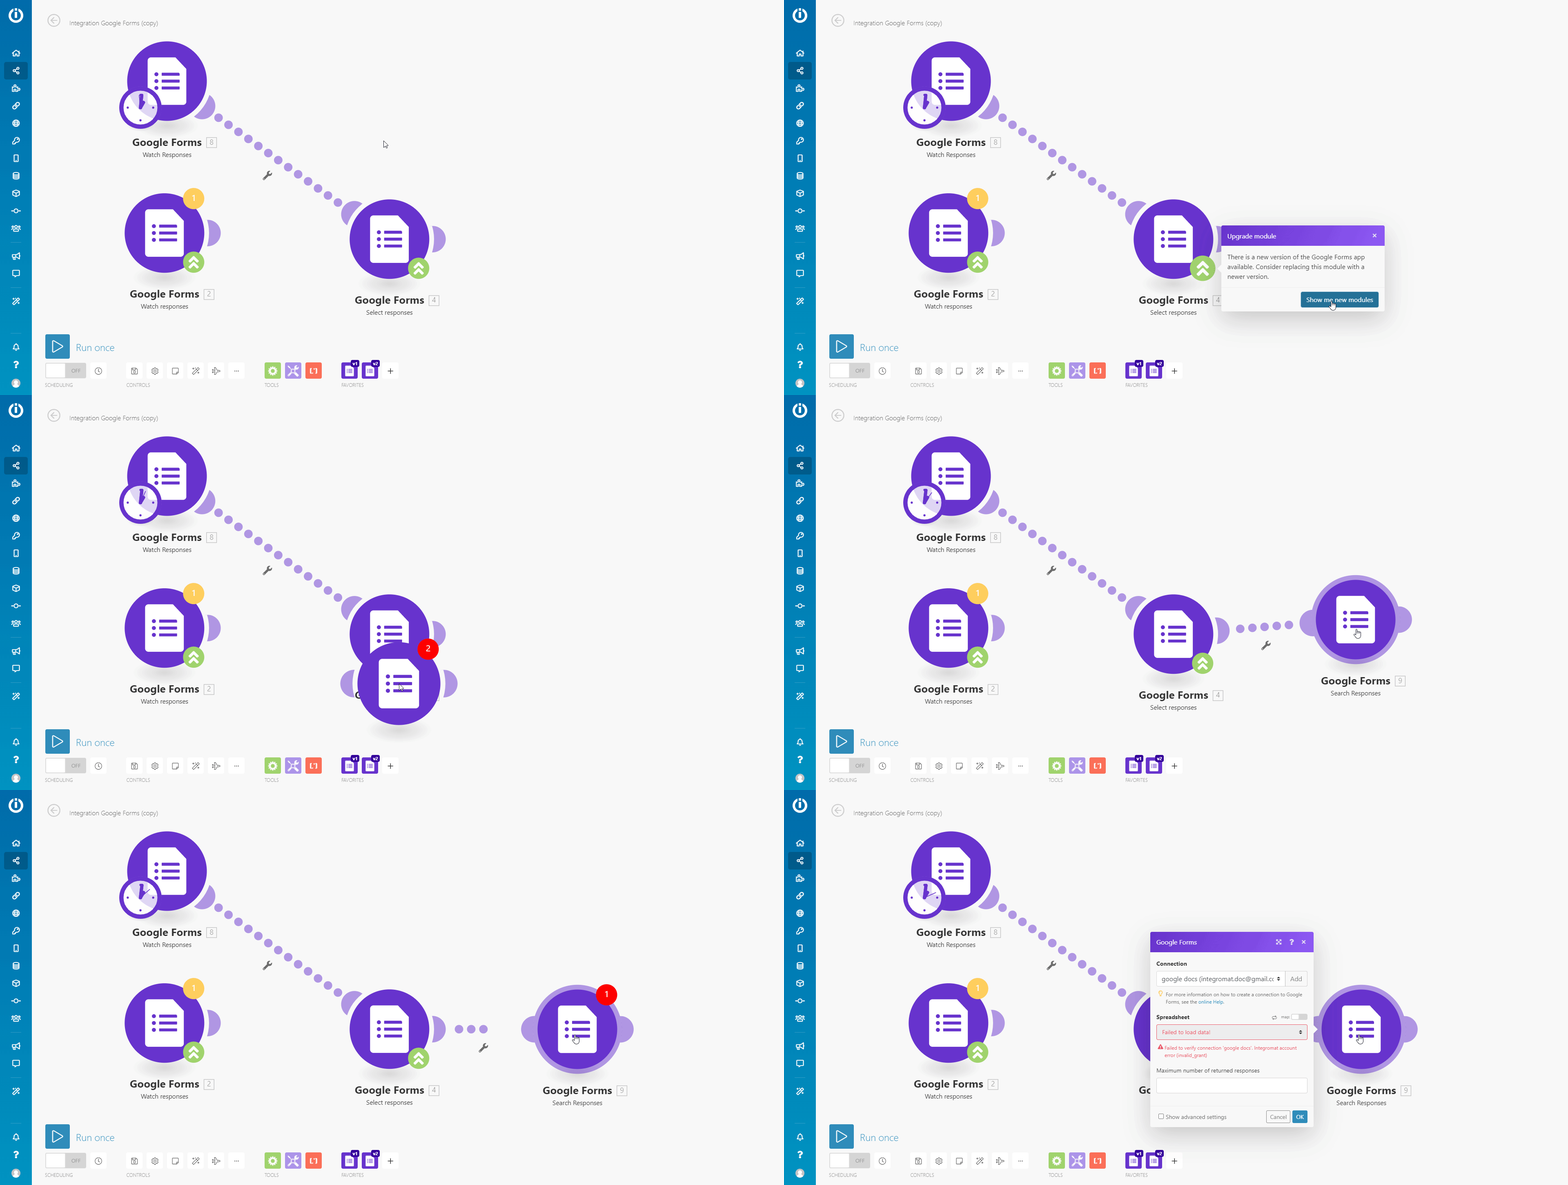
- After adding the new module to the scenario (step 3 above), connect it after the legacy module.
- TriggersThe initial event that starts a scenario. It can be an action, a scheduled time, or a custom event, and is essential to define at the beginning of each scenario.:
- Set values in new modules.
![[Note]](https://docs.boost.space/wp-content/themes/bsdocs/docs-parser/HTML/css/image/note.png)
Note We recommend opening the legacy scenario in a new browser tab to switch between the module’s configuration faster. 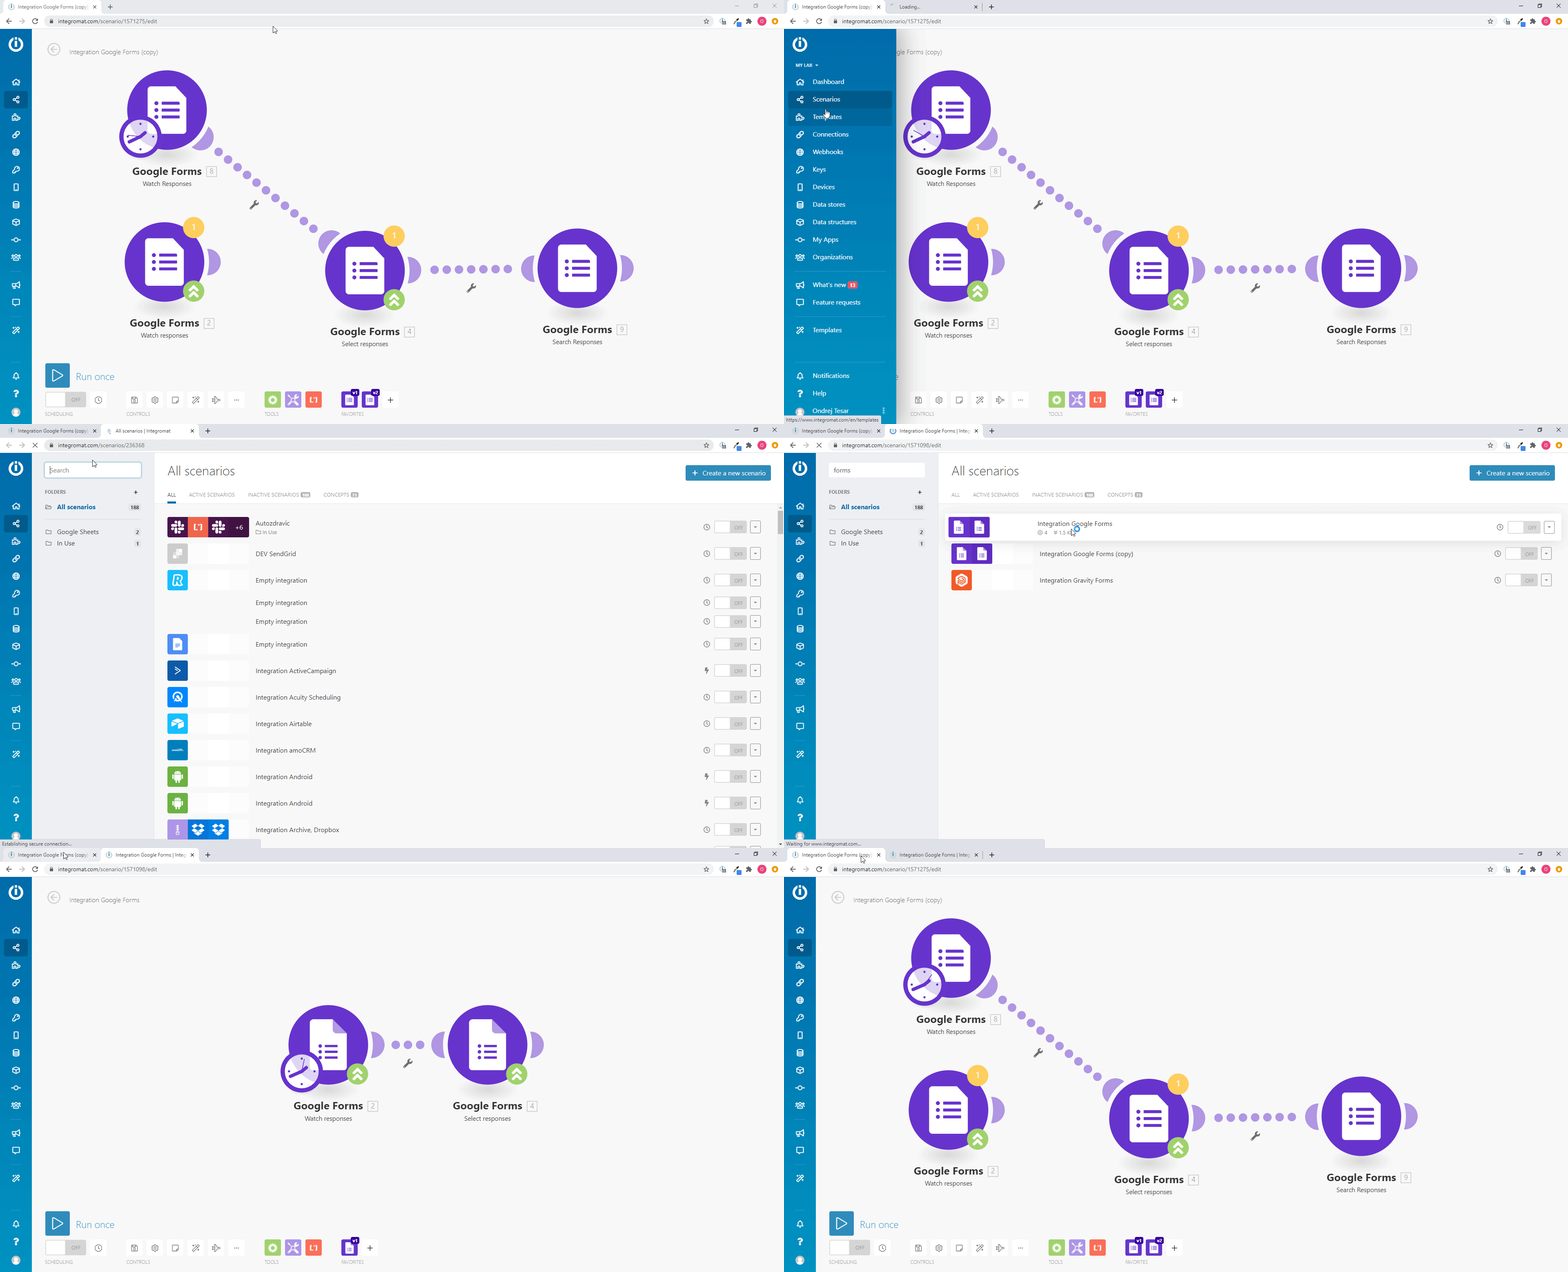
- Open the configuration of the new module.
- Switch to the tab with the legacy scenario and open the configuration of the legacy module.
- Copy and paste the content of each field from the legacy module to the new module (by switching between the legacy scenario and the new scenario tabs).
- Map needed values and select the options from drop-down menus.
- Set mappingMapping links the modules in your scenario. When you map an item, you connected the data retrieved by one module to another module to perform the desired action. For example, you can map the email address and subject lines from the Email > Watch emails module to Google Sheets > Add a row and create a spreadsheet of email addresses... in filters.
- If any itemsItems are rows in records (order/request/invoice/purchase...) are missing in the mapping panel, please see Mapping.
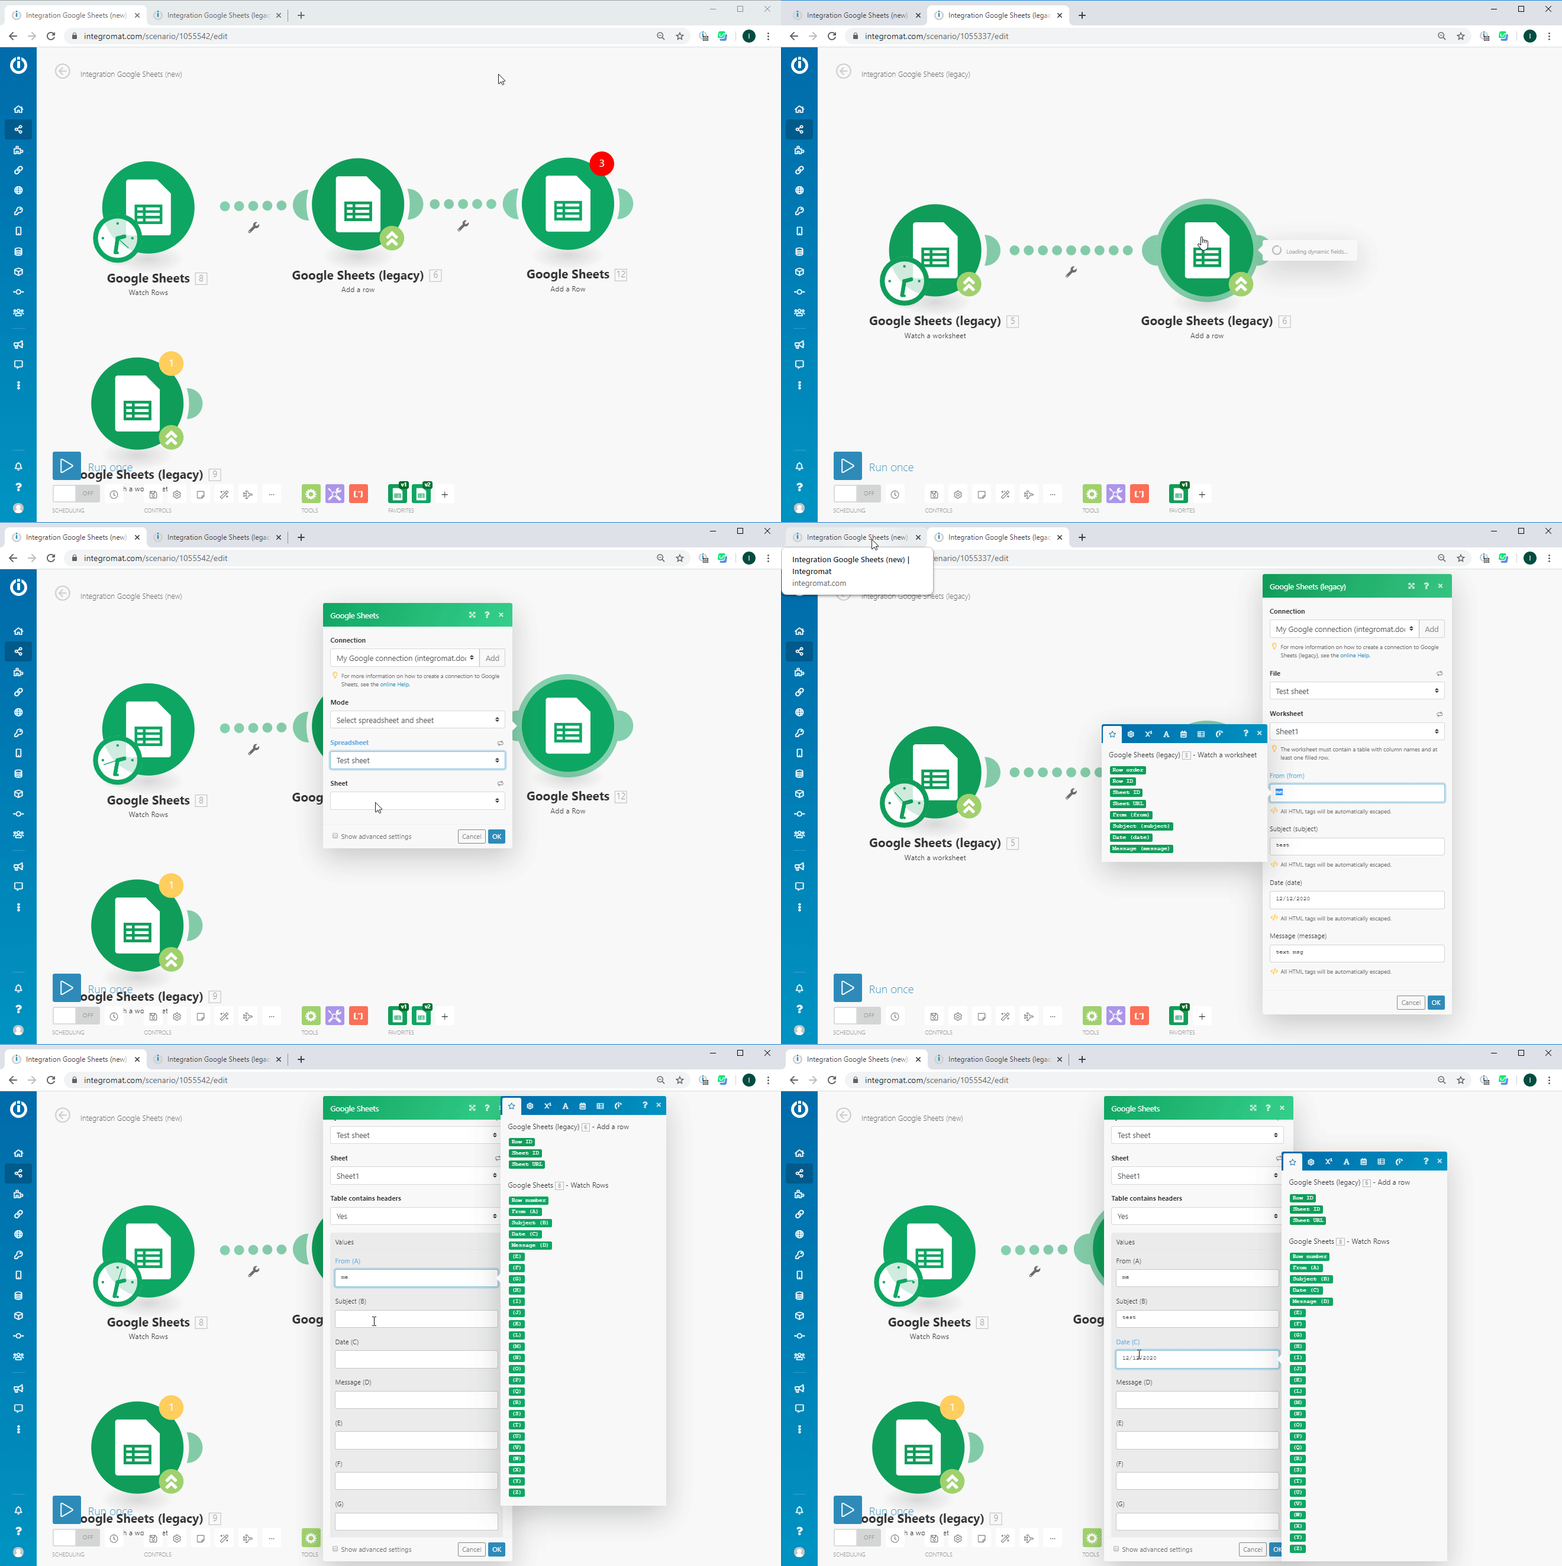
- Repeat this for every module.
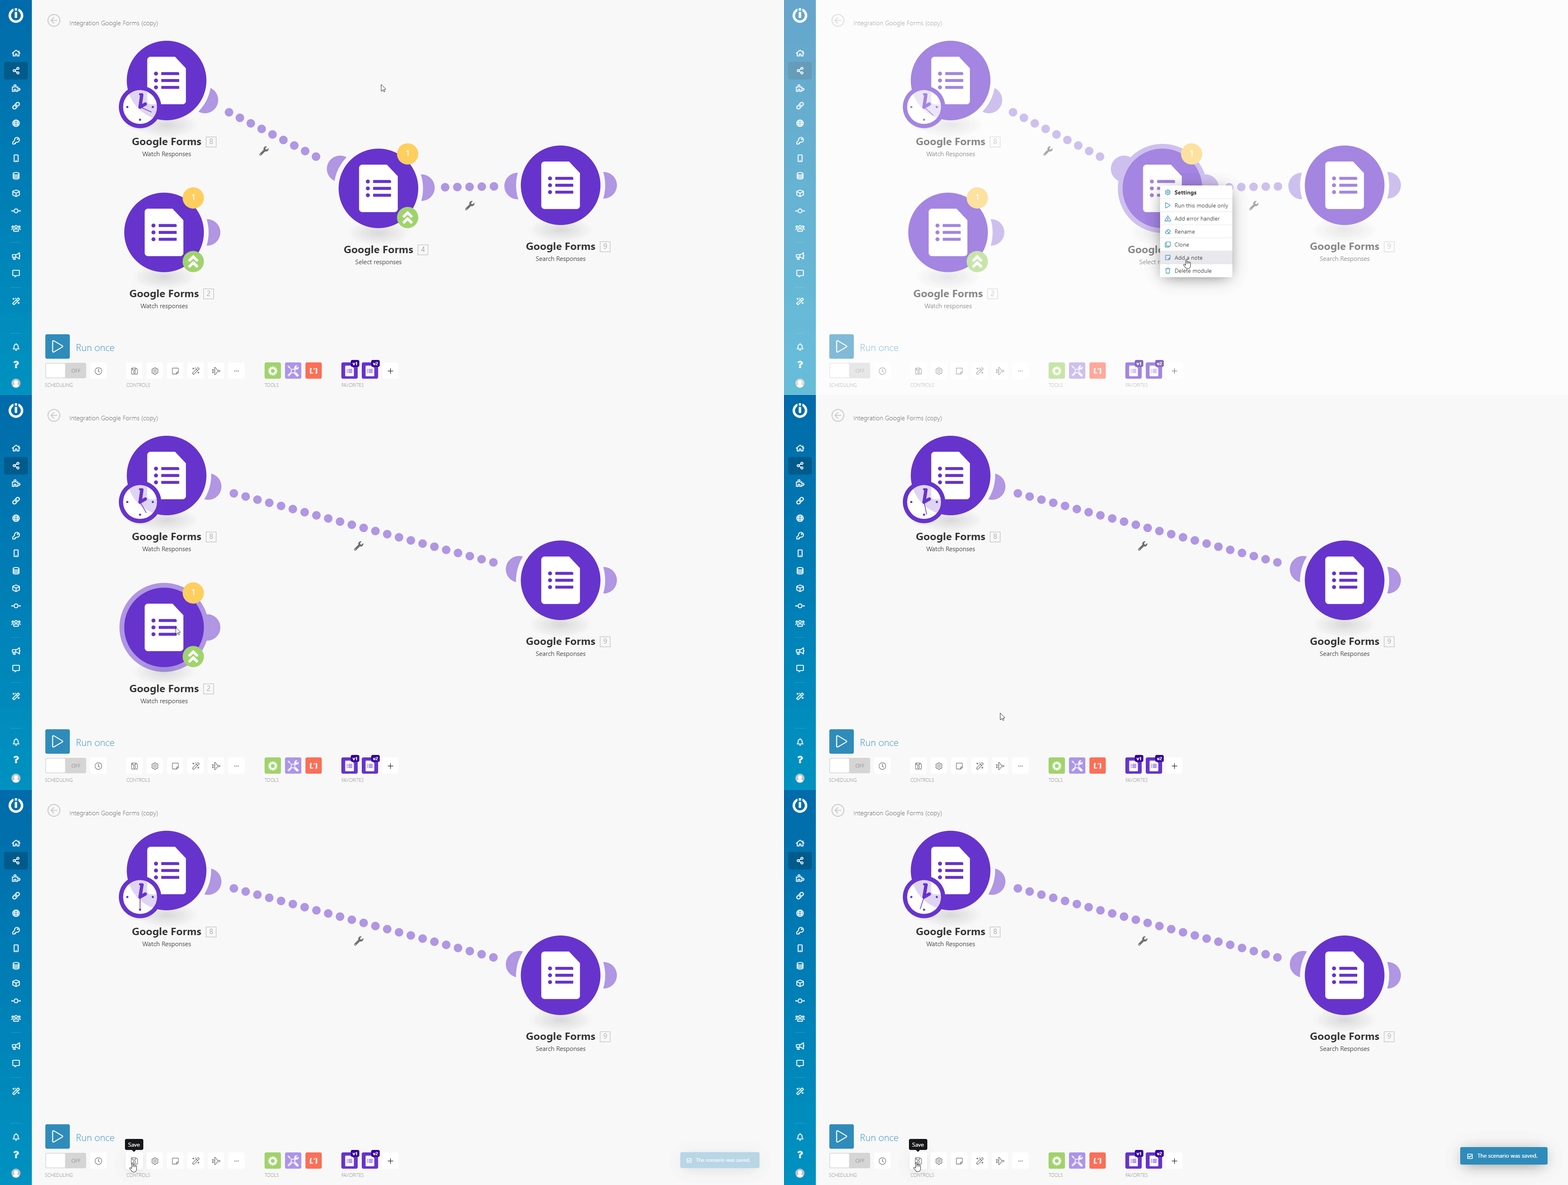
- Remove all the legacy modules from your new scenario and click Save.
