We built the IFTTT modules to give you even more flexibility with your automations by letting you exchange data between a scenario on Boost.space Integrator and an applet on IFTTT.
Currently, the following modules are available:
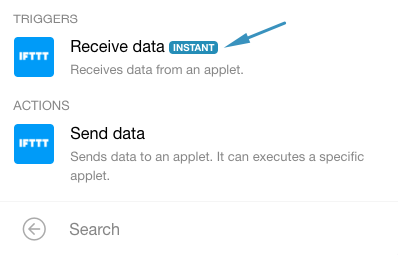
Trigger:Receive data from an applet
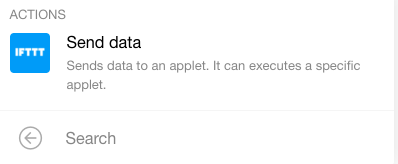
Action:Send data to an applet
The above modules also allow you to connect and control arbitrary IoT devices connected to IFTTT.
—-
Using the Receive data module, you can get data from an arbitrary trigger in the IFTTT applet. Follow the steps below to achieve this:
-
Create a new applet on IFTTT or go to an existing one that contains the trigger from which you’d like to send data to Boost.space Integrator
-
Insert the action Webhook – Make a web request. The applet should look like: If Your trigger then Webhook – Make a web request
-
-
Create a new scenario on Boost.space Integrator using IFTTT – Receive data as the first module
-
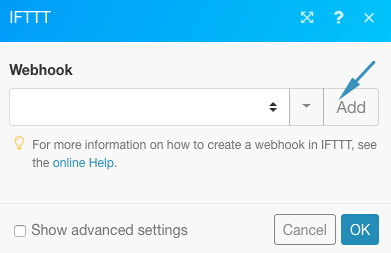
Click the ‘Add’ button to create a new webhook
-
Name your webhook and click Save
-
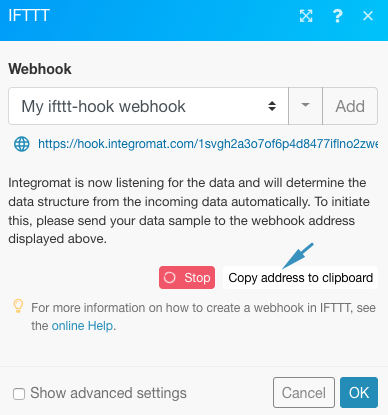
Copy the newly generated webhook URL and let the webhook wait to receive sample data
-
-
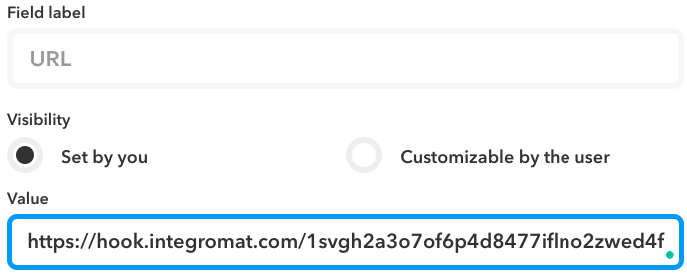
Go to IFTTT and in the settings of the Webhook – Make a web request action fill in the following values:
-
URL: Paste the webhook URL obtained from Boost.space Integrator in the previous step
-
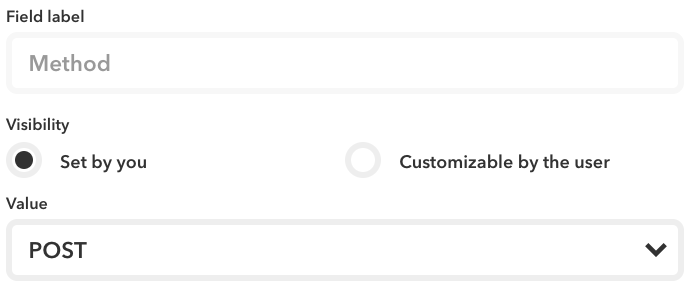
Method: POST
-
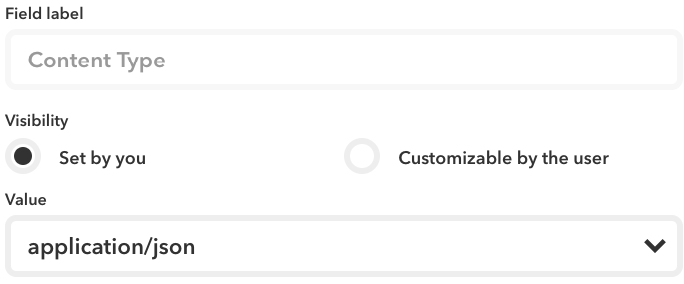
Content Type: application/json
-
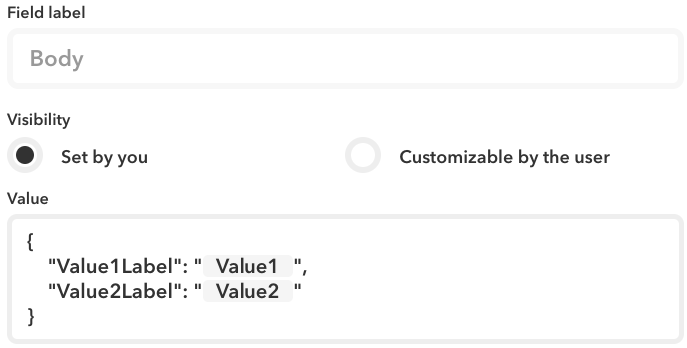
Body: JSON with data you want to send to Boost.space Integrator
-
Example JSON:
{ "Value1Label": "{{Value1}}", "Value2Label": "{{Value2}}" }The JSON can contain an arbitrary amount of values. Value1Label is a label how the value will be presented in Boost.space Integrator. {{Value1}} is an ingredient from the IFTTT trigger.
-
Turn your IFTTT applet on and run it once. This will send sample data to the Boost.space Integrator webhook which had been listening for data
-
Once the webhook receives the sample data, click ‘OK’ to continue and use the data received from IFTTT in subsequent modules of your Boost.space Integrator scenario.
Complete your scenario in Boost.space Integrator and turn it on.
—-
Follow the steps below to send data from Boost.space Integrator to a trigger in an IFTTT applet and run any IFTTT action using the Send data module:
-
Create a new applet on the IFTTT Platform (https://platform.ifttt.com/)
-
Use Webhooks – Receive a web request as the trigger for your applet
-
Scroll below to enter an event name which you will need to enter when setting up the module on Boost.space Integrator
-
Insert the action you want to control from Boost.space Integrator. The applet should look like: If Webhooks – Receive a web request then Your action
-
Activate your applet.
-
-
Go to Boost.space Integrator and insert the module IFTTT – Send data to your scenario that shall send data to IFTTT
-
Go to https://ifttt.com/maker_webhooks, click ‘Documentation‘ on the upper-right corner and copy your key from the documentation page
-
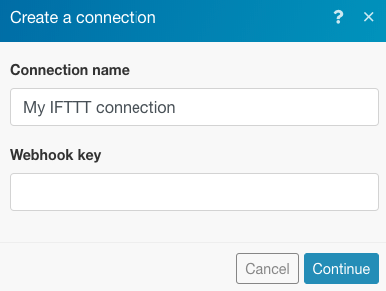
Click ‘Add’ next to the Connectiondrop-down to create a new connection between Boost.space Integrator and IFTTT. You will be requested to fill in the key obtained in the last step
-
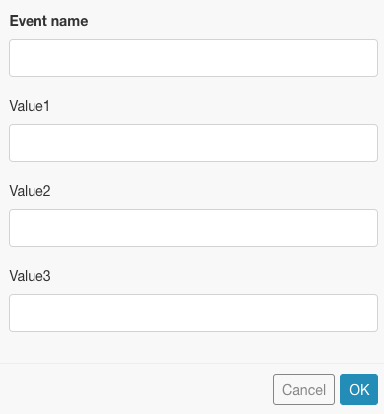
Enter the event name that you had entered when creating the applet on IFTTT
-
Lastly, map the data in the fields Value1, Value2, and Value3. These values will be sent to IFTTT
-
Once your scenario setup on Boost.space Integrator is complete, make sure you save it and turn it on to begin sending data to your newly created IFTTT applet. Now you can use this data in subsequent actions in your applet to achieve the intended integration!
