Create and manage a space
You can create an unlimited number of spaces and subspaces in each module. This guide covers the full lifecycle: creating a space, modifying it, and deleting it.
Create a space
Click the + button on the left side of the screen.
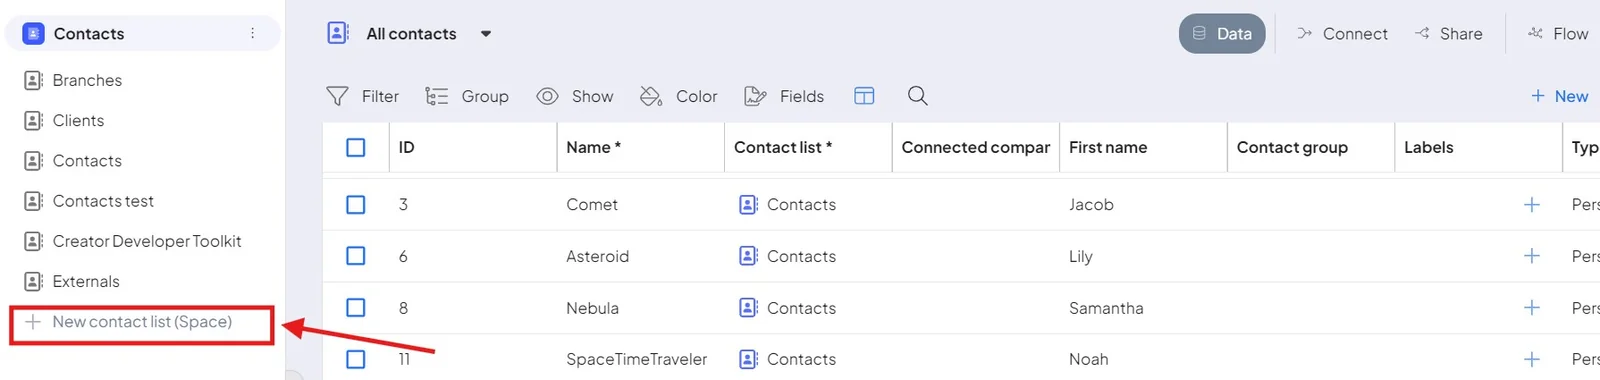
A window opens where you fill in the details of the new space (example screenshot).
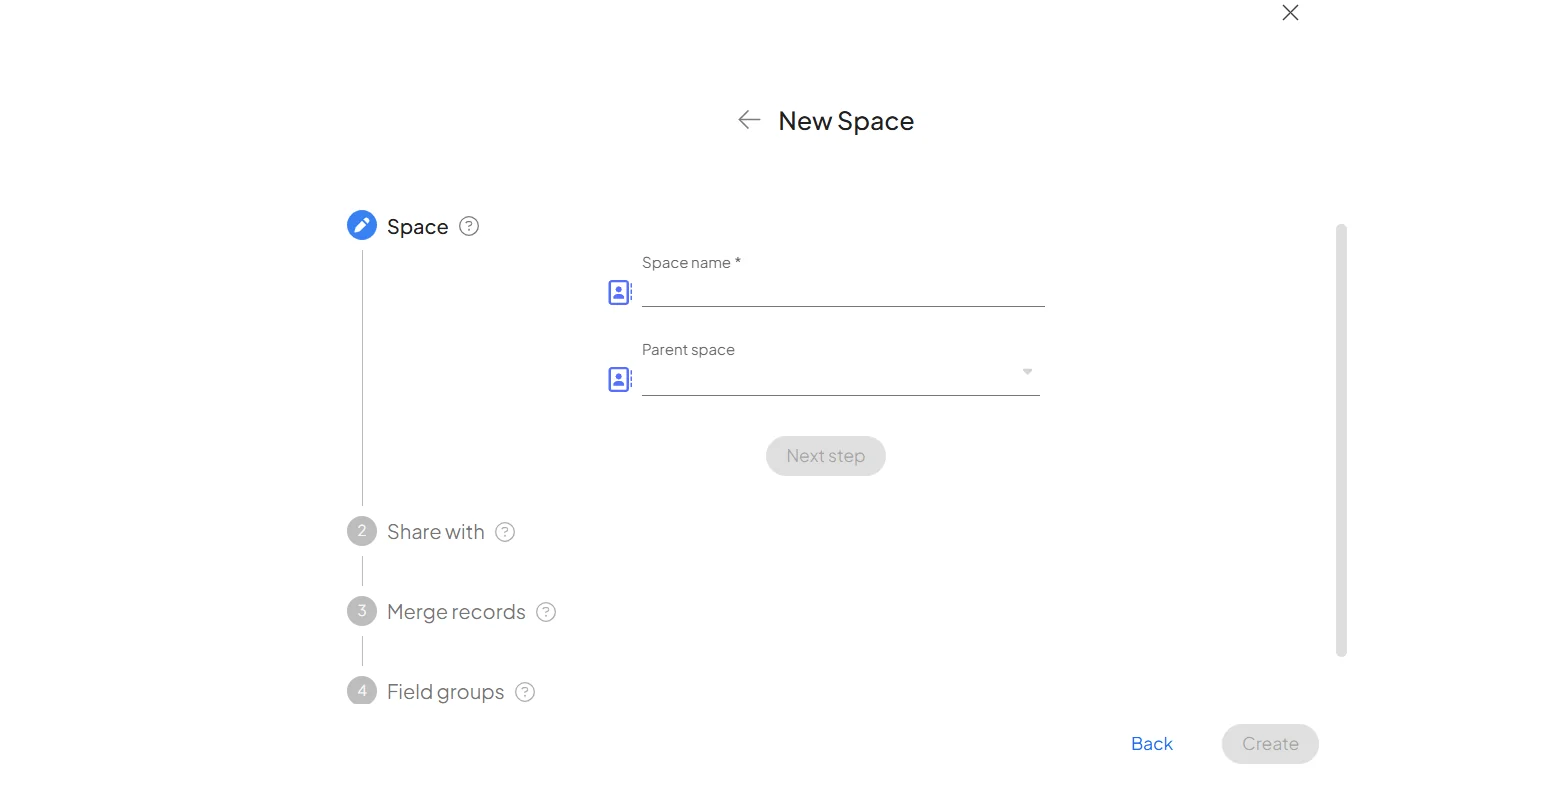
1. Choose parent or child
Decide whether this is a parent or a child space:
- Leave the Parent space field empty to create a parent space that stands on its own.
- Fill in the Parent space field to create a child space that belongs to the space you select.
When you create a space from inside an existing space, the Parent space field is pre-filled for you.
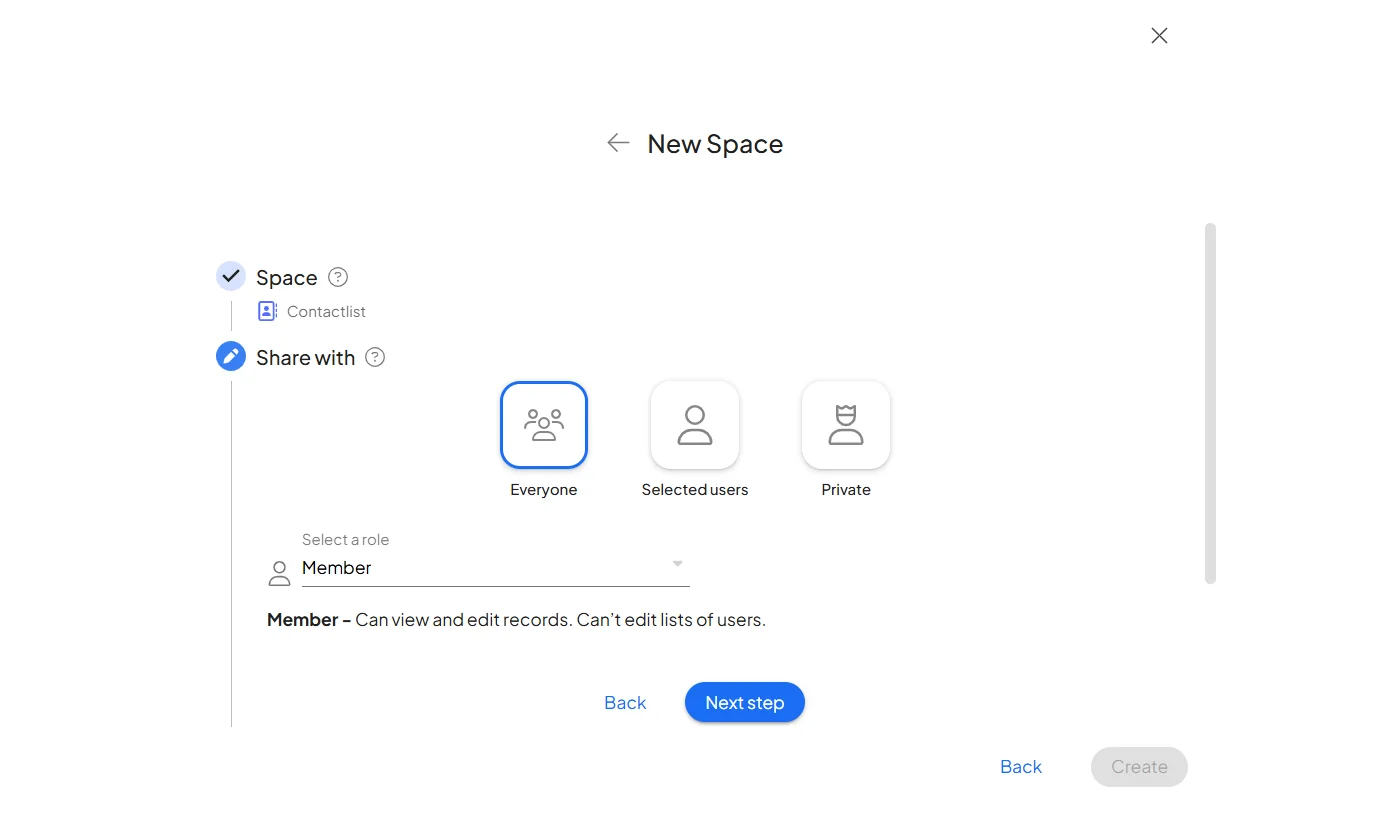
2. Set sharing and roles
Choose who the space is shared with — everyone, specific users, or keep it private. For each invited user, assign a role: member, manager, or owner. See Space roles and permissions for what each role can do.
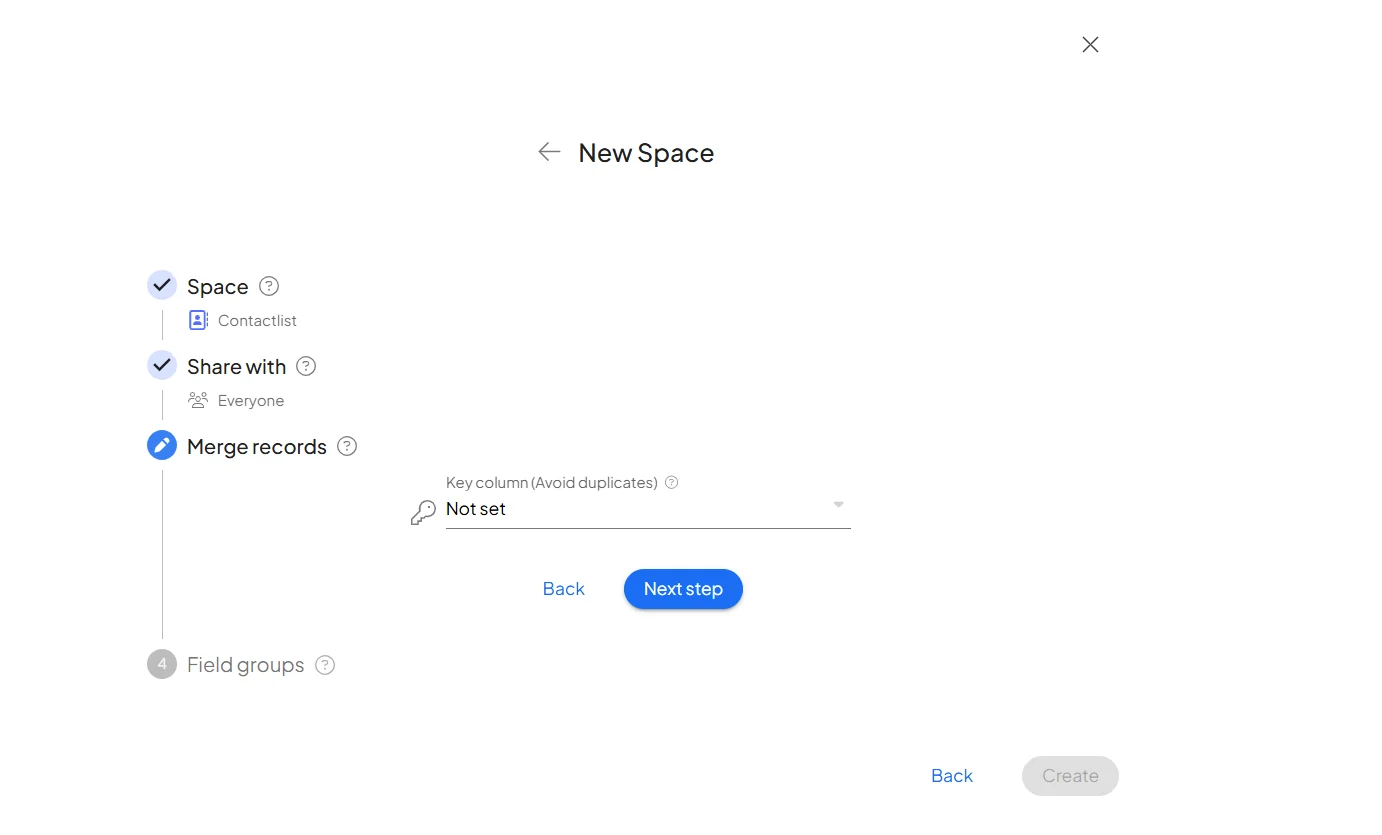
3. Set a key field
Optionally set a key field. The key field merges data from different sources into a single item, keeping records unified and consistent while avoiding duplicates. See Key field for details.
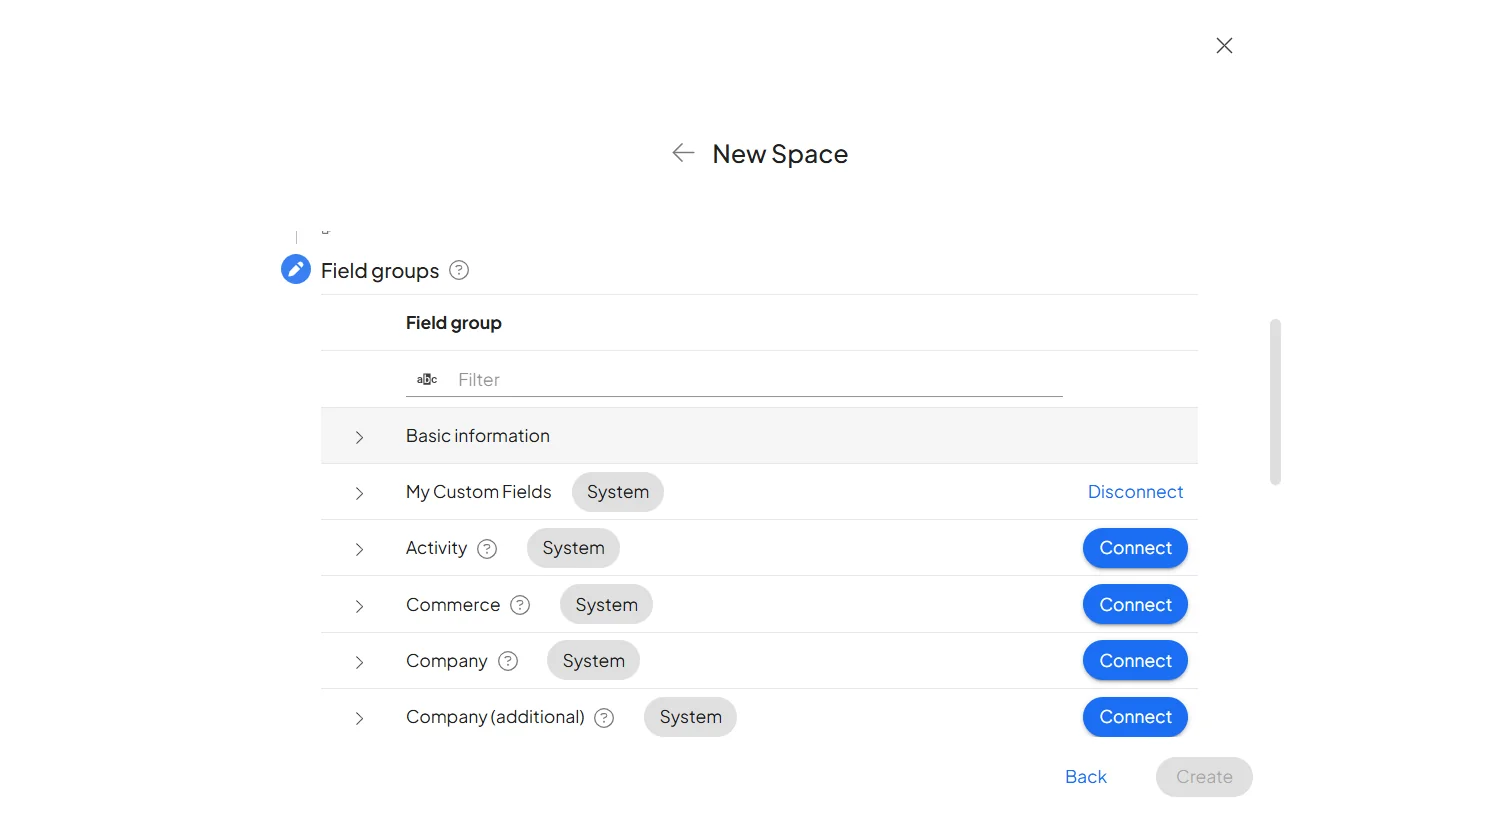
4. Choose field groups
Set up the structure of the space by connecting the field groups your records need — ready-made groups or ones you've built yourself.
Click Create. The space is ready and you can add records to it.
Modify a space
Open a space's settings from either of two places:
- the navigation toolbar on the left, or
- the top bar next to the space name — the pencil icon or the ⋮ (three dots) icon.
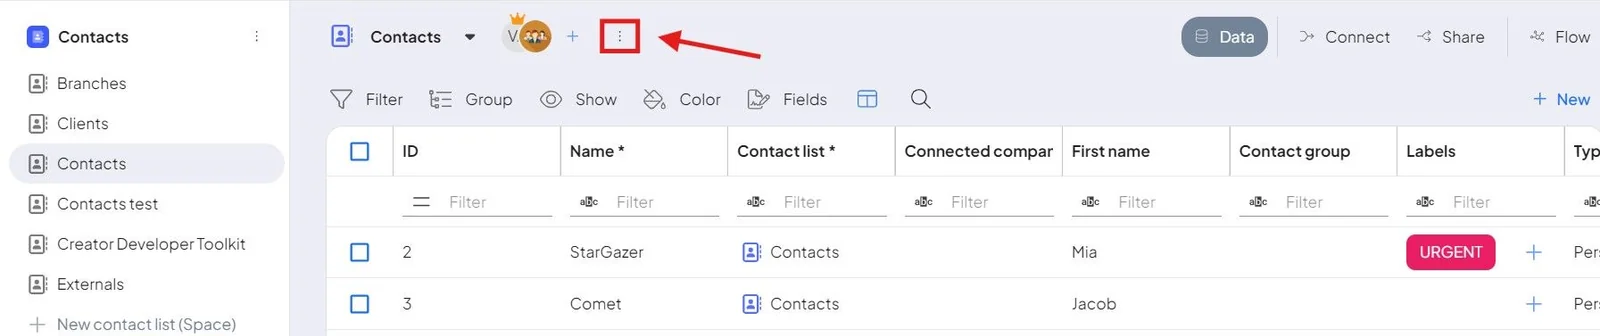
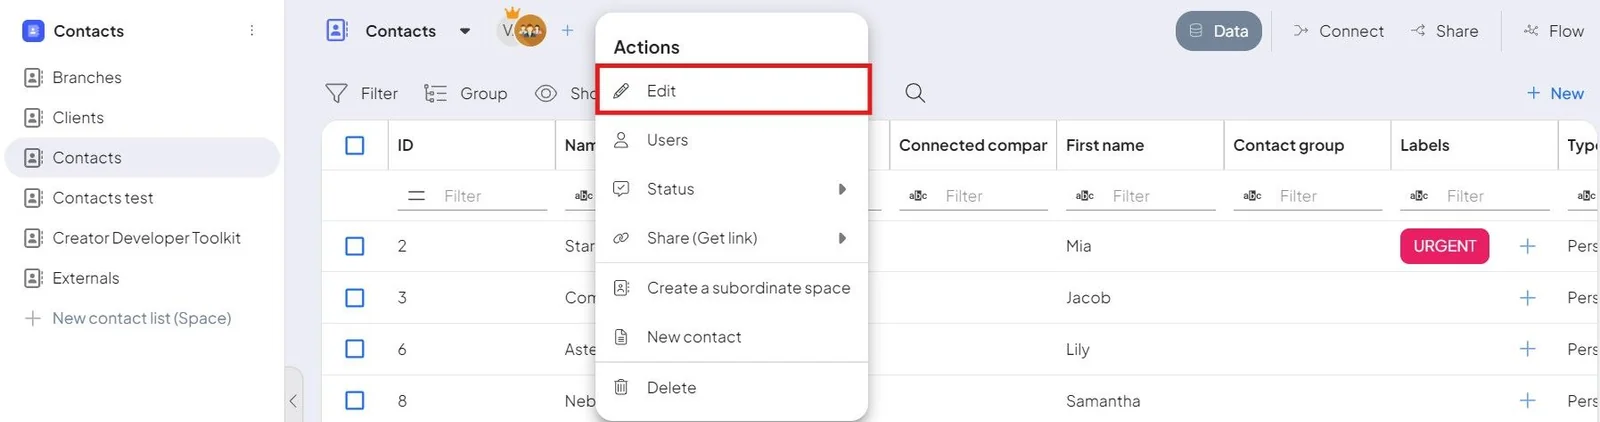
The settings shown always match the module the space belongs to — see Space settings for everything you can configure there.
Delete a space
Only an owner of a space can delete it. The delete action is under the ⋮ icon in the space bar.
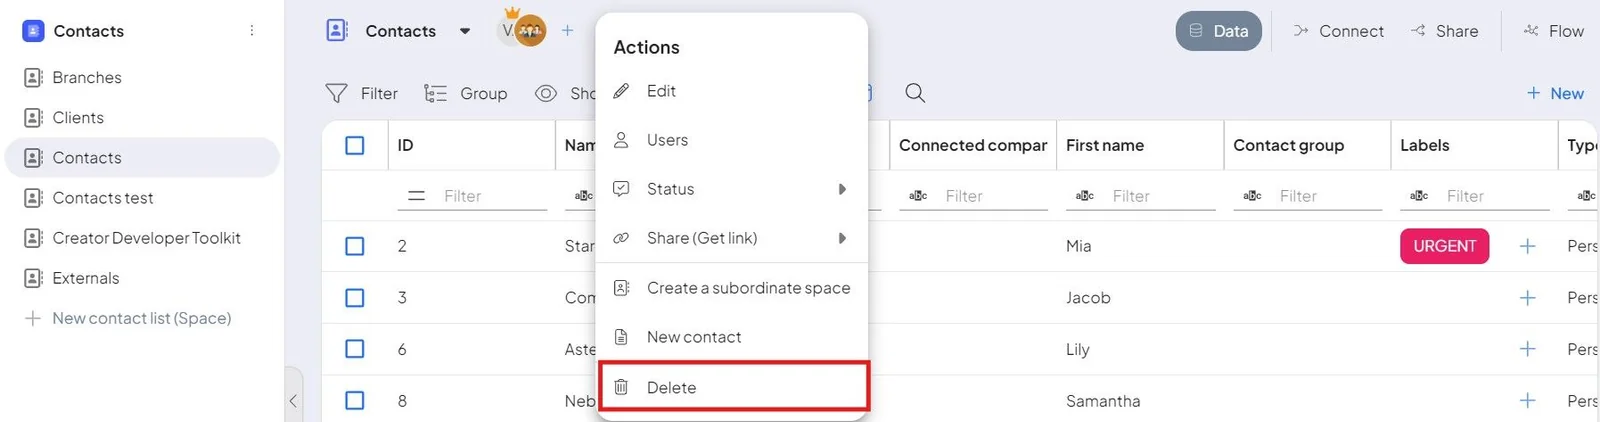
Deleting a space also deletes every record in it. This can't be undone — export anything you need to keep first (see Bulk actions and exporting).
