Table of Contents
| Active with remarks |
|---|
| This application needs additional settings. Please follow the documentation below to create your own connection. |
With the Google Chat modules in Boost.space Integrator, you can:
- retrieve and list spaces, and members
- create, retrieve, and delete messages and get message attachments
- call APIs and watch events
To get started with Google Chat app, create an account at chat.google.com.
To get client email address and private key, access your projects in Google API Console and follow the below instructions.
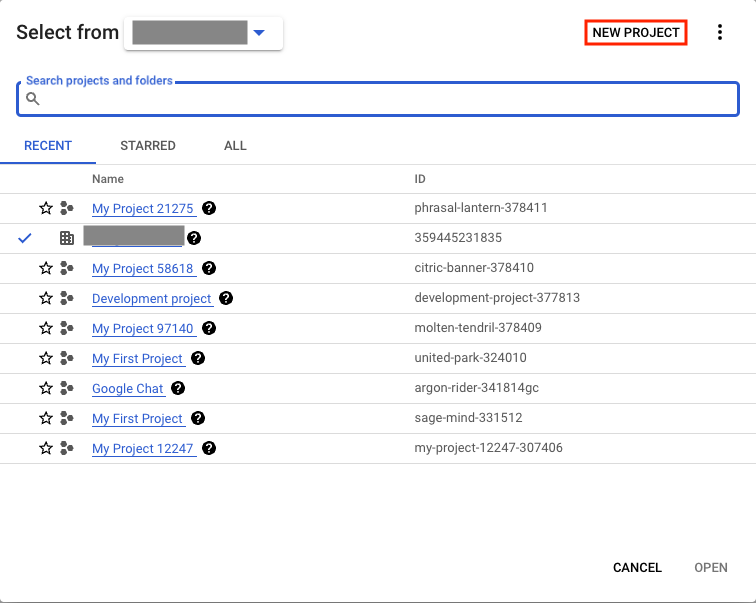
- Log in to your Google account. Click your organization and select NEW PROJECT.
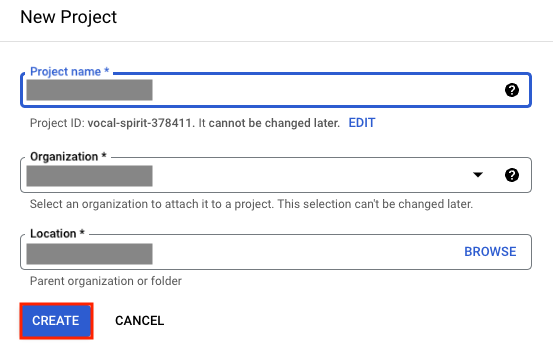
- Enter a name for the project, select your organization, and browse the project location. Click CREATE.
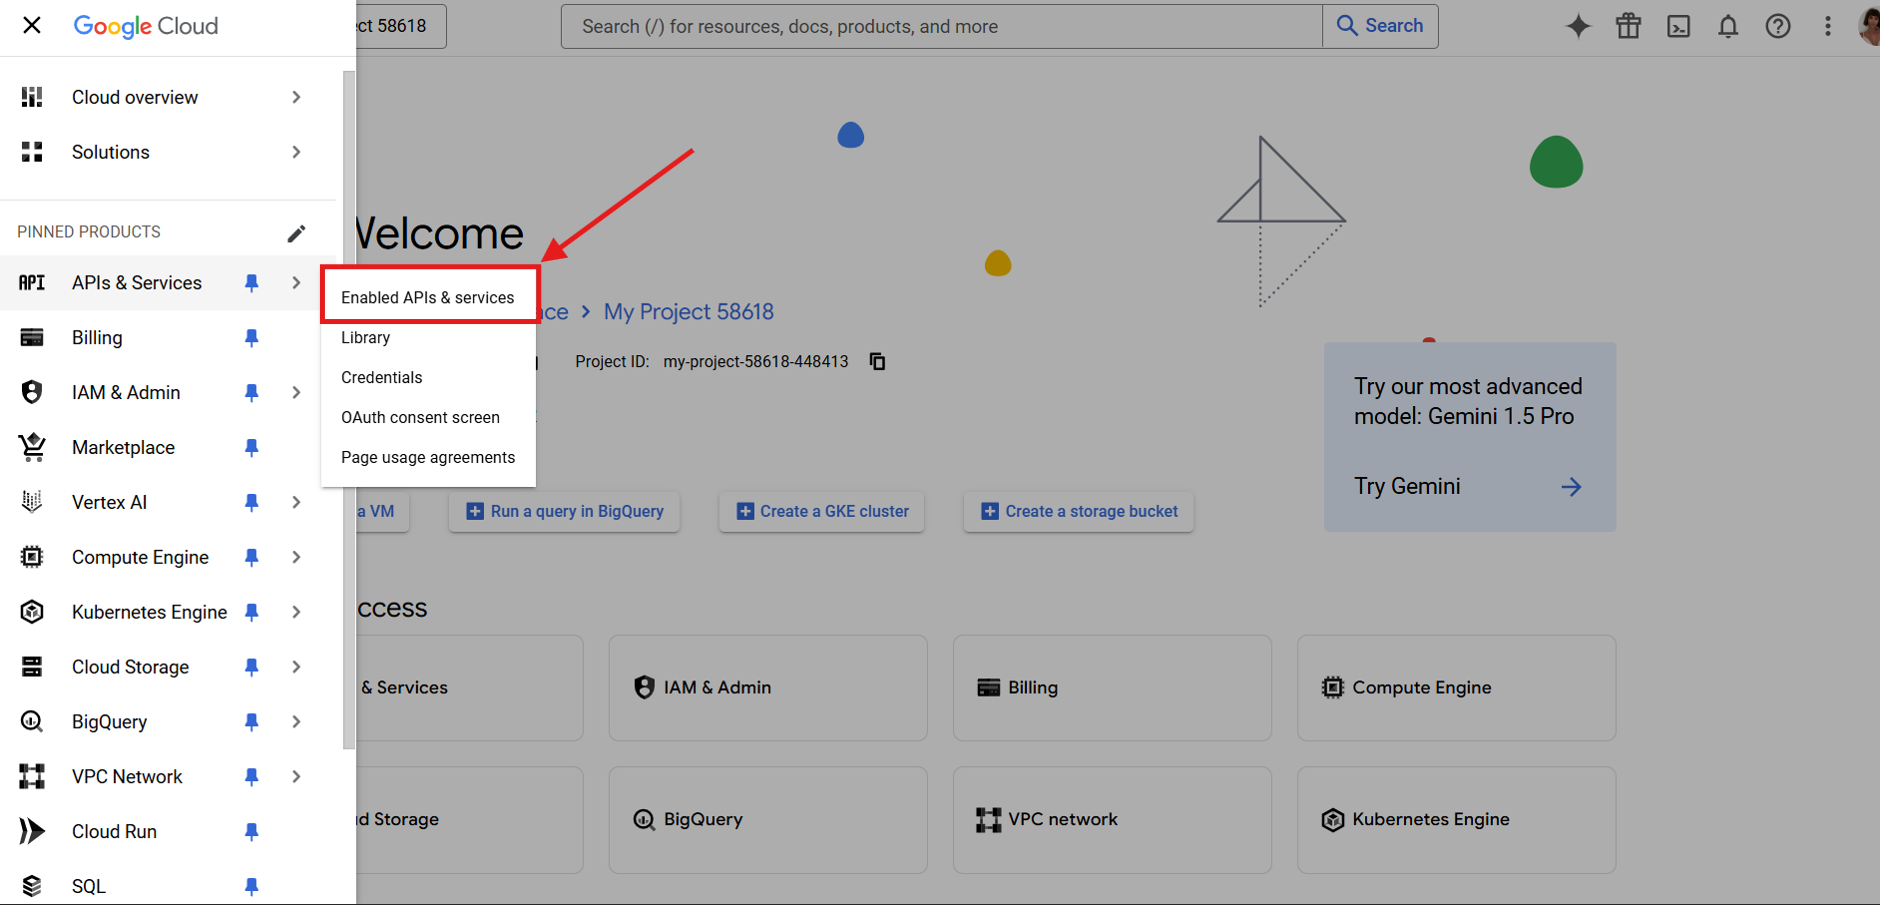
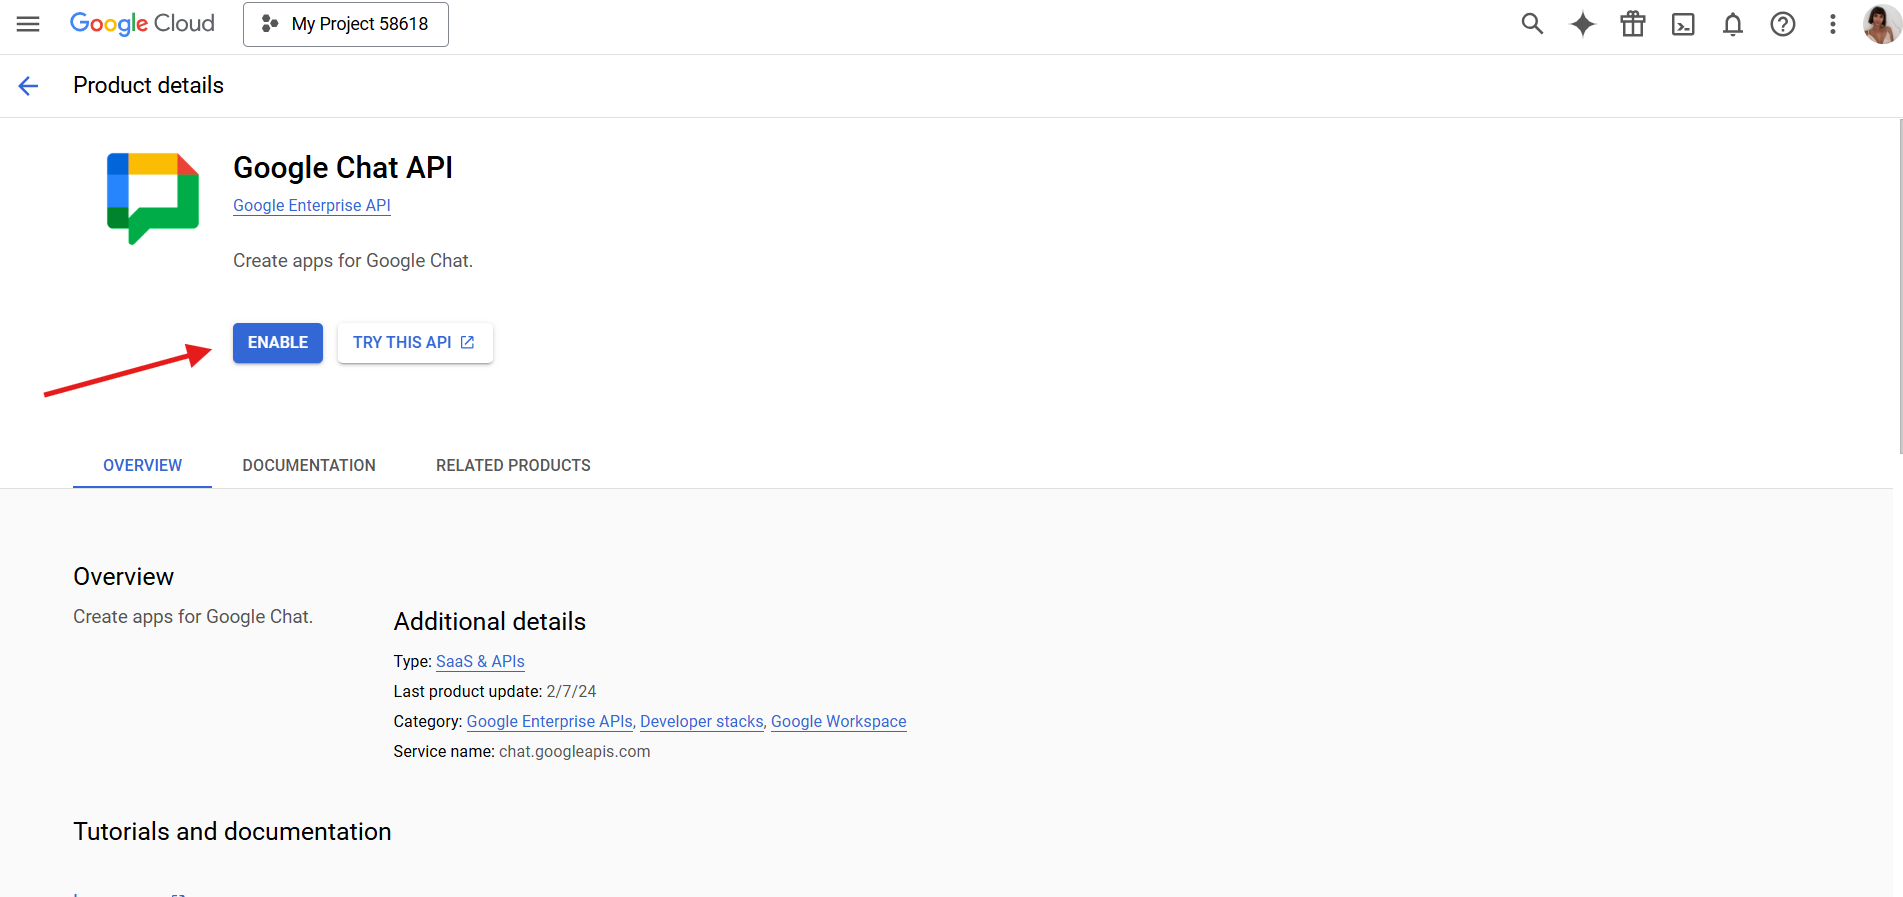
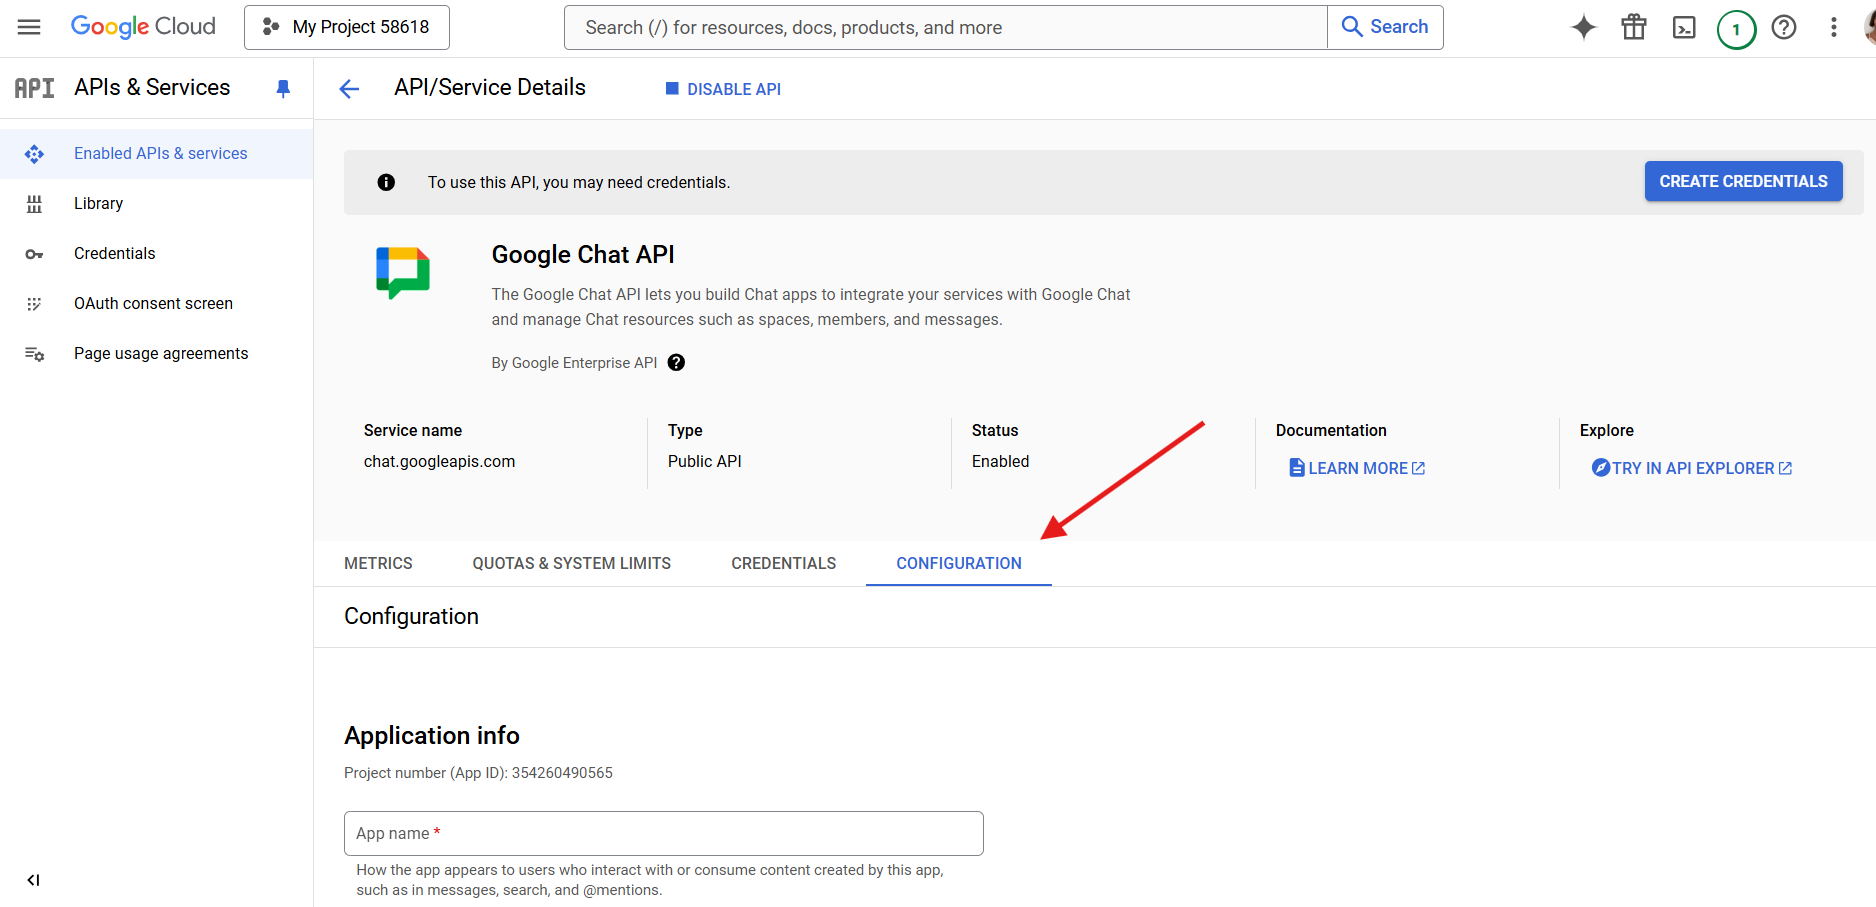
- In section Enabled APIs and Services find Google Chat API.
- Click “Enable”.
- Click “Configuration”.
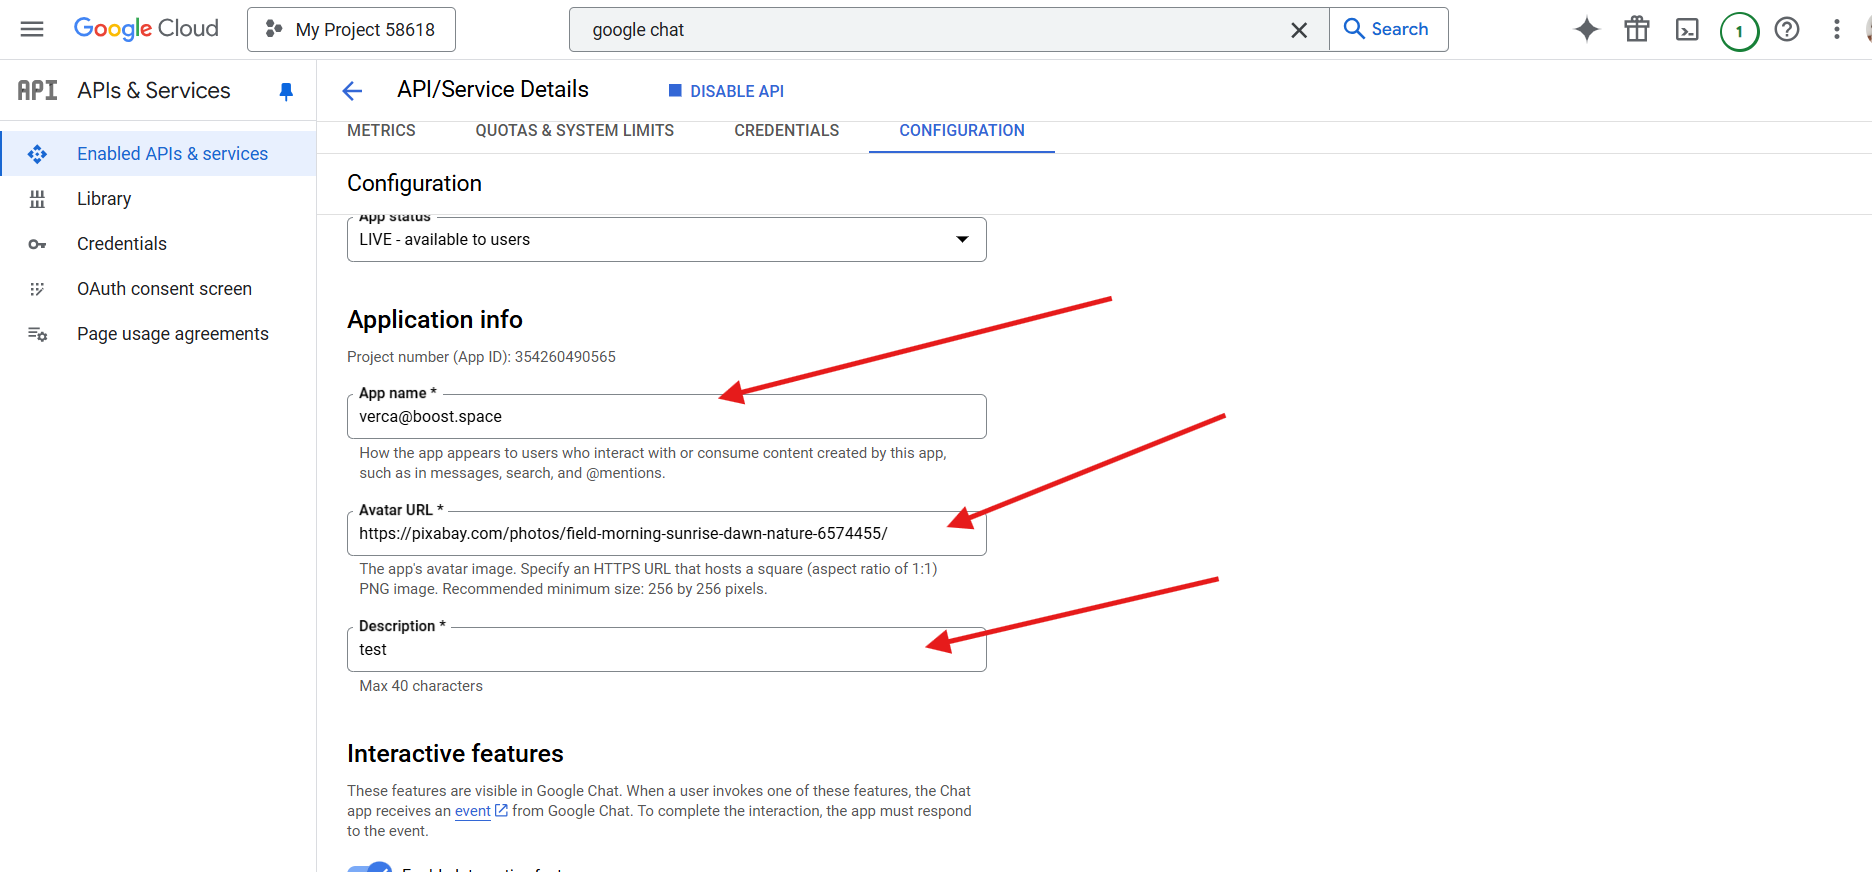
- Add the App name, Avatar URL and Description.
- Make sure you have Interactive features enabled and check the funcionality Recieve 1:1 mesagges and check Join spaces and group conversations.

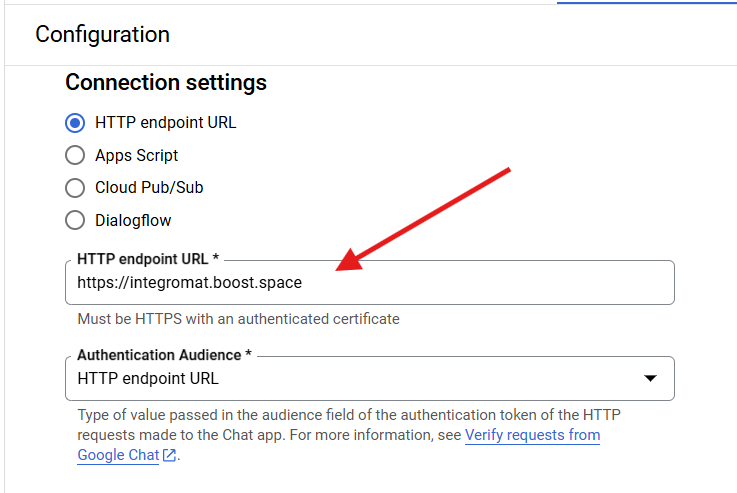
- Add the HTTP endpoint: https://integromat.boost.space
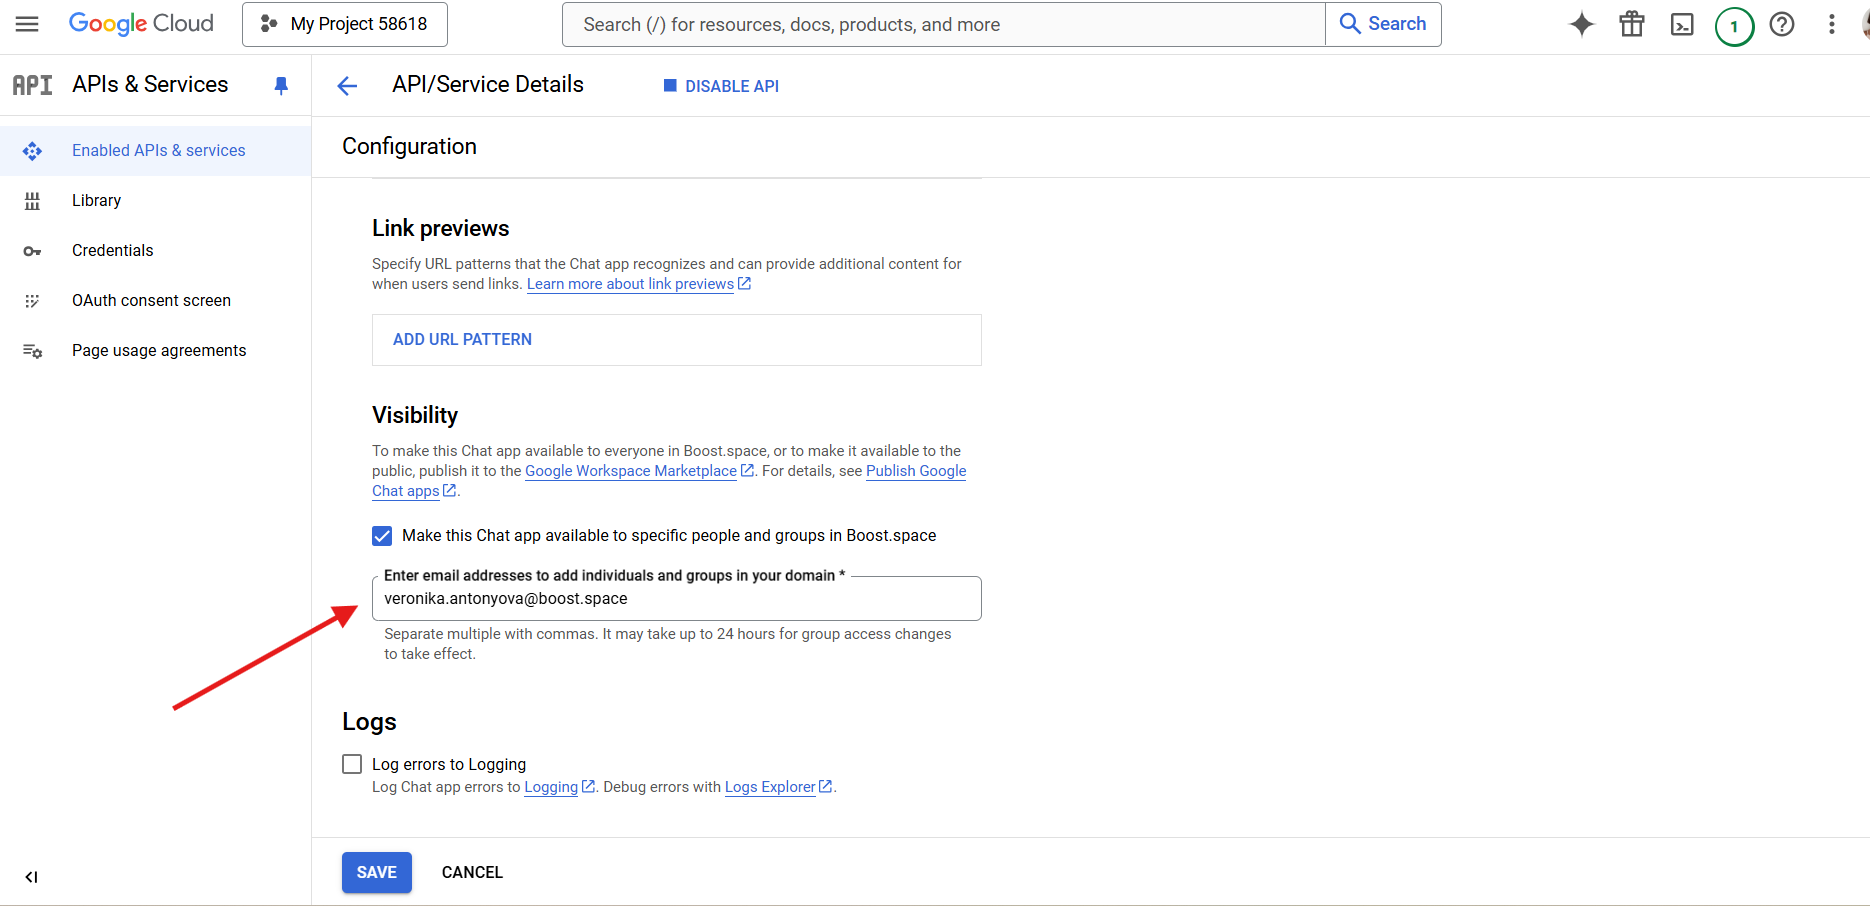
- Add people to your group chat. Hit Save button.
- Now, add this app to your google chat. Go to your Google Chat profile, find section Apps and Integrations and click on Add apps. In our case it will be [email protected].

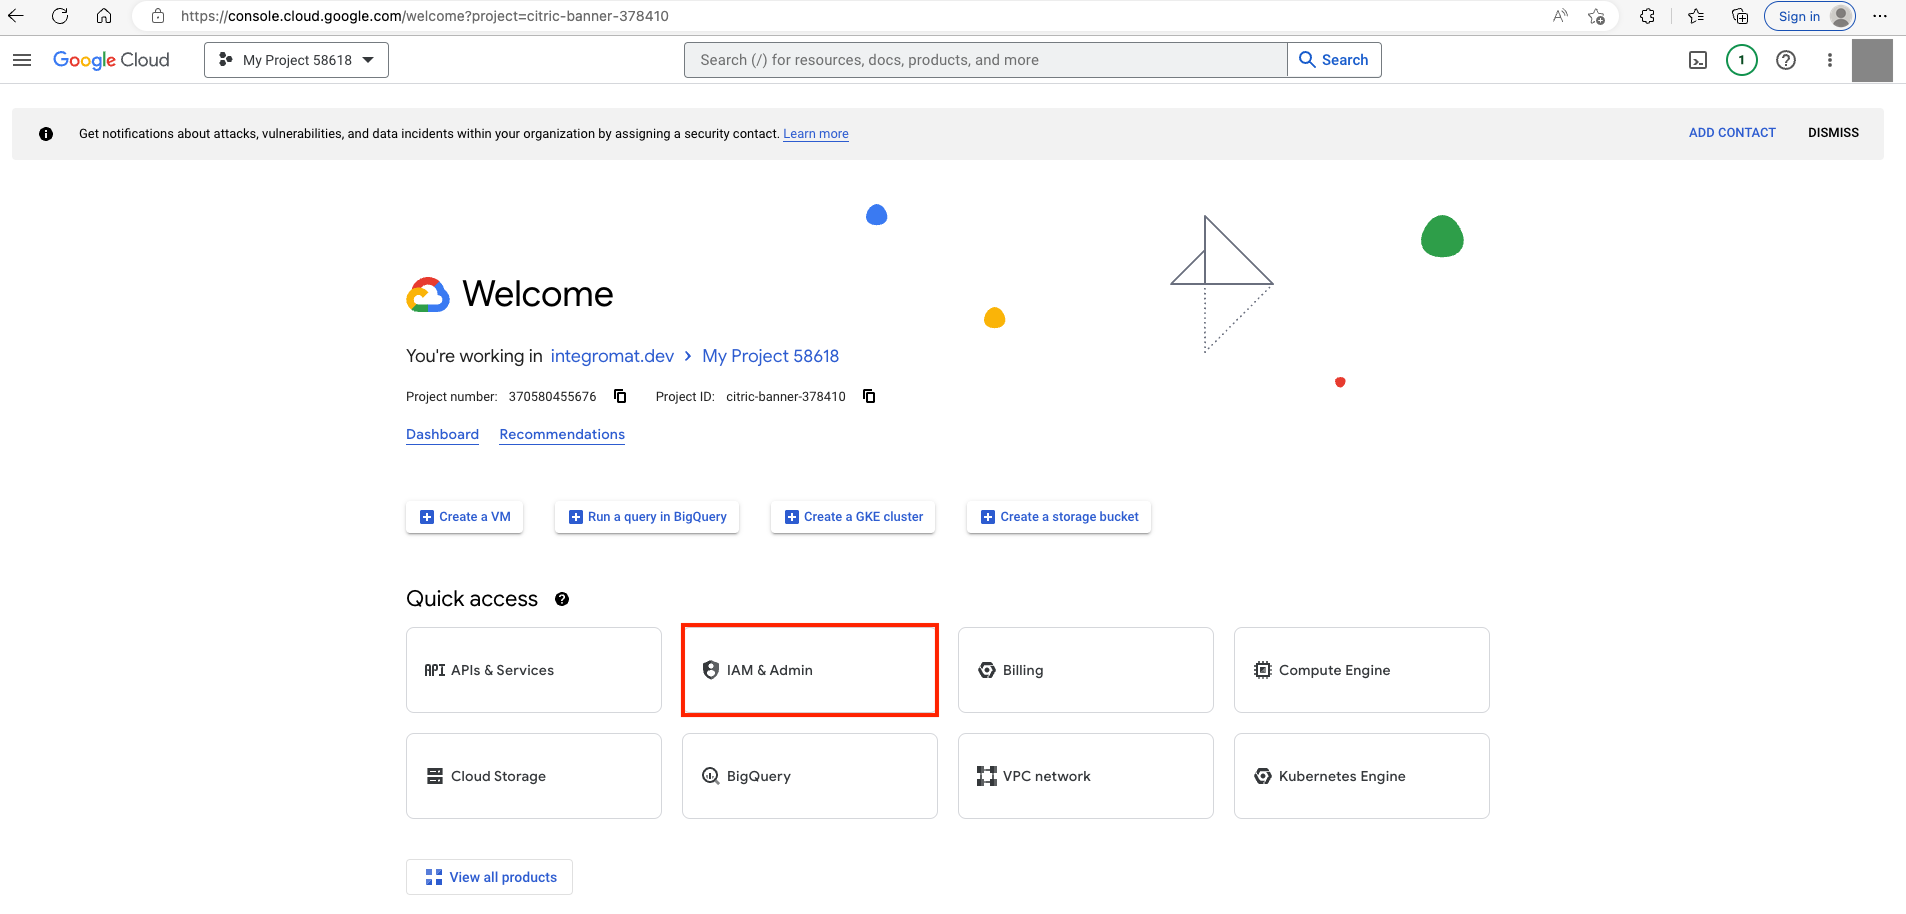
- Go back to cloud console. Select the project created and click IAM & Admin.
- Click Service Accounts.
- Click CREATE SERVICE ACCOUNT.
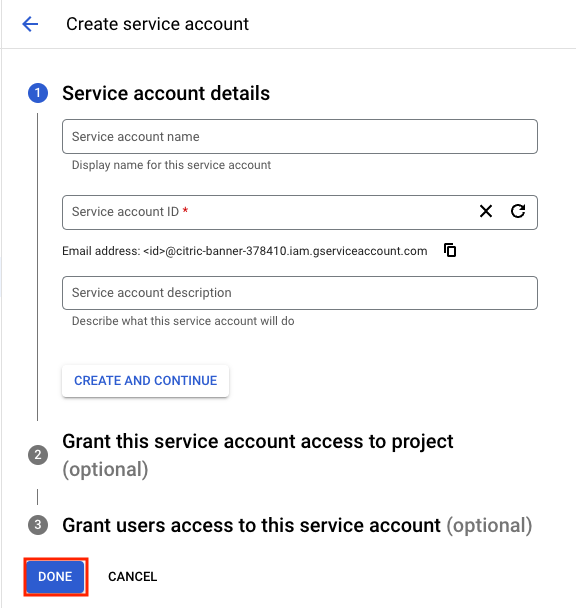
- Enter the service account details and click CREATE AND CONTINUE. You can grant optional access and click DONE.
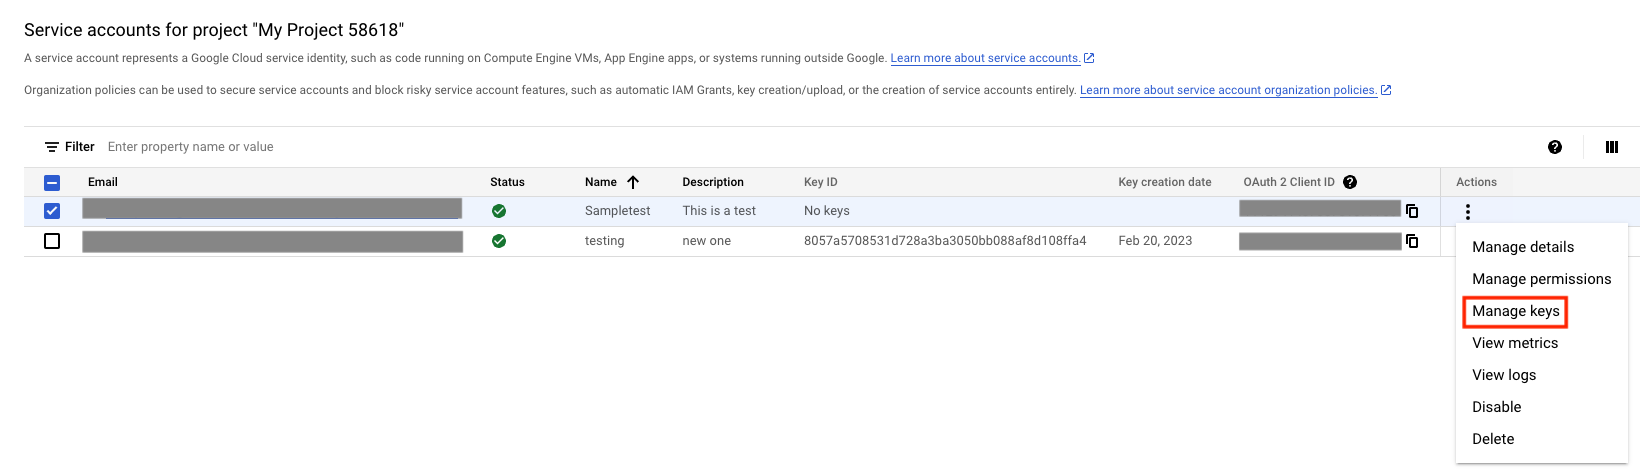
- Select the newly created service account and click the three dots. Click Manage keys.
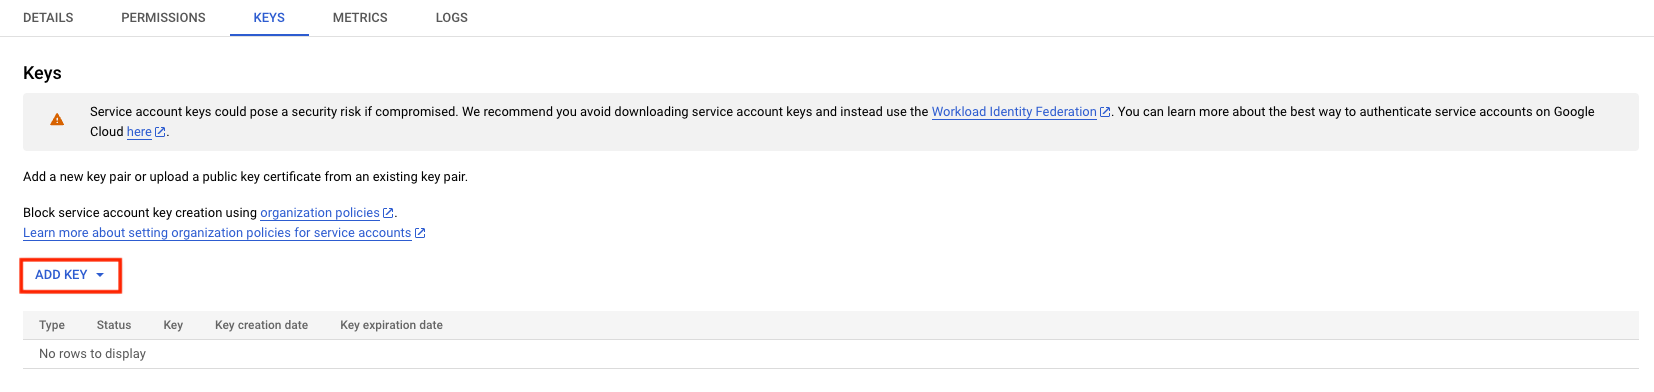
- Click KEYS > ADD KEY.
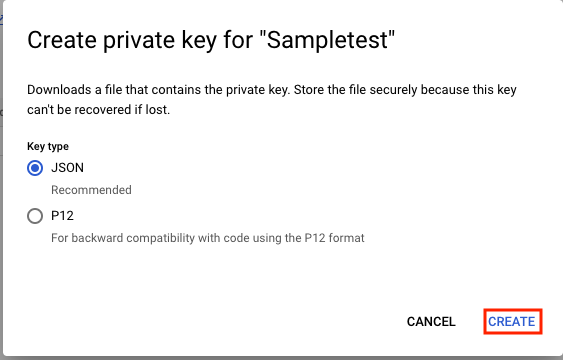
- Select the Key type and click CREATE.
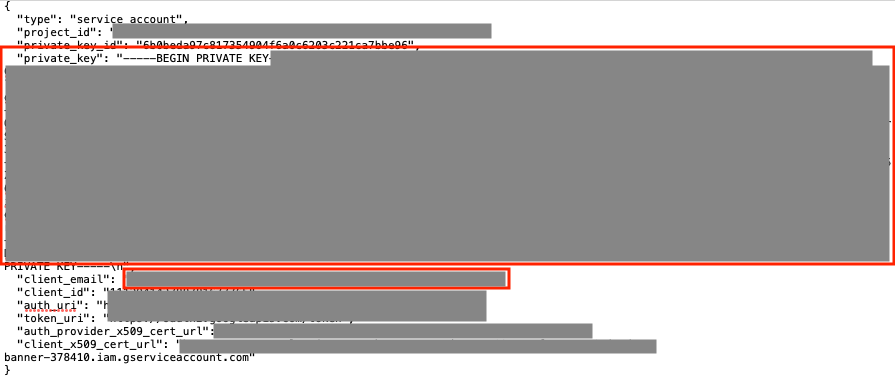
- Copy the Client Email and Private Key from the downloaded key.


To connect Google Chat app, you need to obtain the Client Email and Private Key details from your Google account.
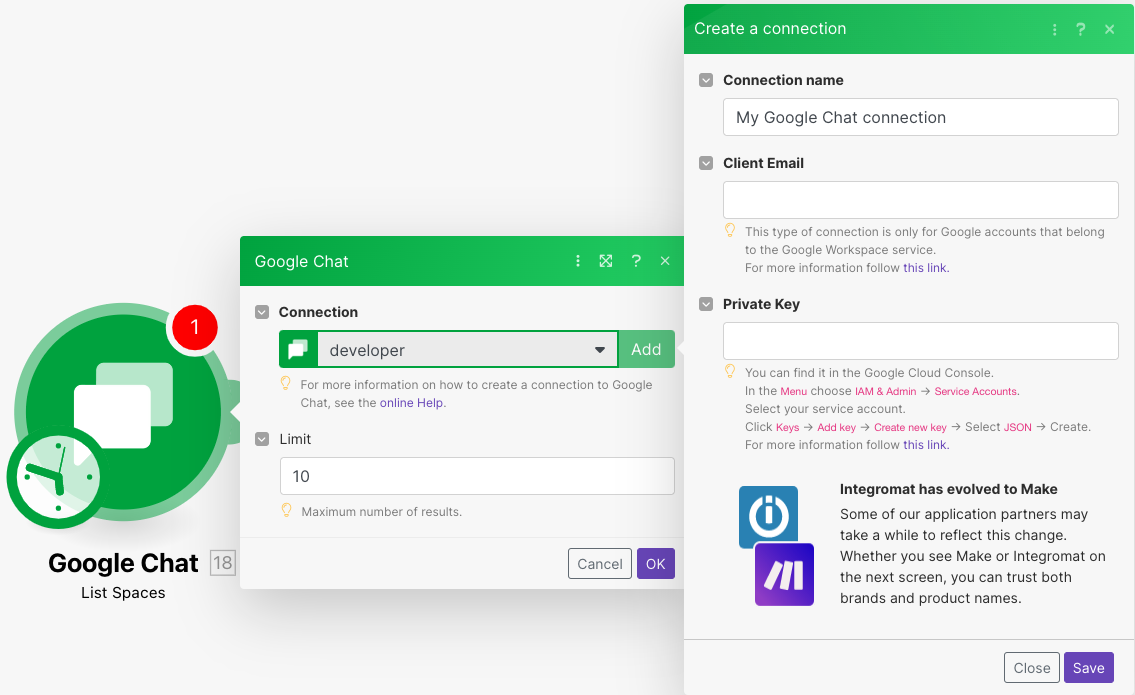
- In your Boost.space Integrator account, insert a Google Chat module in your scenario and click the Add button next to the Connection field.
- In the Connection name field, enter a name for the connection.
- In the Client Email and Private Key fields, enter the details obtained above and click Save.
- Now, you will need to obtain the space ID and the APP ID in order for the “create a message” module to work.
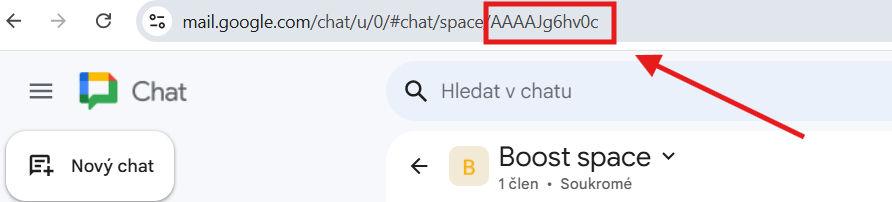
- How to get space name and APP ID: Space name is available in the URL in the Google Chat application:
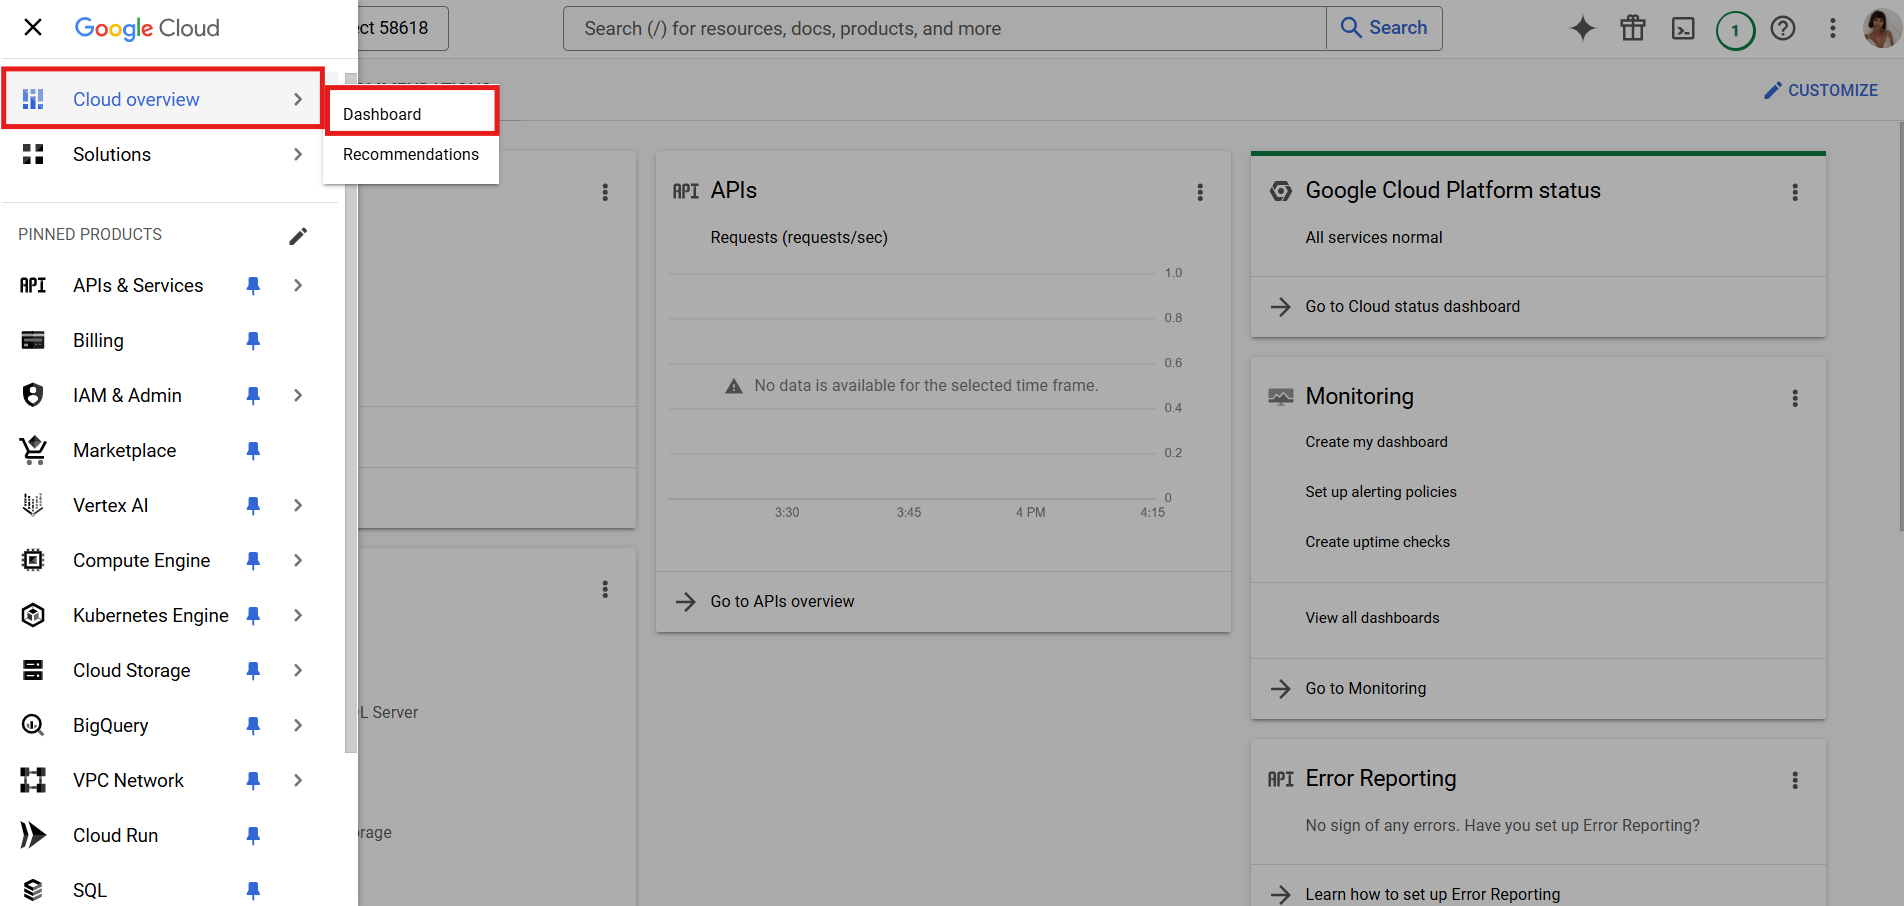
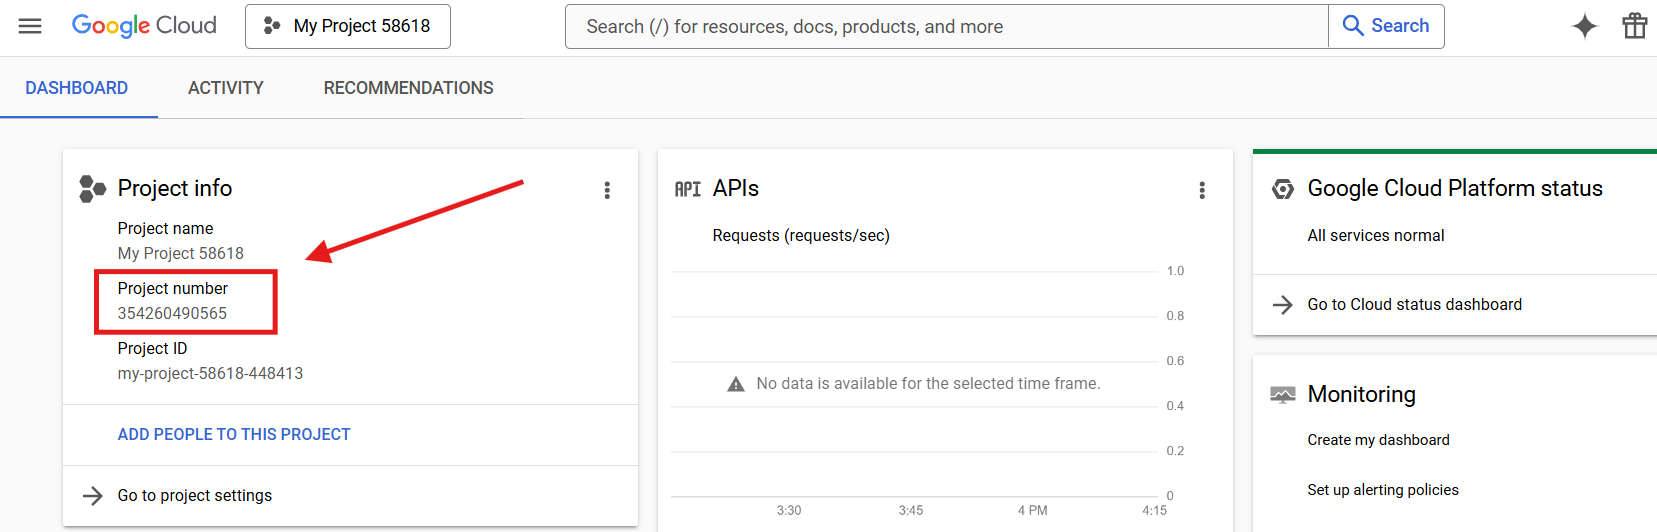
- APP ID: This you will get from the Google Cloud console under the “Cloud overview” and “Dashboard” section.
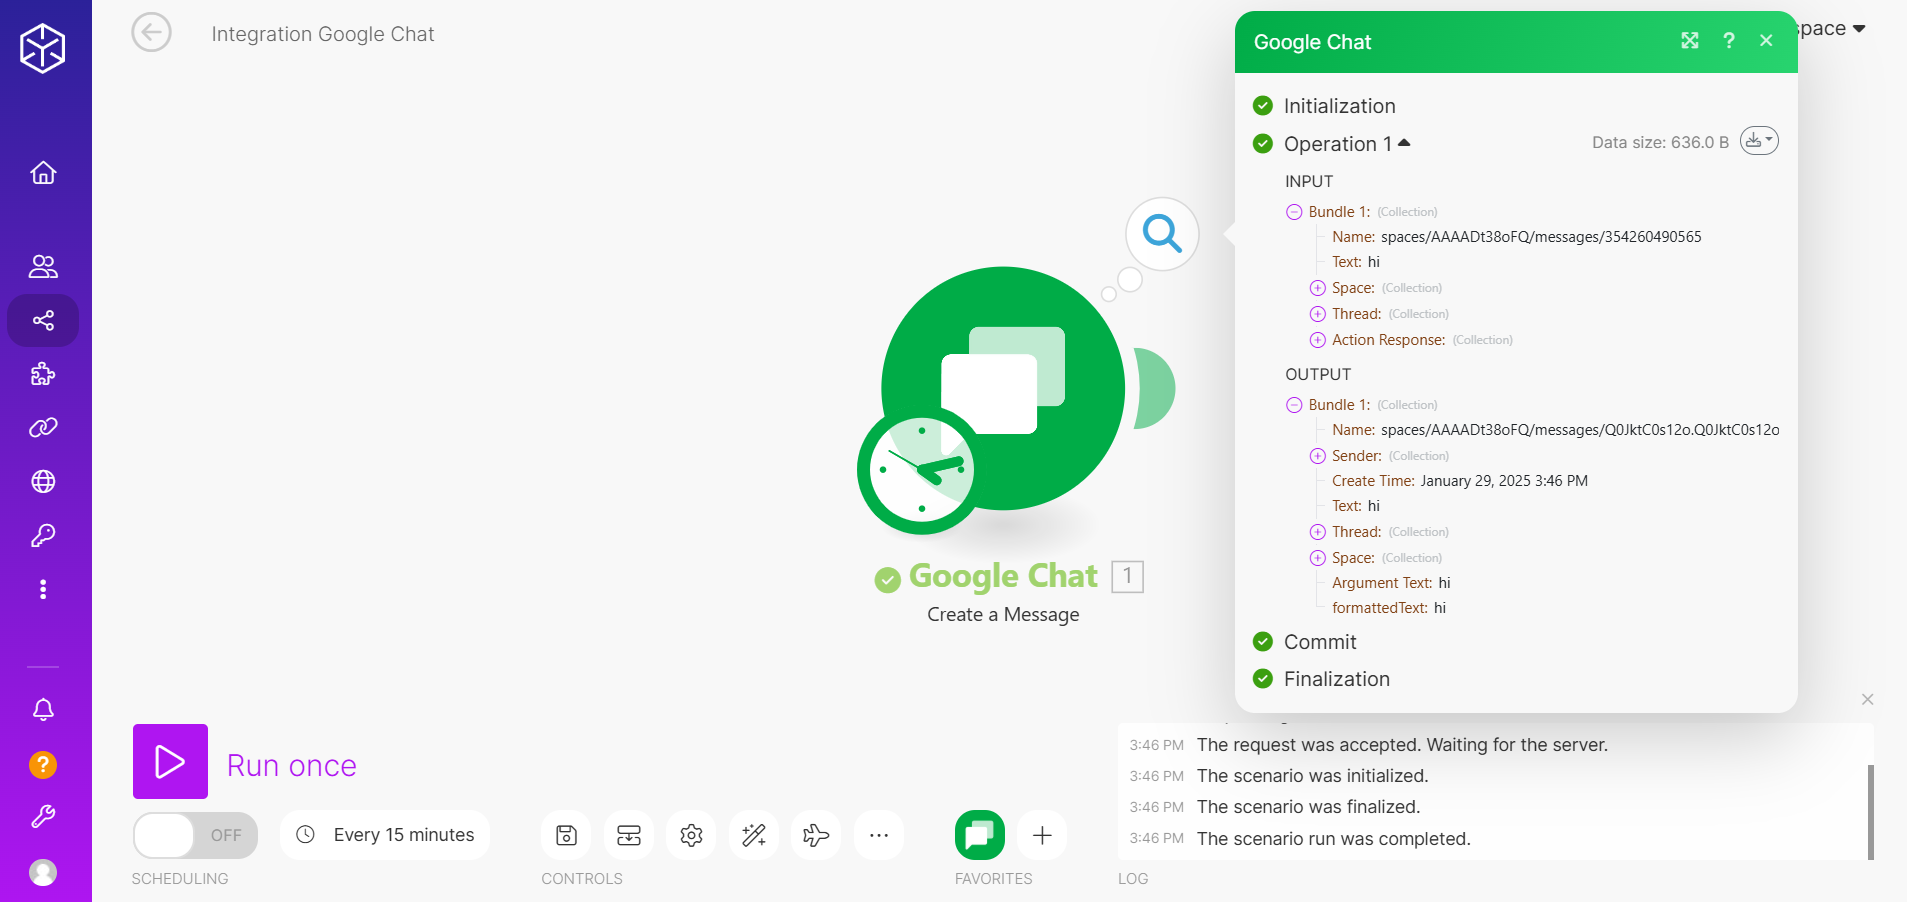
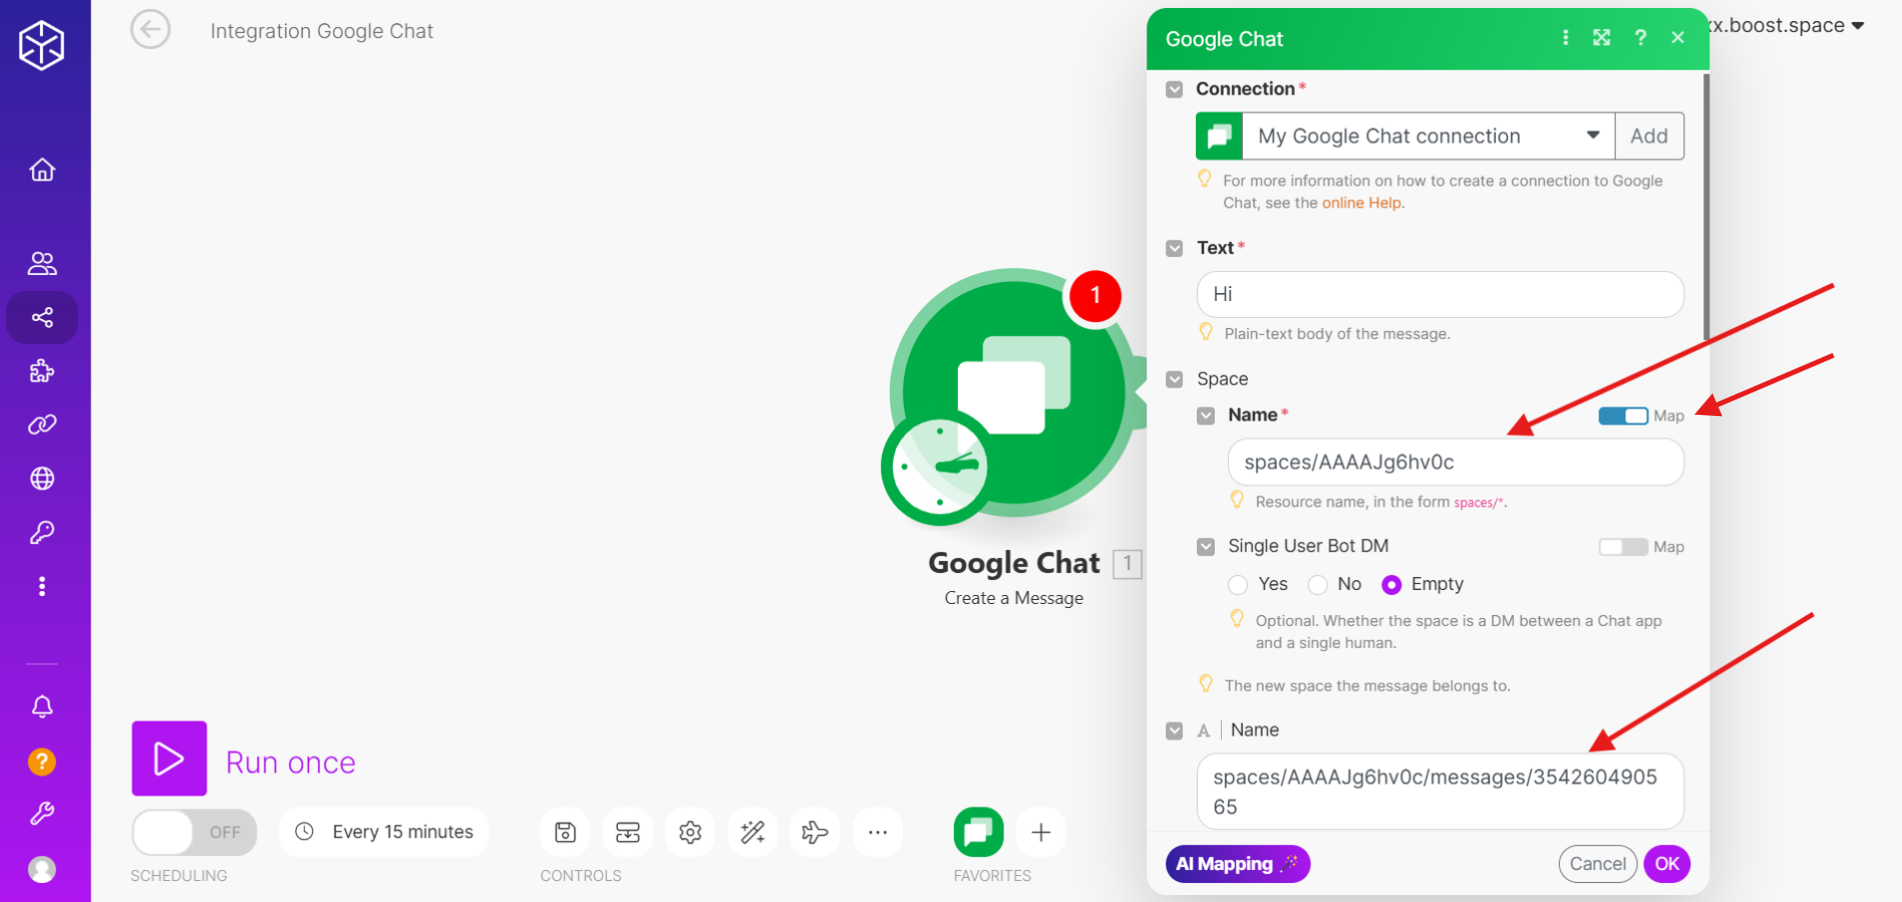
- Now in Integrator, fill in Text, Name (spaces/space ID) and the second name (spaces/space ID/messages/APP ID). Click OK and Run once.
- You have successfully established the connection. You can now edit your scenario and add more Google Chat modules. If your connection needs reauthorization at any point, follow the connection renewal steps here.