Table of Contents
What more you can do in Boost.space IntegratorPart of the Boost.space system, where you can create your connections and automate your processes.
Exploring Advanced Options in Boost.space Integrator ScenariosA specific connection between applications in which data can be transferred. Two types of scenarios: active/inactive.
In this article, you will learn what other settings you can perform on the scenarioA specific connection between applications in which data can be transferred. Two types of scenarios: active/inactive. after it’s created.
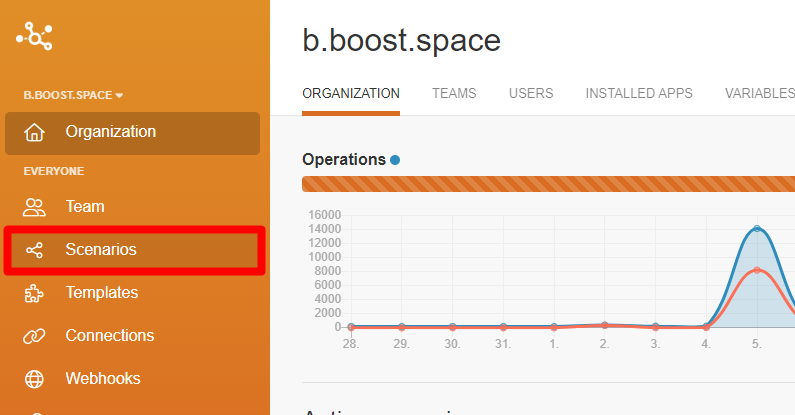
- Firstly open the Integrator and then click on “Scenarios“.
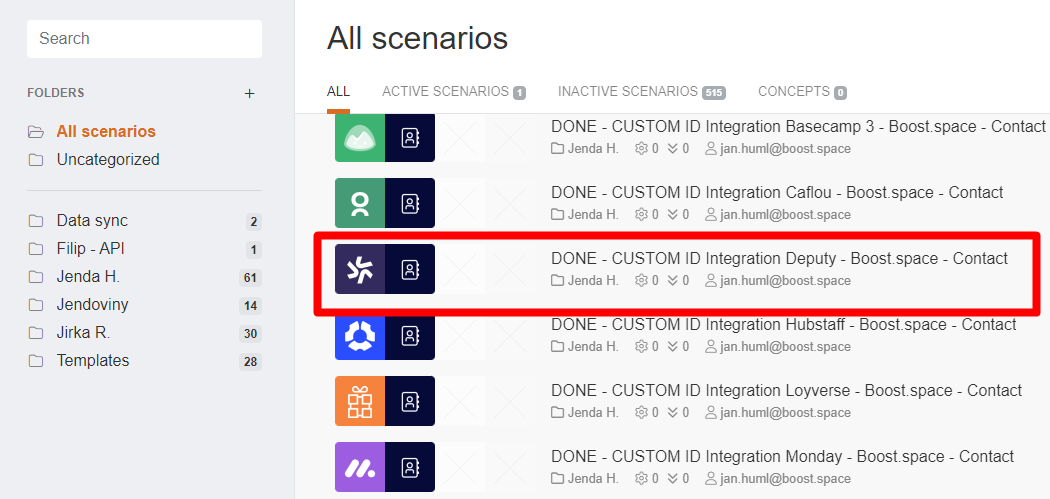
- Opening an existing scenario will take you to a page where you can find detailed information about it.
- This is the homepage of the scenario. Here you will find specific information about the scenario. Clicking on the scenario takes you to a page where the scenario can be edited.
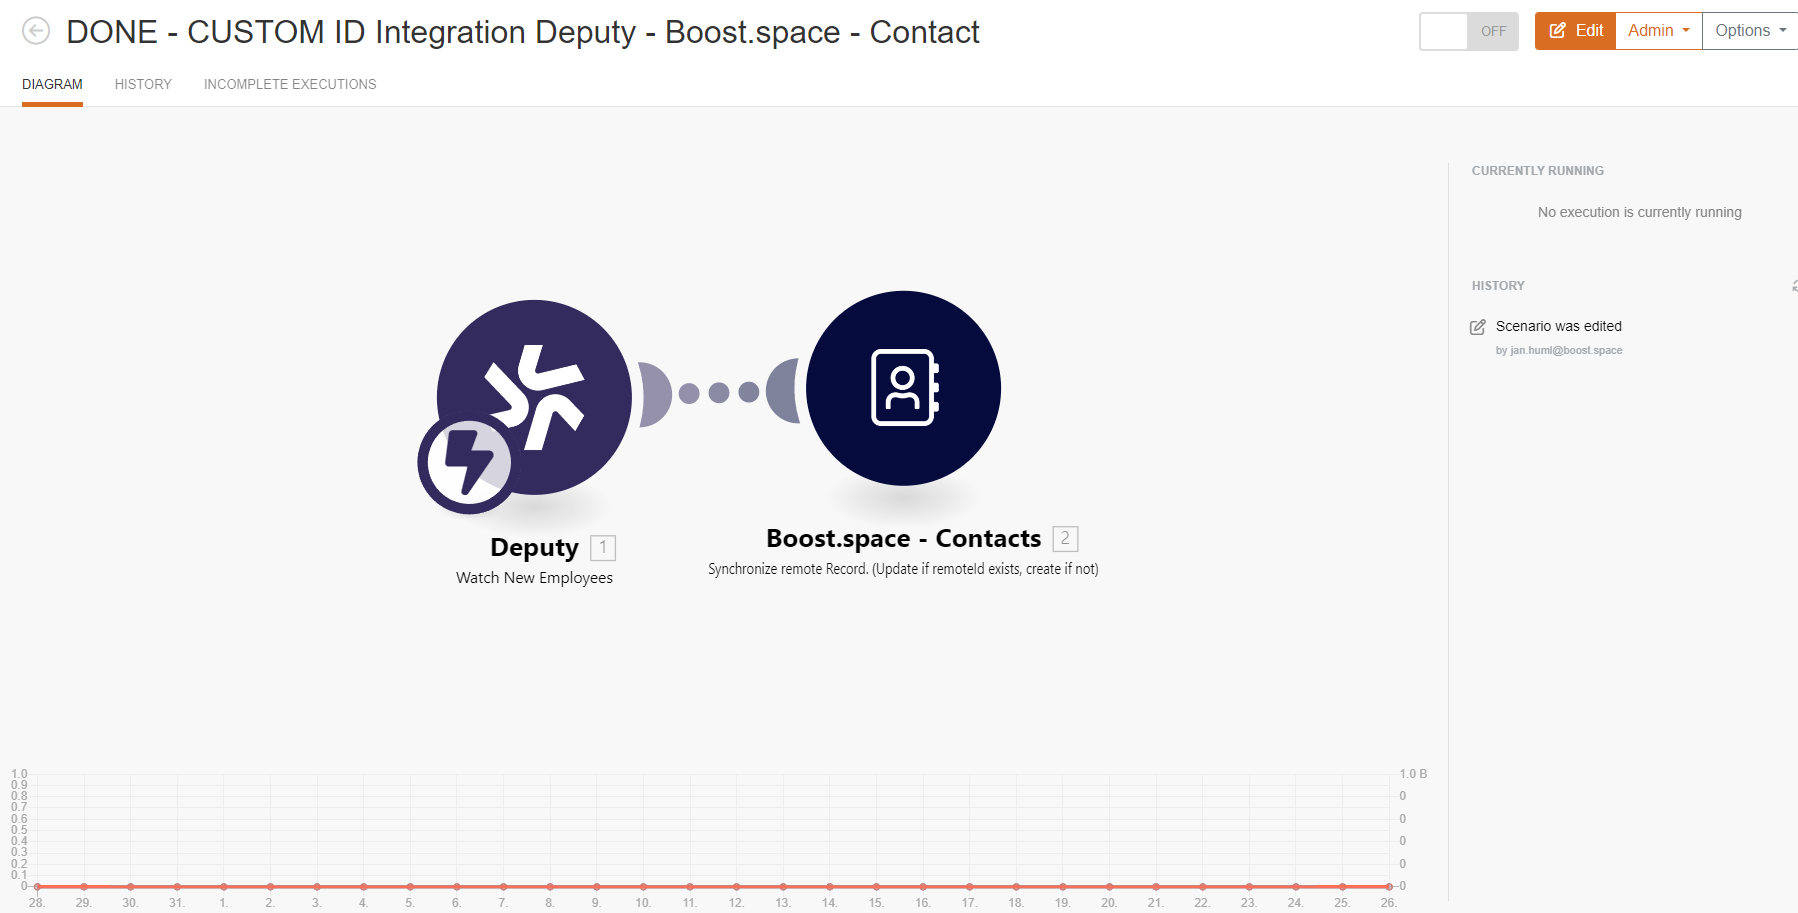
- The first thing you see is a “DiagramThe diagram is a visual representation of your scenario and appears exactly the same way as you see your scenario in the Scenario editor. Use the diagram tab to quickly view:
the execution history of your scenario.
the number of operations and data consumed.
the controls to manage the scenario.
” button, a visual representation of the scenario. It’s the same as in the script editor.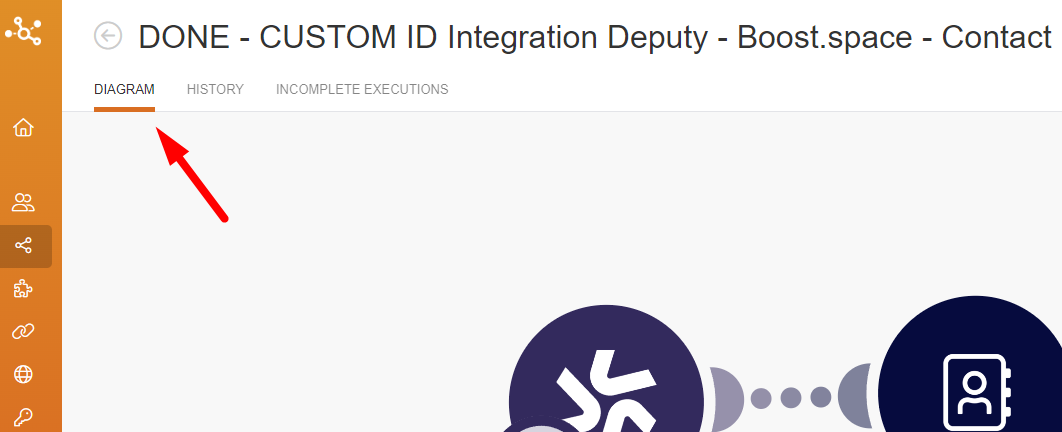
- In the “History” you will find an overview of the history of the scenario, including all its edits. It also provides the scenario execution historyBoost.space Integrator maintains a history of your scenario and records: The date that scenario execution started Status (success, warning, or error) Execution duration Number of operations spent during the scenario run Size of transferred data Link to detailed information, where you can inspect all data in that particular execution received and how the data was processed You can view this... of each run, which includes the following:
– Status of each run (success or error)
– Run duration
-Number of operationsAn operation is a task performed by module.
-Size of data transferData transfer is the amount of data transferred through your scenario.
-Link to more detailed information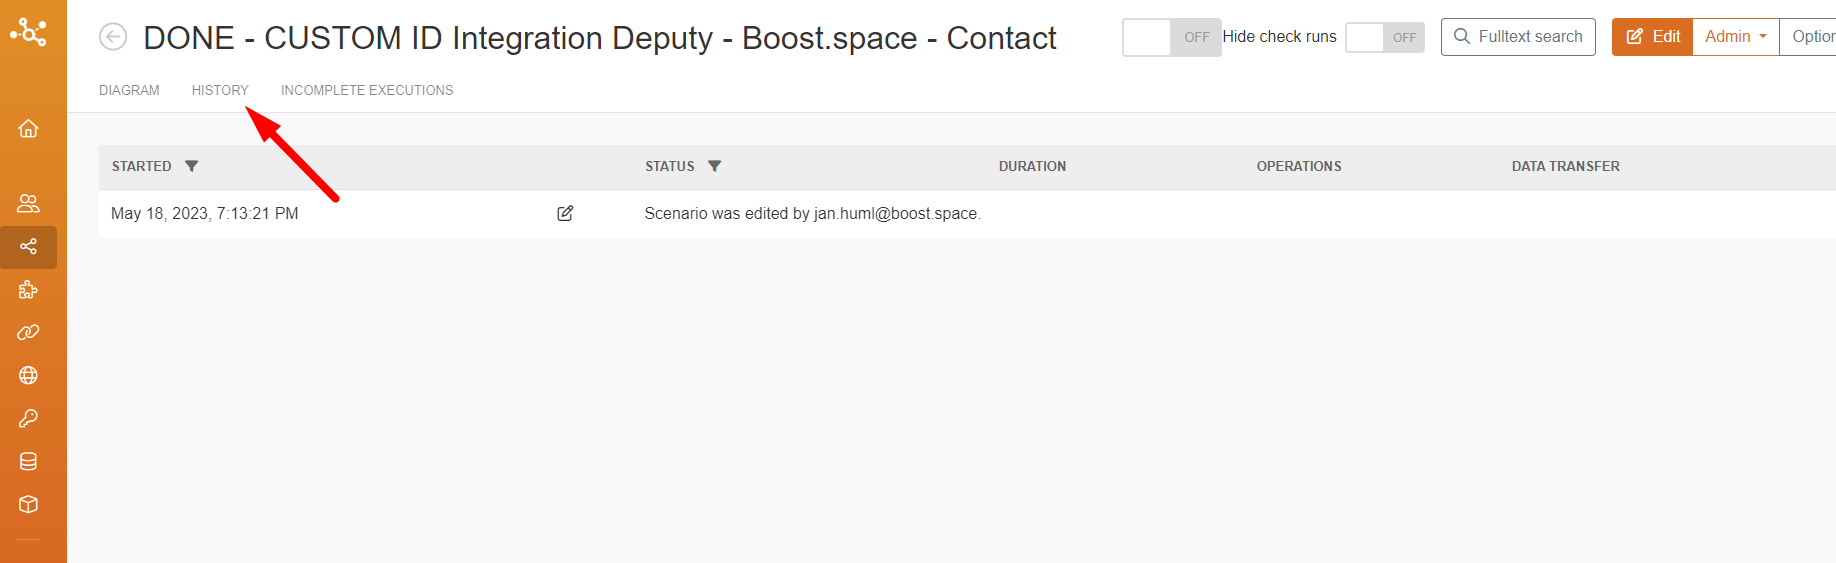
- The “Incomplete executionsSometimes Boost.space Integrator cannot successfully finalize a scenario execution due to an error. Boost.space Integrator stores incomplete executions in a folder named Incomplete Executions. Each stored incomplete execution can be resolved either manually or automatically.” button provides information about any incomplete executions of the scenario. It includes the following information for each incomplete run:
– Date created
– Size of data transfer
– Retry
– Resolved
– Number of attempts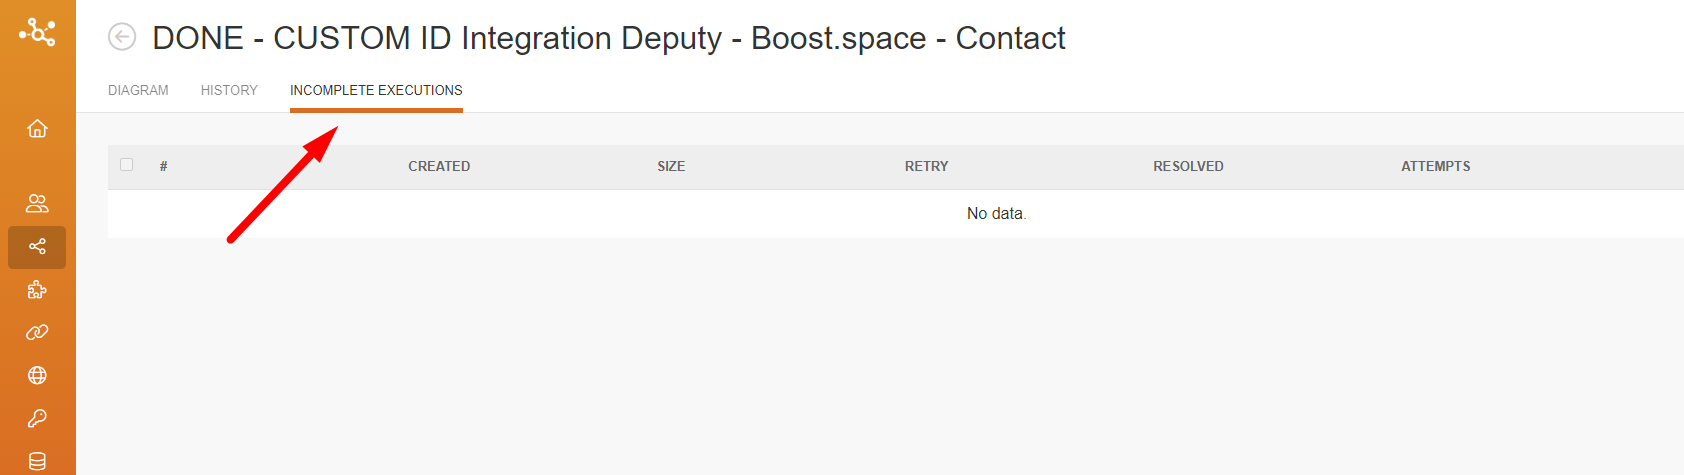
- The ON/OFF button turns the scenario ON to activate or OFF to inactivate. Once it is turned on, the scenario will run according to its schedule.
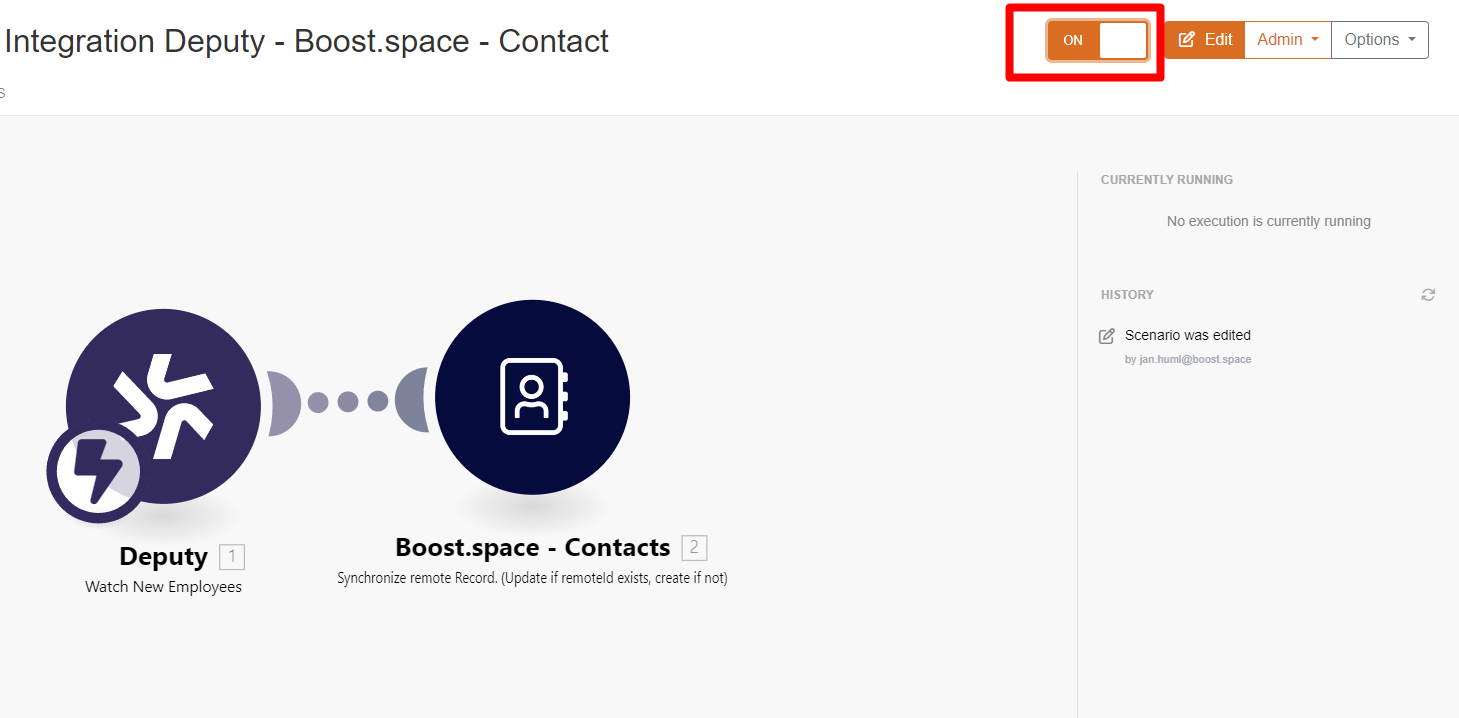
- The “Edit” button will open up the scenario editor, where you can edit your scenario.
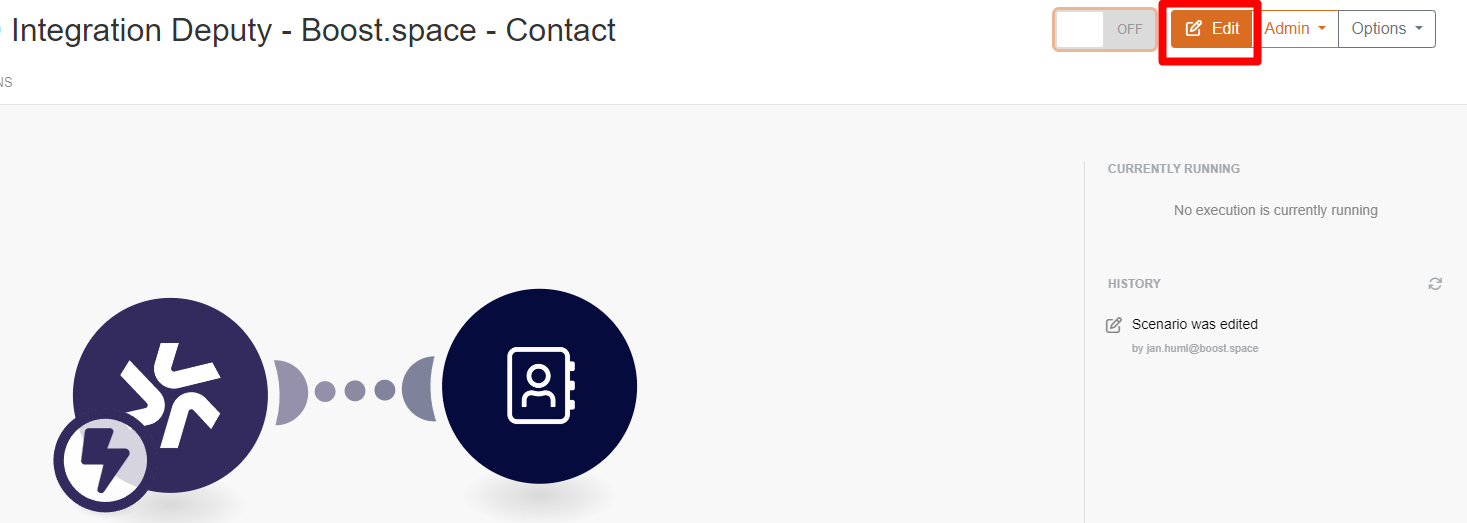
- The “Options” button provides you with extra options without having to open up the scenario editor. These include:
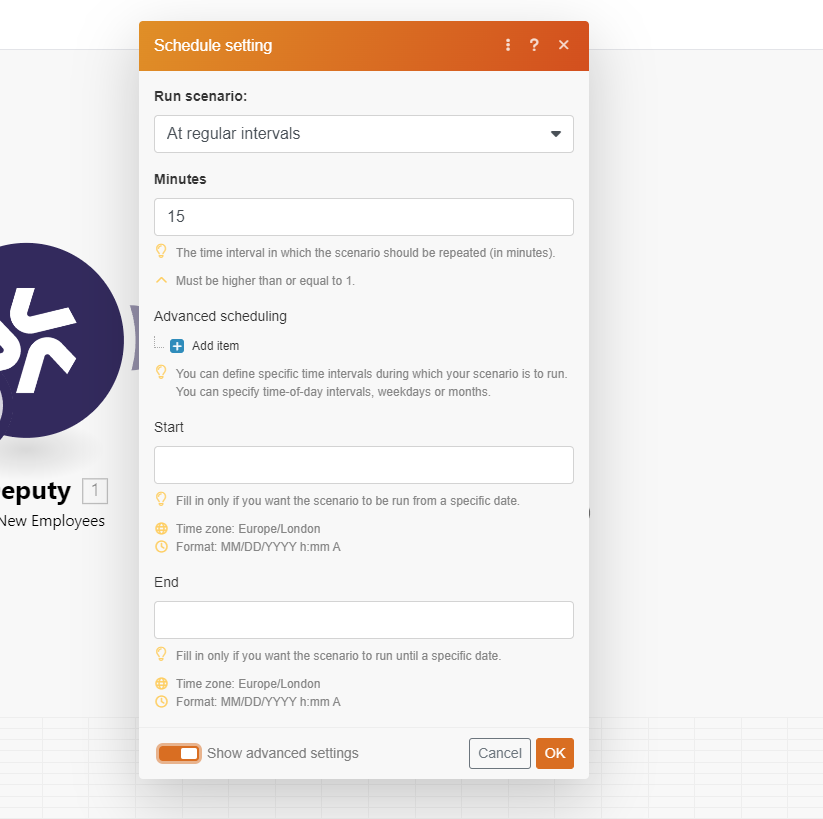
– SchedulingBoost.space Integrator allows you to define when and how often an active scenario runs. Use the Schedule setting panel under the Options tab and choose Scheduling to set your preferred schedule.
– Rename
– Clone
– Delete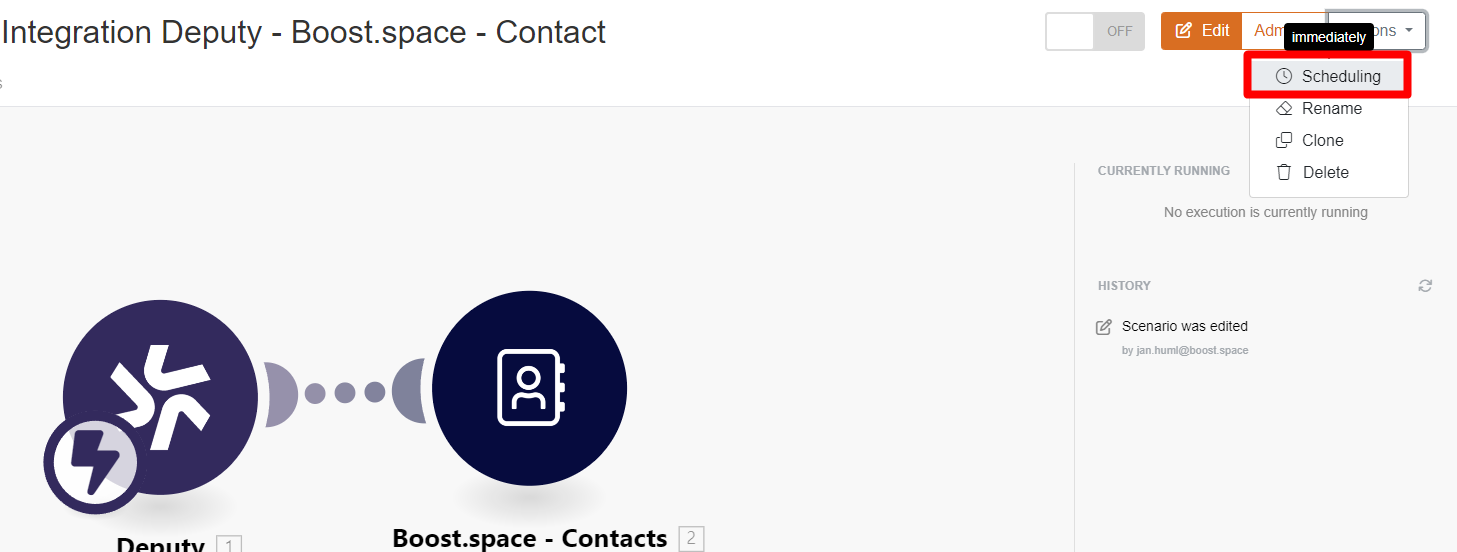
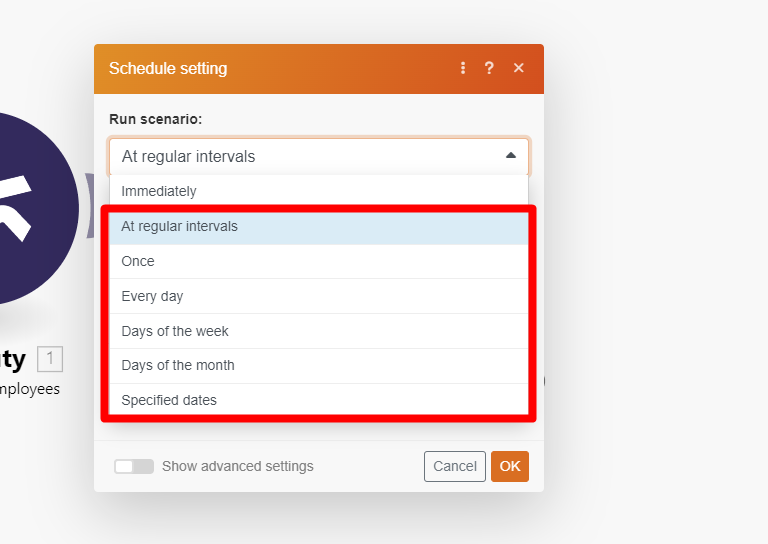
- When you click on the “Scheduling“, the schedule settings will open. This panel lets you adjust the running schedule of the scenario. By default, a scenario runs every 15 minutes, but within this panel, you can customize the run schedule and the interval.

- When choosing any of these options, you may have to further define how often you want the run to occur. For example, if you select the “At regular intervals” option you must define the time interval (in minutes) between two consecutive scenario runs. The “Immediately” option is available only for some triggersEvery scenario has a trigger, an event that starts your scenario. A scenario must have a trigger. There can only be one trigger for each scenario. When you create a new scenario, the first module you choose is your trigger for that scenario. Create a trigger by clicking on the empty module of a newly created scenario or moving the....
- Click on “show advanced settings“.
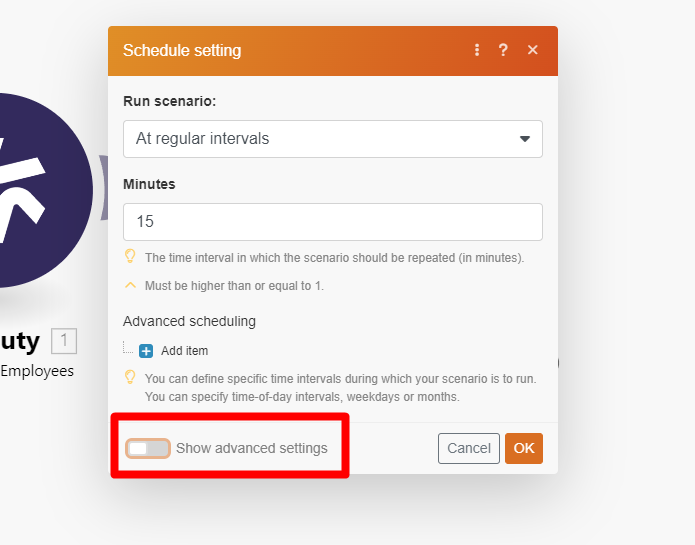
- To define the time range in which an activated scenario runs, check the “Show advanced settings” box and fill in the Start and End date.