Step-by-Step Guide: Obtaining Your Client ID and Client Secret
For most applications, you can establish a connectionUnique, active service acces point to a network. There are different types of connections (API key, Oauth…). by creating your own application. However, you need to create your own tokenThe API token is a multi-digit code that allows a user to authenticate with cloud applications. to connect to some apps. Instructions on how to do this are available here.
This article serves as a general guide for creating your application: creating Client ID and Client secret + where to find the redirect URL and other useful information.
For most applications, you need to create your own application to establish integration. In this article, you will learn how to create a connection (example – ClickUp). You may come across things that will be different when creating an app, but the basic process remains the same.
Create your own application
1. Click on your profile/settings icon.
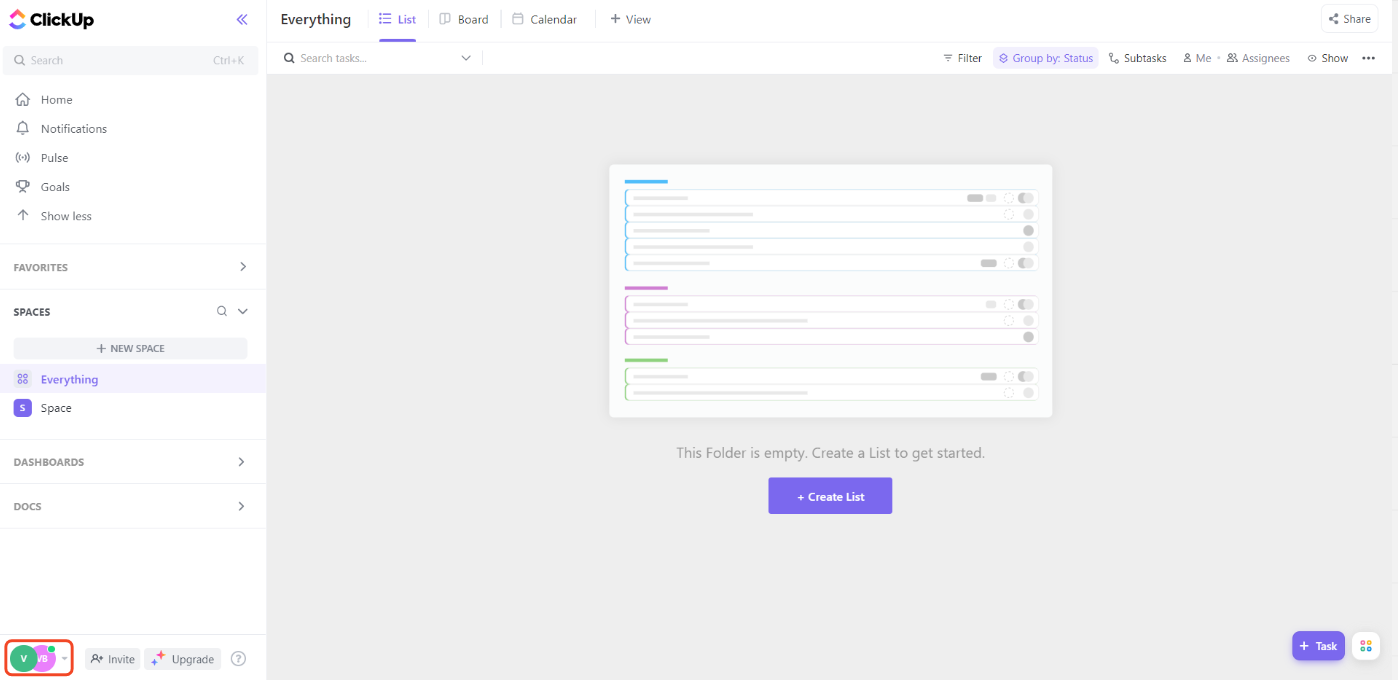
2. In the selection, choose “Integrations” (also called “My apps” or “Apps and Integrations”).
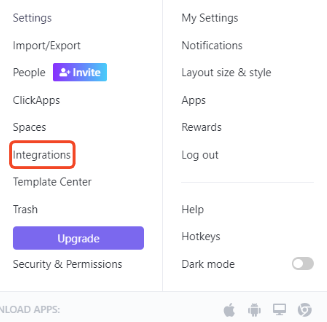
3. You will then usually be able to select to create a custom appCreate your own custom apps to be used in the integrator engine and share them with users in your organization. (In this case – ClickUp API).
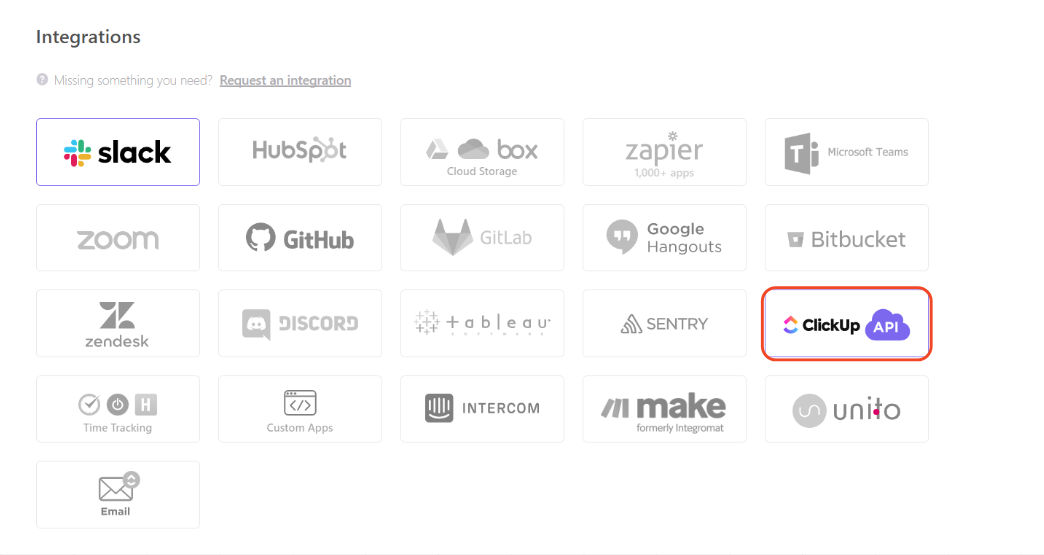
4. Click on create a new app.

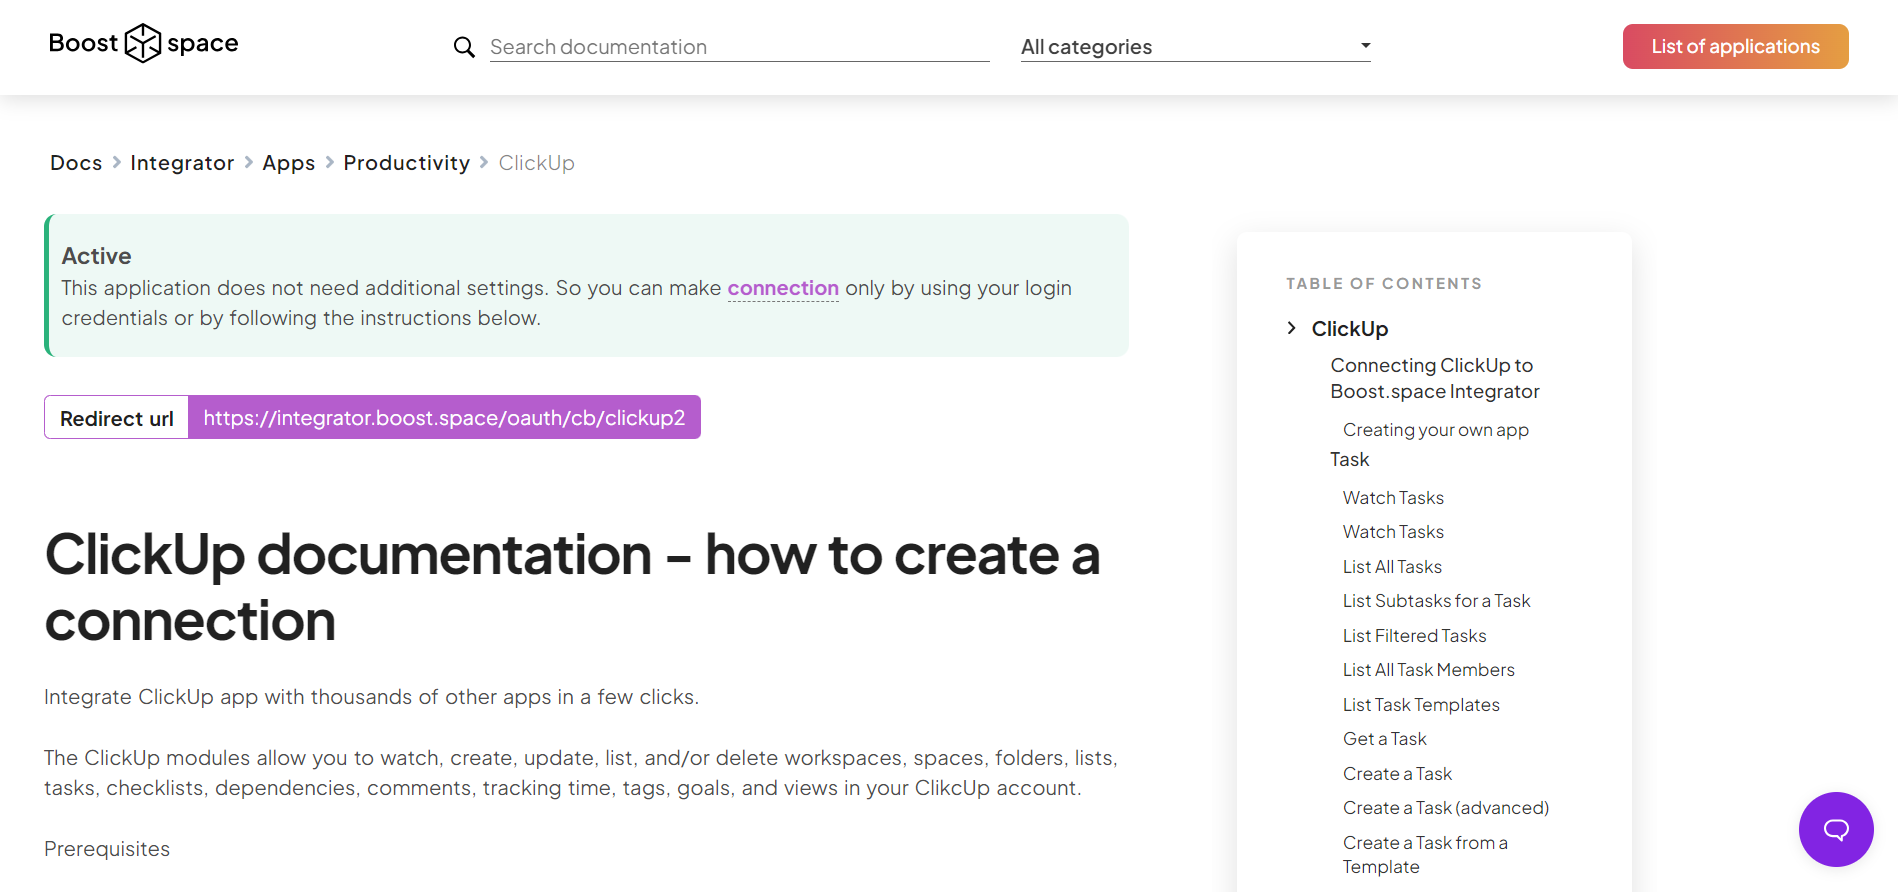
5. Here, enter the app name and redirect URL. The redirect URL that you will need can be found here.
PS: Clicking on the link will take you to a list of applications. There, search for your application. When you click on it, you will see the appropriate redirect URL at the top.

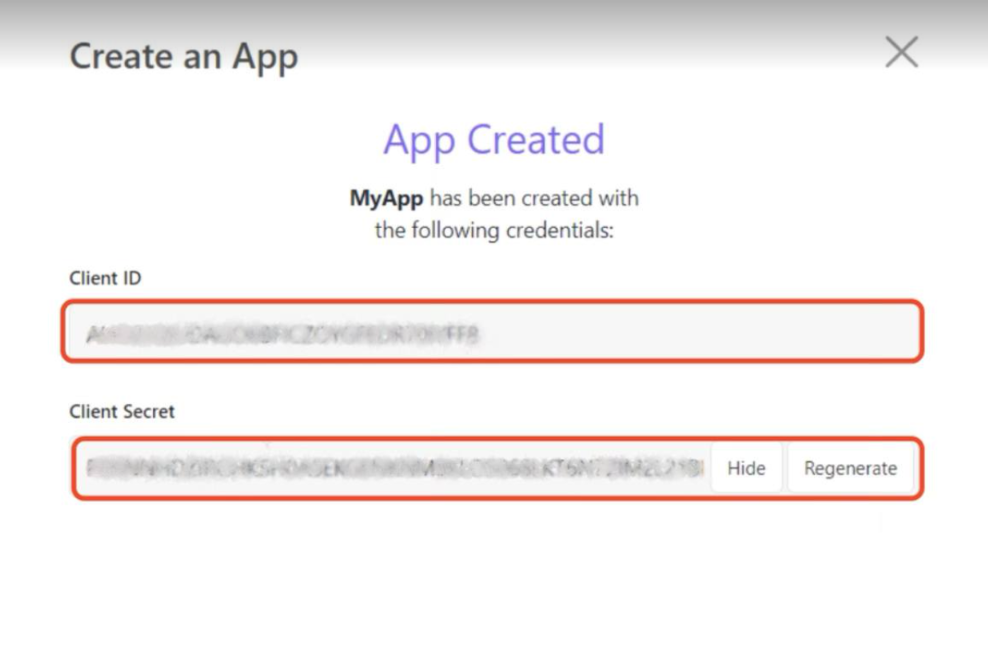
6. Click on create an application and save your Client ID and Client secret. CAUTION: Keep this information private.
Creating a connection in Boost.space
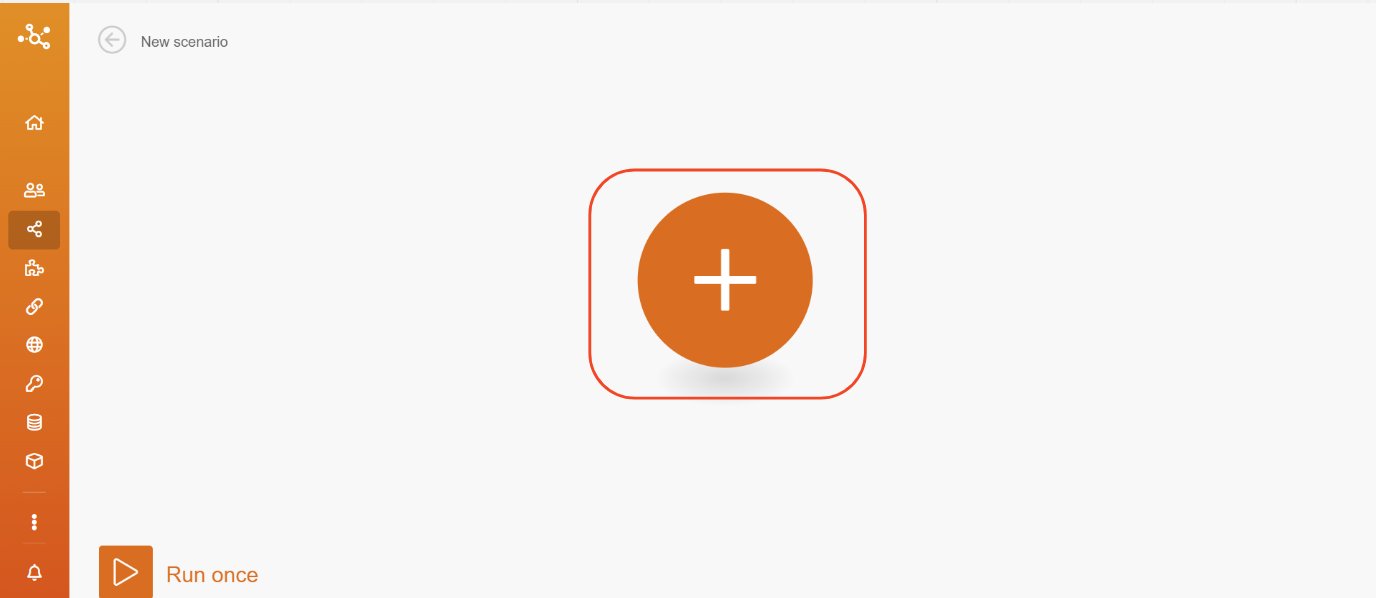
7. In Boost.space, click on create a new scenarioA specific connection between applications in which data can be transferred. Two types of scenarios: active/inactive..

8. Click on the plus icon.
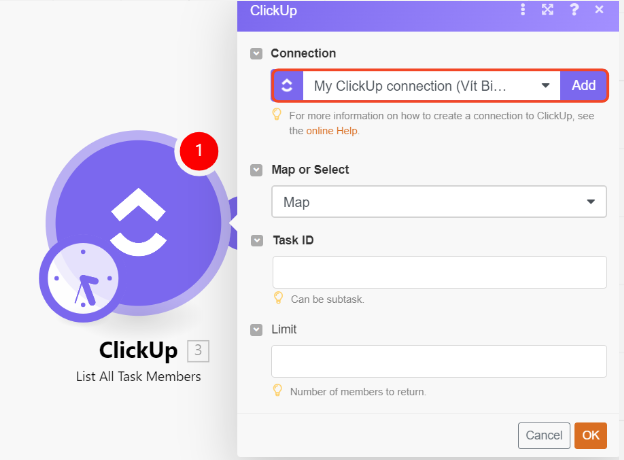
9. Now, you will need to click on “Add”. In the example, the “List All Task Members” scenario is selected, but you can select any.
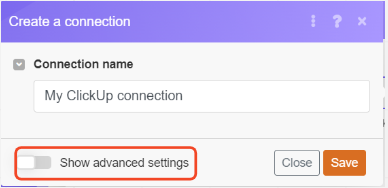
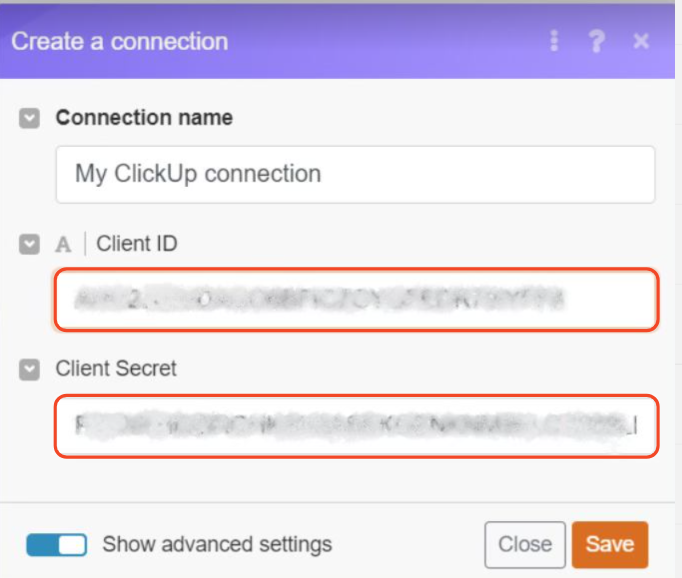
10. Then click on show advanced settings and enter your Client ID and Client secret. After that click on save.
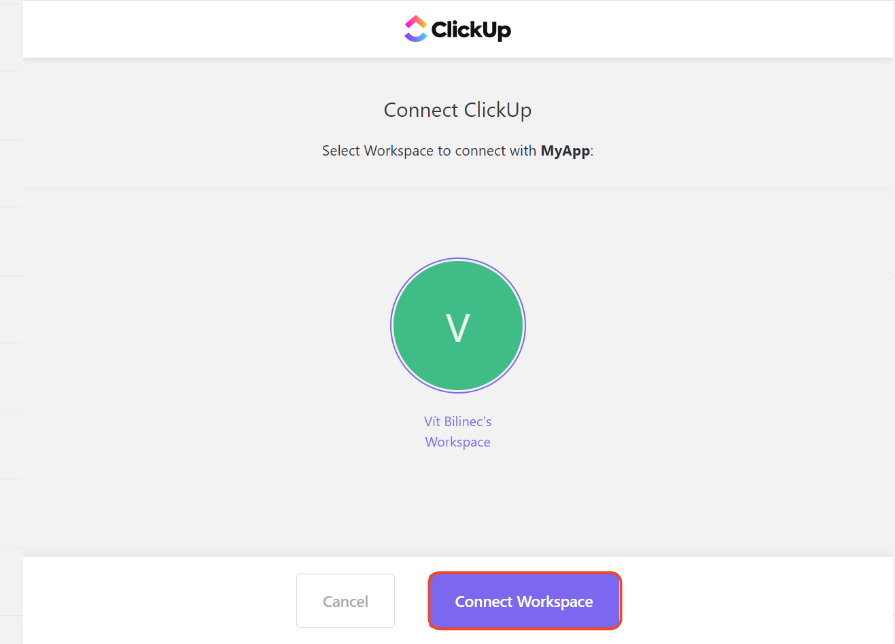
11. Finally, just click on Connect Workspace and that is it!
When creating applications, you may encounter additional information that needs to be filled in, such as a description of your application, categorization, type of application, etc. If you have encountered any problems with your app, do not hesitate to contact our support at [email protected].