| Active |
|---|
| This application does not need additional settings. So you can make connection only by using your login credentials or by following the instructions below . |
A source of variables that will be used for creating result text using the Mustache template.
We can use Google Sheets for this purpose.
To work with Google Sheets, you have to have a Google account. If you do not have one, you can create a Google account at https://accounts.google.com.
For more details about the Mustache template system, please visit the Mustache official website.
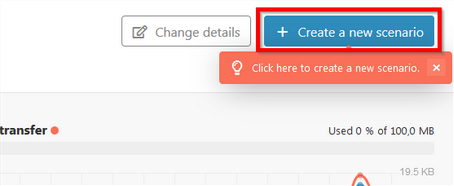
1. Click on the blue button, Create a new scenario in the top-right corner of Boost.space Integrator’s Dashboard page or Scenarios page
2. Search for the Mustache module using the search field
3. Select Mustache by clicking on the module’s icon
4. Click on the Continue button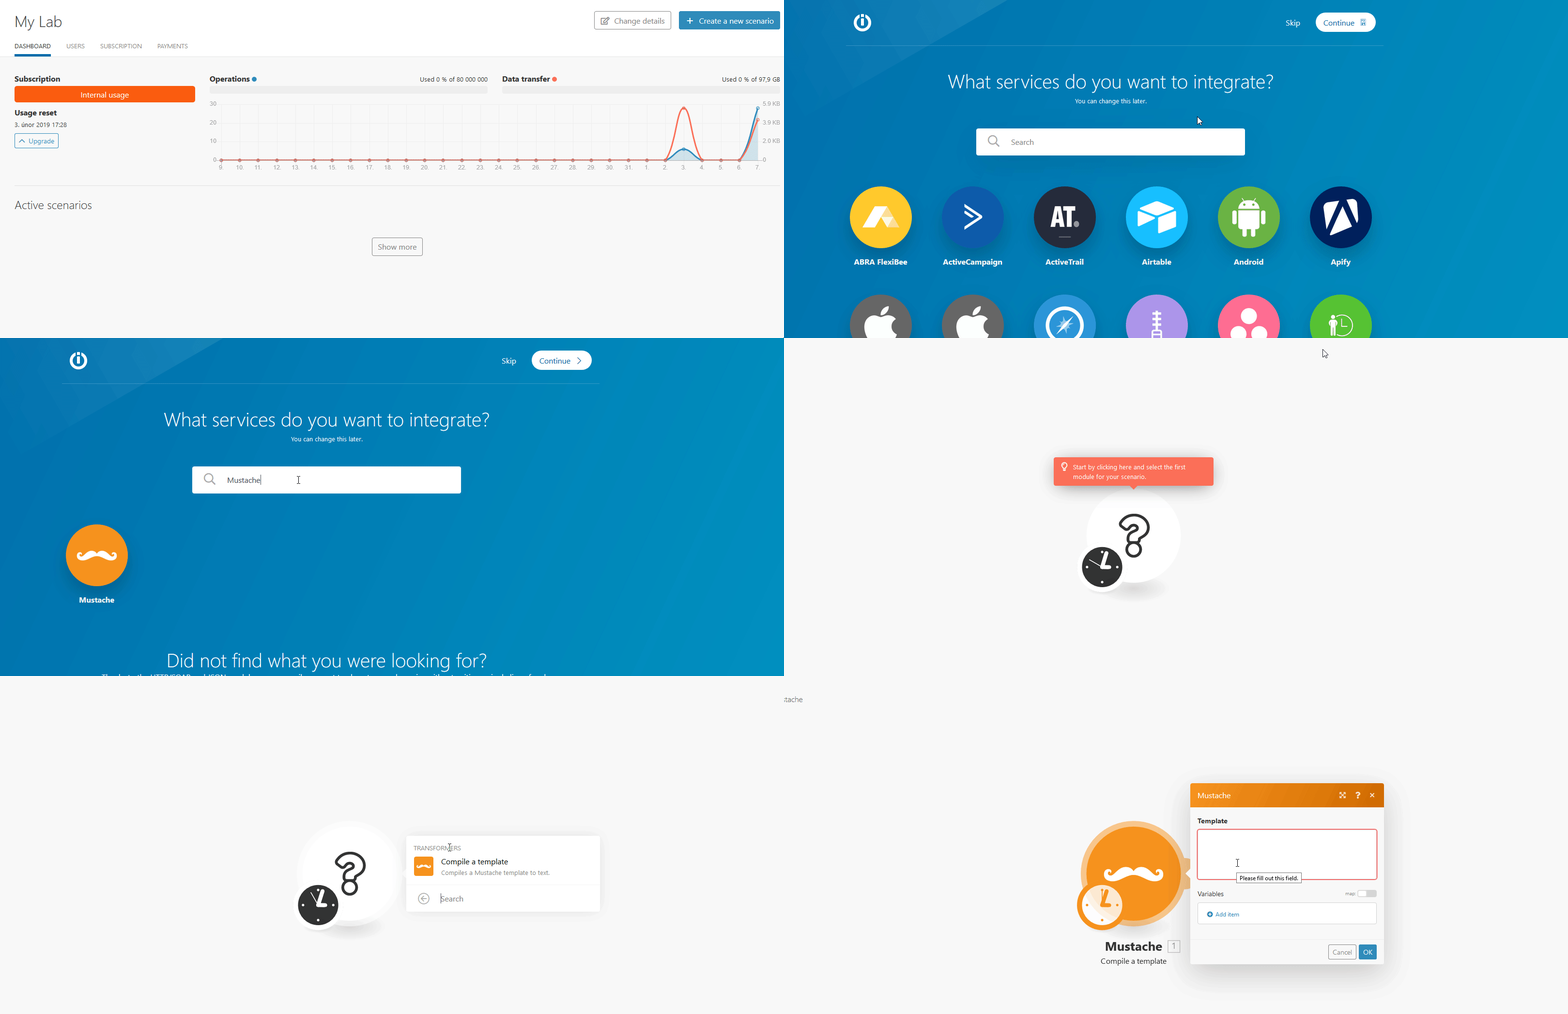
5. Your scenario is now open
6. Start by clicking on the white question mark icon in the center of your scenario
7. Select Mustache from the menu
Mustache is a simple template system allowing you to generate output content from the provided template with variables.
To demonstrate what the module does, we will generate a short party invitation sent by email.
|
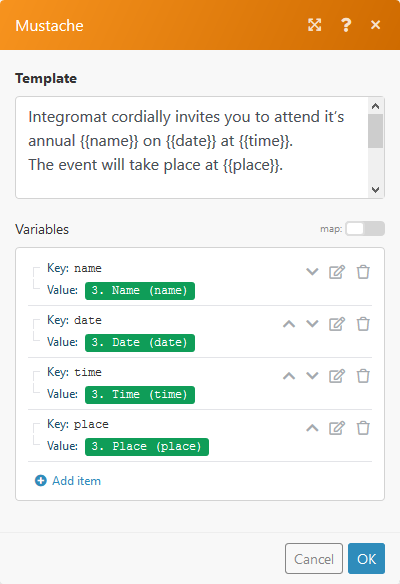
Template |
Create the desired Mustache template in this field. Use variables as required and close them into double curly braces {{}}. These braces are called mustaches. |
|
Variables |
Now you have to define the variables used in your text above. We have used four variables in mustaches in our sample template. These variables are name, date, time and place. |
1. Click on the Add item button in the Variables section
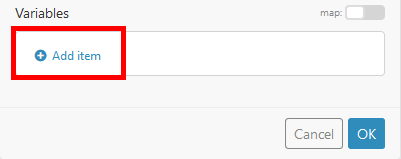
2. There are two fields in the Add item dialog – Key and Value.
|
Key |
Enter a variable used in your template. Do not use curly braces. |
|
Value |
Specify the source of the variable. We have used the Google Sheets module, Watch a Worksheettrigger and have chosen the Events table from where to load the variables. 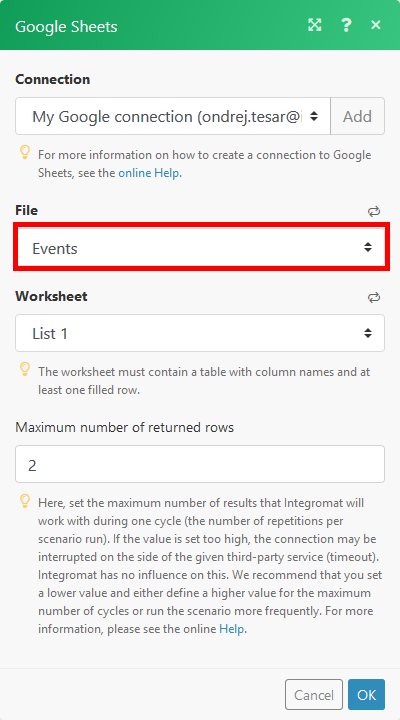 When someone enters values into the table, these values will be used as variables for our Mustache template. 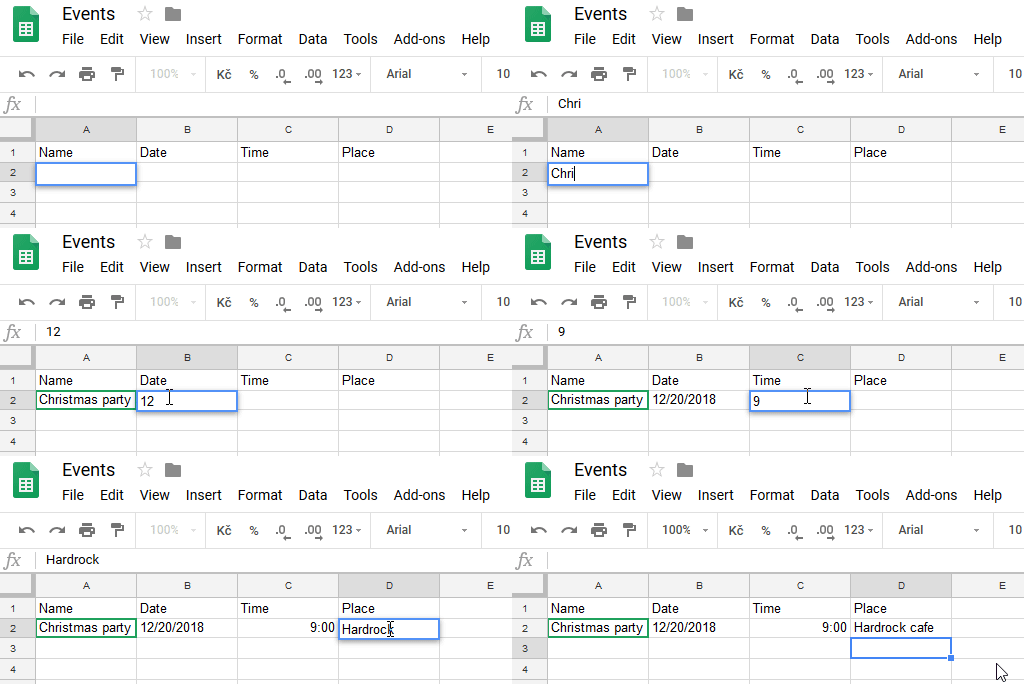 |
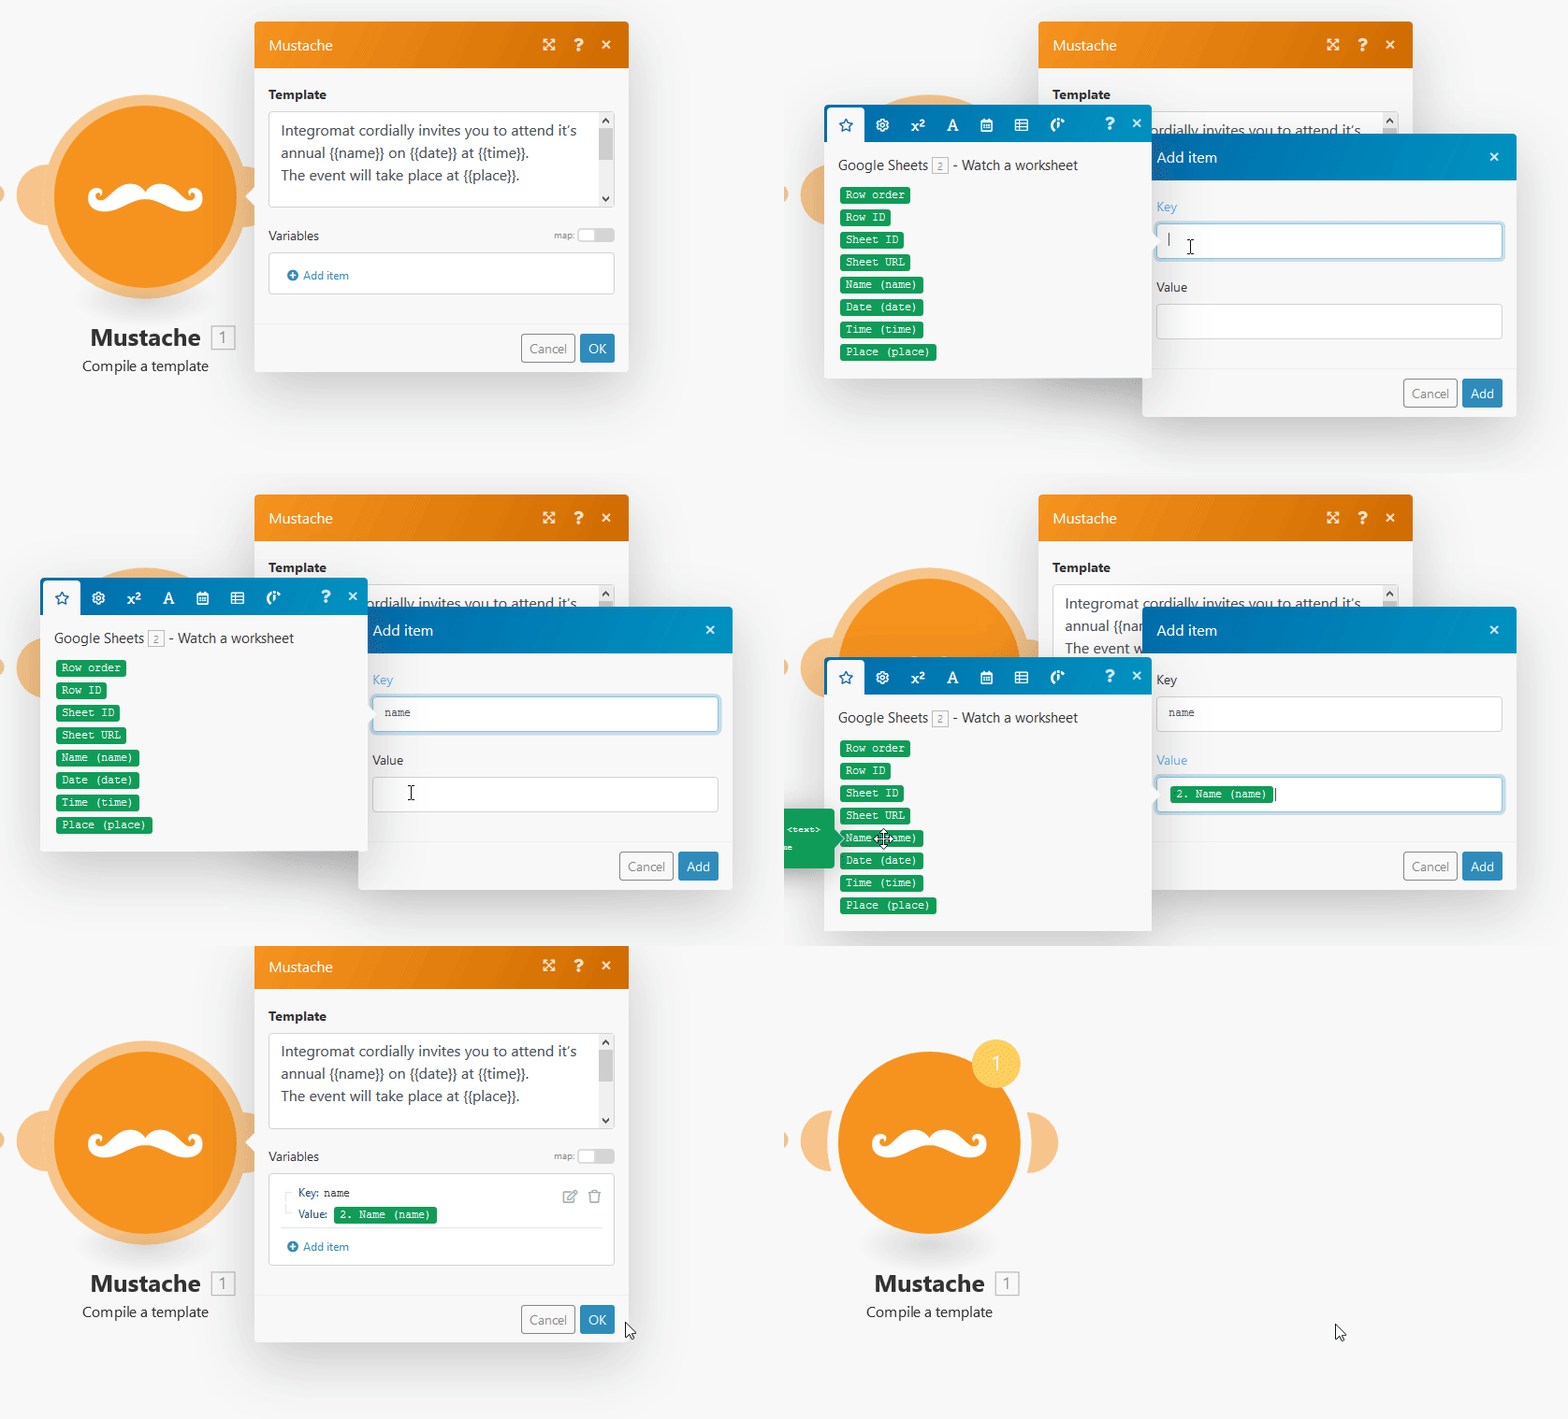
Now, when the source of variables (using the Google Sheets module) and all needed variables in the Mustache module are set, we should decide what to do with the resulting text we get as output from the Mustache module.
As an example, we will send an email with our invitation.
Mustache, as a transformer module, cannot be the last in the scenario.
1. Add another module after the Mustache module
2. It can be the Email module, for example
 |
3. Select the Send an email action

1. Ensure that a connection to your email is established (to establish a connection to the email module follow instructions in the Email documentation)
2. Add recipients of the invitation in the To field
3. Enter the subject of the email into the Subject field
4. Add the Mustache module Compile a template action to the Content field
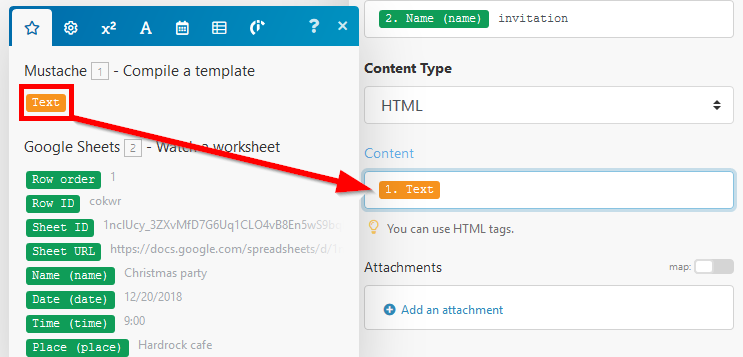
Once your Mustache scenario is tested and ready to use, you have to activate it.
Activate your scenario by following Step 4 in the Creating a scenario article.

